Posts in Spinning
Spin a Yarn, Knit the Yarn: Grateful Moments Shawl
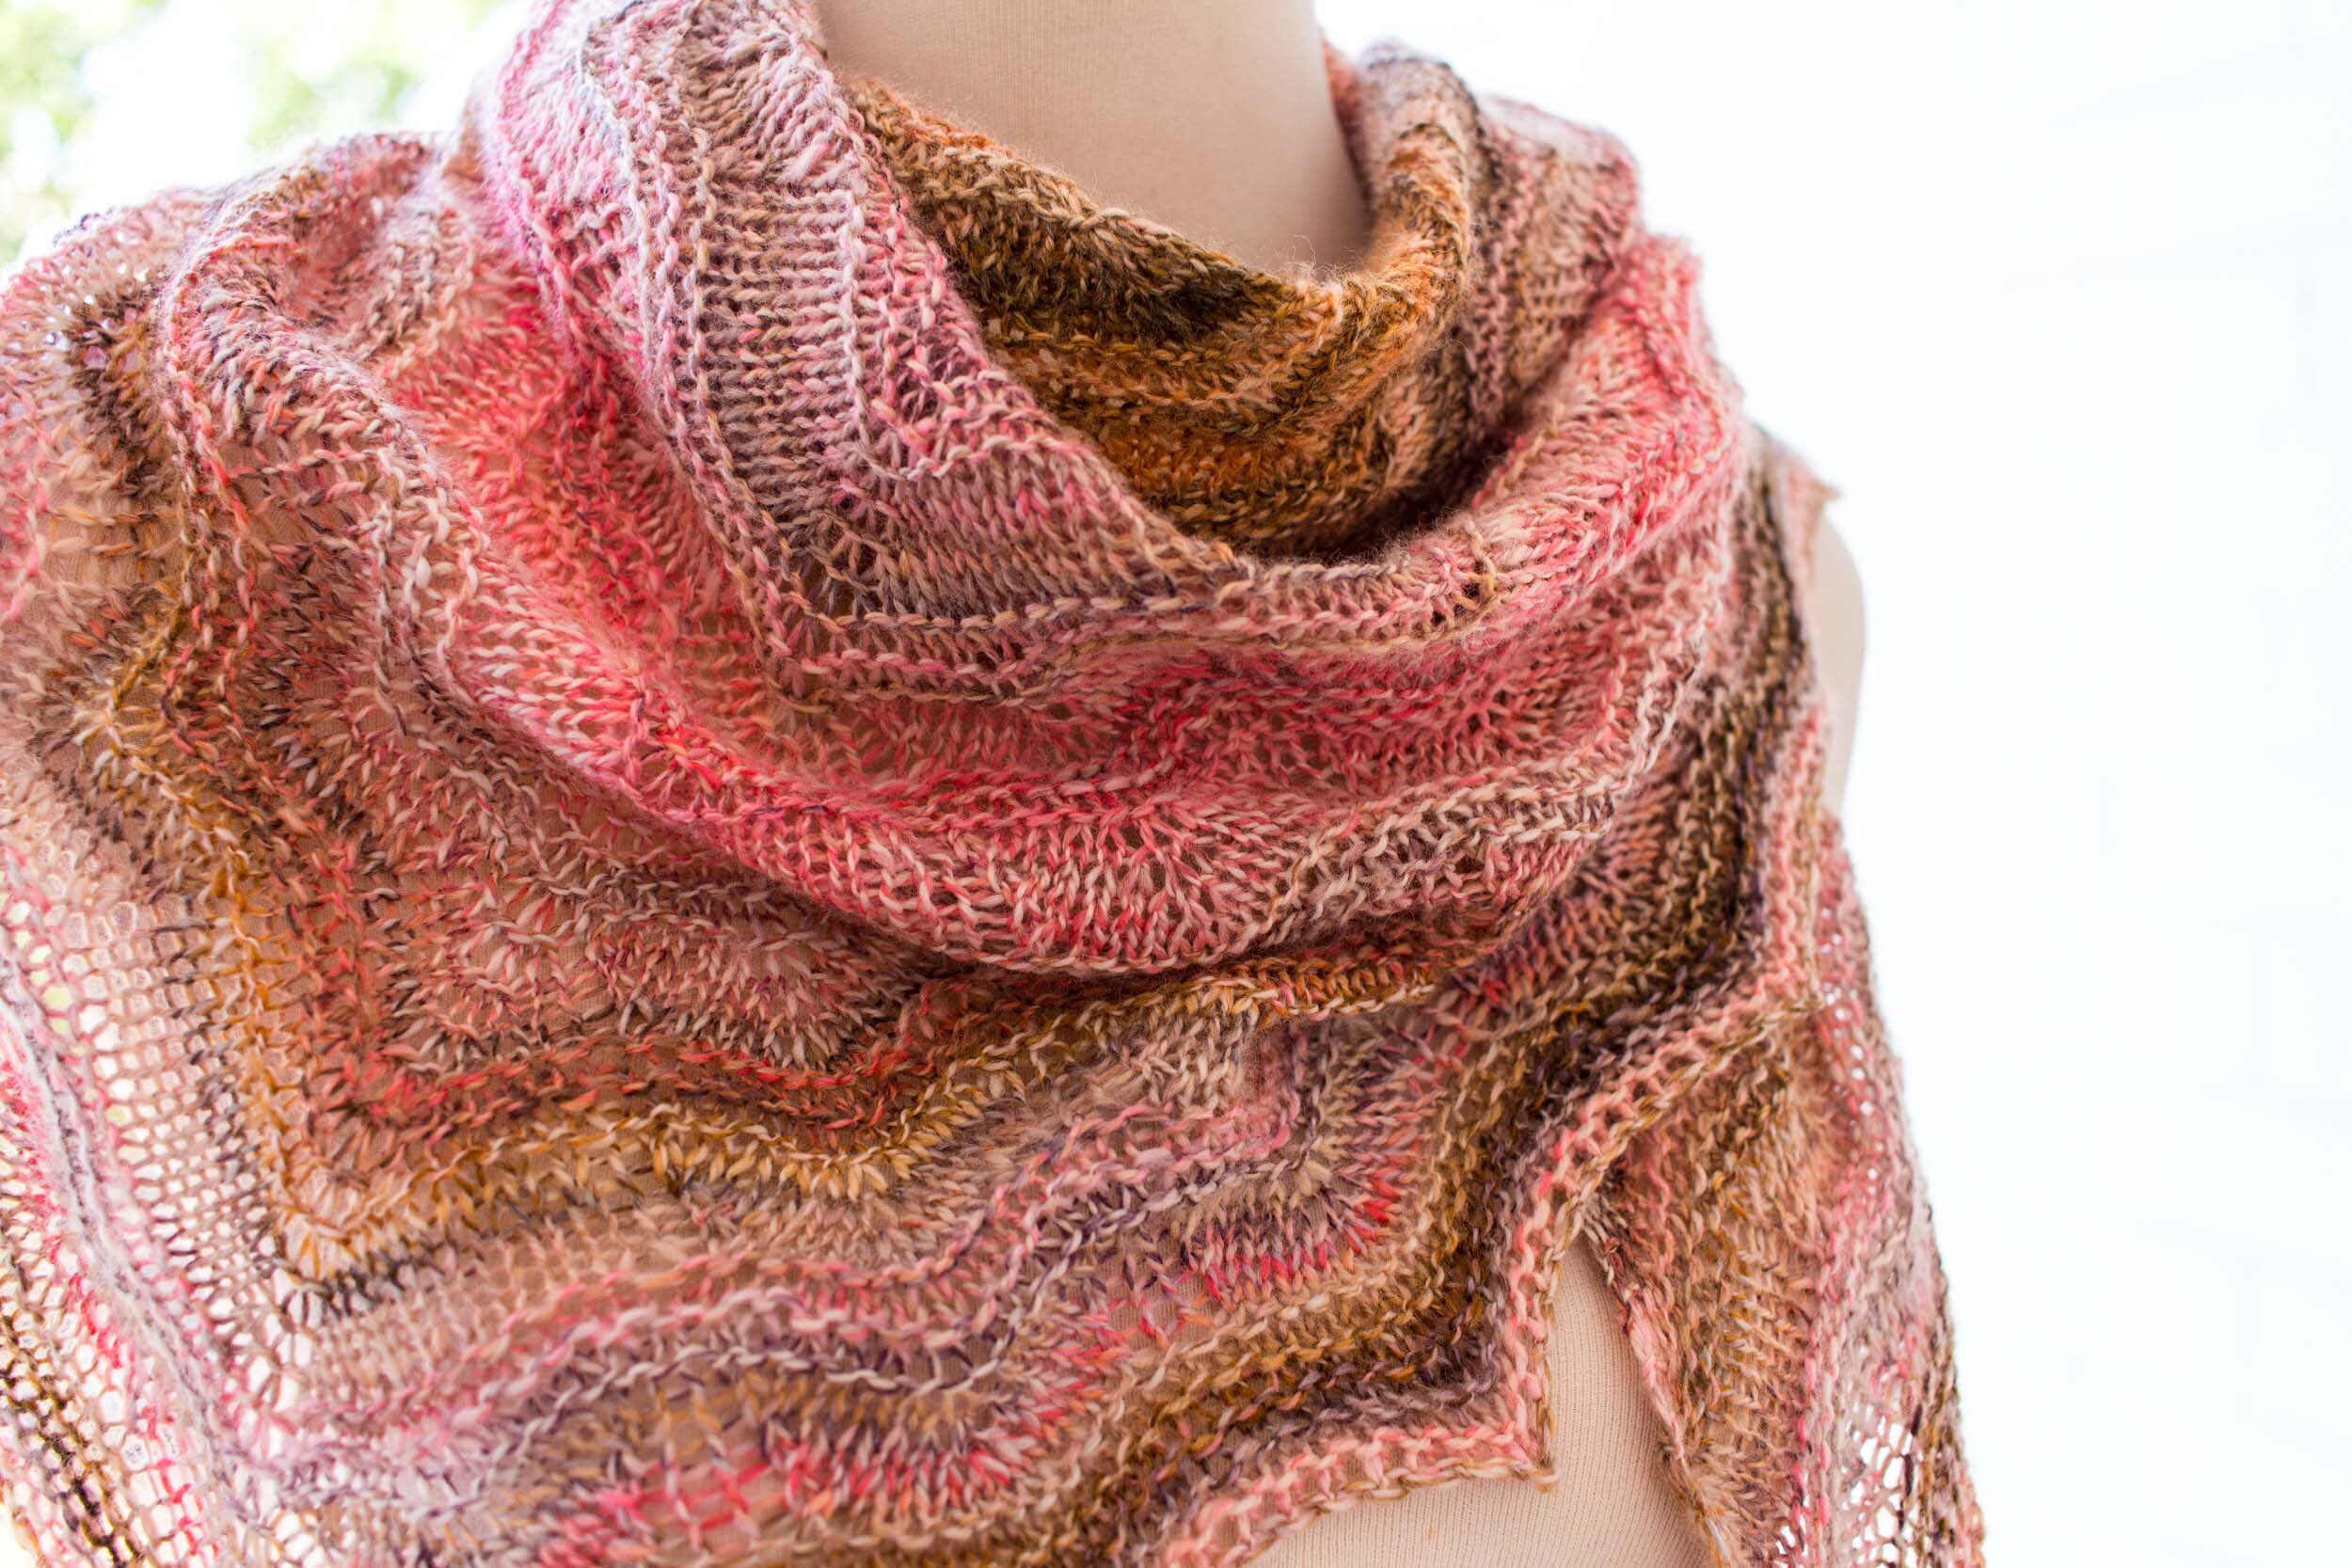
Grateful Moments Shawl - Journal - Loom & Spindle-16.jpg

Some time ago I was in the mood for a bit of a ‘de-stress’ spin.

To just spin and let a project evolve organically.

I didn’t want to think too hard about all the variables that often stop a new project in its tracks. Things like fibre prep, colour distribution and what the final project might be.

I just wanted to spin a yarn, then knit the yarn.

With this ethos I made my start. Along the way there were some key decisions that helped shape the direction of the project. I’ve detailed this journey below.

Andrea - Loom & Spindle


STUDIO PROJECT: Grateful Moments Shawl

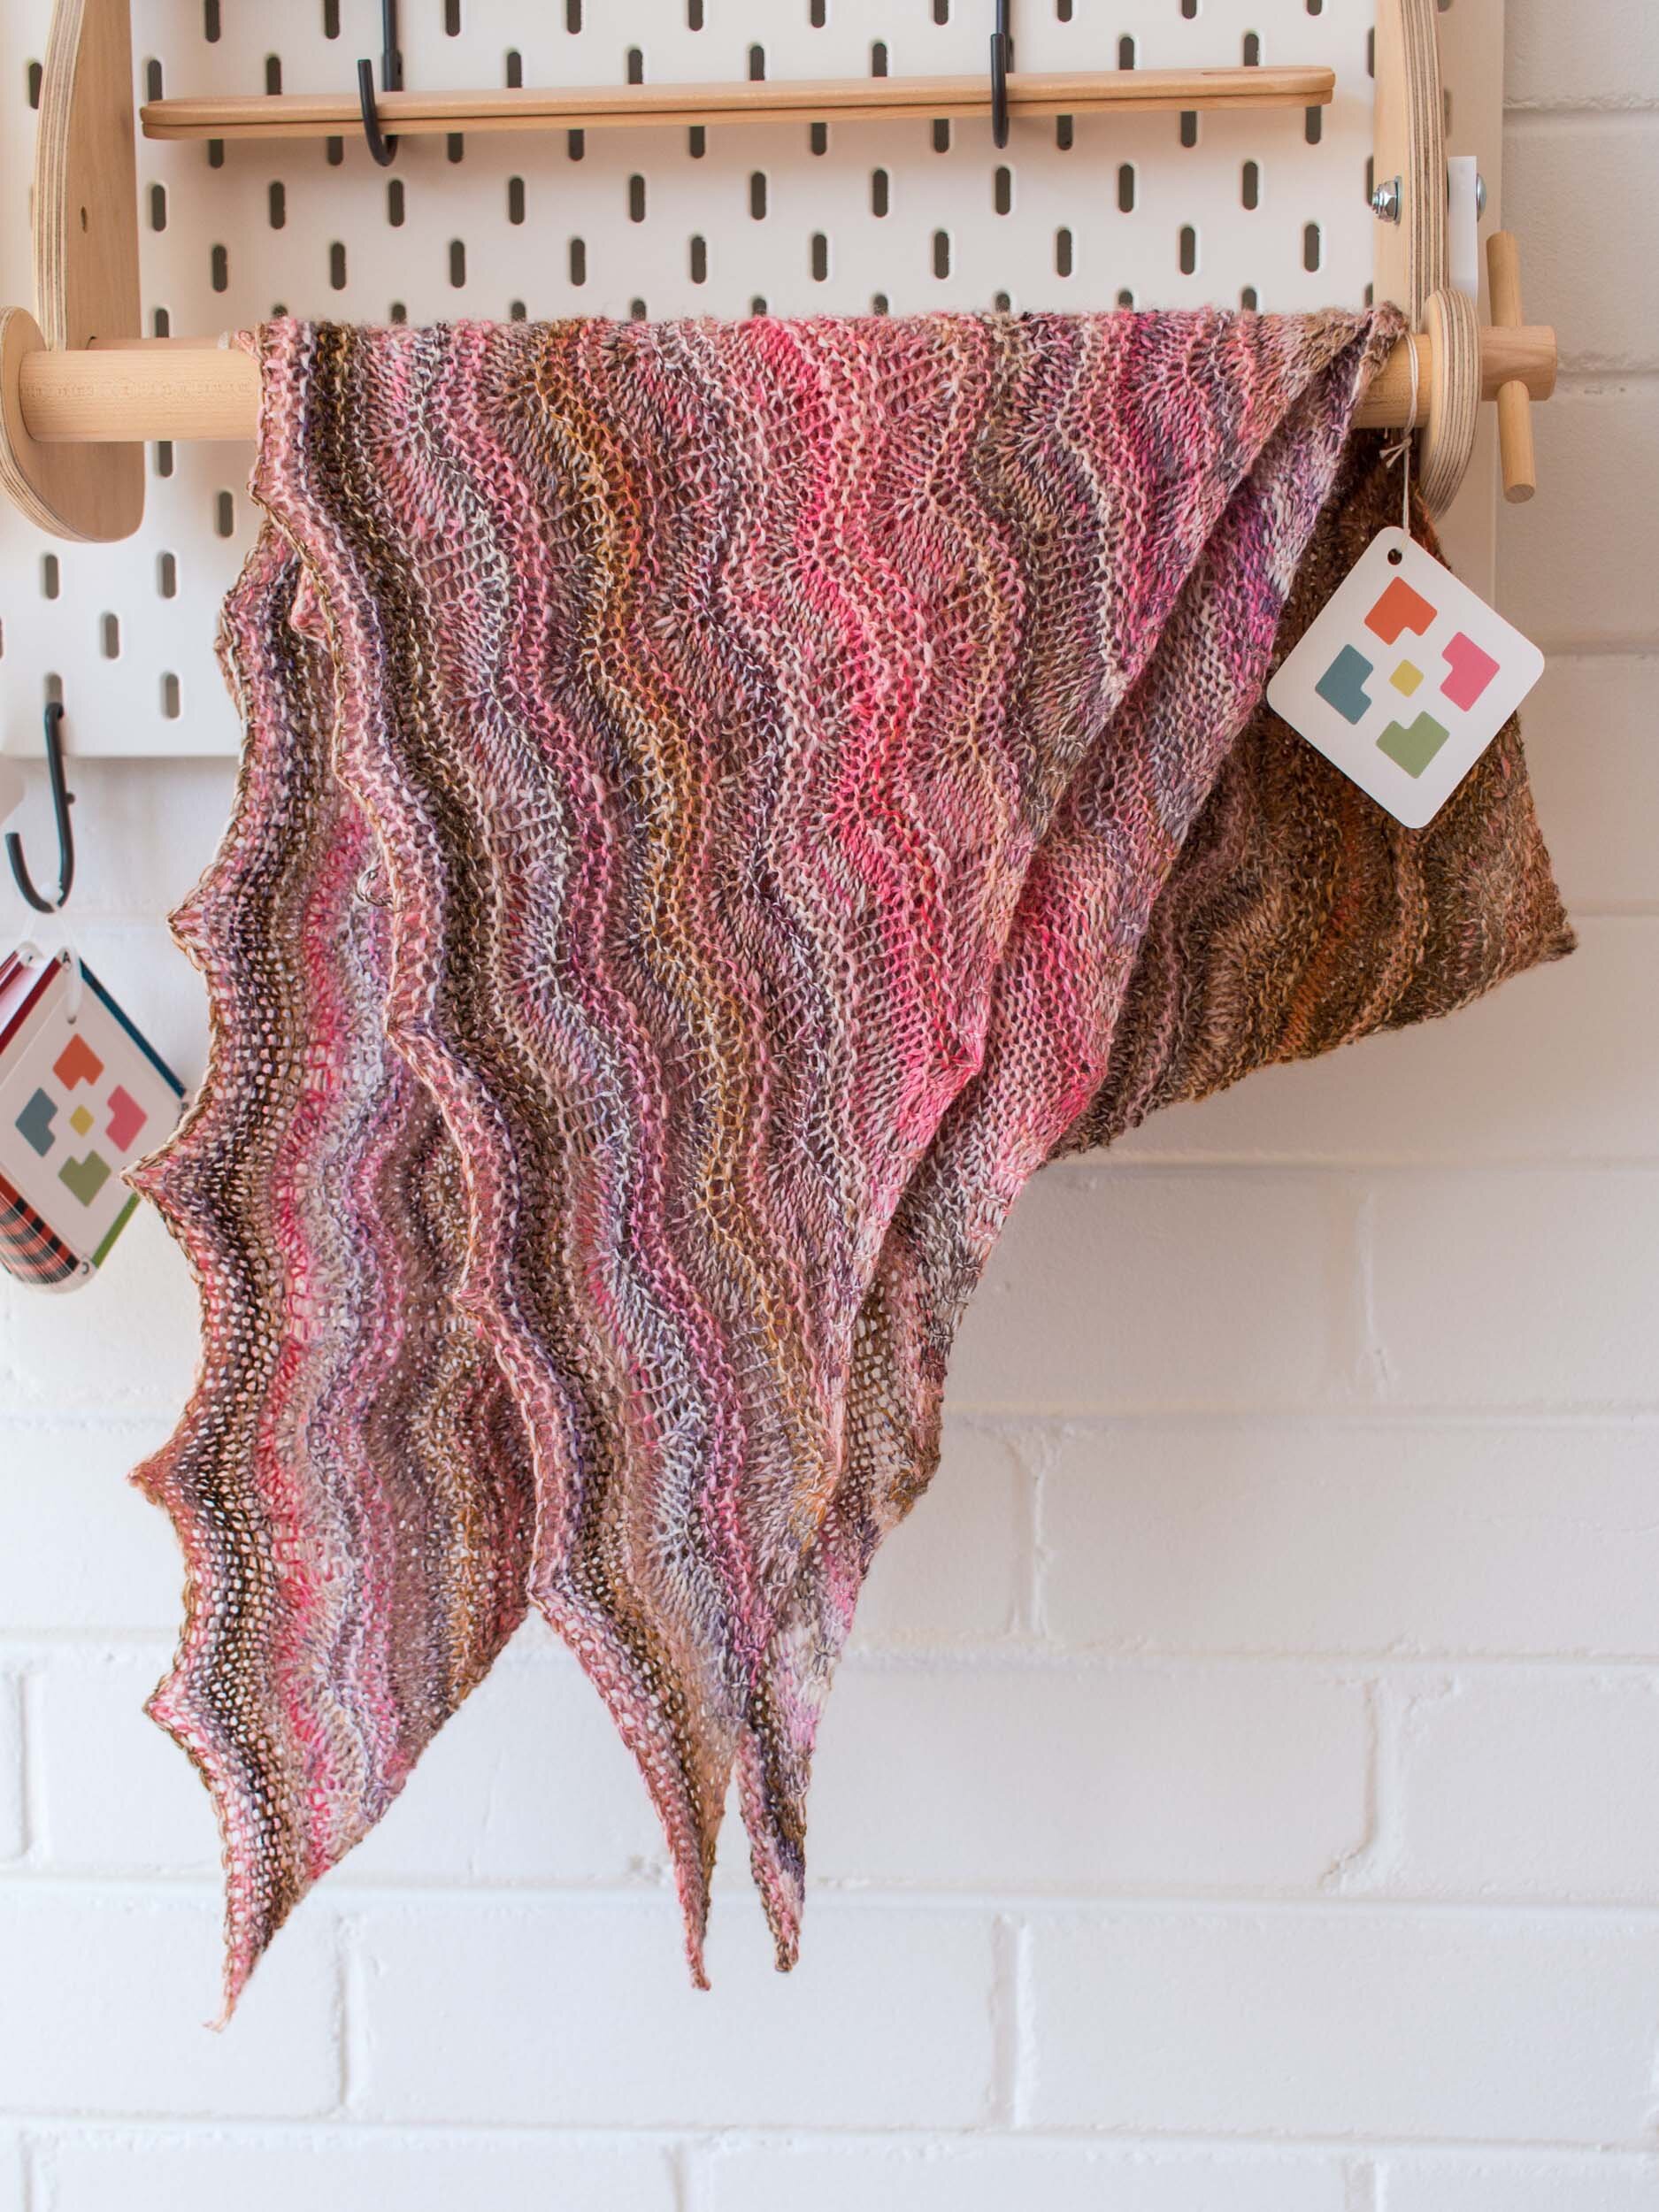
Grateful Moments Shawl - Journal - Loom & Spindle-18.jpg

INTENTION

  • Spin a yarn.

  • Knit the yarn.

SKILLS

HAND SPINNING

  • Fibre preparation

  • Spinning singles

  • Plying

  • Finishing hand spun yarns

KNITTING

  • Casting on/off

  • Knitting flat

  • Increasing and decreasing

  • Reading charts for lacework

TOOLS

HAND SPINNING

KNITTING

  • 3.5 mm (US 4) 80cm circular needles (I used Chiaogoo Spin Bamboo Interchangables)

MATERIALS

100g x Wren & Ollie Superwash Merino/Nylon Spinning Fibre | Colourway, Salt and Pepper

Grateful Moments Shawl - Journal - Loom & Spindle-1.jpg

PATTERN

The Grateful Moments shawl pattern was designed by Sylvia McFadden, first published in September 2015. It is available to purchase as a digital download at Ravelry.com.

PROCESS

THE SPIN

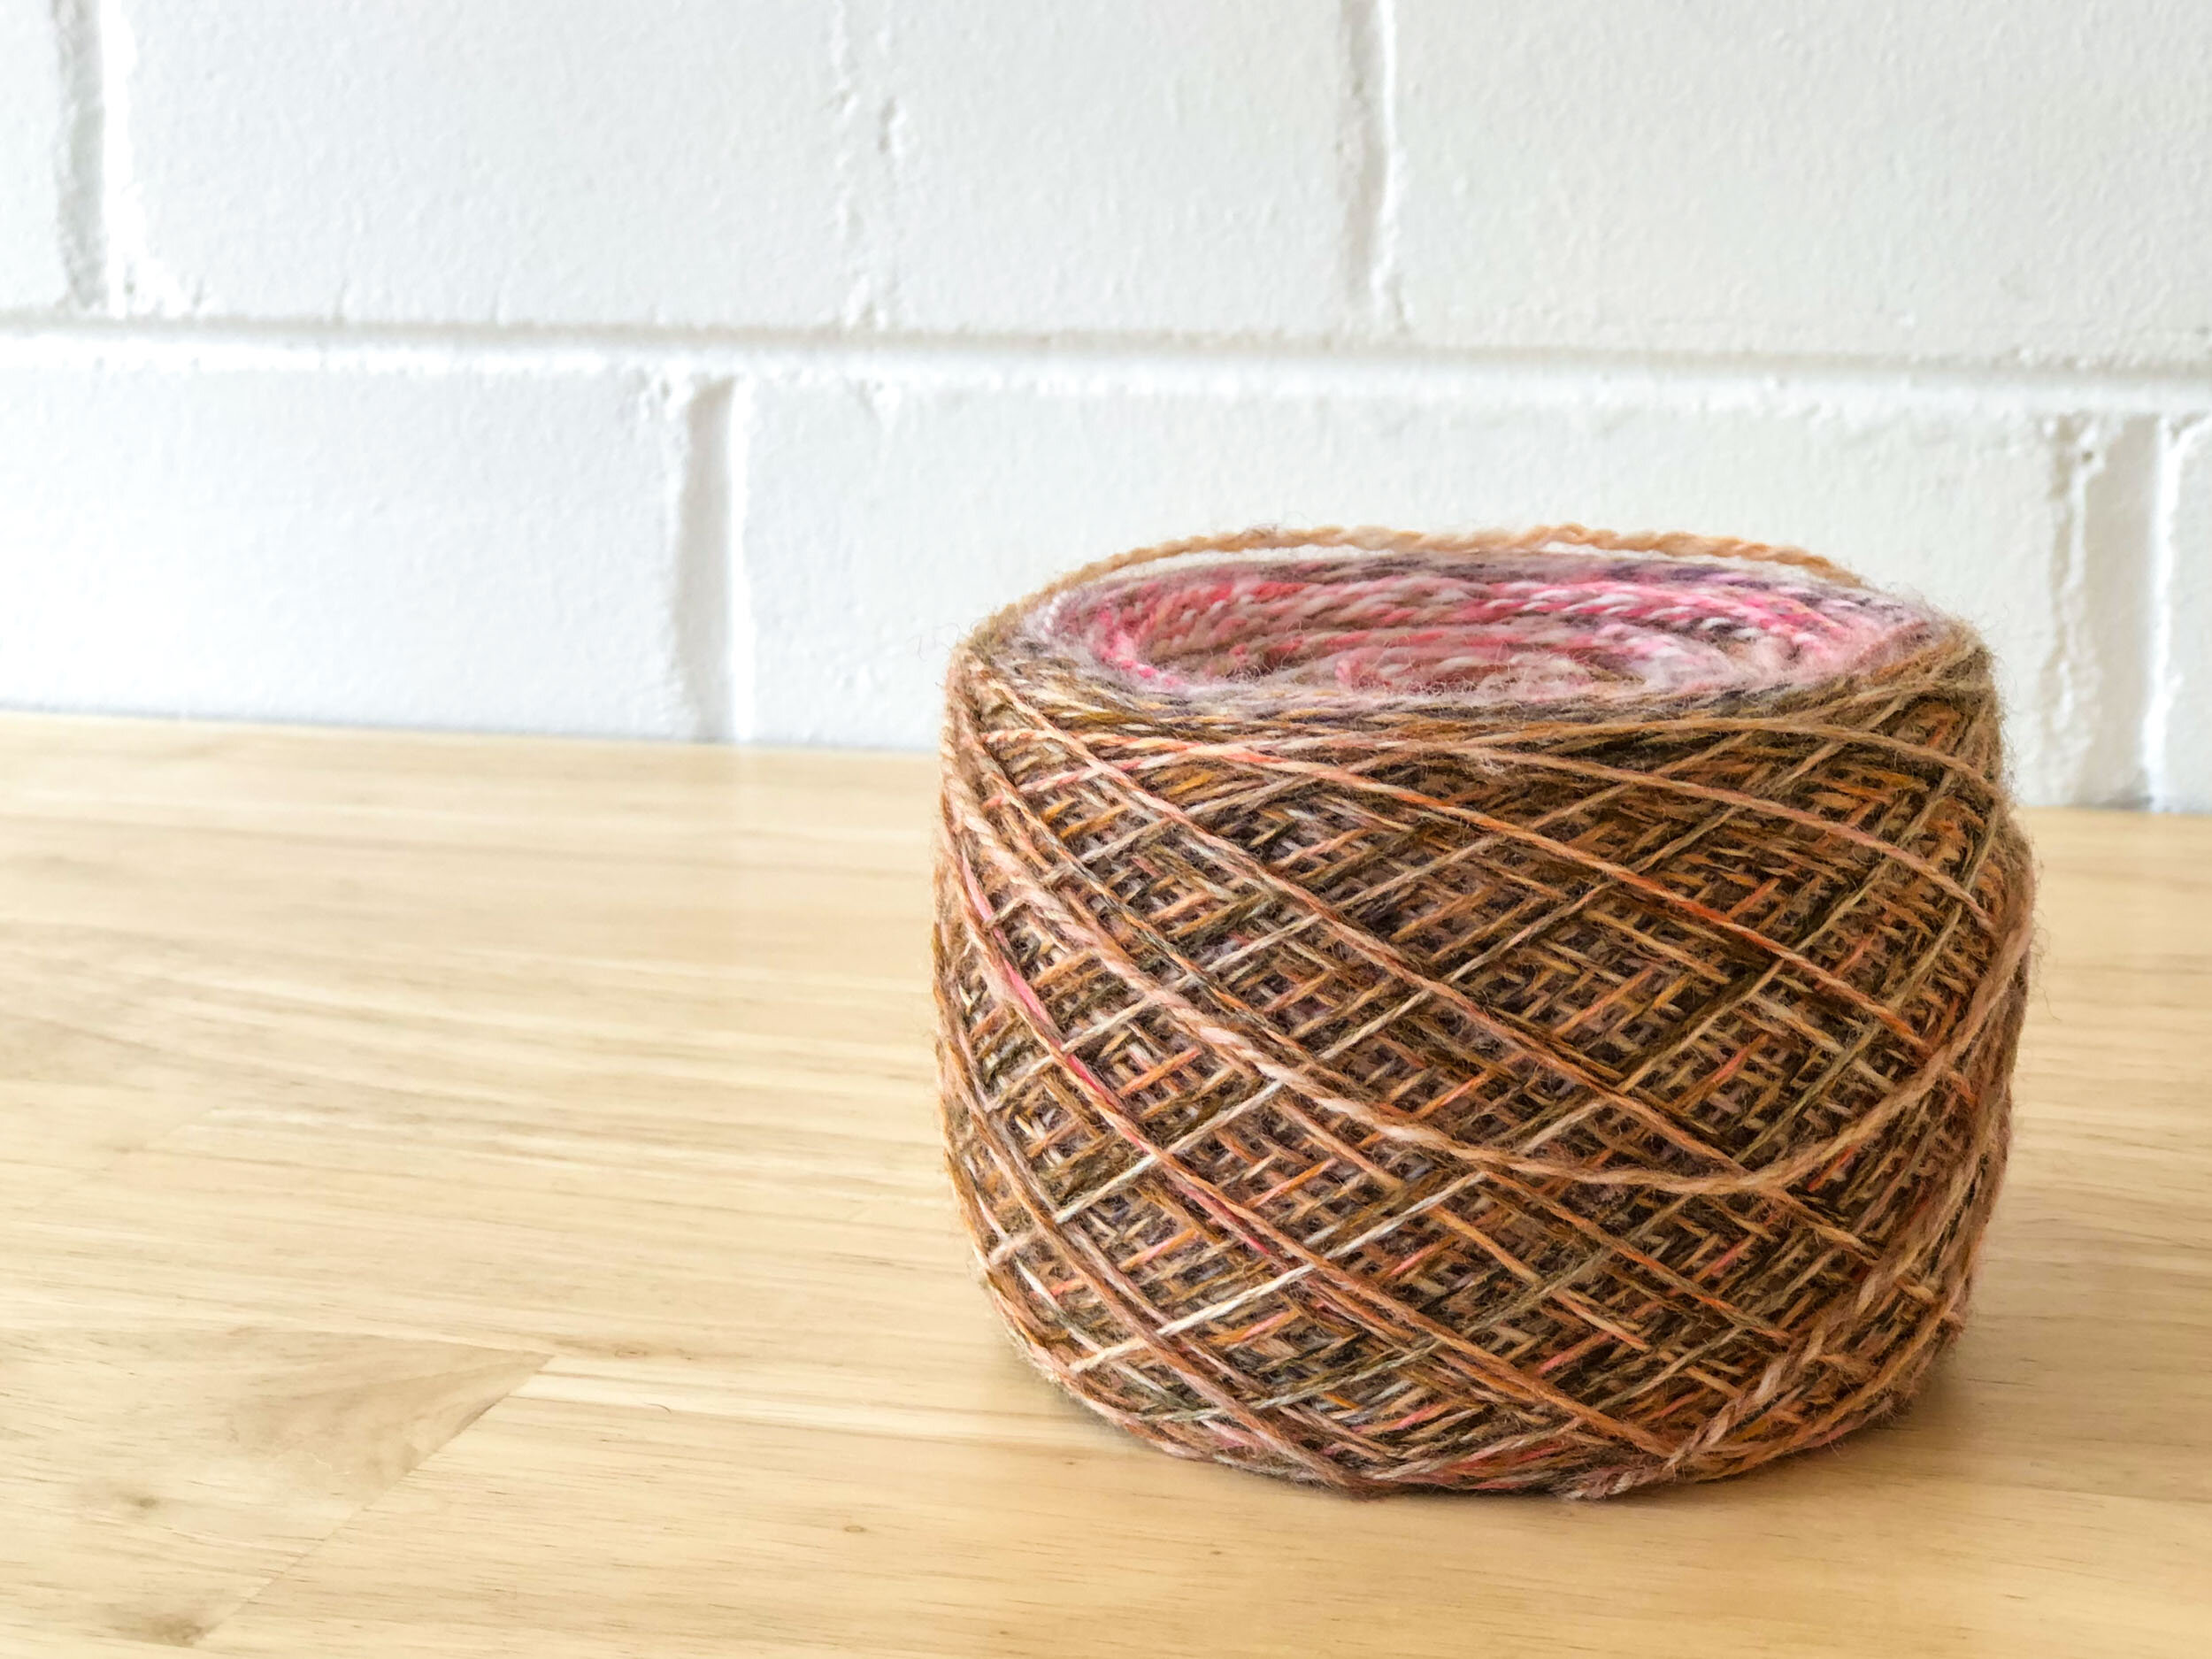
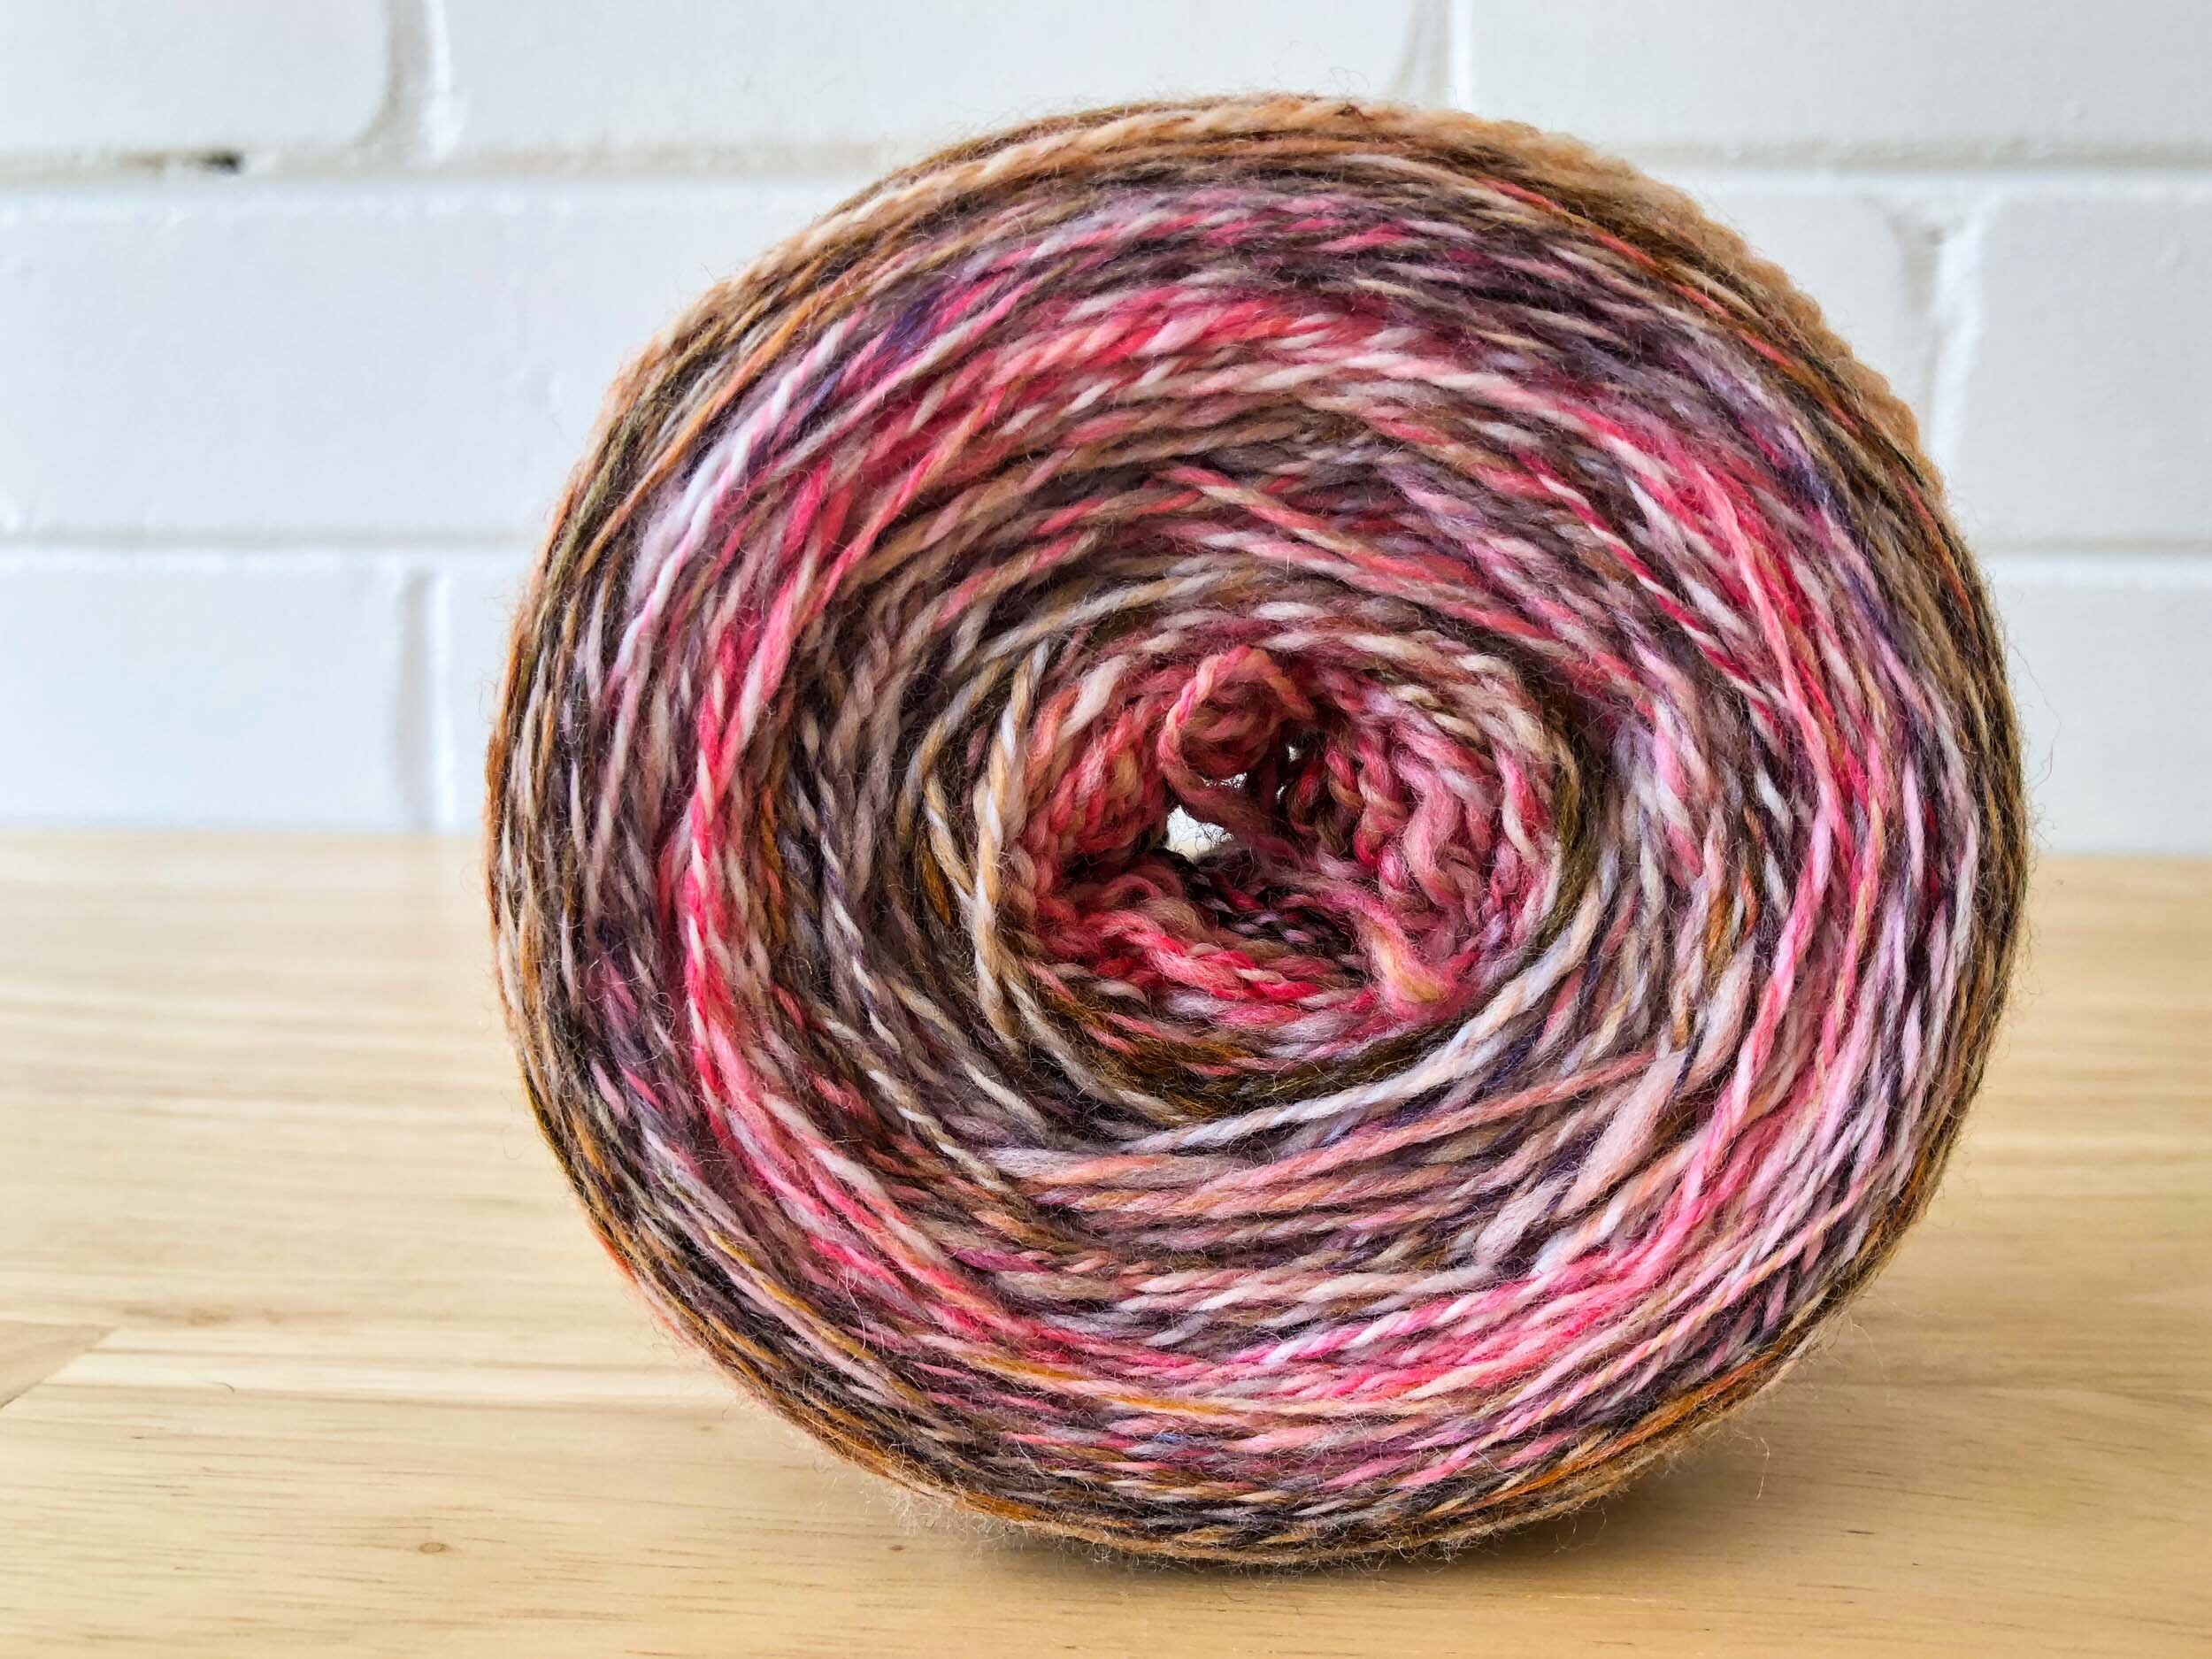
  • On fibre selection - I really just let the fibre choose me. I had a braid of Wren & Ollie Superwash Merino/Nylon spinning fibre that I’d recently acquired. I was drawn to its saturated splashes of pink and attention-grabbing speckles.

Grateful Moments Shawl - Journal - Loom & Spindle-2.jpg
  • Loosening the braid, I made a quick assessment of the dye placement and the hand-feel of the fibres. My notes here - the fibres were next to skin soft with a seemingly unfussy distribution of colour.

  • Determining the spin parameters, I stuck to my ethos of keeping it simple. I opted for a 2-ply construction with a plan to spin the singles at my comfort grist – usually around 30 wraps per inch resulting in a fingering/4ply weight yarn when two singles are plied.

  • Prepping the fibre, I split the tops in two, lengthwise. I set one length aside for the first single and then split the remaining half lengthwise again for the second single. This would hopefully maintain some of the original colour placement but also distribute the colours throughout to produce a variegated and self-striping yarn.

  • I spun both singles on a Louët S17 spinning wheel. I used a yarn gauge to track my WPI and maintain some uniformity between the singles.

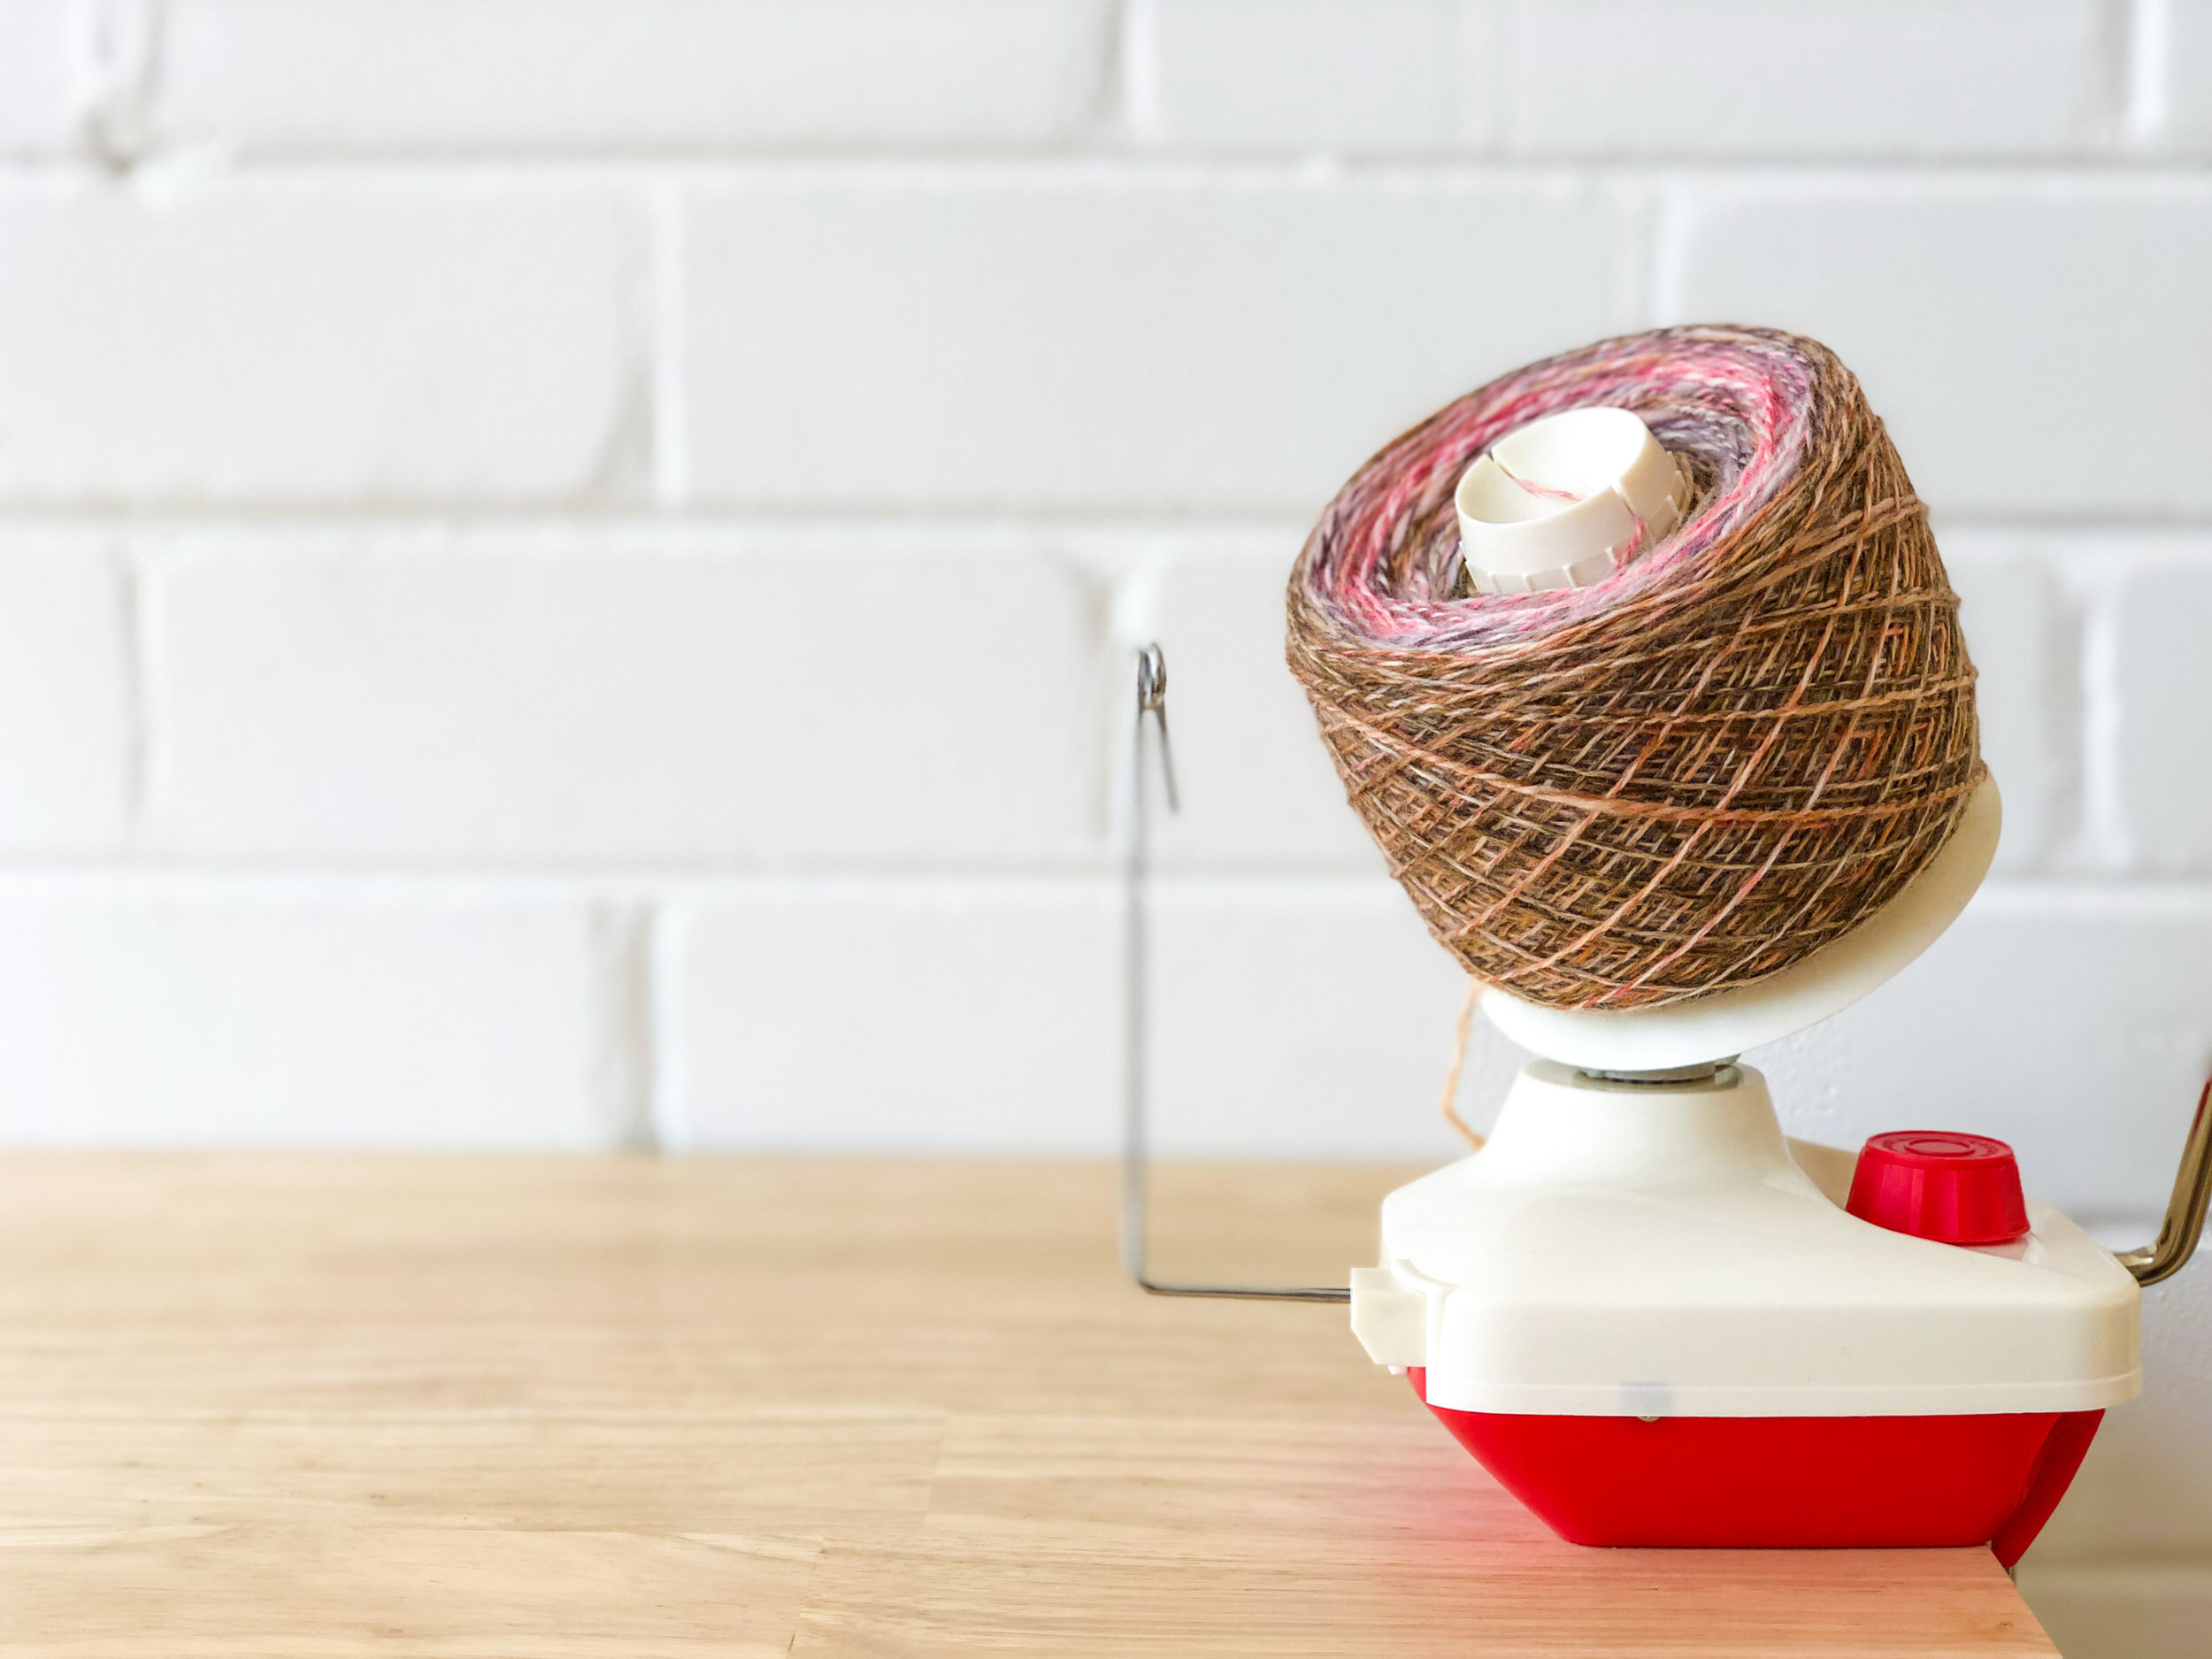
  • I kept the finishing minimal plying both singles together directly from their bobbins and finished the skein with a short soak to revive the fibres.

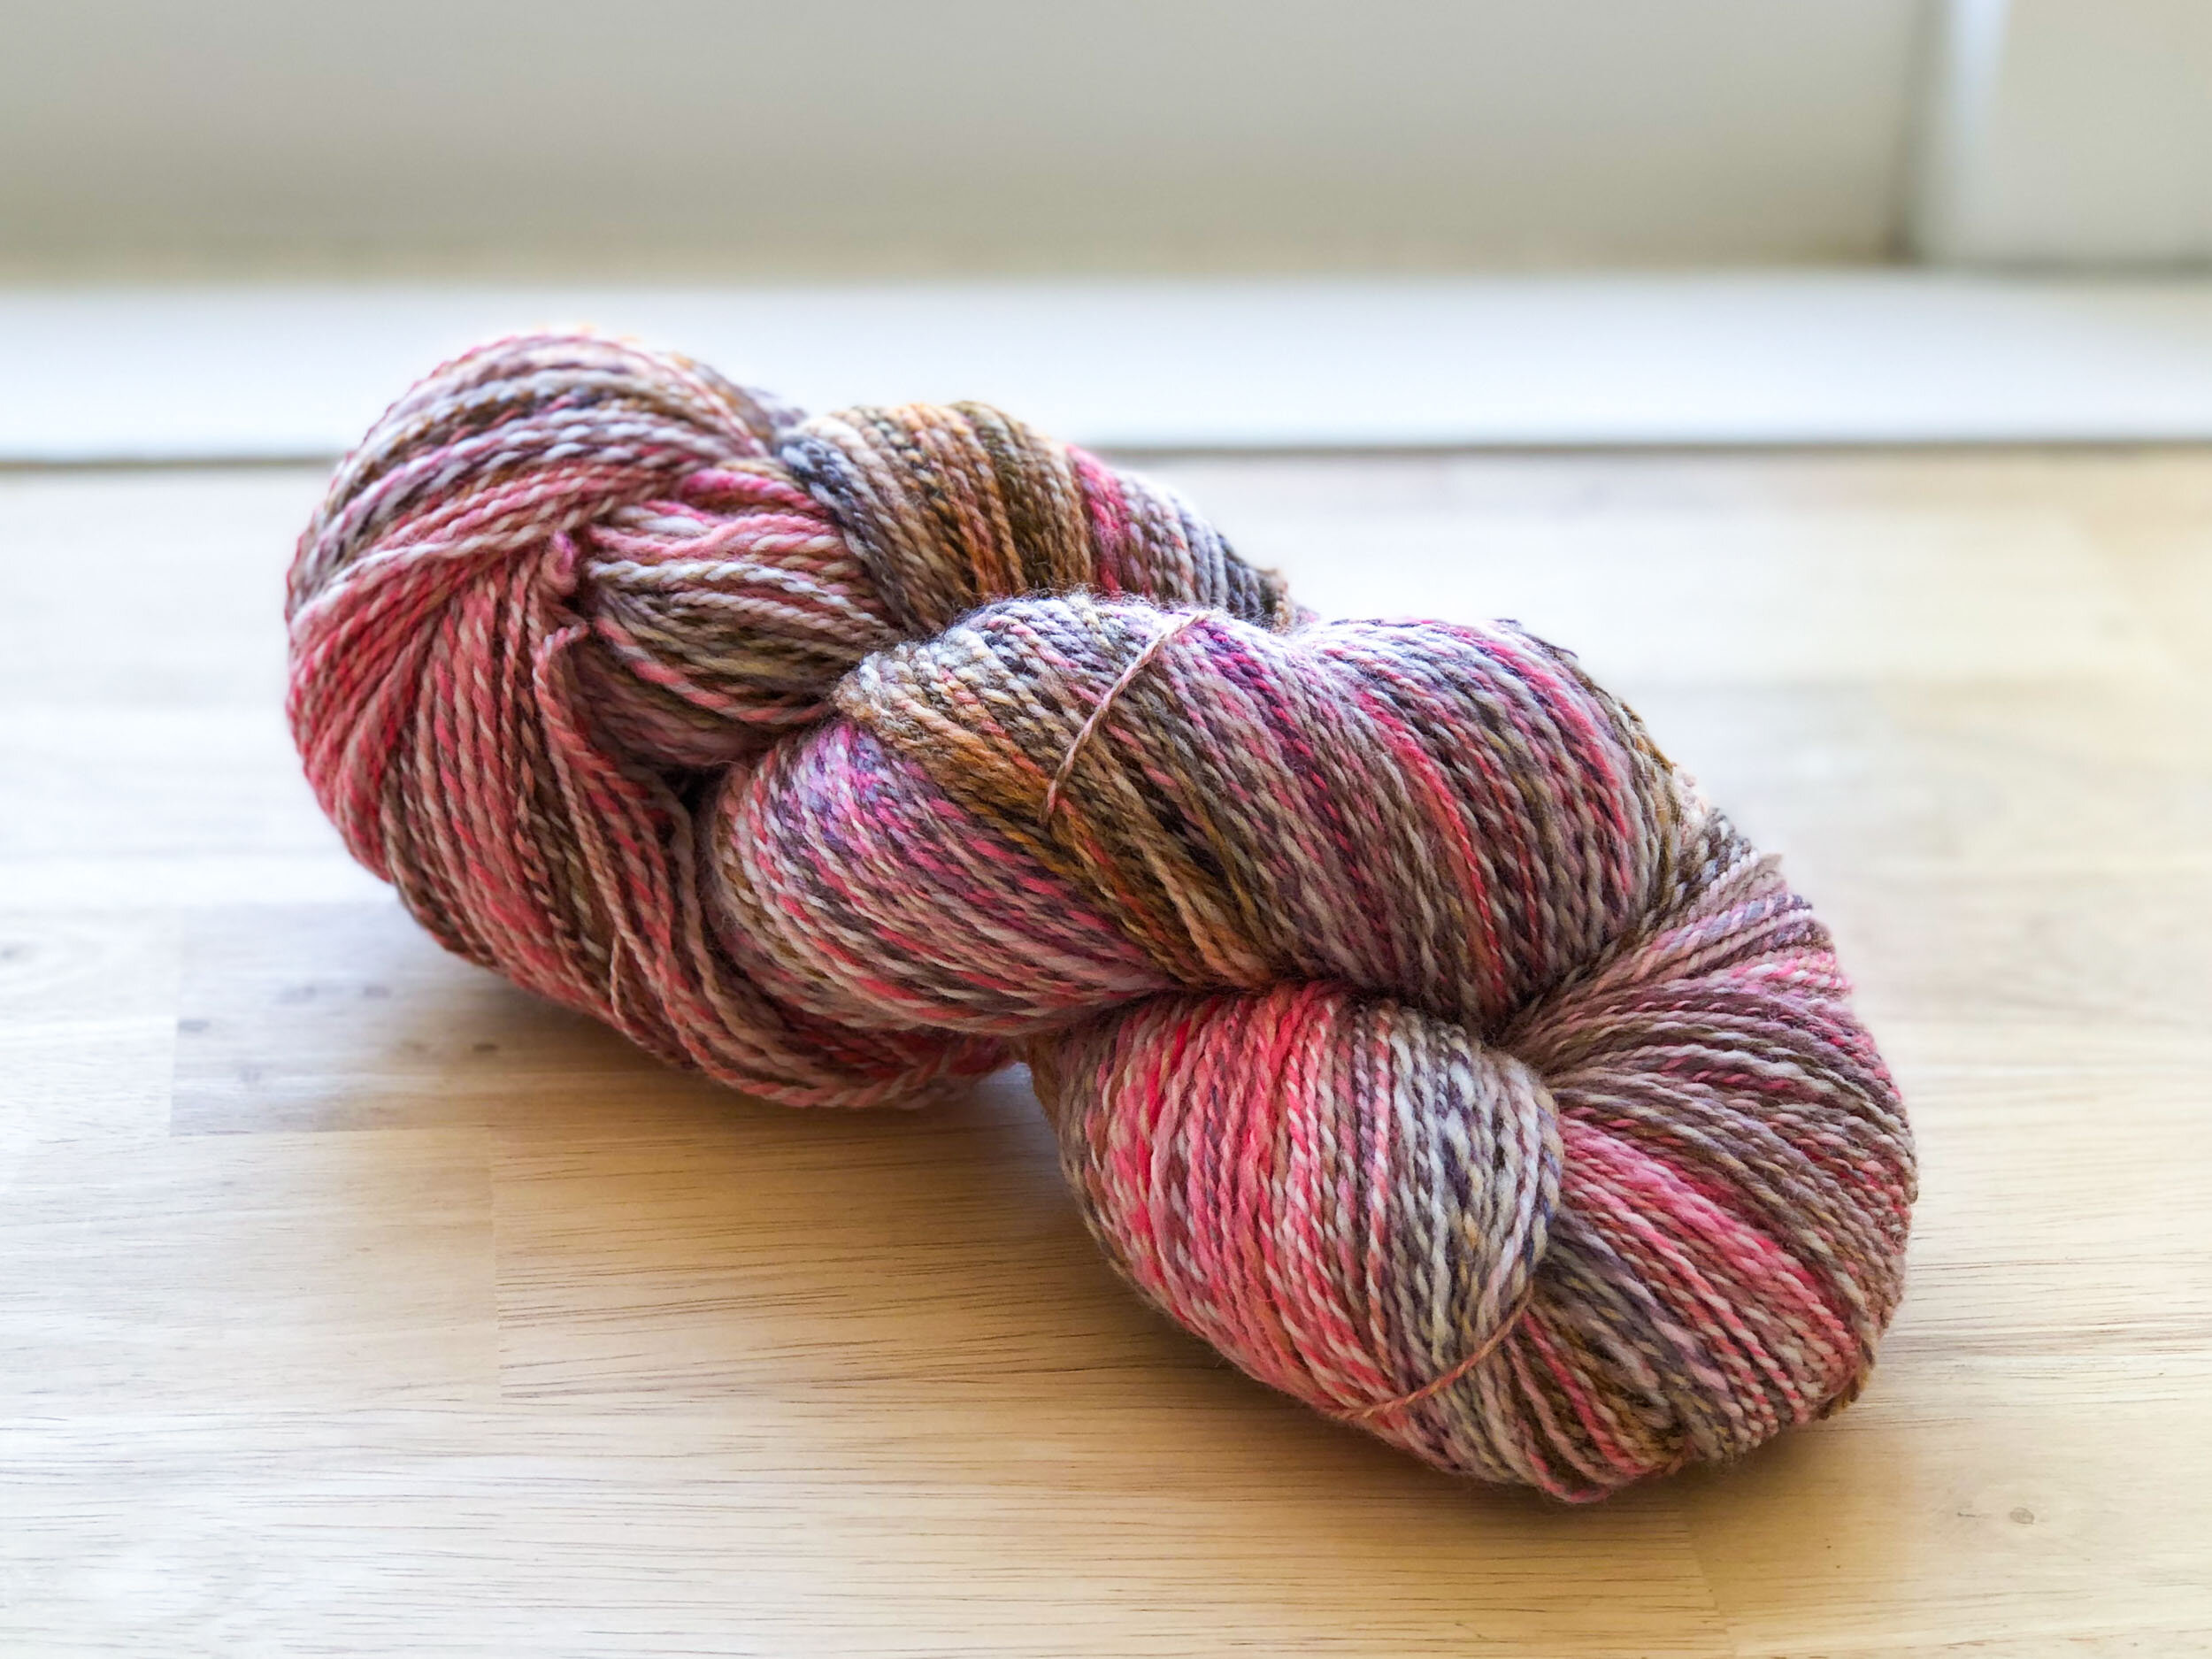
  • The resulting yarn was light and soft with moderate twist. I didn’t measure the yardage but thought it likely to be around 400m at fingering/4ply weight.
THE KNIT

  • Finding a suitable project started with plugging all the parameters into the Ravelry pattern search - weight, yardage and category. Given the yardage and character of the yarn I thought a cowl or small shawl would work well.

  • Wanting to learn more about shawl construction and lacework I went with the Grateful Moments shawl pattern, it already had several projects using hand spun yarns to great effect so seemed like the perfect fit.

  • I didn’t swatch, I just jumped in and knit until I ran out of yarn!

FINISHING

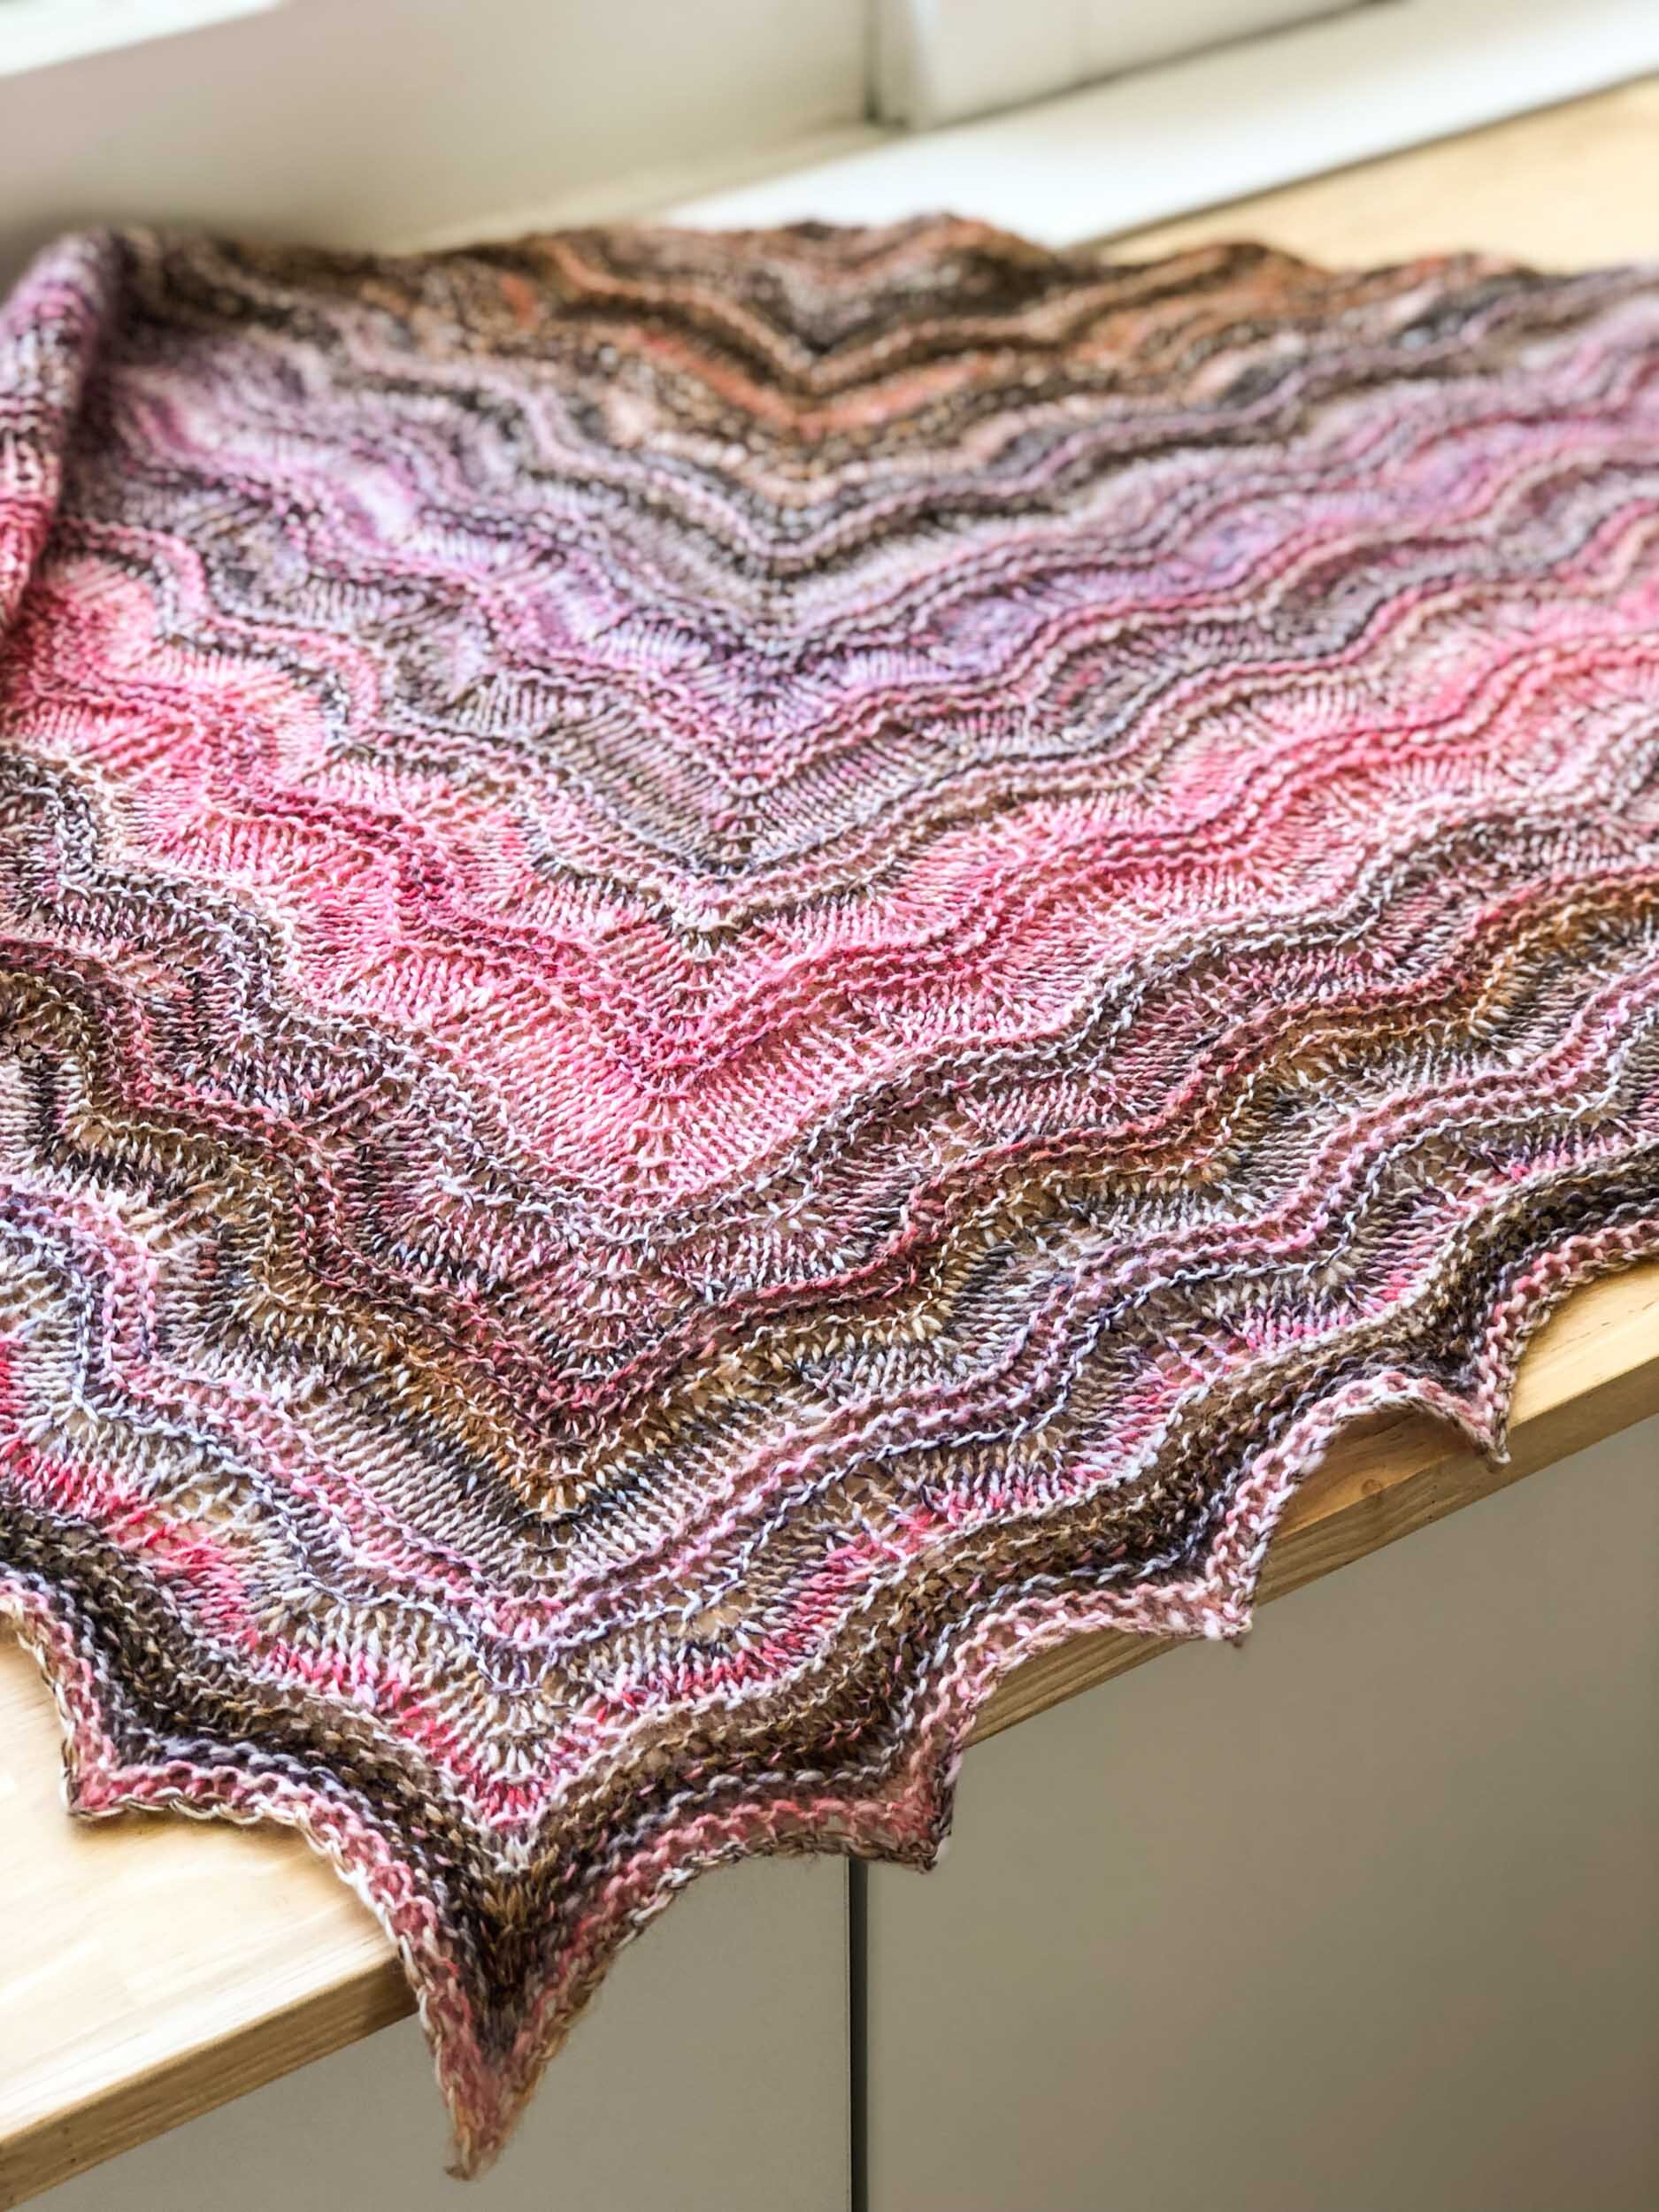
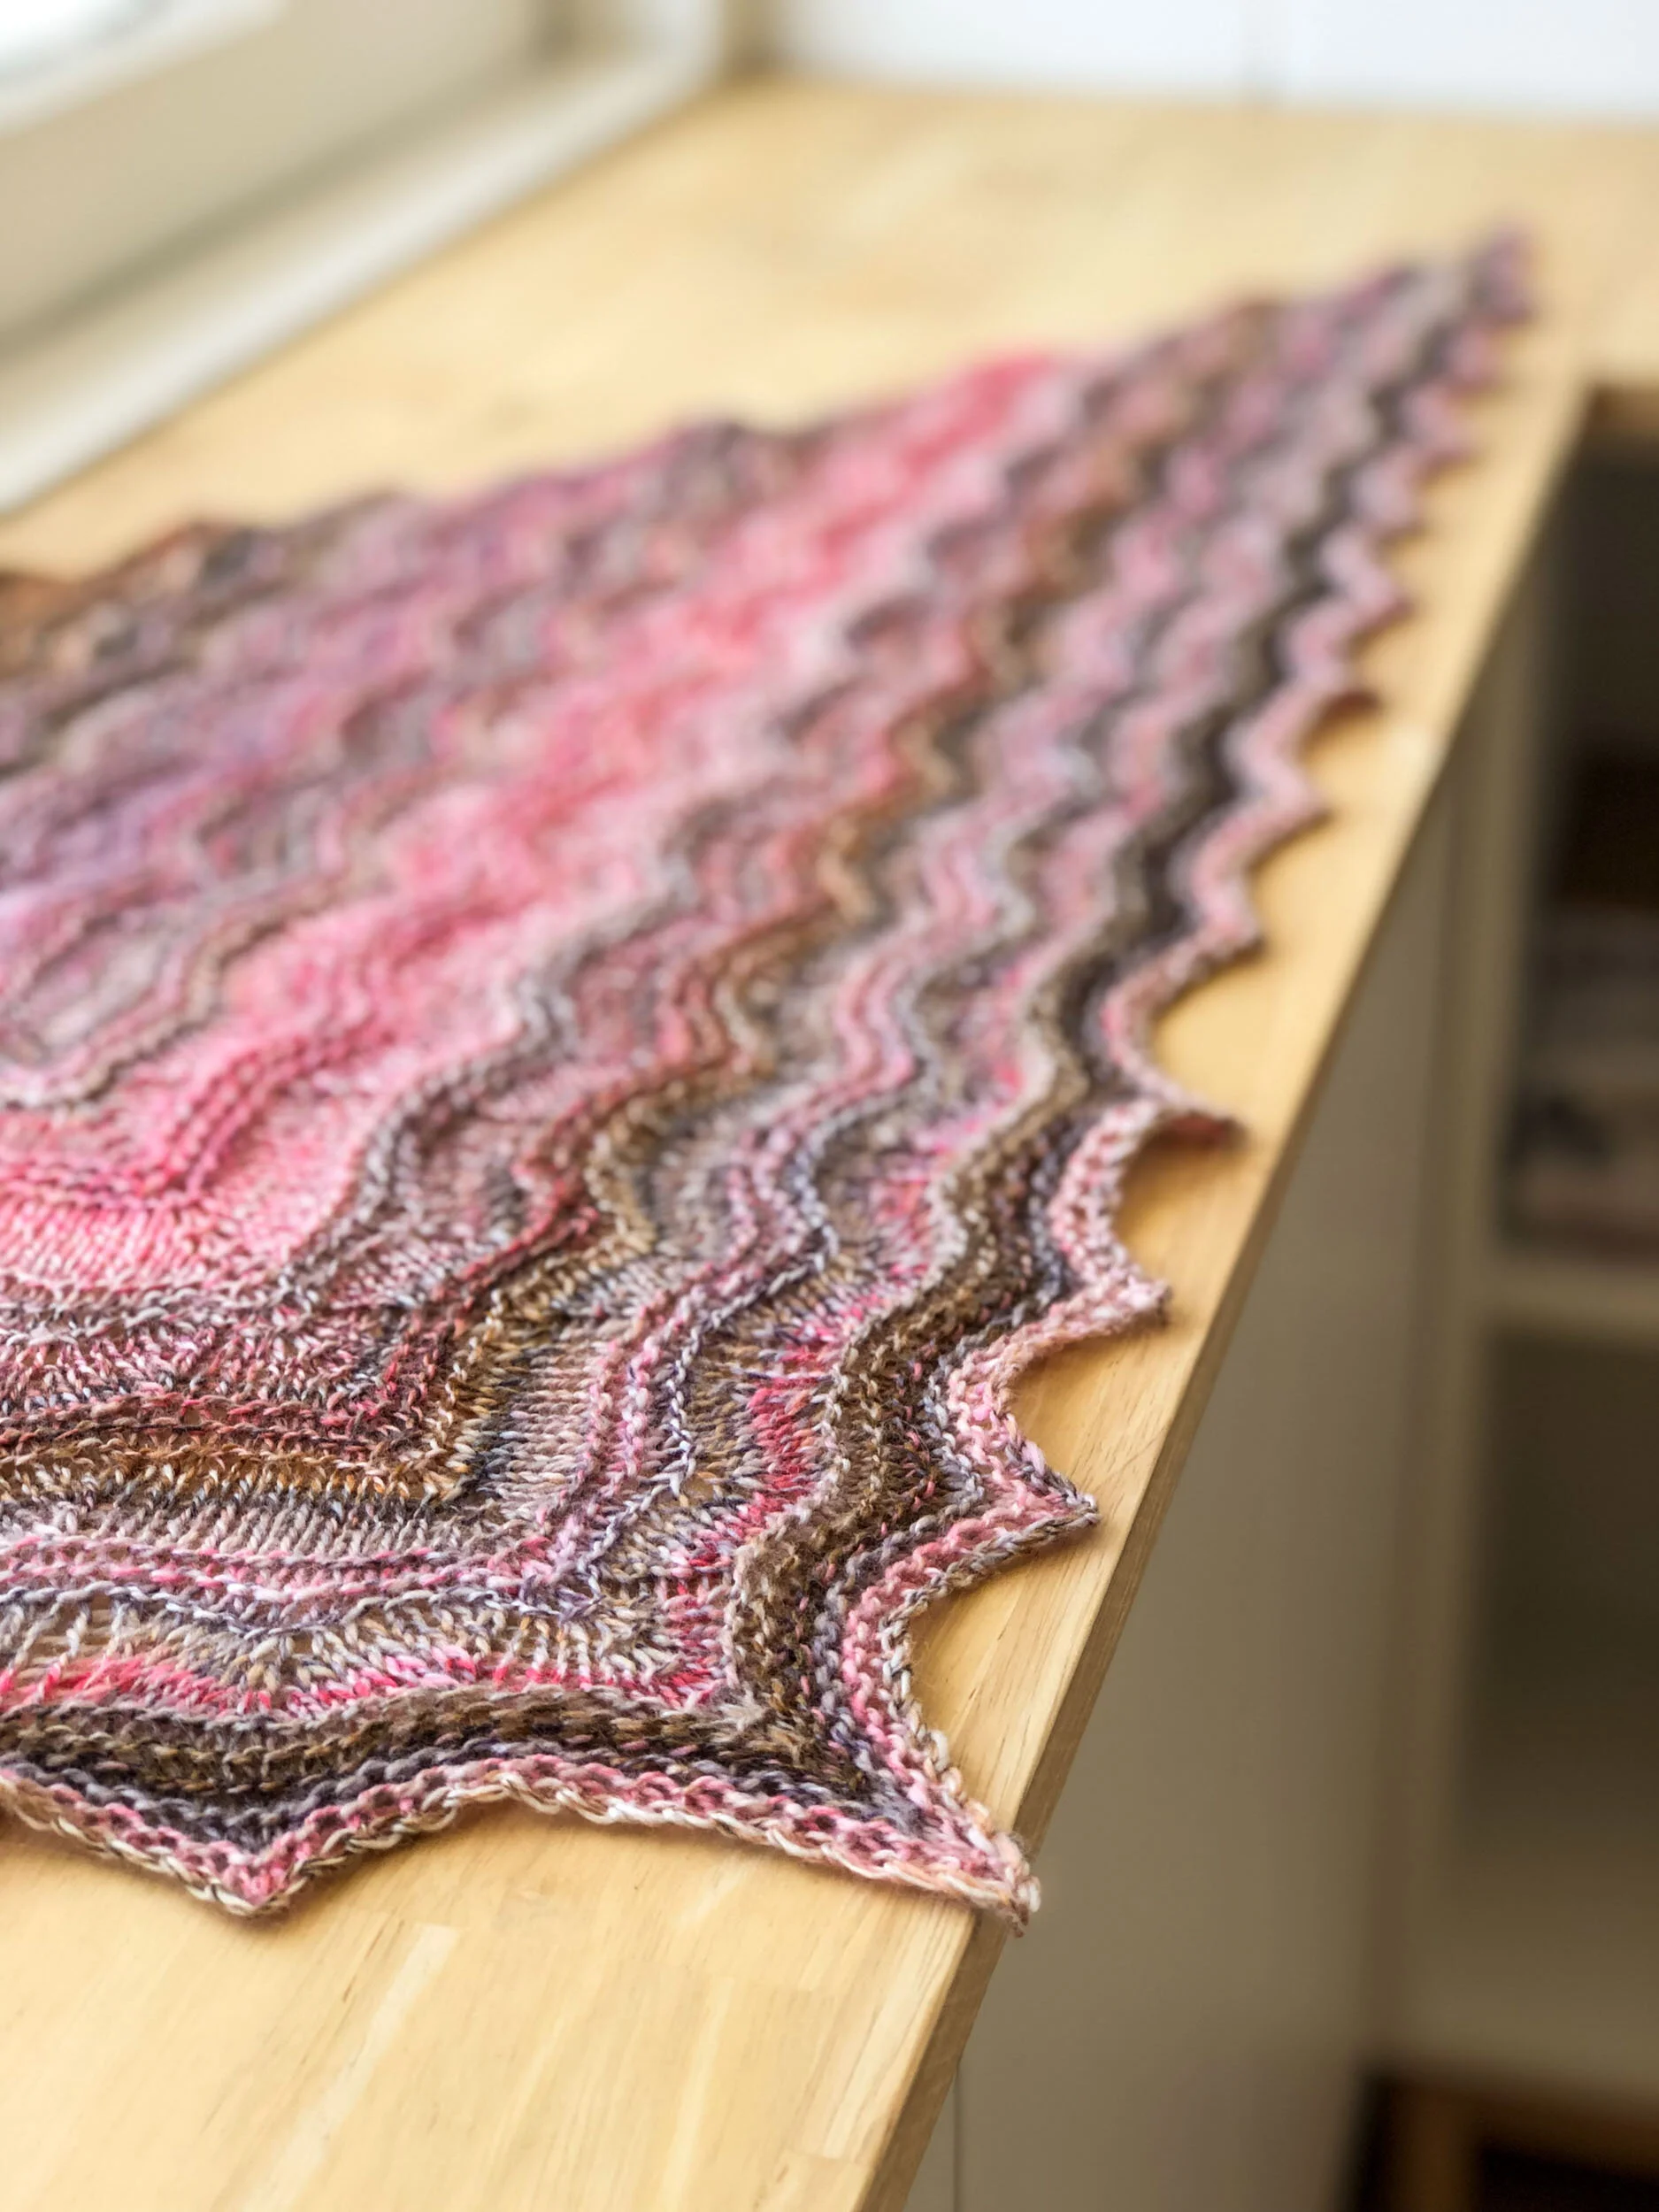
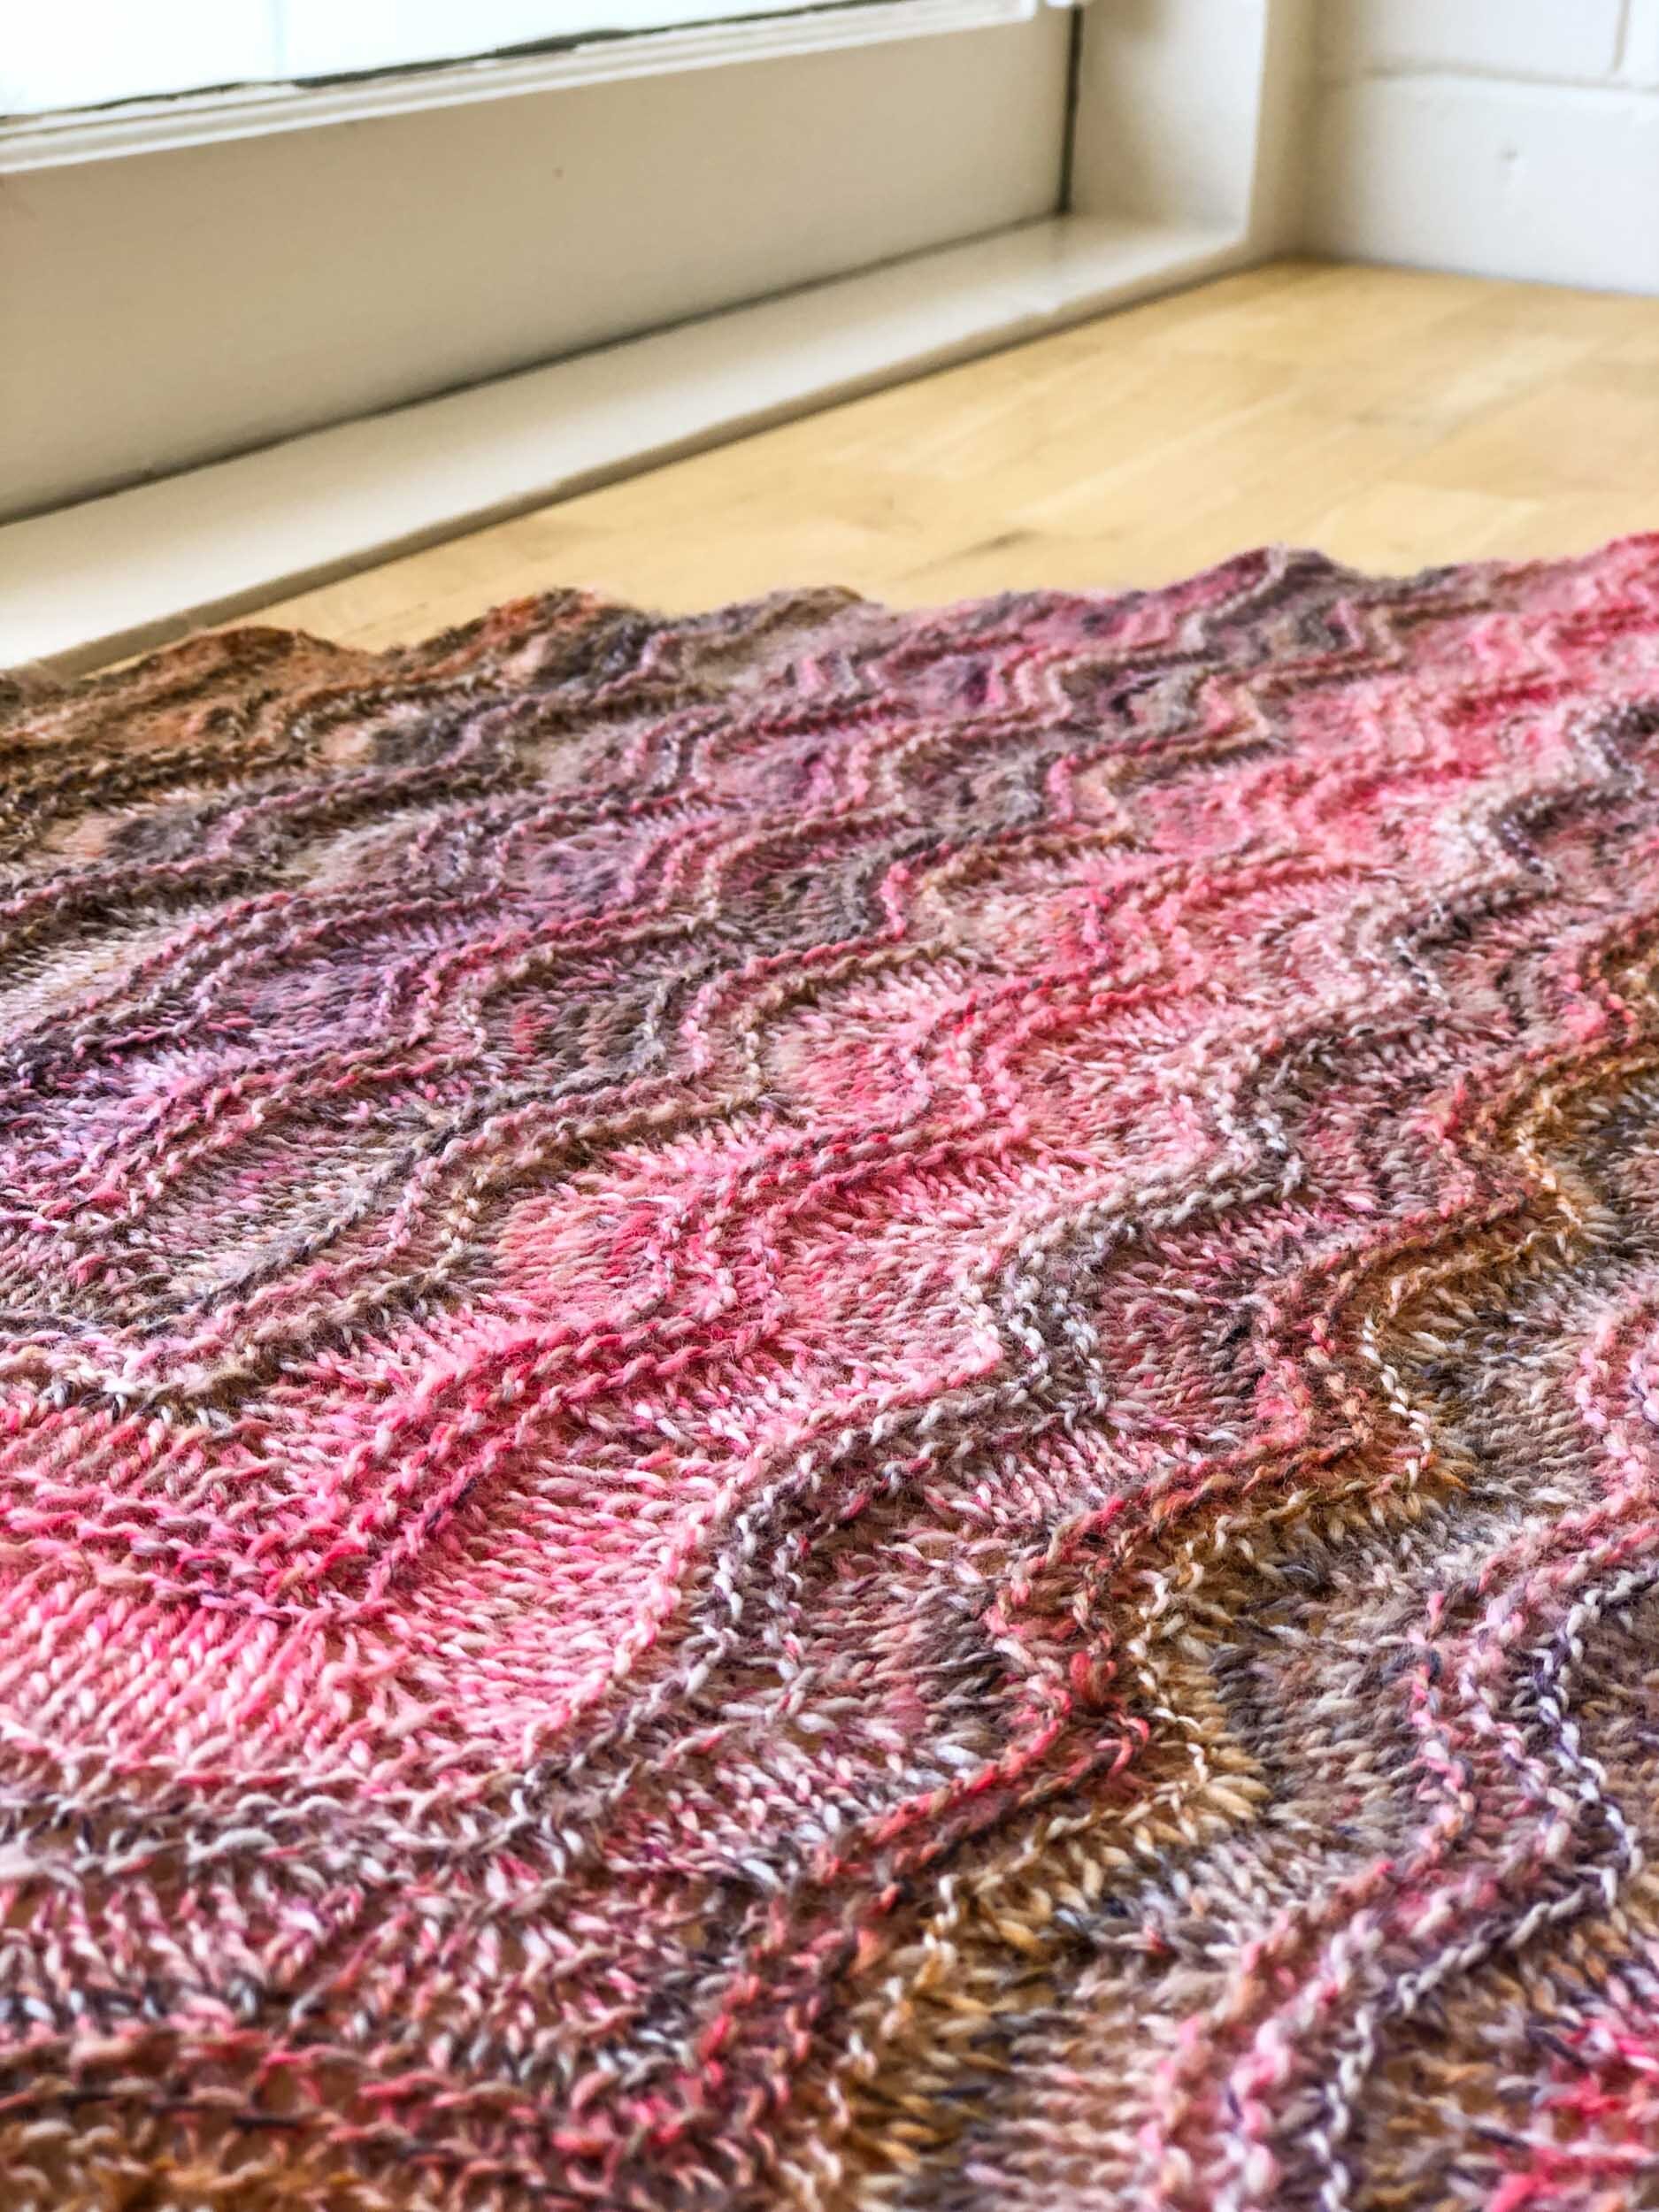
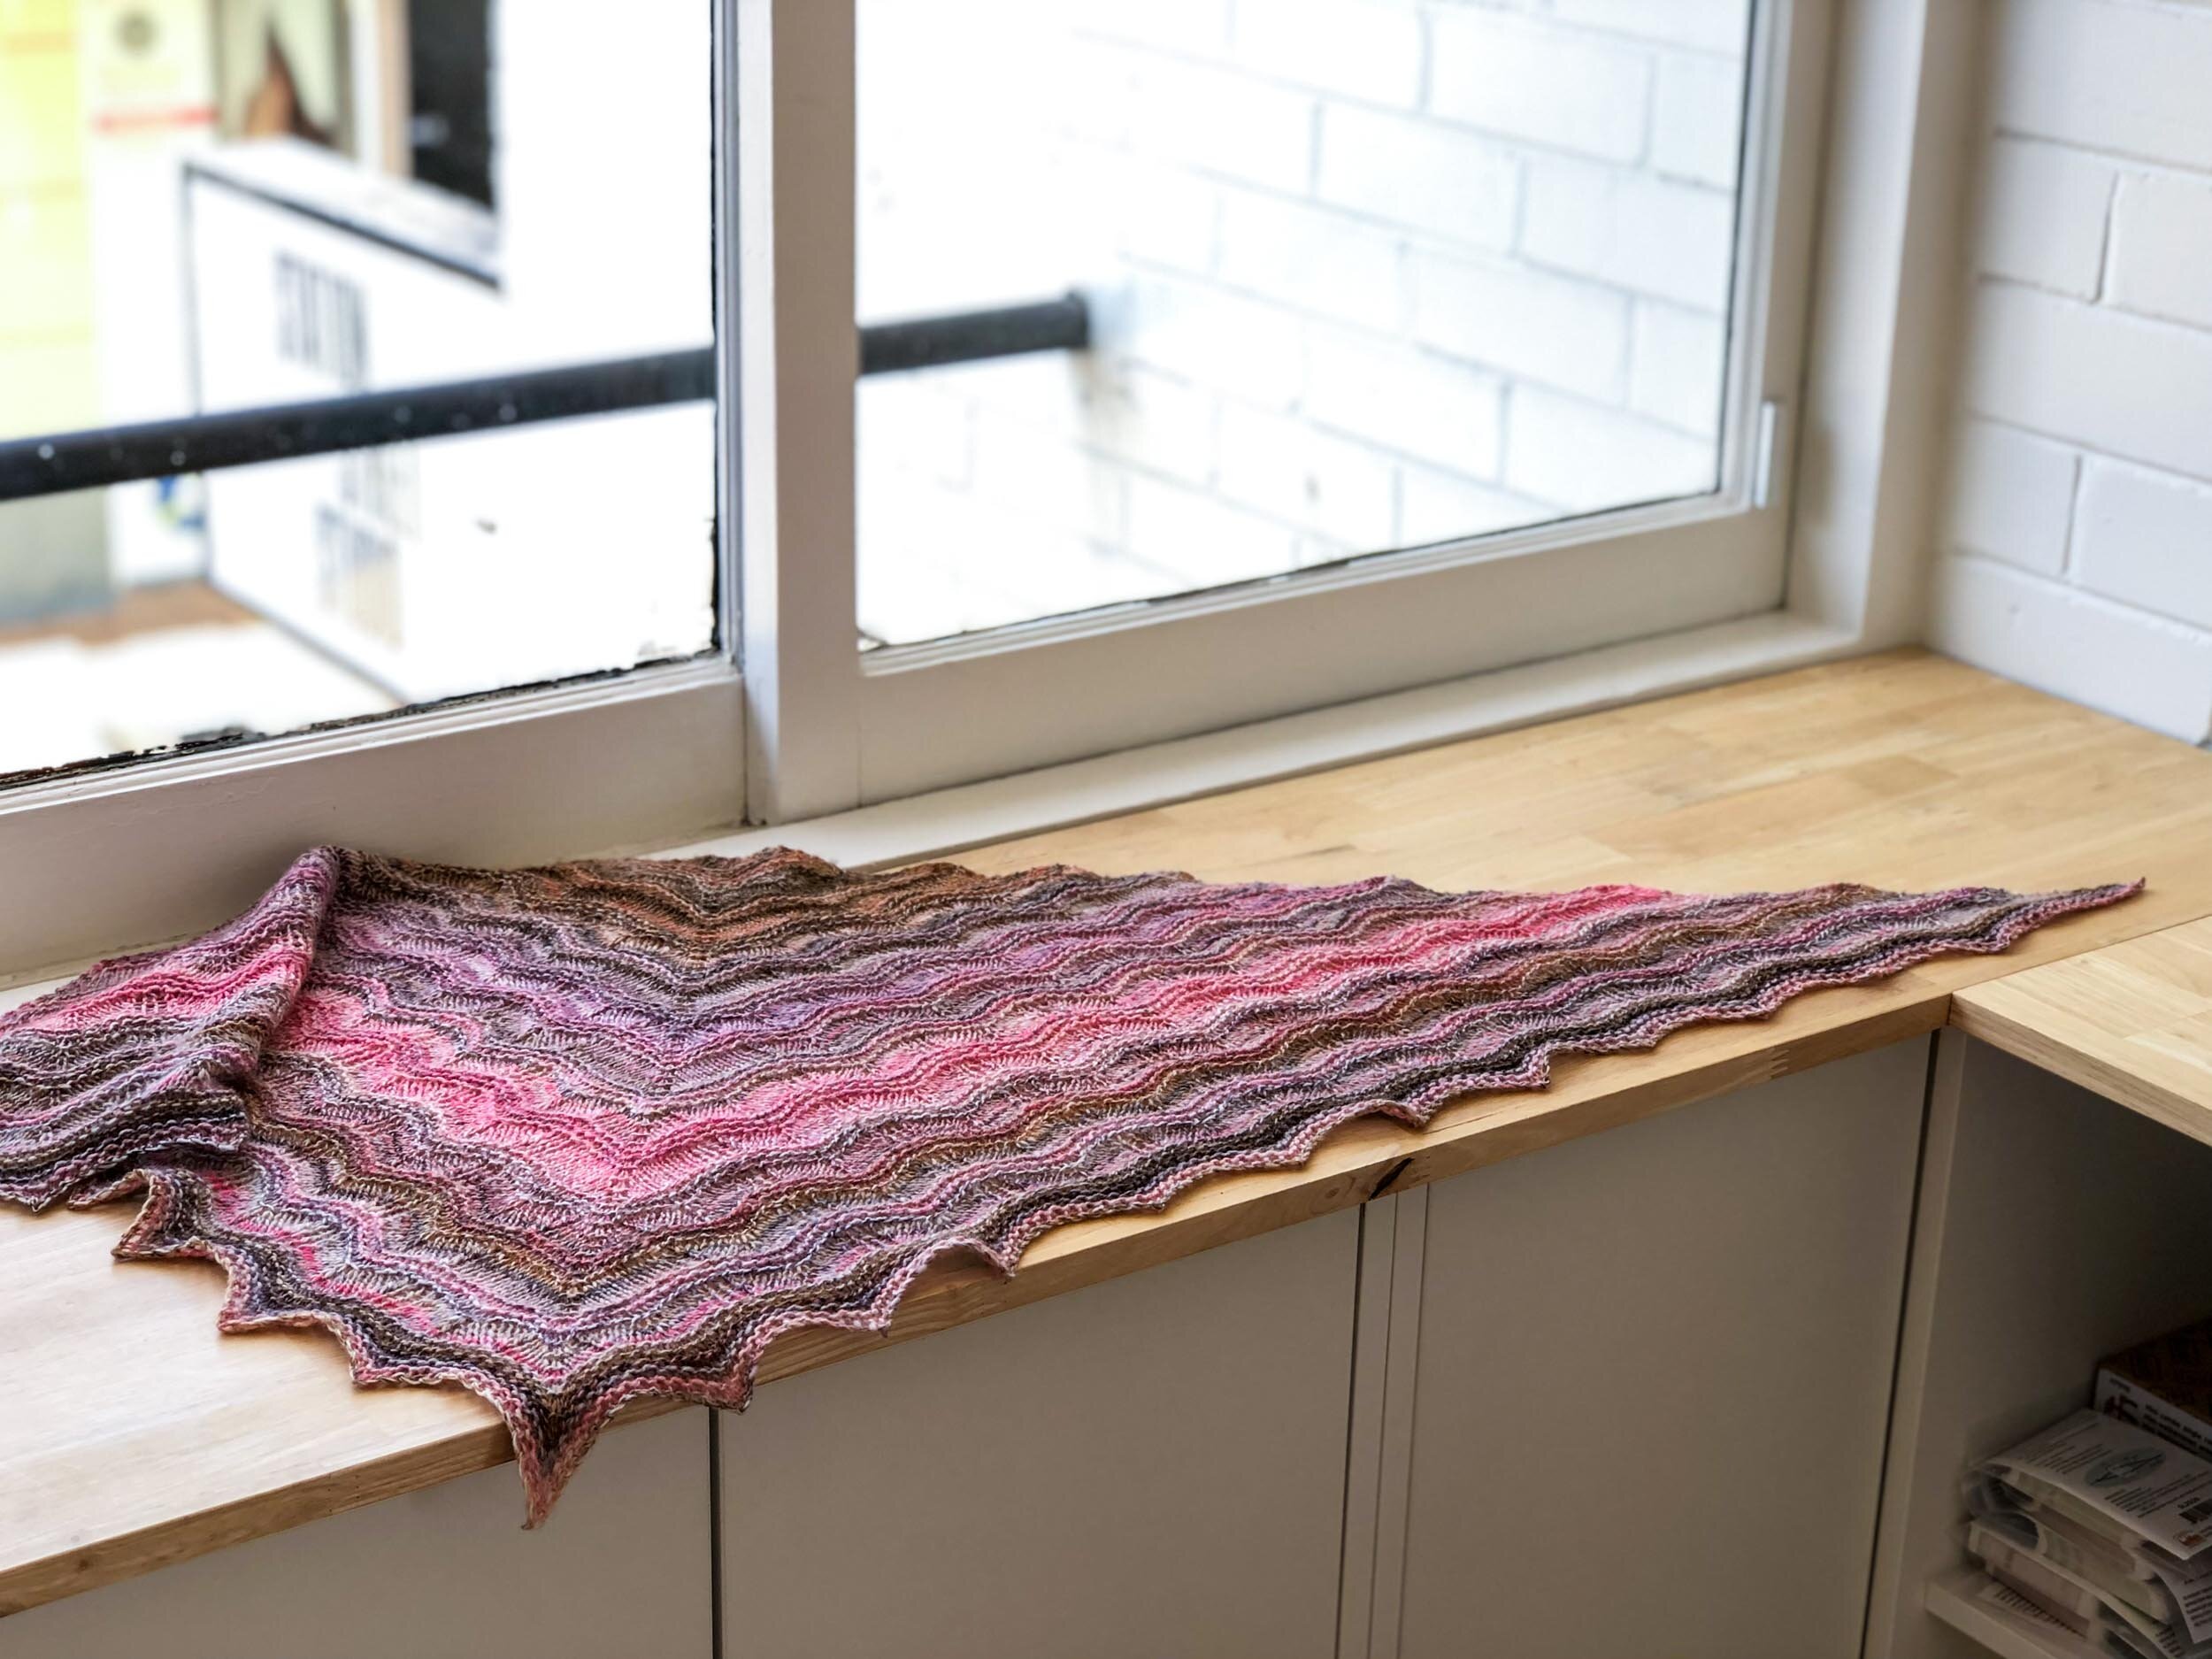
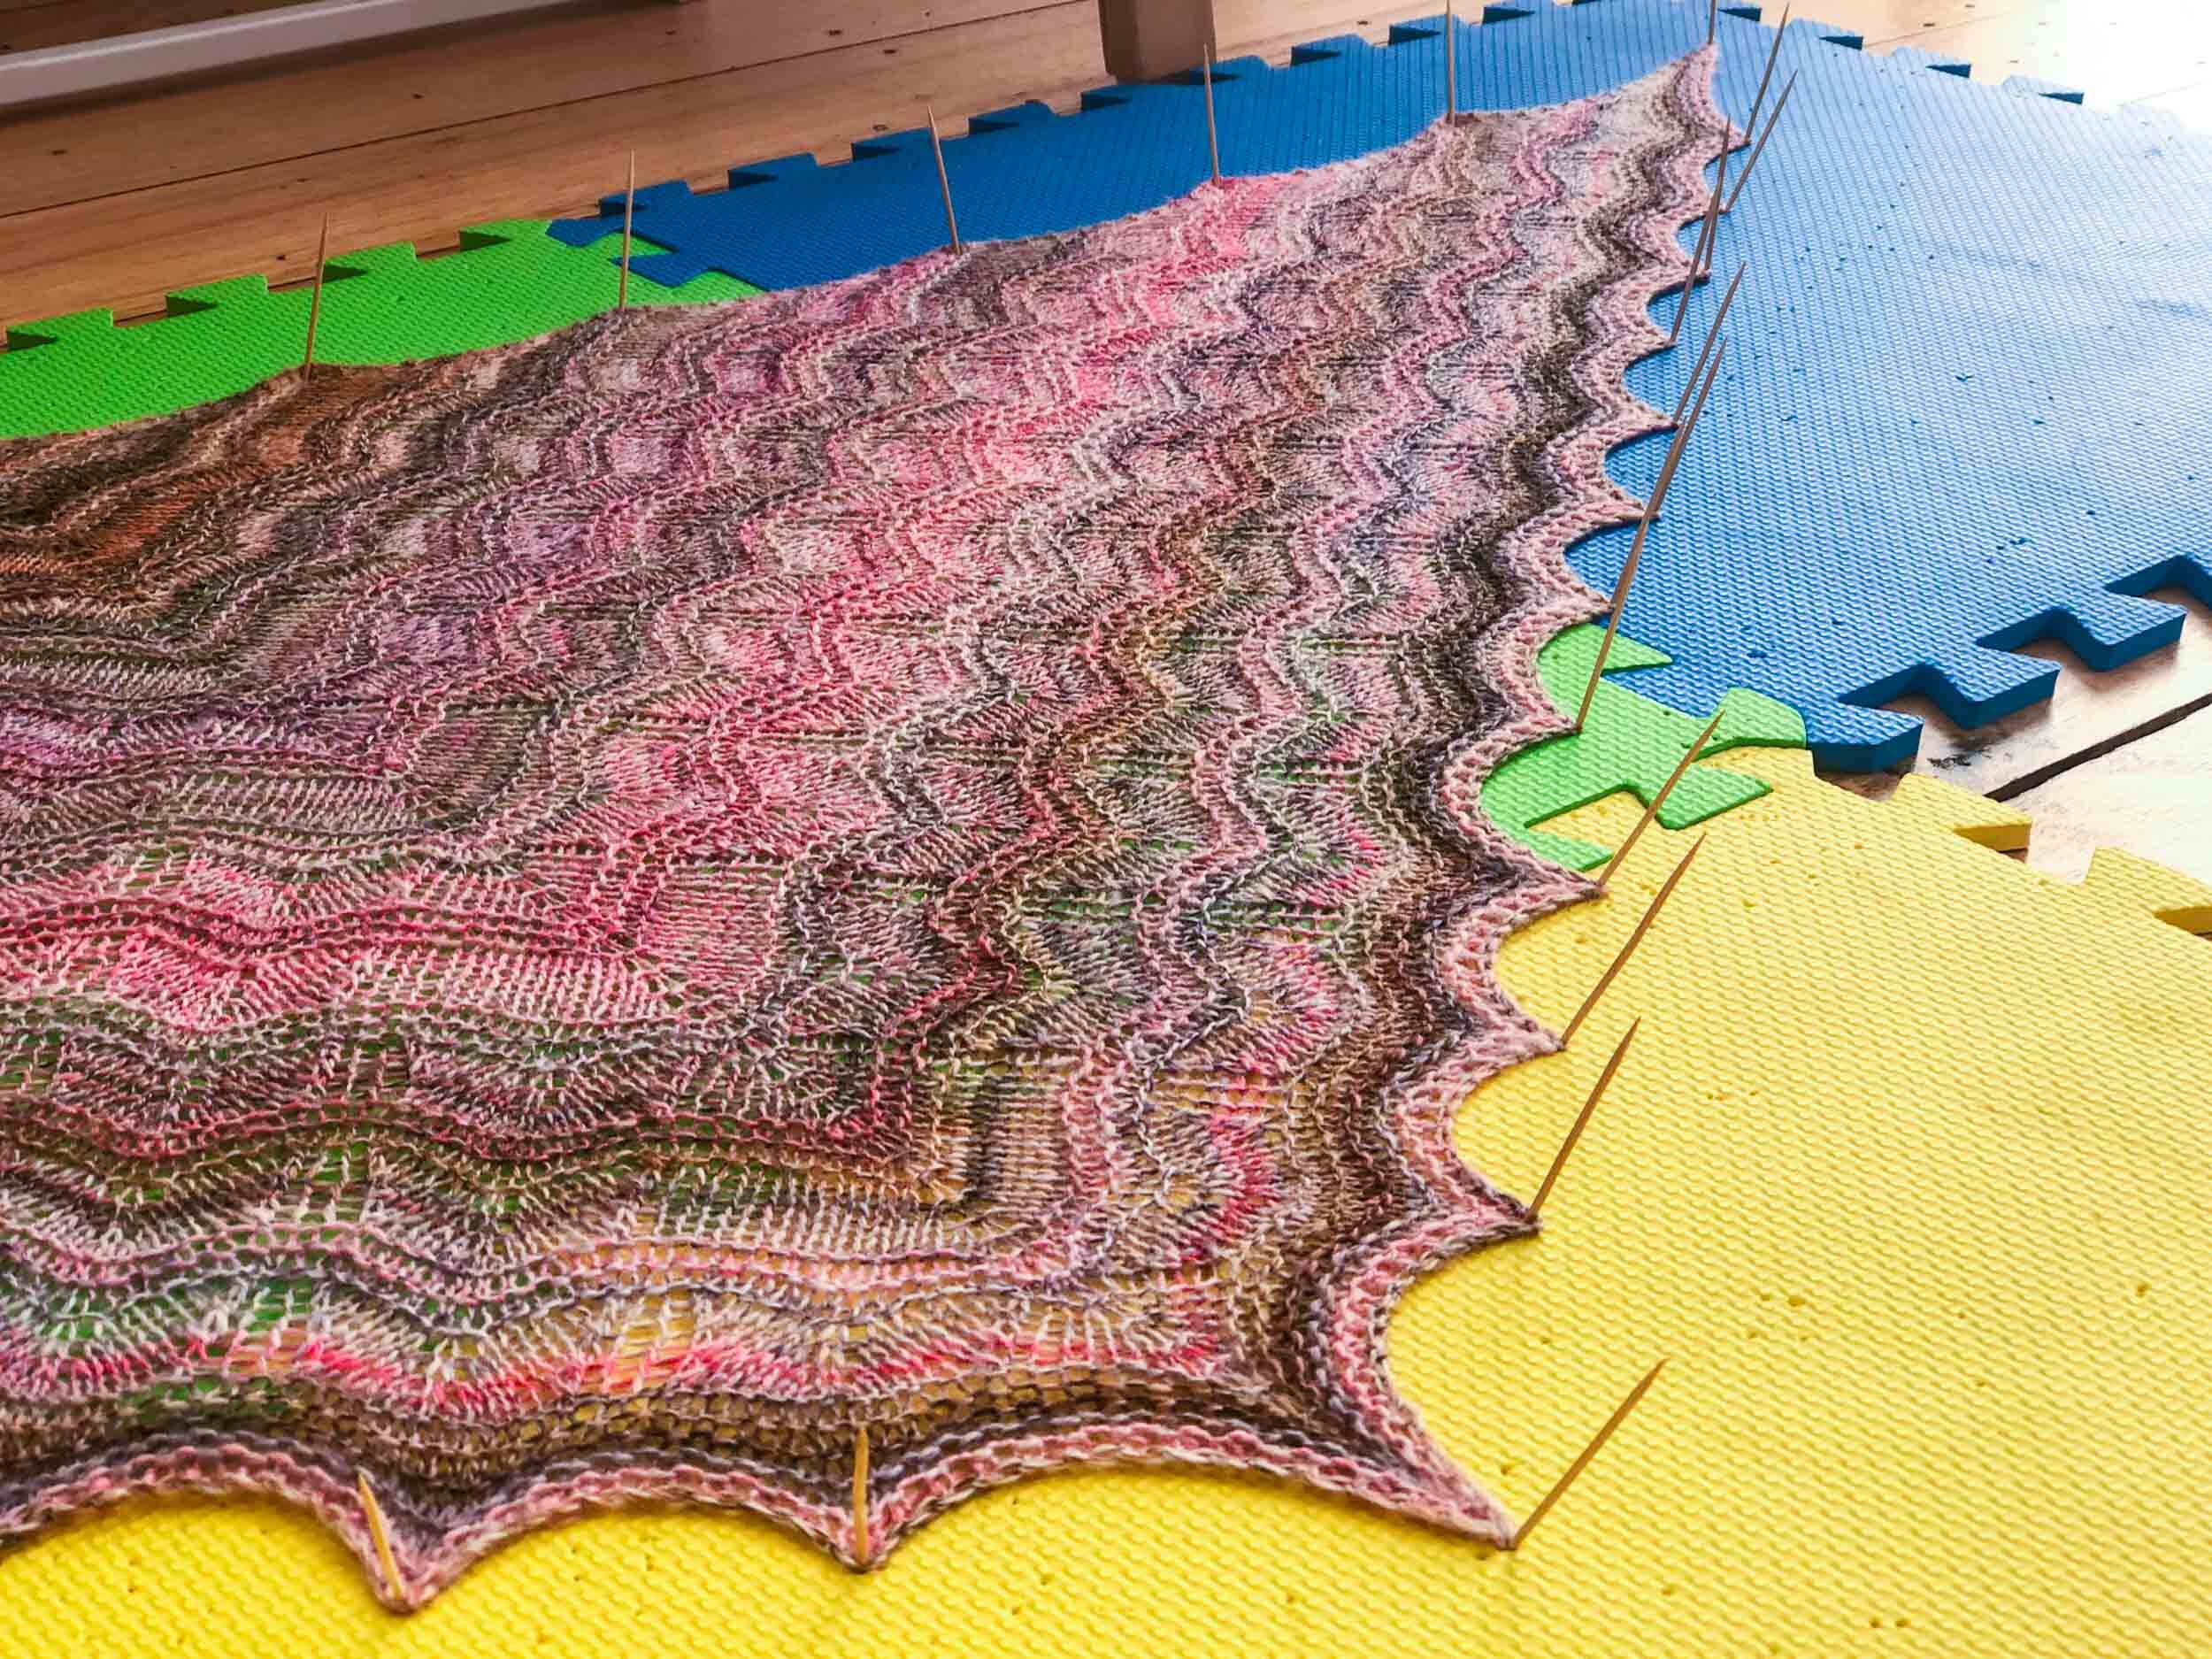
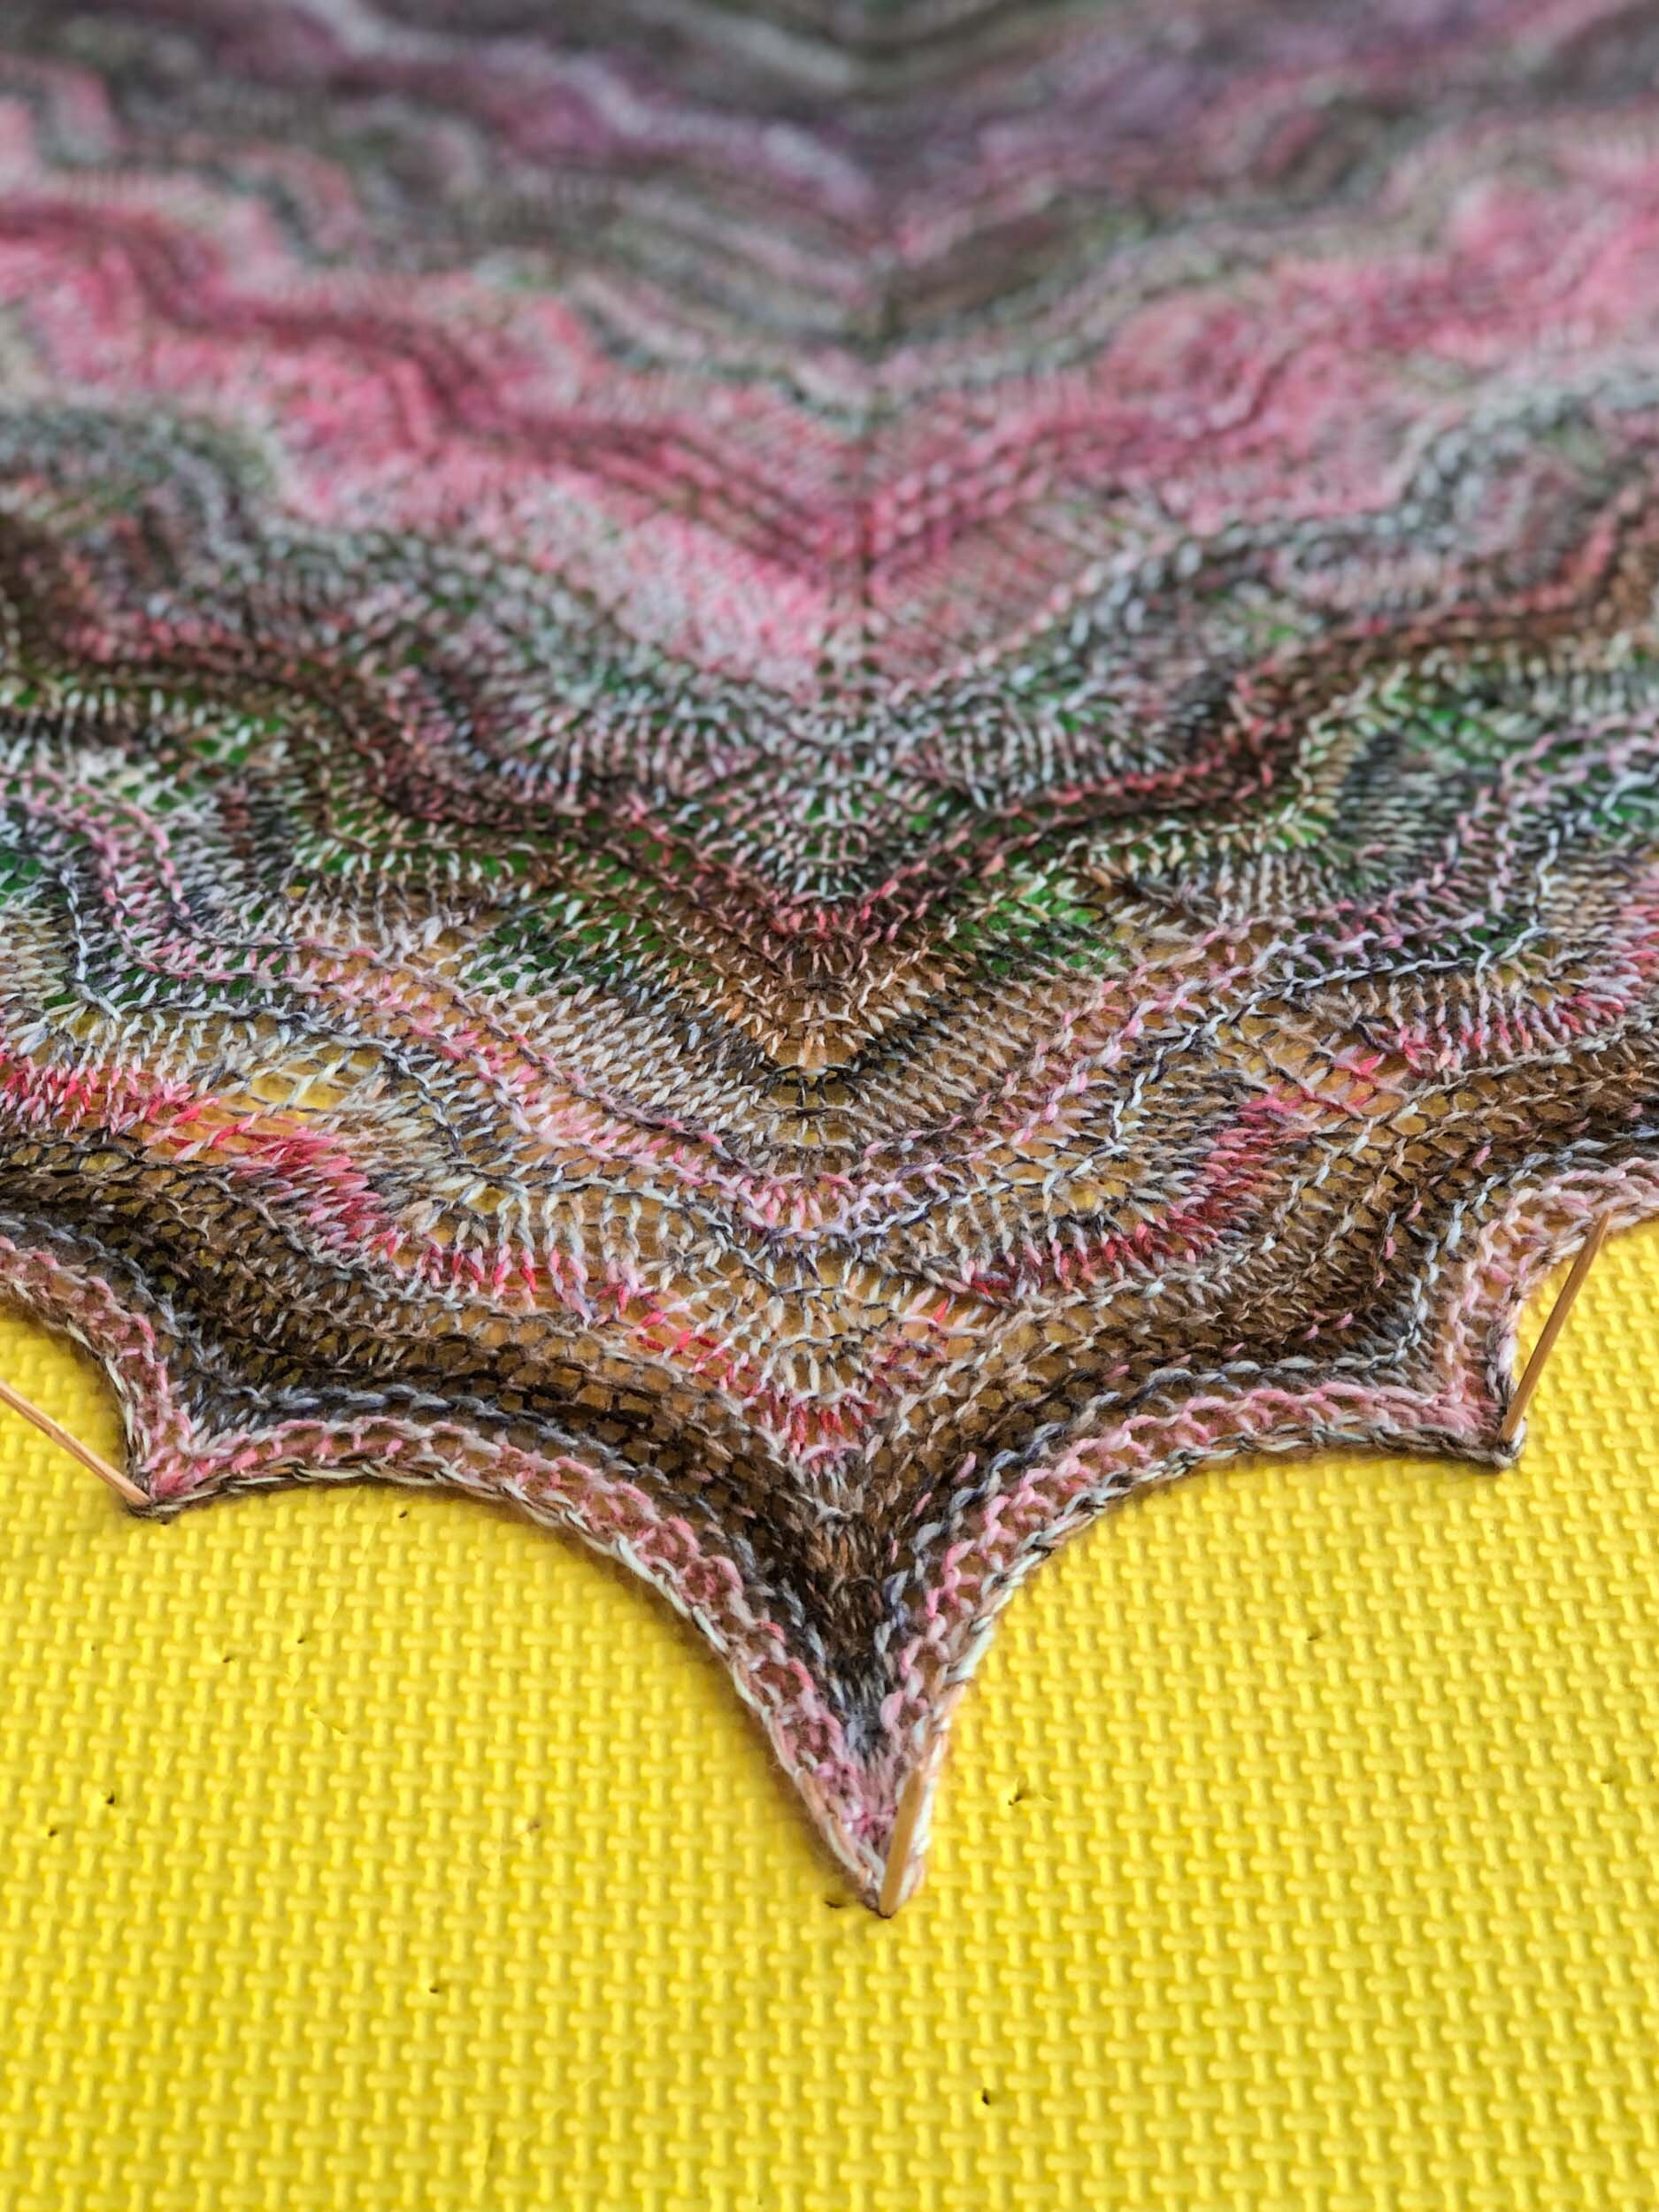
I gave the shawl a short soak in a bath of cool water. I pinned the shawl out on a blocking mat giving attention to opening out the full wingspan and pinning out the selvage to highlight the lace detail.
INSIGHTS AND OPPORTUNITIES

THE SPIN

  • The fine superwash Merino fibre made for an easy spin without having to do too much prep work.

  • Some of the splashy colour within the original braid did dilute with drafting but that was to be expected. I was happy to see much of the pink sections were preserved and come through in the resulting yarn.

  • The S17 is such a solid wheel, I’m finding it just handles anything I throw at it. I love the huge bobbin capacity, there was more than enough room on one bobbin to ply the full 100g!

THE KNIT

  • The pattern was well written and easy to follow. The lace chart wasn’t too complex for a first timer like me.

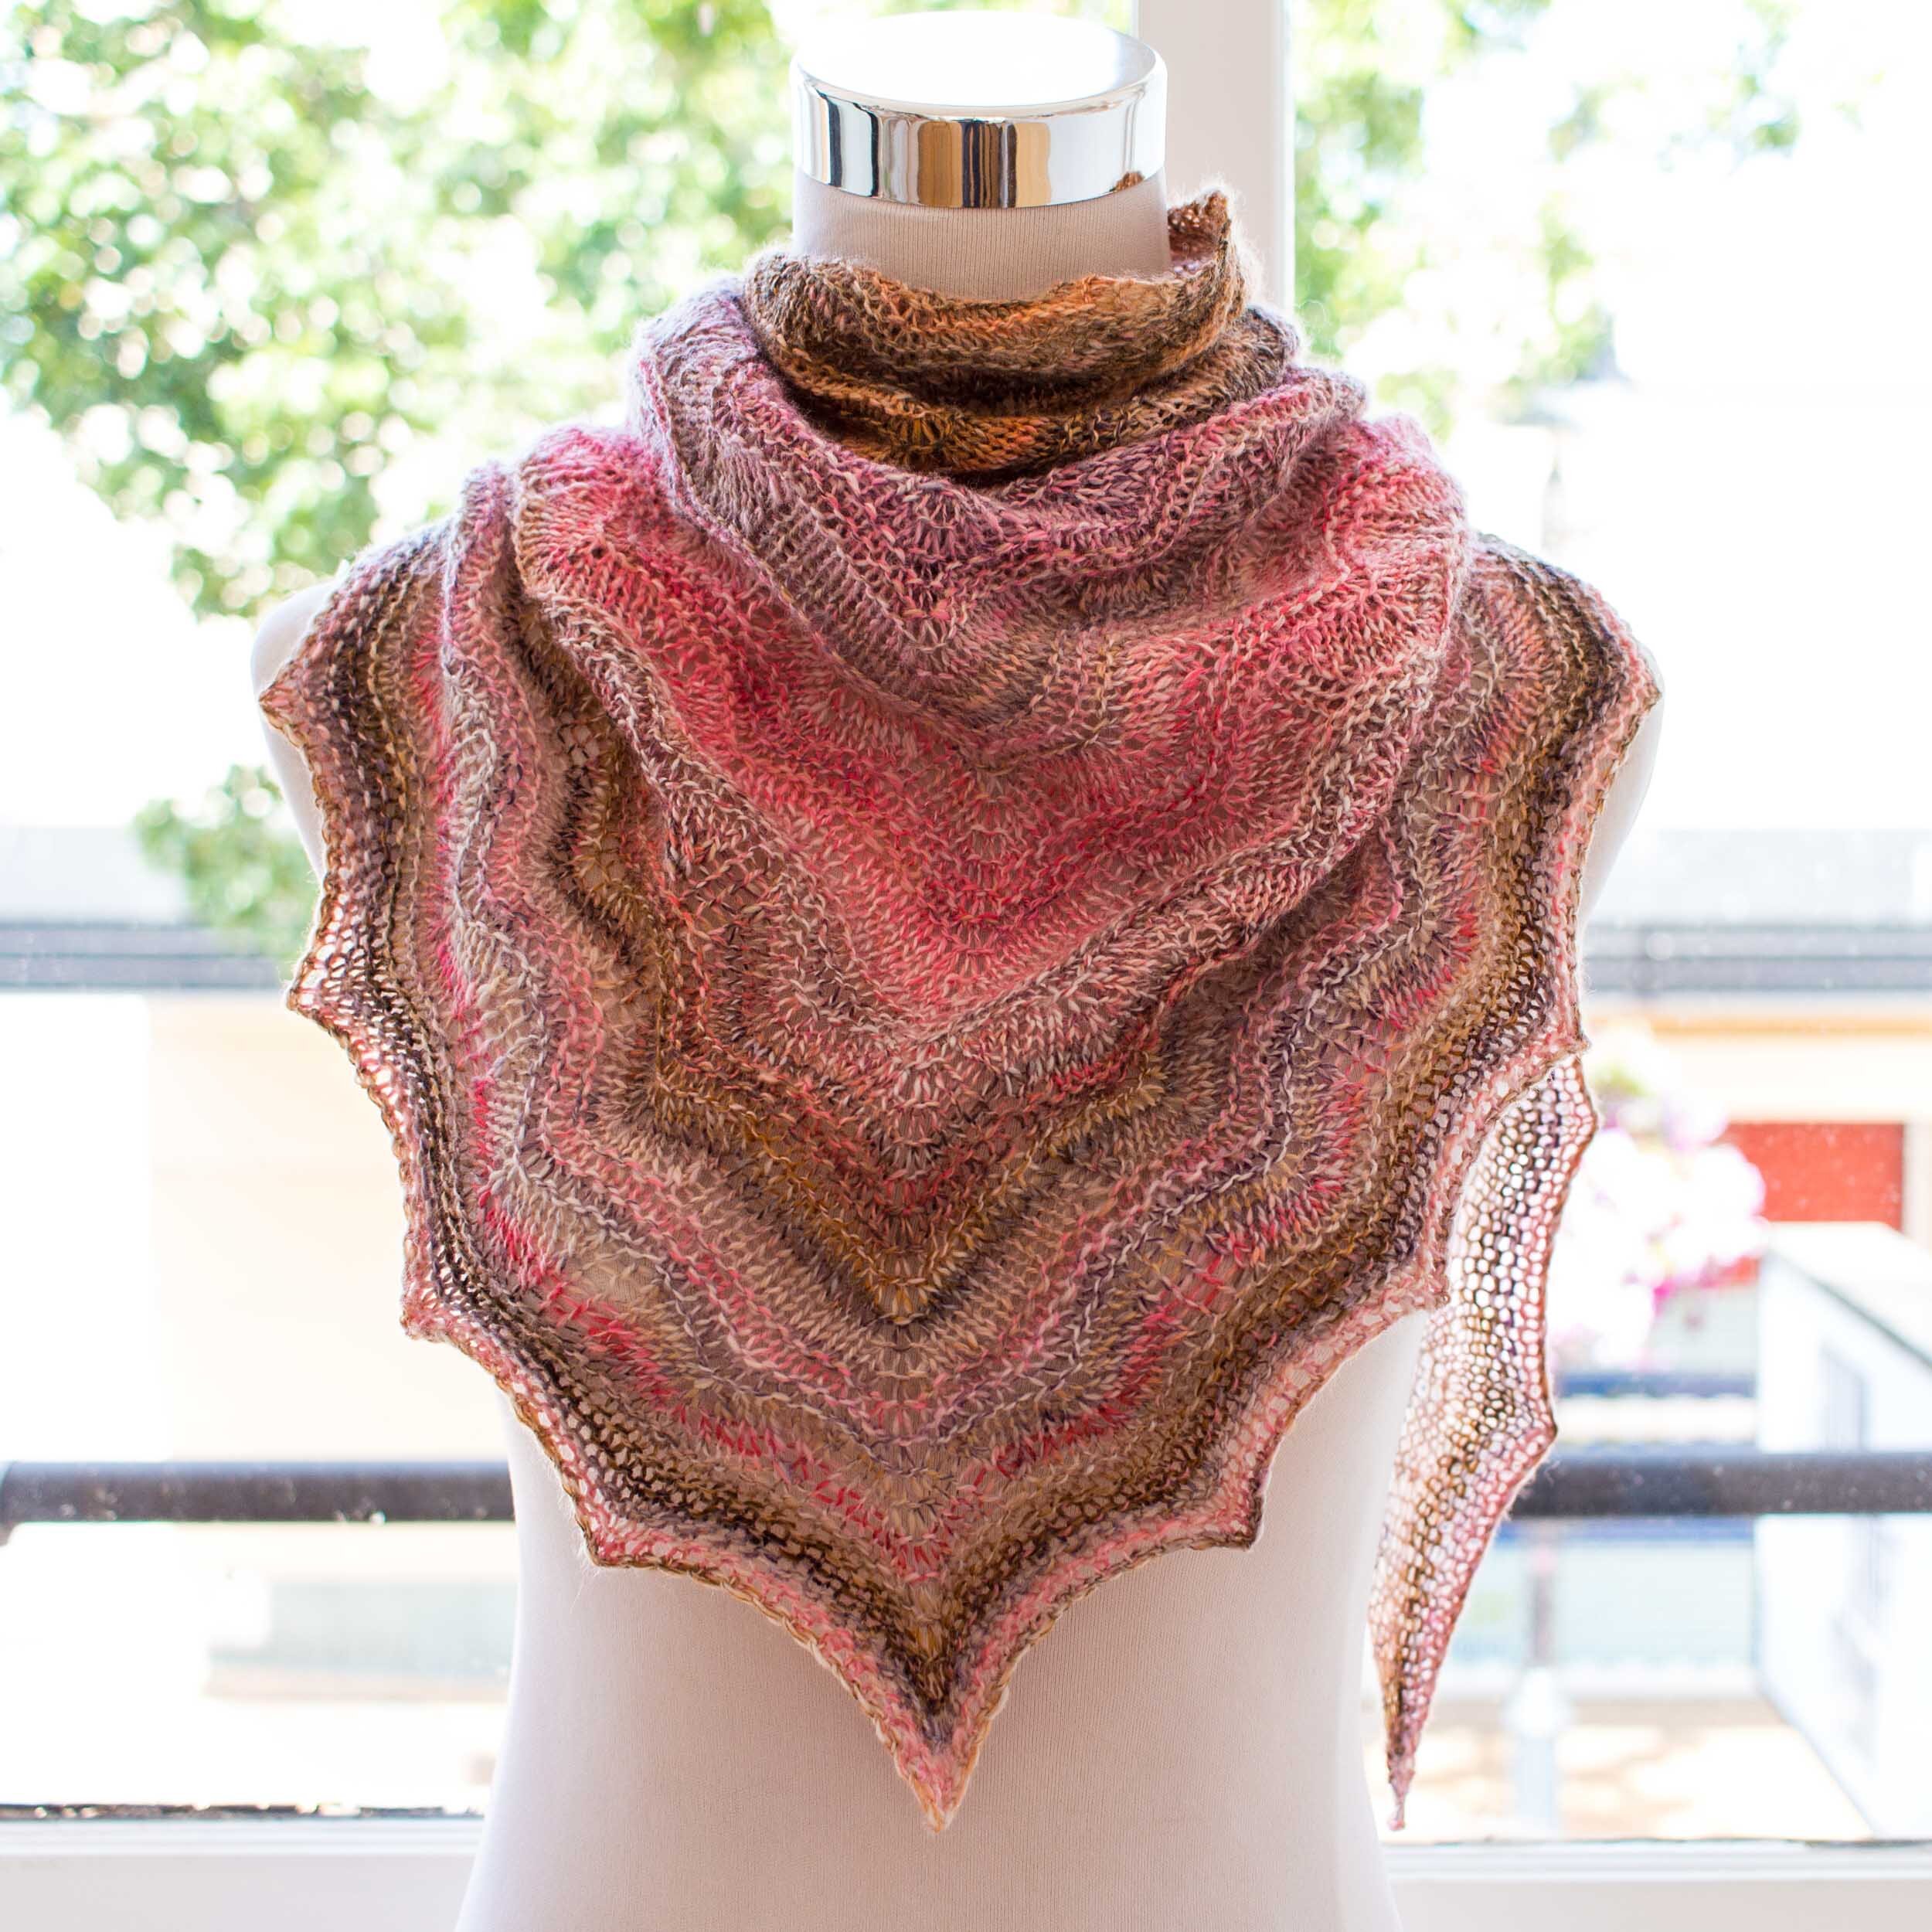
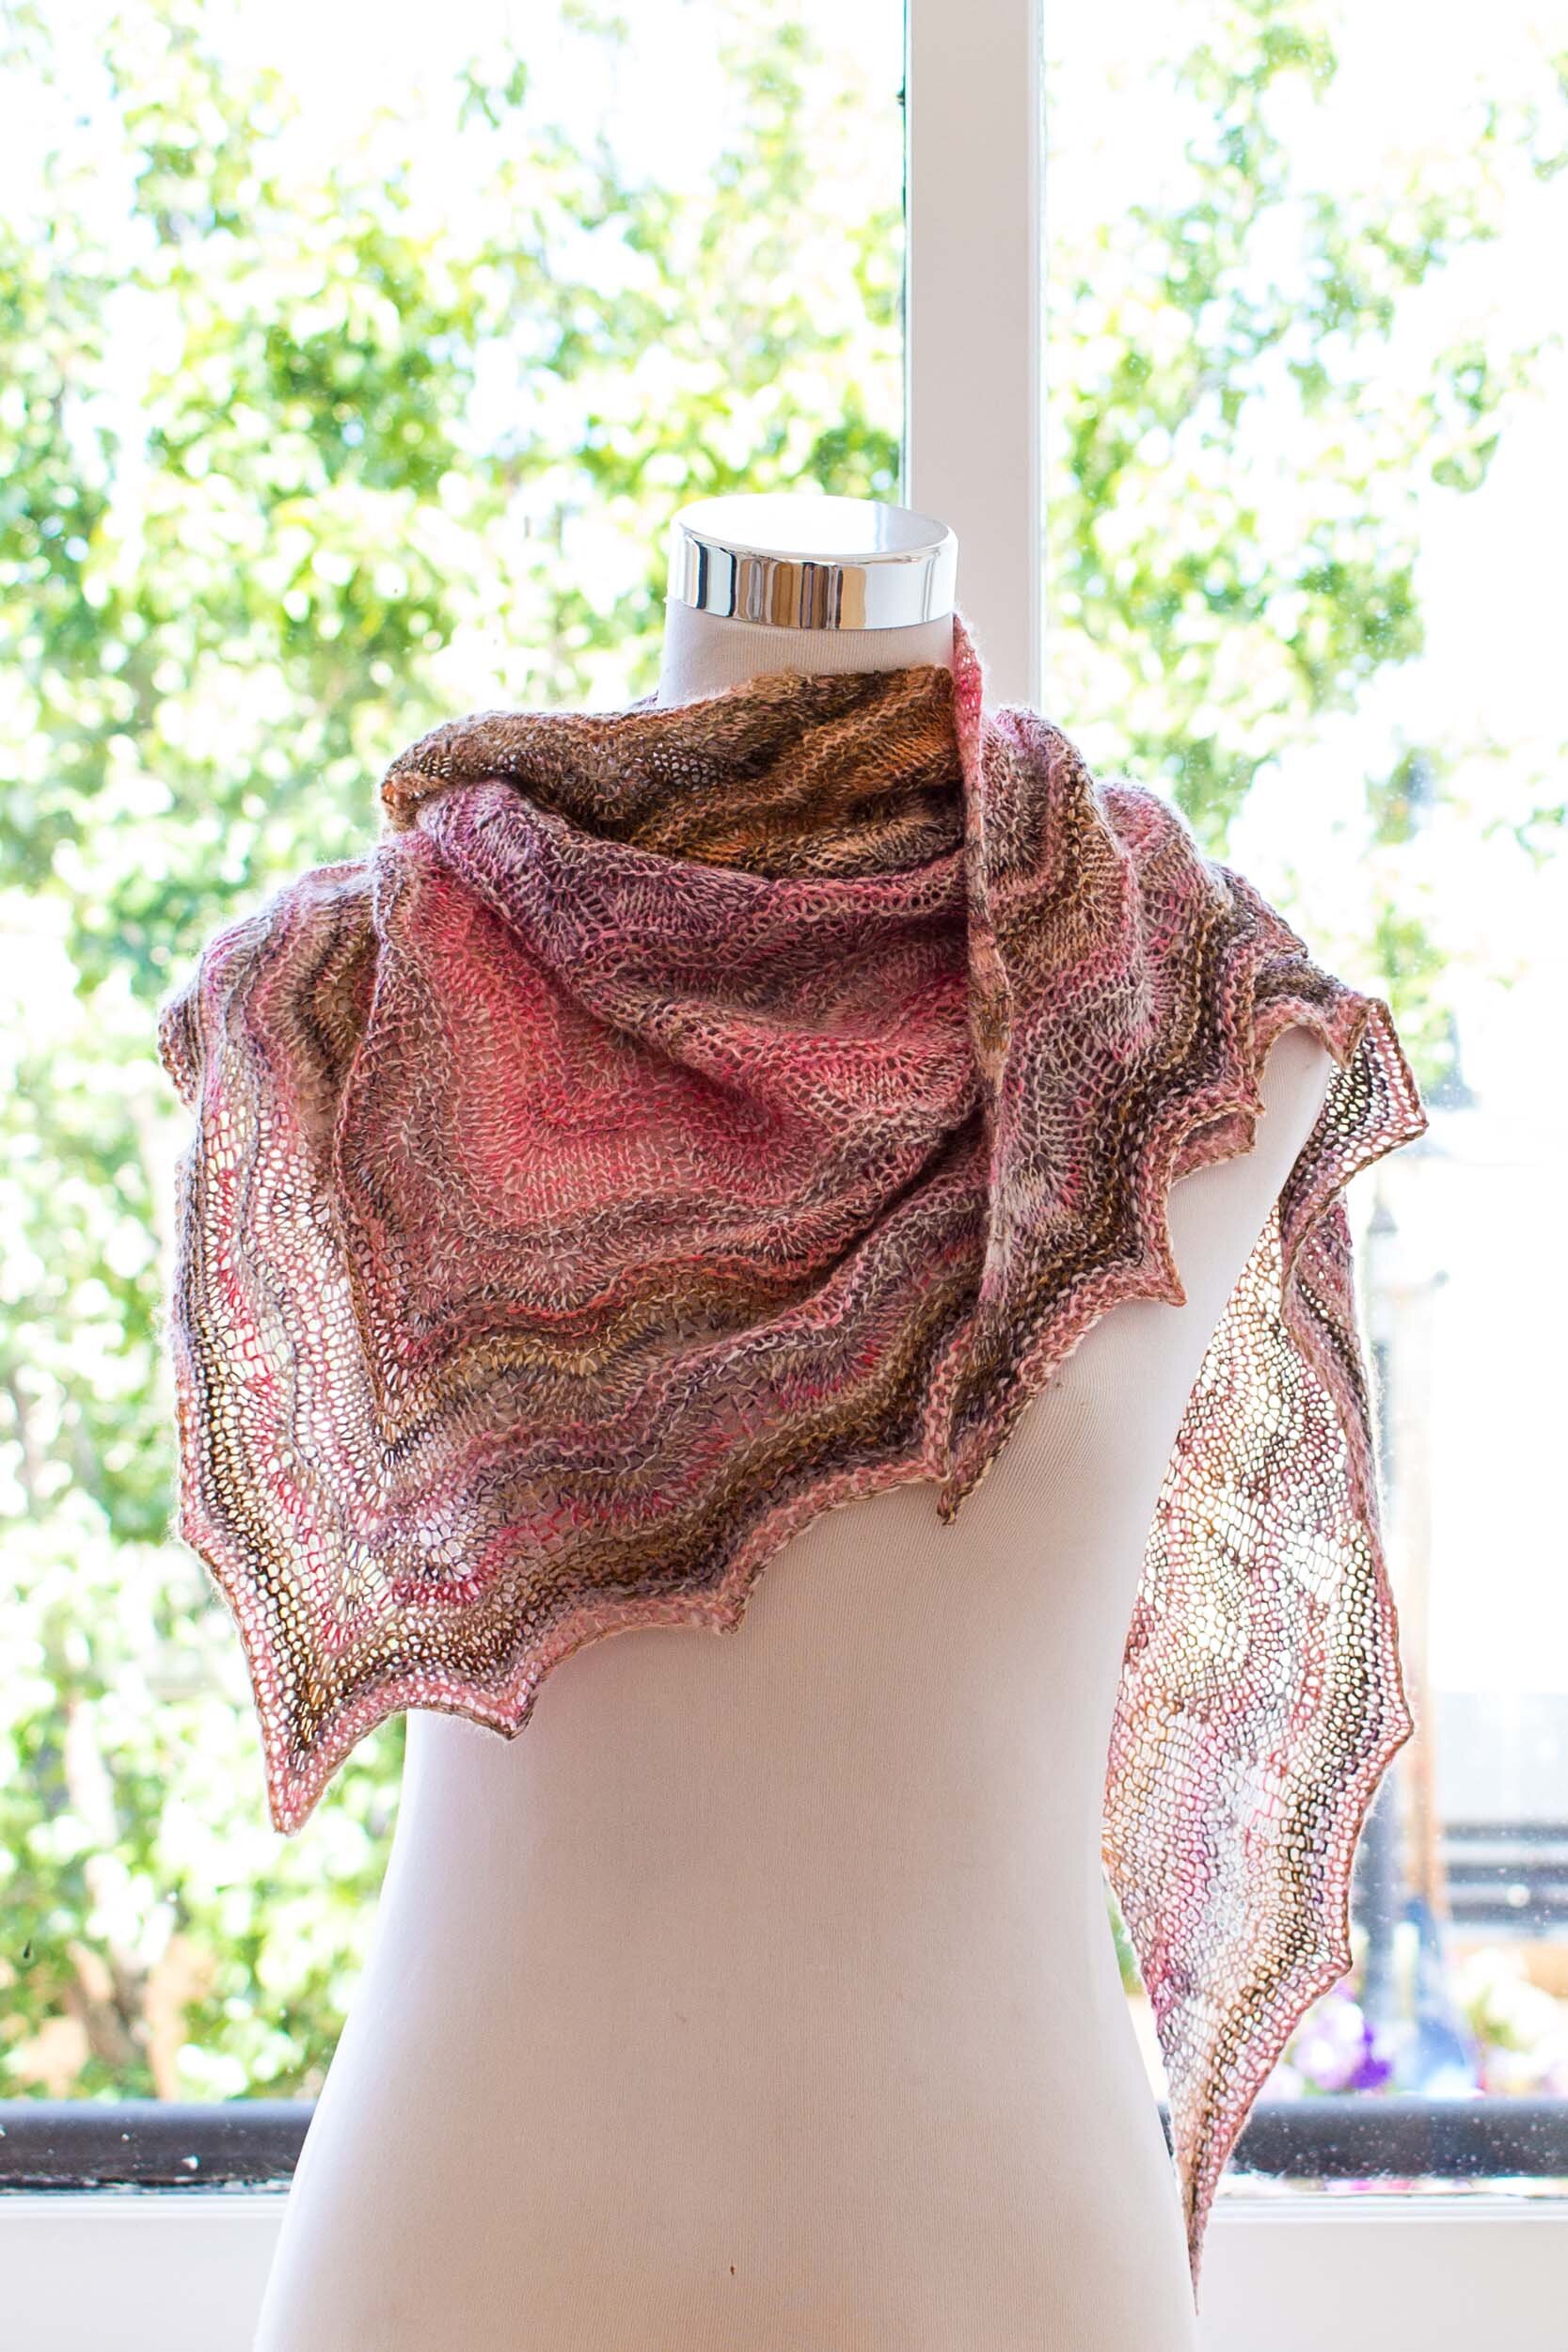
  • I did bind-off one or two repeats early as I was about to run out of yarn. The resulting size was just right to wear the shawl in cowl or neckerchief style.

  • The hand feel of the resulting fabric was light and next-to-skin soft.

  • The interaction of colour in this piece is just amazing! I love studying the subtle gradients between the layers of pinks, purples and browns.

FINAL THOUGHTS

Overall, this was a very unstructured project. Though, when key decisions were made, I did make them with intention, understanding what impact they would have on the outcome of the project.

Hand spun projects don’t always have to begin with the end in mind. Being led by what you love most – the colours, textures, grist - is just a great way to get started. It also helps me stay interested and see the project out to the end!

Triangular shawls are such a great way to feature variegated yarns I definitely see more in my future.

Grateful Moments Shawl - Journal - Loom & Spindle-16.jpg

THANK YOU FOR READING!

Would you like to save this project for later?

Add it to your Ravelry favourites HERE.


Stay in the loop

Receive updates from our studio, project inspiration and product news by joining the Loom & Spindle collective.


Explore More Studio projects…

You may also like…

New In | Schacht Hi-Lo Spindles
 

The expertly crafted Schacht Hi-Lo Spindle is the perfect introduction to top and bottom whorl spinning.

Simple and easy to use, it features a brass hook at the top for high-whorl spinning and a notched end for low-whorl spinning.

Made from high quality hard maple timber this spindle is both functional and ergonomic with a silky-smooth hand feel.

Available in three sizes, the Schacht Hi-Lo Spindle offers the best of both whorls.

SIZES + SPECS

 SMALL

  • Weight, 31g (1.1 ounces)

  • Whorl diameter, 5cm (2")

  • Ideal for lightweight yarns (approx. 12-30wpi)

  • Schacht product number, WS6407

MEDIUM

  • Weight, 62g (2.2 ounces)

  • Whorl diameter, 7.5cm (3")

  • Ideal for medium weight yarns (approx. 8-20wpi)

  • Schacht product number, WS6405

 LARGE

  • Weight, 85g (3 ounces)

  • Whorl diameter, 10cm (4")

  • Ideal for heavy weight yarns (Approx. 5-8wpi)

  • Schacht product number, WS6406

GETTING STARTED

We’ve put together a handy guide - How to Spin Yarn: Six Simple steps.

You might also like to watch Schacht’s guide to Spinning on a Drop Spindle, below.


LET’S GET STARTED…

YOU MAY ALSO LIKE…

How To Spin Yarn: Six Simple Steps
Loom & Spindle - Spinning Your First Yarns

Last week I launched the first Learn to Spin Kit for Loom & Spindle. I shared my journey on learning how to spin yarn (HEREand some of the frustrations I experienced.
Part of these early frustrations were the result of not having a clear method for spinning yarn on a drop spindle, and not fully understanding how each action influenced the yarn I was spinning.

Over time one key insight emerged, I found it much easier to regulate the yarn I was producing when I had an understanding of the process and mechanics of making yarn.

The resulting method I developed for the Loom & Spindle Learn to Spin Kit builds on this by teaching you the sequence for spinning yarn on a drop spindle, and importantly explaining how each action can be used to control the process of forming a yarn - giving you confidence through understanding!

I’ve shared my method on how to spin yarn on a drop spindle below and included a FREE ‘take-home’ copy for you to download. You’ll find the link at the end of the post.

Good luck!

PS: Remember, your first yarns might not be exactly what you envisioned, but they will be your most important lessons.


How To Spin Yarn: Six Simple Steps


Step 1

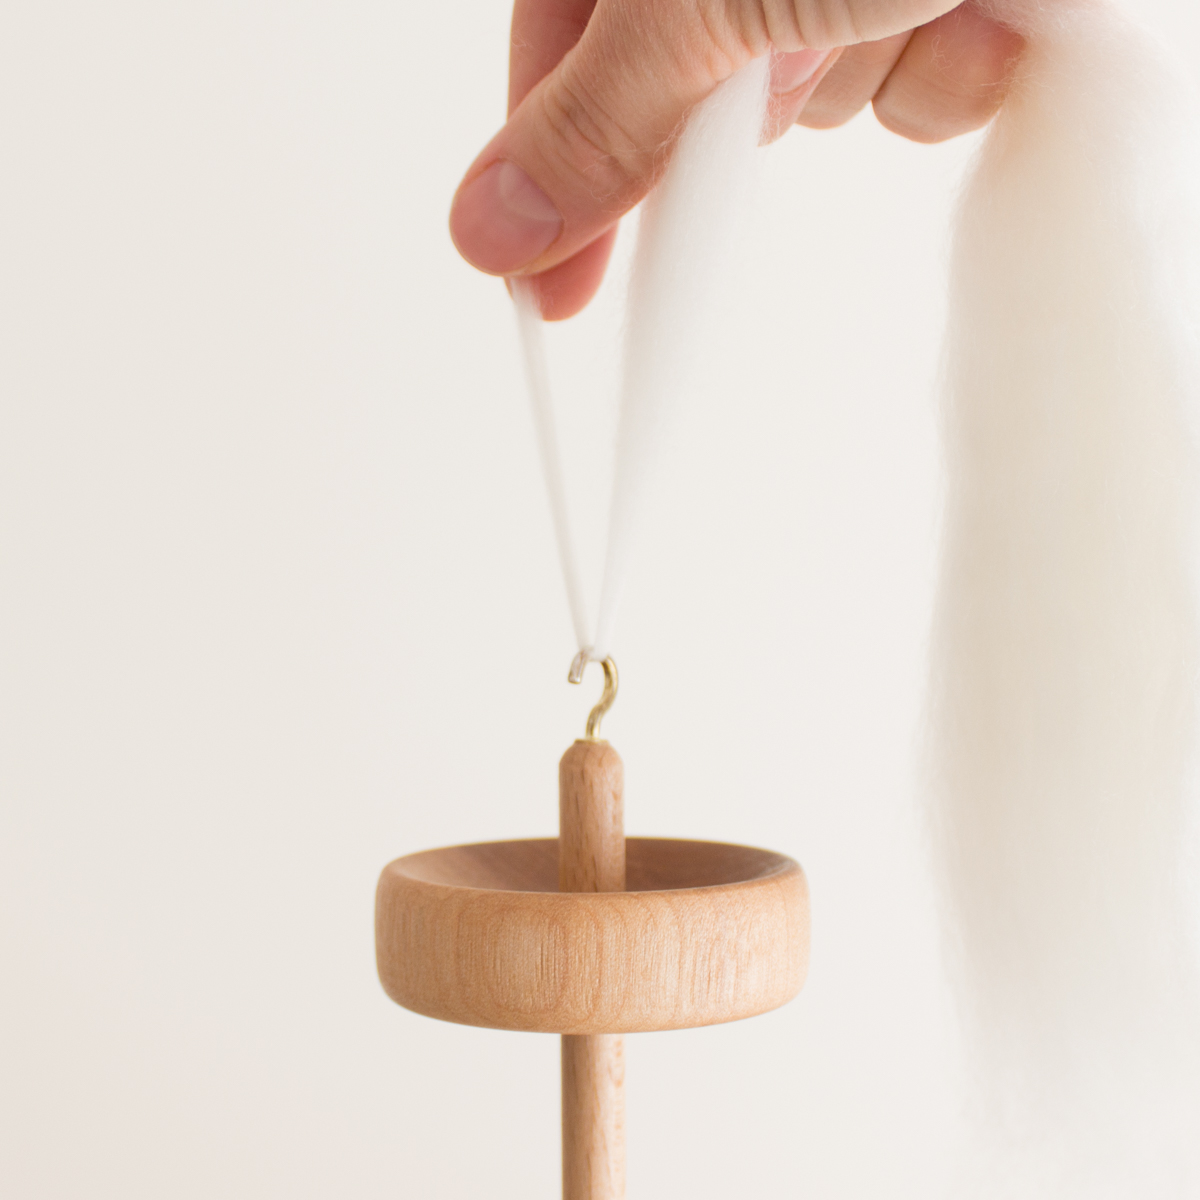
Draft a small amount of fibre and loop it under the spindle’s hook. 
Using your thumb and index finger, PINCH together the pre-drafted end and main fibre supply.

Loom & Spindle - Spinning your First yarns

Step 2

Spin the spindle storing TWIST in the length of fibre between the hook and your fingertips.
PARK the spindle.

Loom & Spindle - Spinning Your First Yarns

Step 3

With two hands, DRAFT from the fibre supply using your thumbs and index fingers. Carefully allow twist to enter the newly drafted fibre.
When the twist energy reduces, pinch the fibres and stop any further twist entering the fibre supply.

Loom & Spindle - Spinning Your First Yarns

Step 4

Repeat steps two and three until the length of yarn is no longer comfortable to manage.

Loom & Spindle - Spinning Your First Yarns

Step 5

Remove the yarn from the hook and wind it around the shaft of the spindle, leave enough length to wrap the yarn over the whorl and under the hook.

Loom & Spindle - Spinning Your First Yarns

Step 6

Repeat the PINCH-TWIST-PARK-DRAFT sequence for the remaining fibre supply.
As the yarn forms, you will need to monitor the fibre carefully for your intended characteristics –Yarn weight, optimal twist, etc.


THE PINCH-TWIST-PARK-DRAFT SEQUENCE


PINCH – The action of locking the fibres between your fingers to hold the twist energy back from the fibre supply.

TWIST – The energy added to the fibre when the you turn or spin the spindle. The twist holds the fibres together in the forming the yarn.

PARK – Refers to the action of setting down and securing the spindle so you have both hands free to draft the fibre. Suggestions for parking the spindle include holding the shaft of the spindle under your arm or between your knees.

DRAFT – This is the process of thinning the fibre supply by drawing fibres apart lengthwise. A suggestion for beginner spinners is to use two hands to draft the fibre. The hand closest to the spindle controls the amount of twist that enters the fibre supply. The other hand controls the draft, how much fibre is drawn out of the fibre supply.

Loom & Spindle - How to spin yarn

REATTACHING THE FIBRE SUPPLy

Loom & Spindle - How to Spin Yarn - Reattaching the Fibre Supply

It’s likely at some stage during the spin you’ll need to reattach the fibre supply to the forming yarn. This can be challenging at first but with practice you’ll gain confidence.

To reattach the fibre, begin by untwisting the last bit of spun fibre. Pinch behind the unspun end so the twist can’t re-enter the fibre. Add any extra twist to the length of yarn behind your pinching fingers. This extra twist will be needed to reattach the fibre supply.

Place the drafting end of the fibre supply onto unspun end. Pinch the two ends together and gently draw back the fibre supply. Allow the twist to enter the drafting zone, locking the unspun end and fibre supply together.


THANKs FOR READING!


This method is also available as a neat little PDF package.
Click the button below and get your FREE copy!

Loom & Spindle - Spinning Your First Yarns A Method.jpg

SAMPLE

Share your work, #loomandspindle

NEW: The complete kit for spinning your first yarns

My Journey to intentional and confident crafting

Crafting with yarn and fabric has always been a part of my life. Though it wasn’t until 2013, when I took time out for myself and my new-born, that I started getting serious about the crafts I was most passionate about.

While experimenting with knitting and weaving and exploring various fibres, I stumbled across the craft of hand-spinning my own yarns. Being someone who naturally desires to know how EVERYTHING works, I was eager to give it a go.

Though navigating this new world of hand-spinning was more difficult than I’d anticipated.

I knew I didn’t want to spend a lot of money just to try it and find out I didn’t like it. And without knowing where to start I lacked confidence in making those first decisions – spindle or wheel, raw fleece or prepped fibre… the list could go on.

When I did finally make these choices and got my first spindle and supply of fibre, my first hand-spun yarns were dense and lacked consistency. This in its self is not unusual for a beginner spinner and these early lumpy bumpy yarns are part of the learning process.

Though, without knowing how to evaluate my yarns and where to make improvements in my next spin I was seeing little progress.

I became frustrated…

… but still determined! 

I set out to learn as much as I could. I gathered books, watched videos, read magazines, and listened in to the various online forums. I attempted to distil all this information, applying the elements that I thought might help me.

With time this effort paid off, I learnt the mechanics of fibre and twist, the importance of preparation and finishing techniques, and the tools I could use to measure and evaluate my yarns.

These insights provided the necessary framework to intentionally plan and spin yarns, evaluating my progress with each experiment. With practice, I was seeing improvements in my technique and more consistency in my spun yarns. I was planning and spinning yarns for specific projects. I was finally starting to see the results I was after.

I was spinning with intention. I was spinning with confidence.

And most of all, being a diehard maker of all things, I was getting great personal satisfaction to see my fibre-to-finished projects finally come to life.


ON Designing the KIT


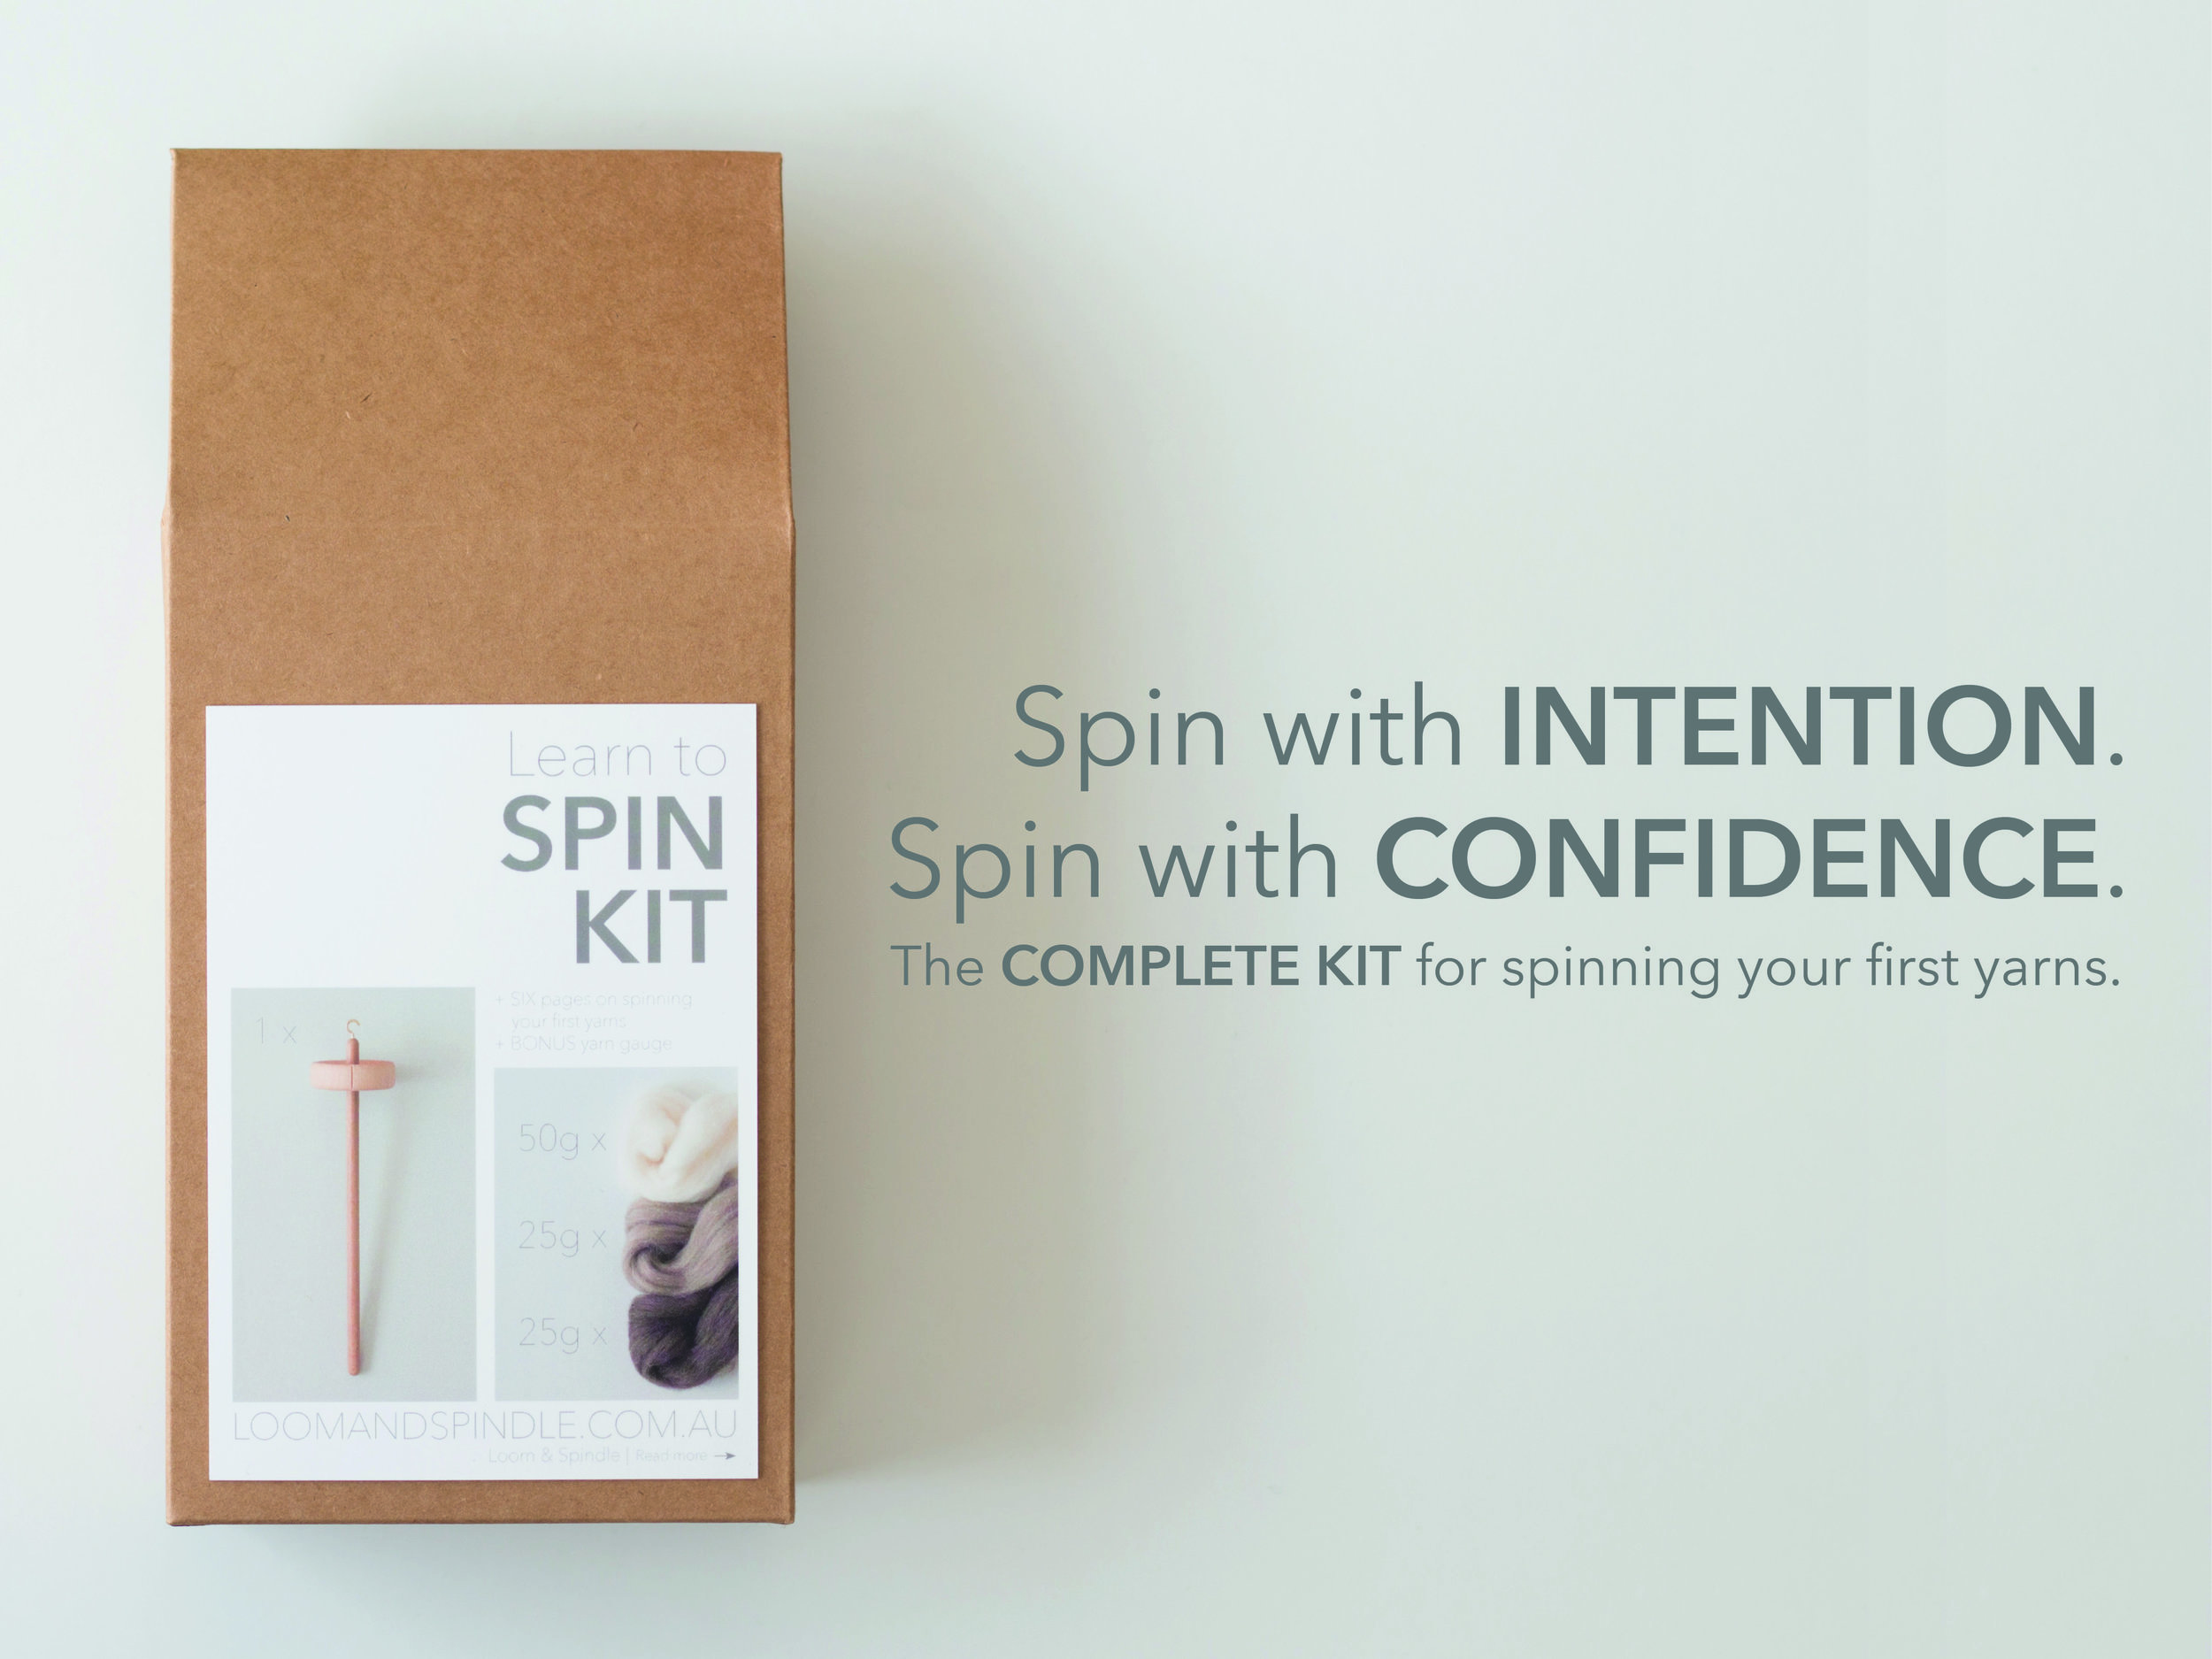
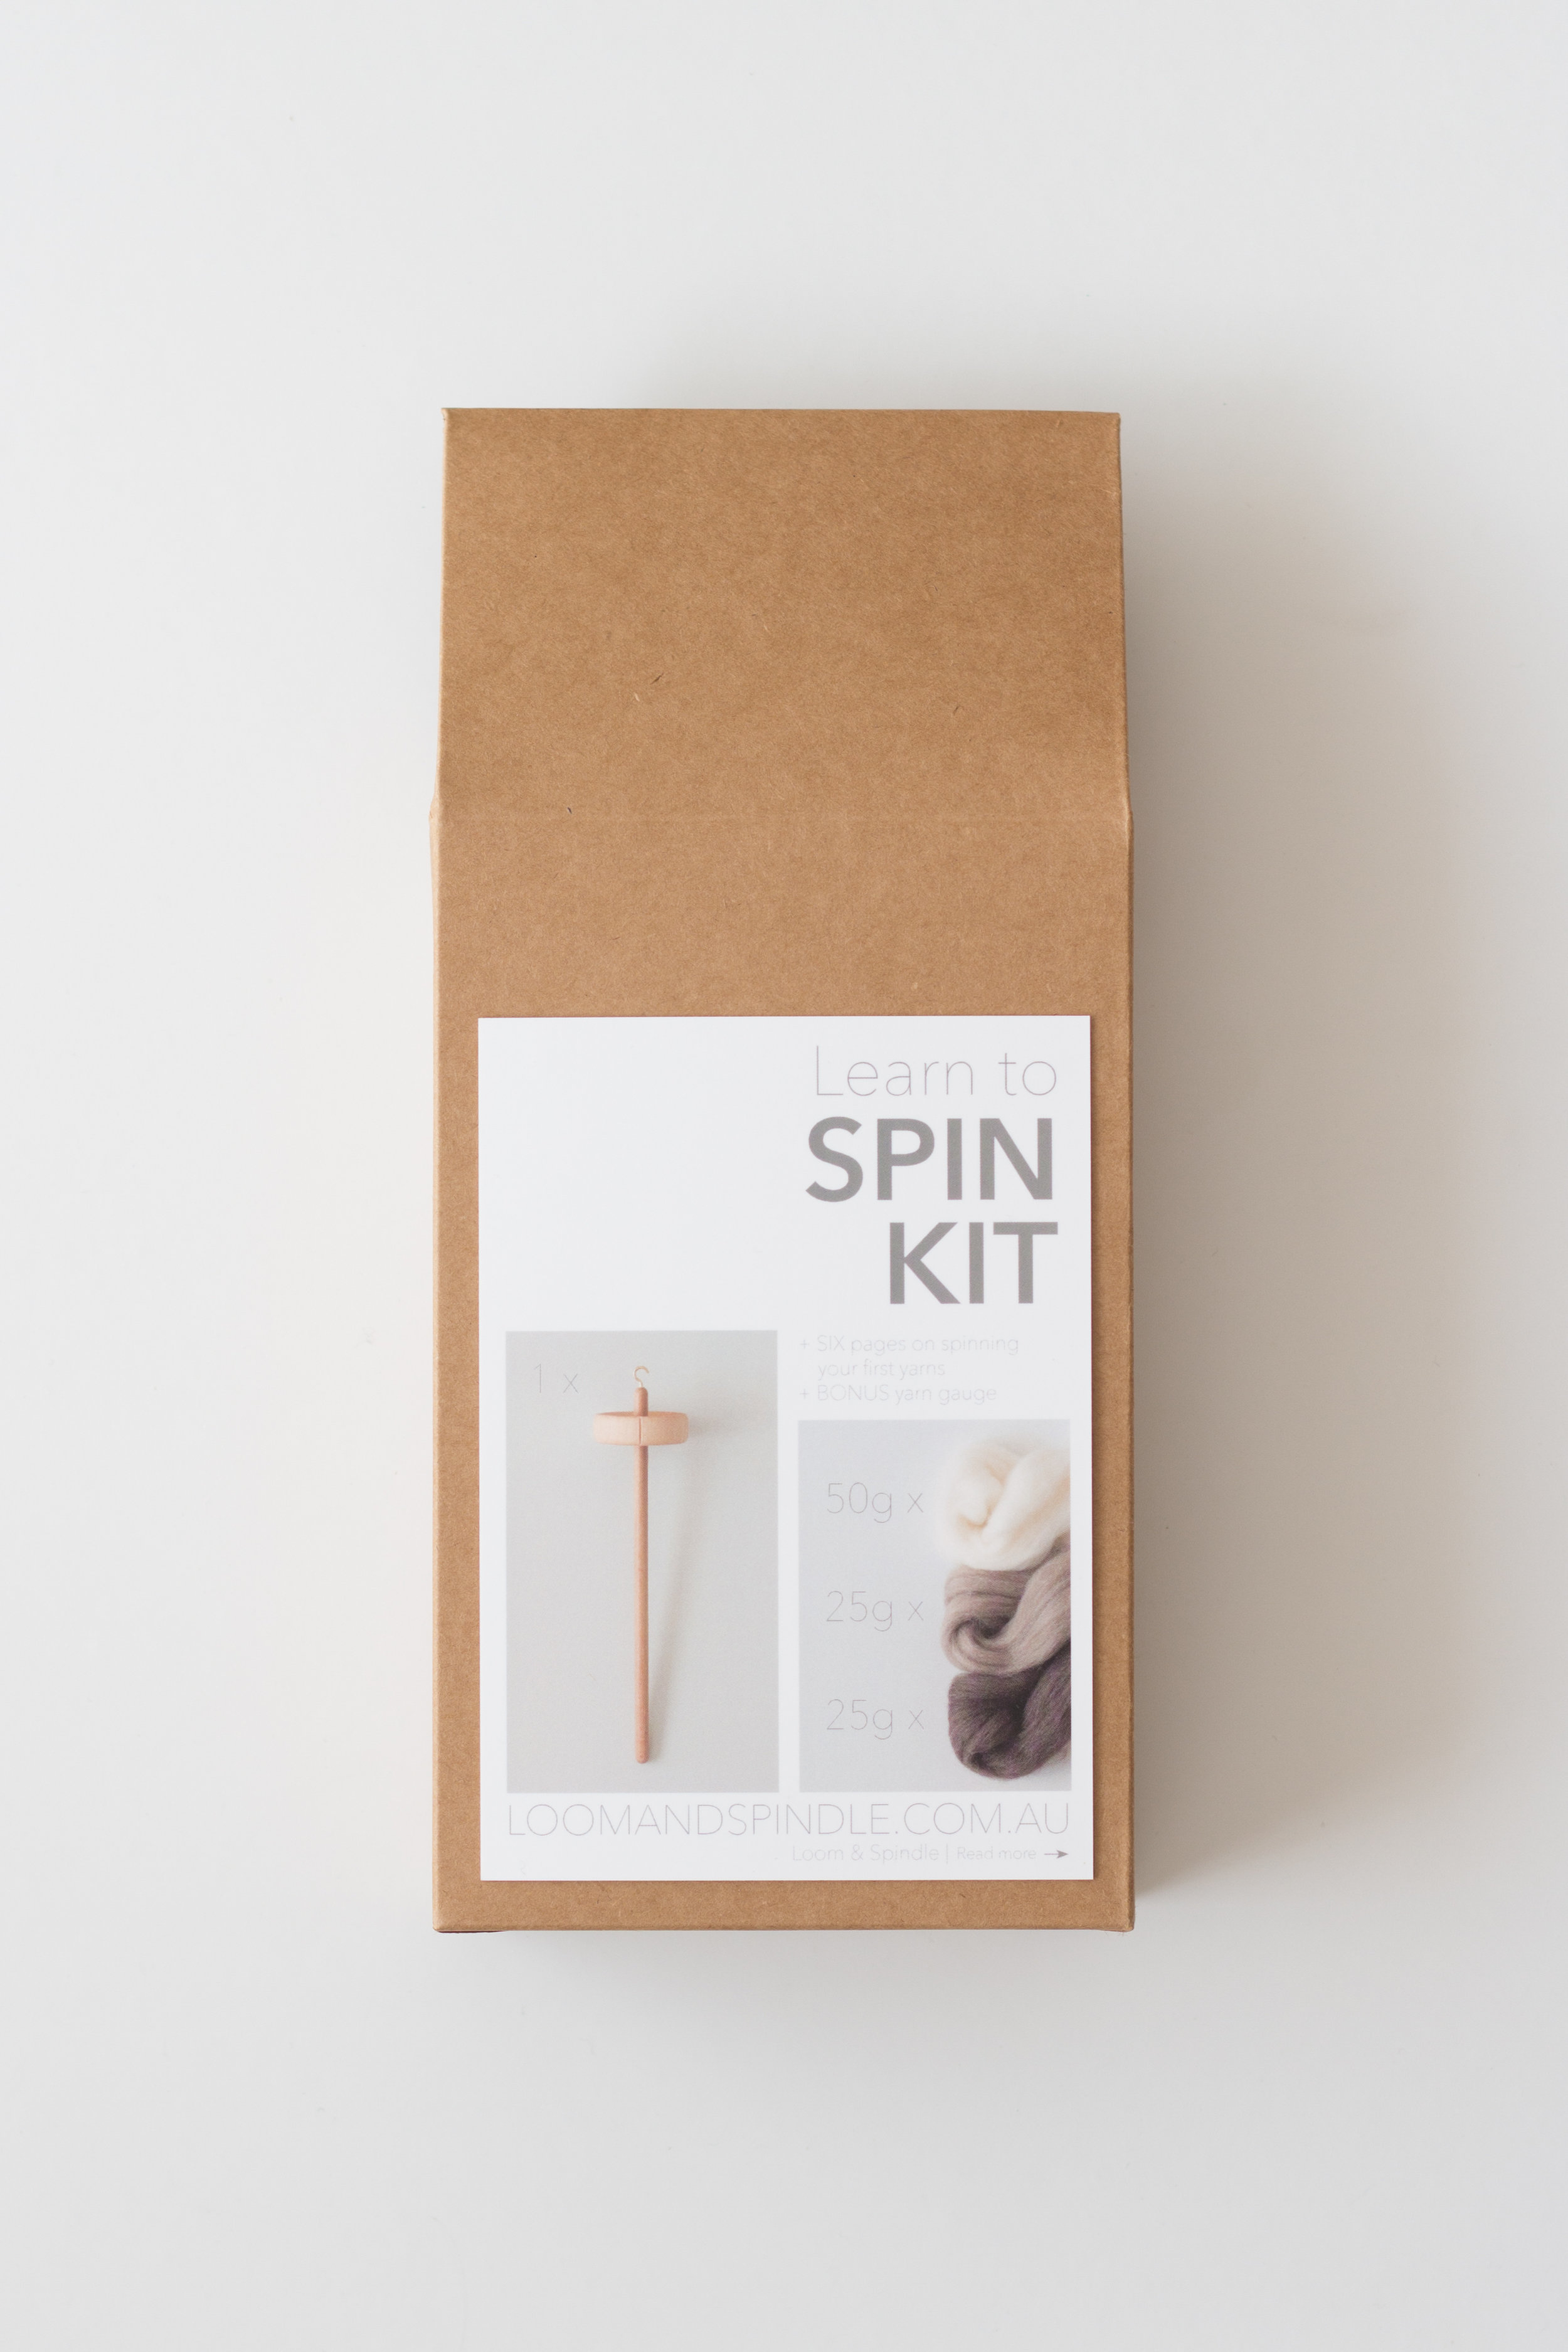
I’ve since documented and refined this four-year journey to create the first Learn to Spin Kit for Loom & Spindle – The complete kit for spinning your first yarns.

In addition to the necessary inclusions of a spinning kit, a drop spindle and a 100% Aussie grown and processed fibre supply, I’ve carefully put together a series of notes and tools to introduce you to the language and mechanics of spinning your first yarns. This includes:

  • A simplified method for spinning your first yarns, highlighting the four easy-to-remember action steps: PINCH-TWIST-PARK-DRAFT.

  • Guidance on how to prepare for a spin, for a more enjoyable spinning experience. And,

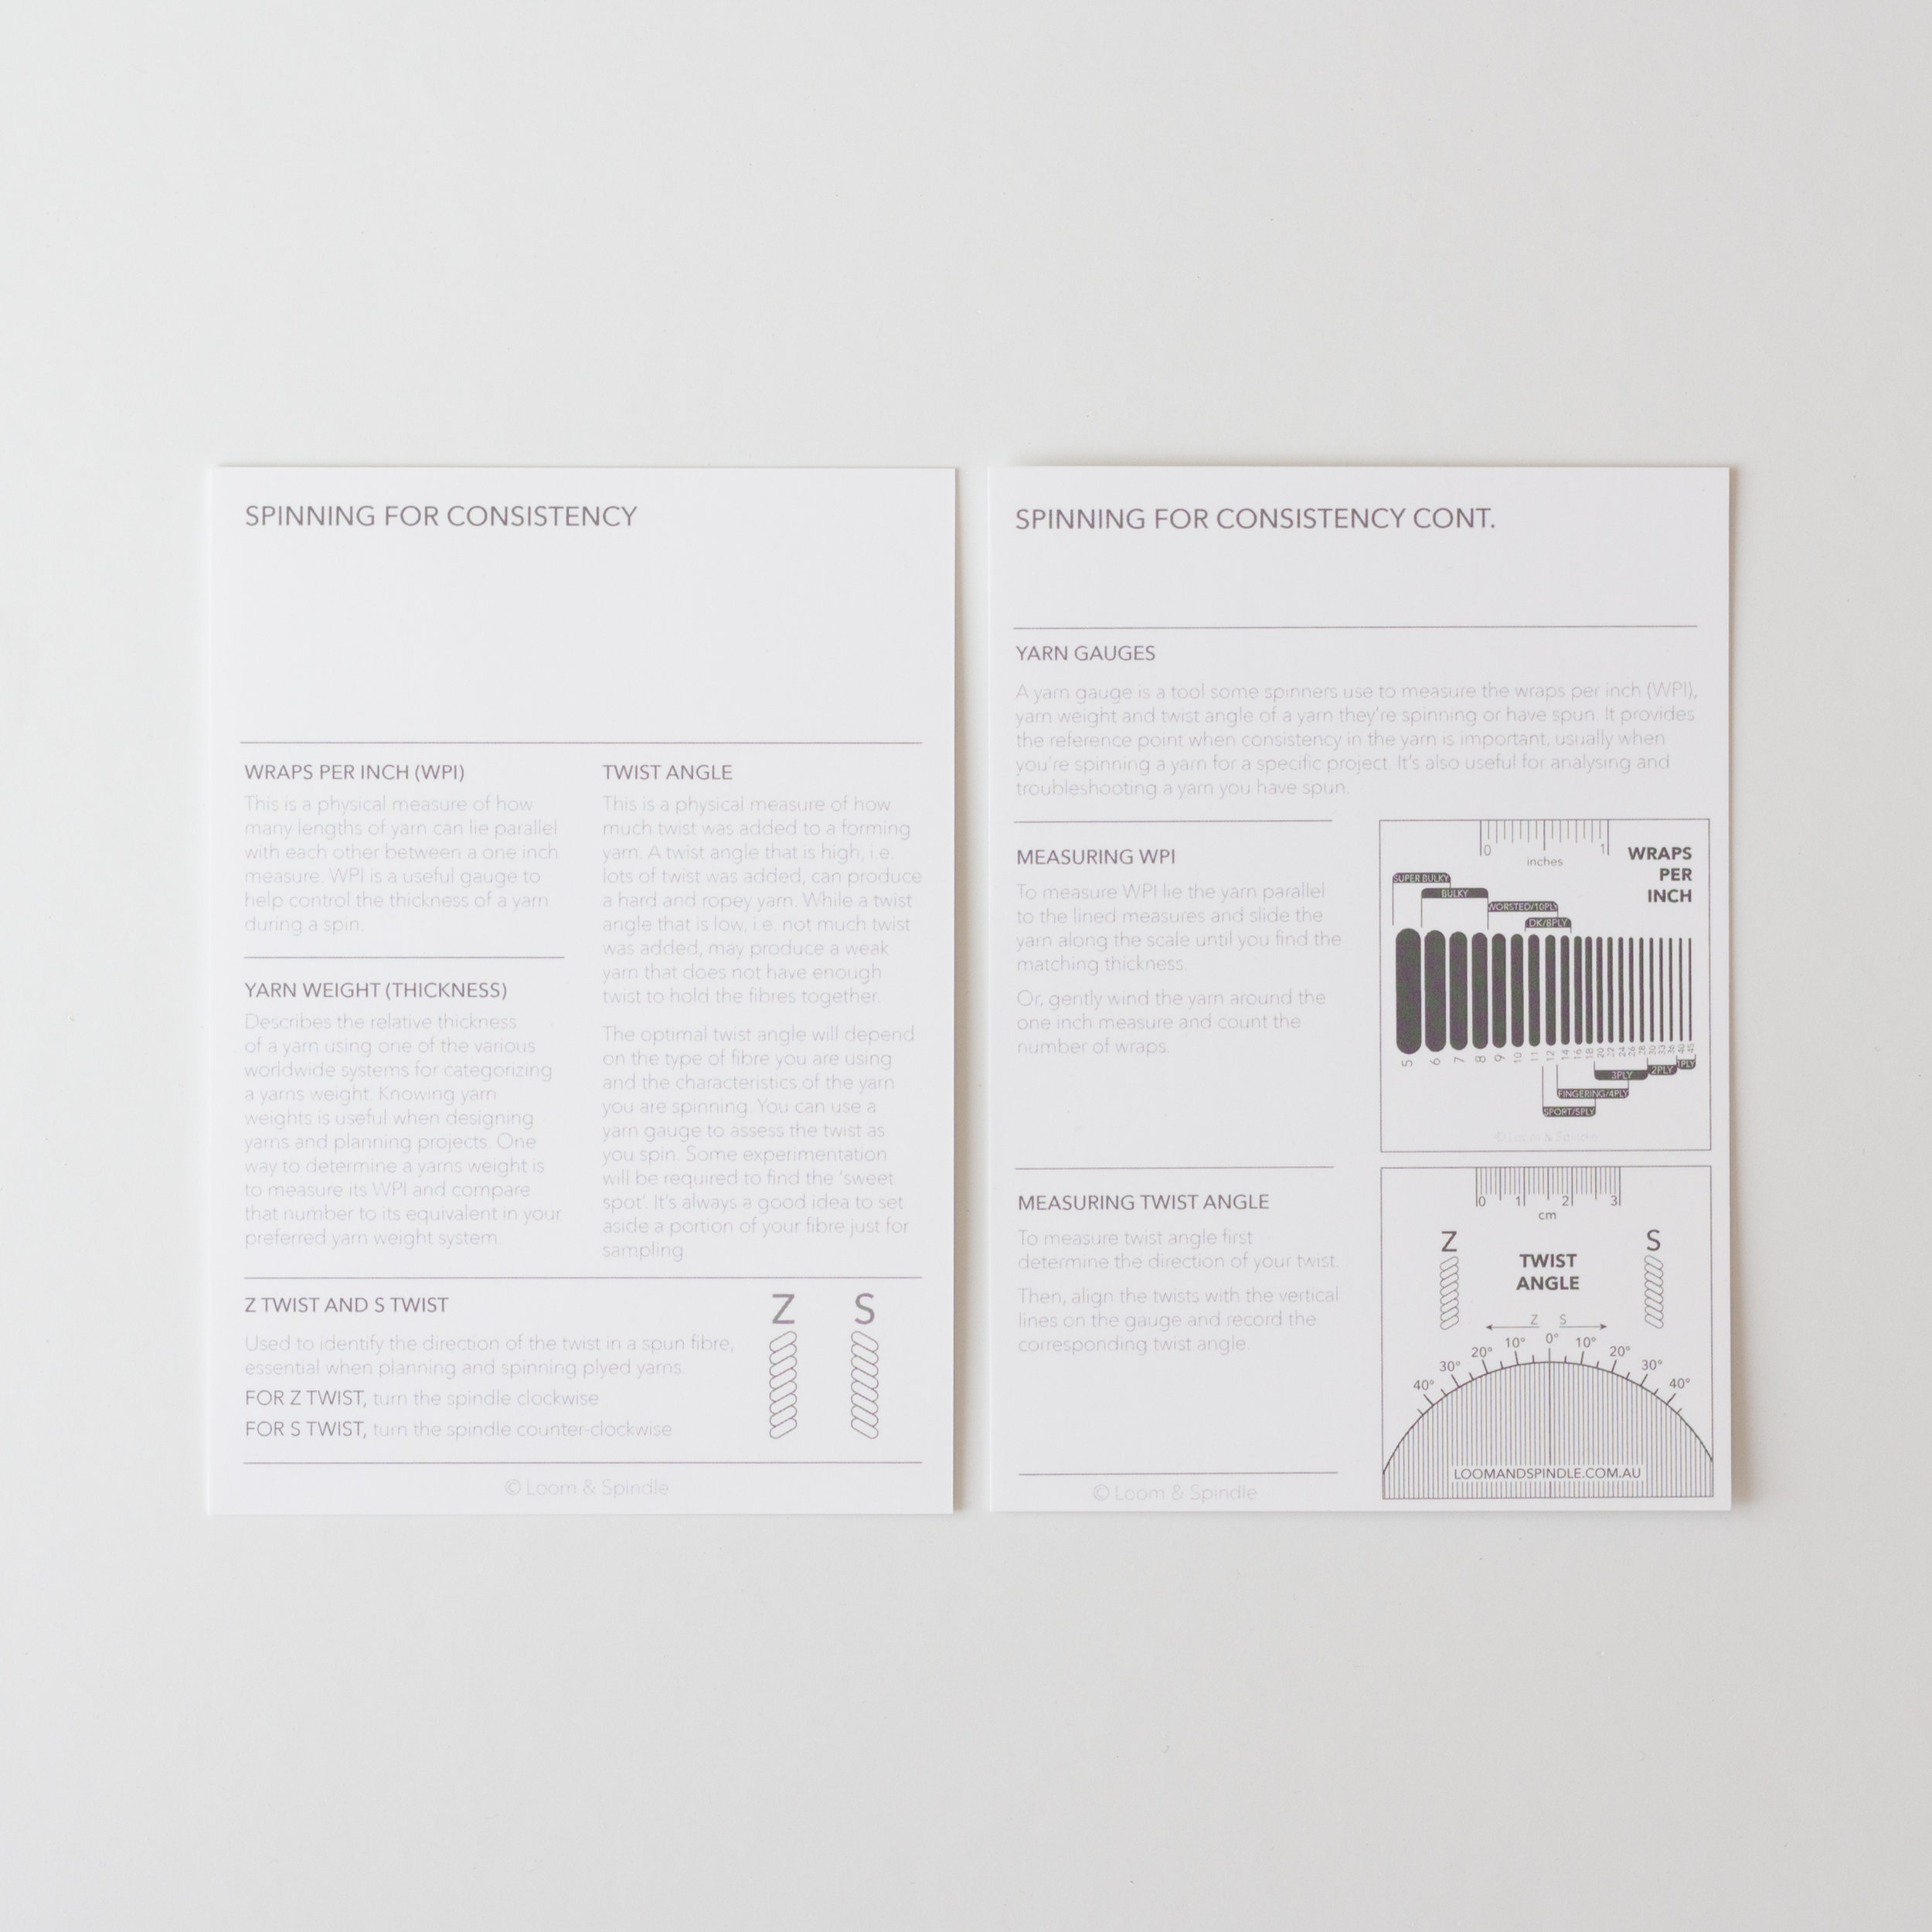
  • An introduction to the language of spinning and tools you can use to measure and evaluate your yarns for more intentional spinning.

By offering this kit my hope is that I can provide you with a new opportunity to be creative with yarn and fibre, and extend your passion for making.


The complete kit for spinning your first yarns

Loom & Spindle - Learn to Spin Kit - portrait.jpg
Spindle Kit - Drop Spindle.jpg
Loom & Spindle Spin Kit wool
Loom & Spindle Spin Kit Inclusions
Spindle Kit - Inclusions-2.jpg
Spindle Kit - Inclusions-3.jpg
Spindle Kit - Inclusions-4.jpg