Posts in Studio Projects
PERIPHERY | A Studio Project

Well, the short bursts of sunshine, as proclaimed in my last post, were indeed very short-lived. It was a chilly 7 degrees this morning in my part of the world with lots of drizzly rain and cold gusty winds.

While I’m enjoying the extended sweater weather, I’m indulging in all the winter themed publications that recently hit the shop.

With all this inspiration at my finger tips I had to cast-on and get one last woolly fix for the season.

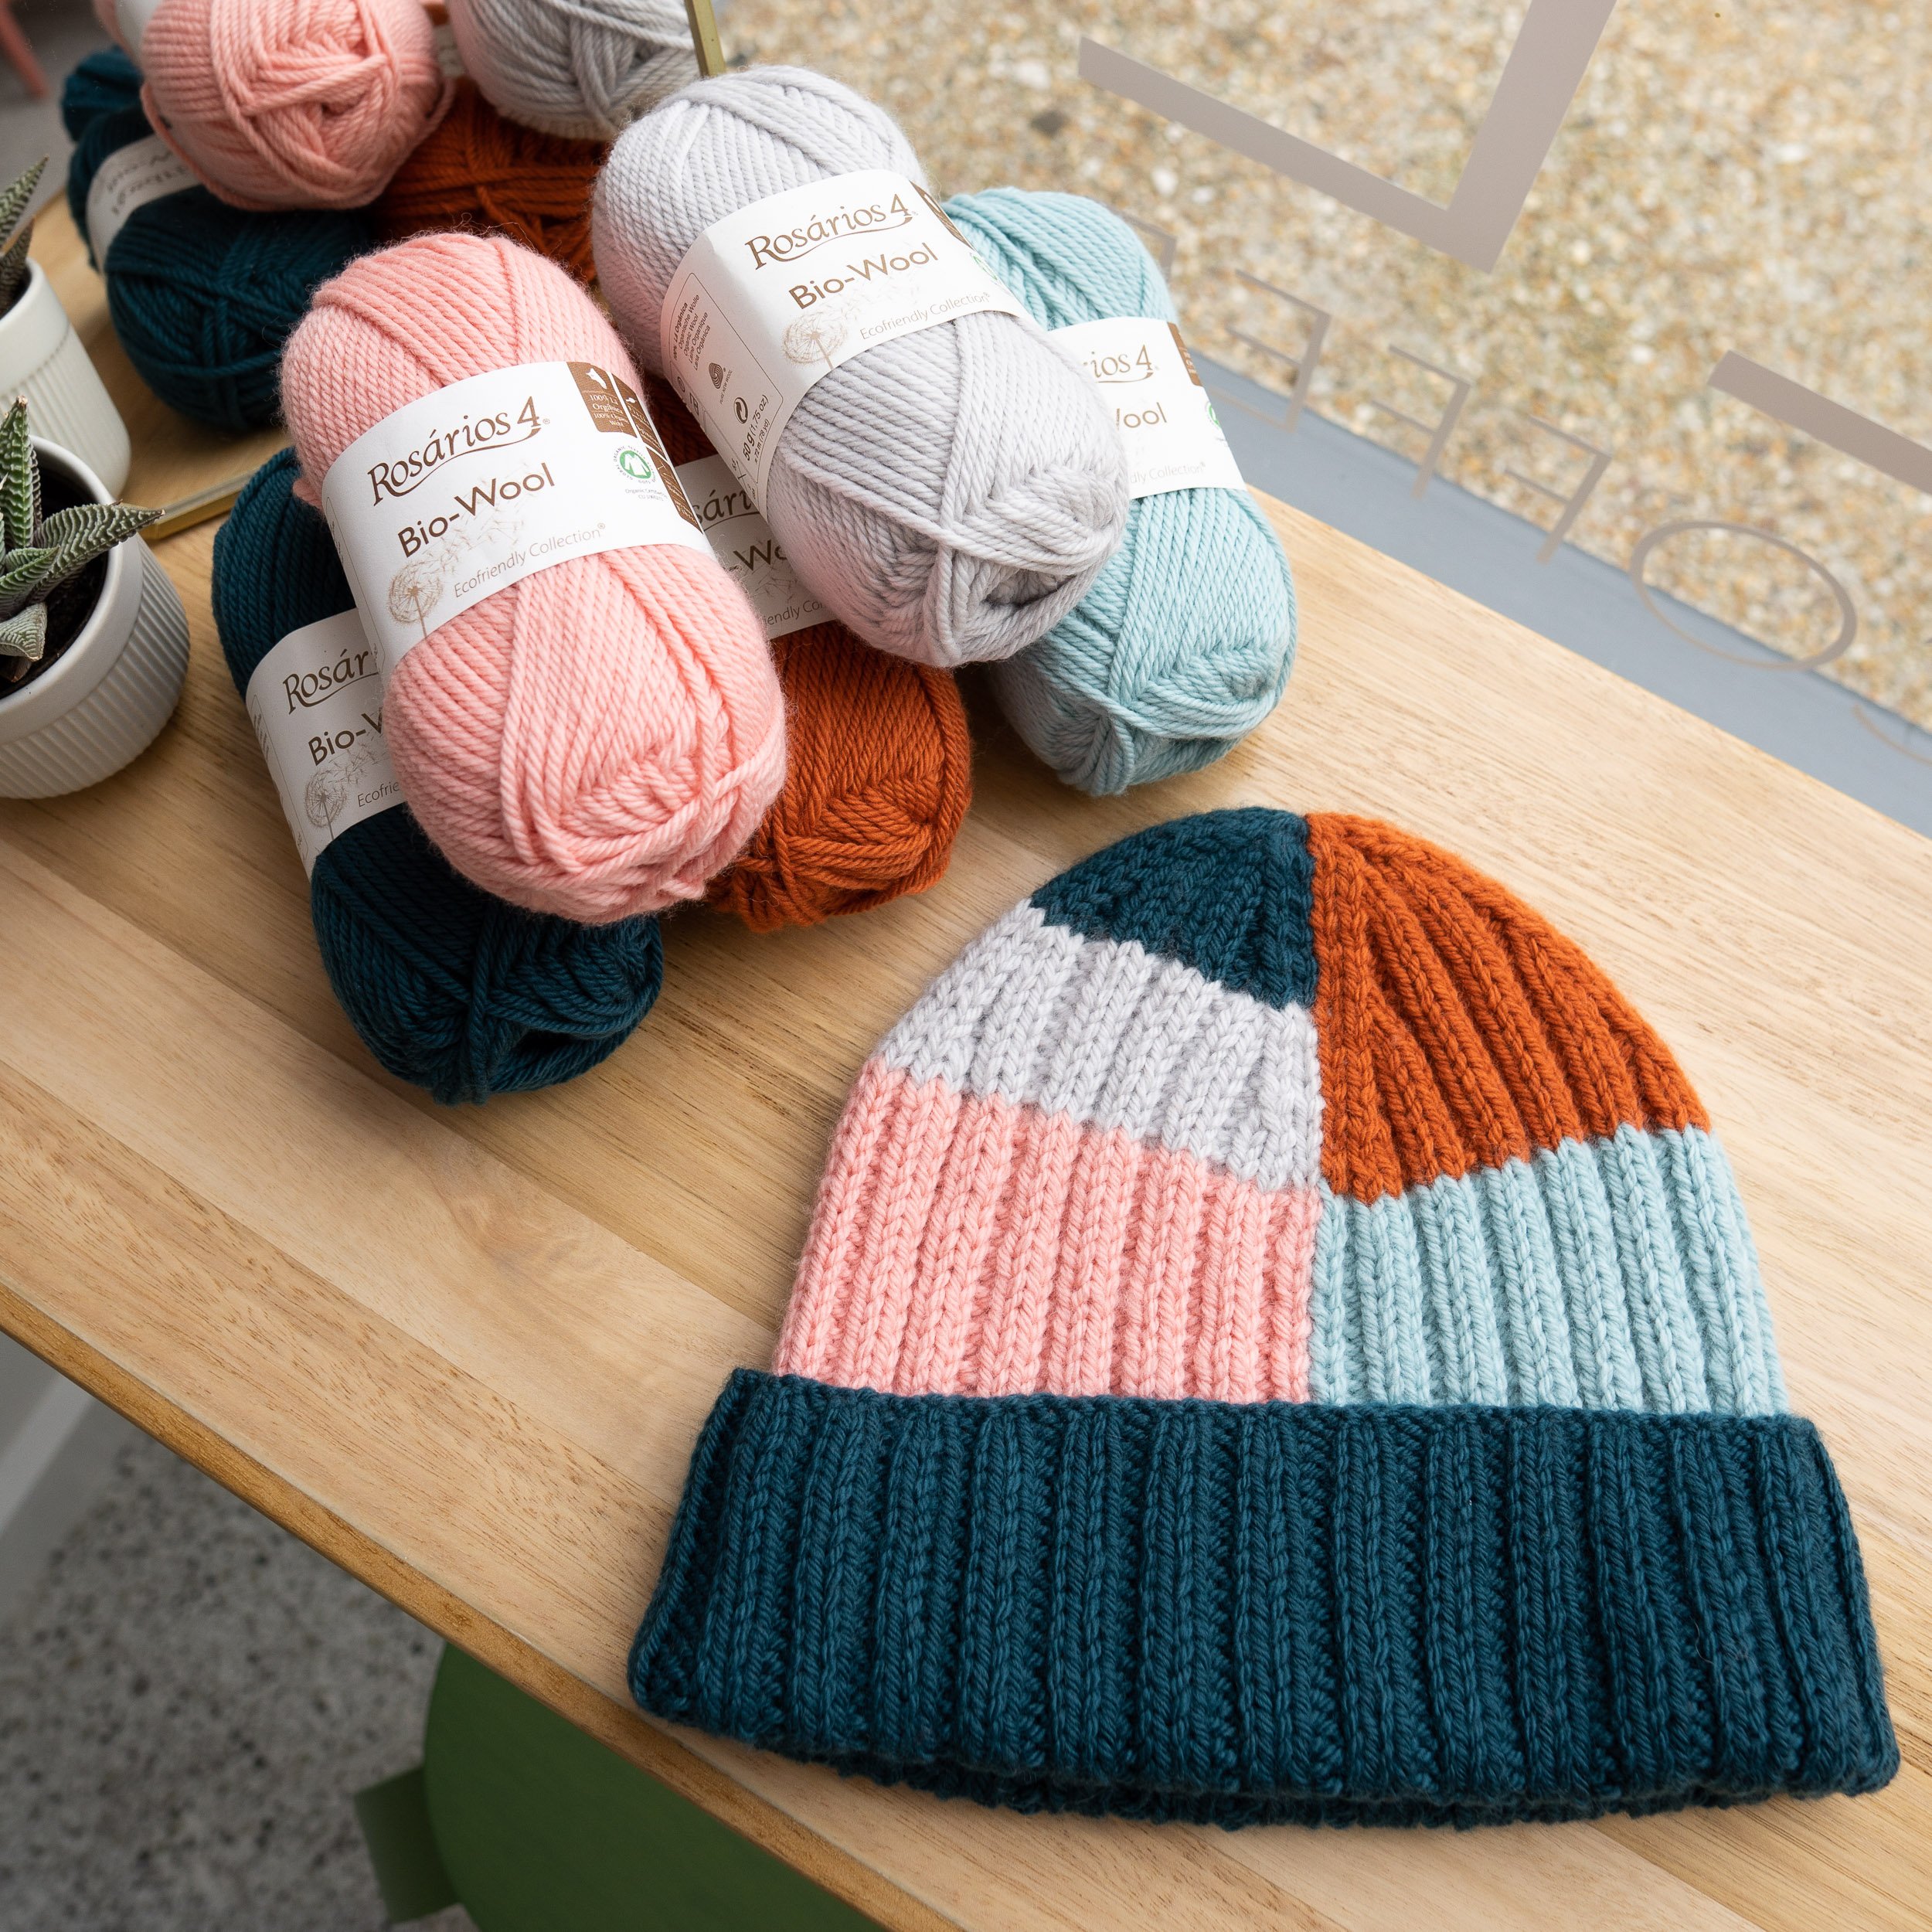
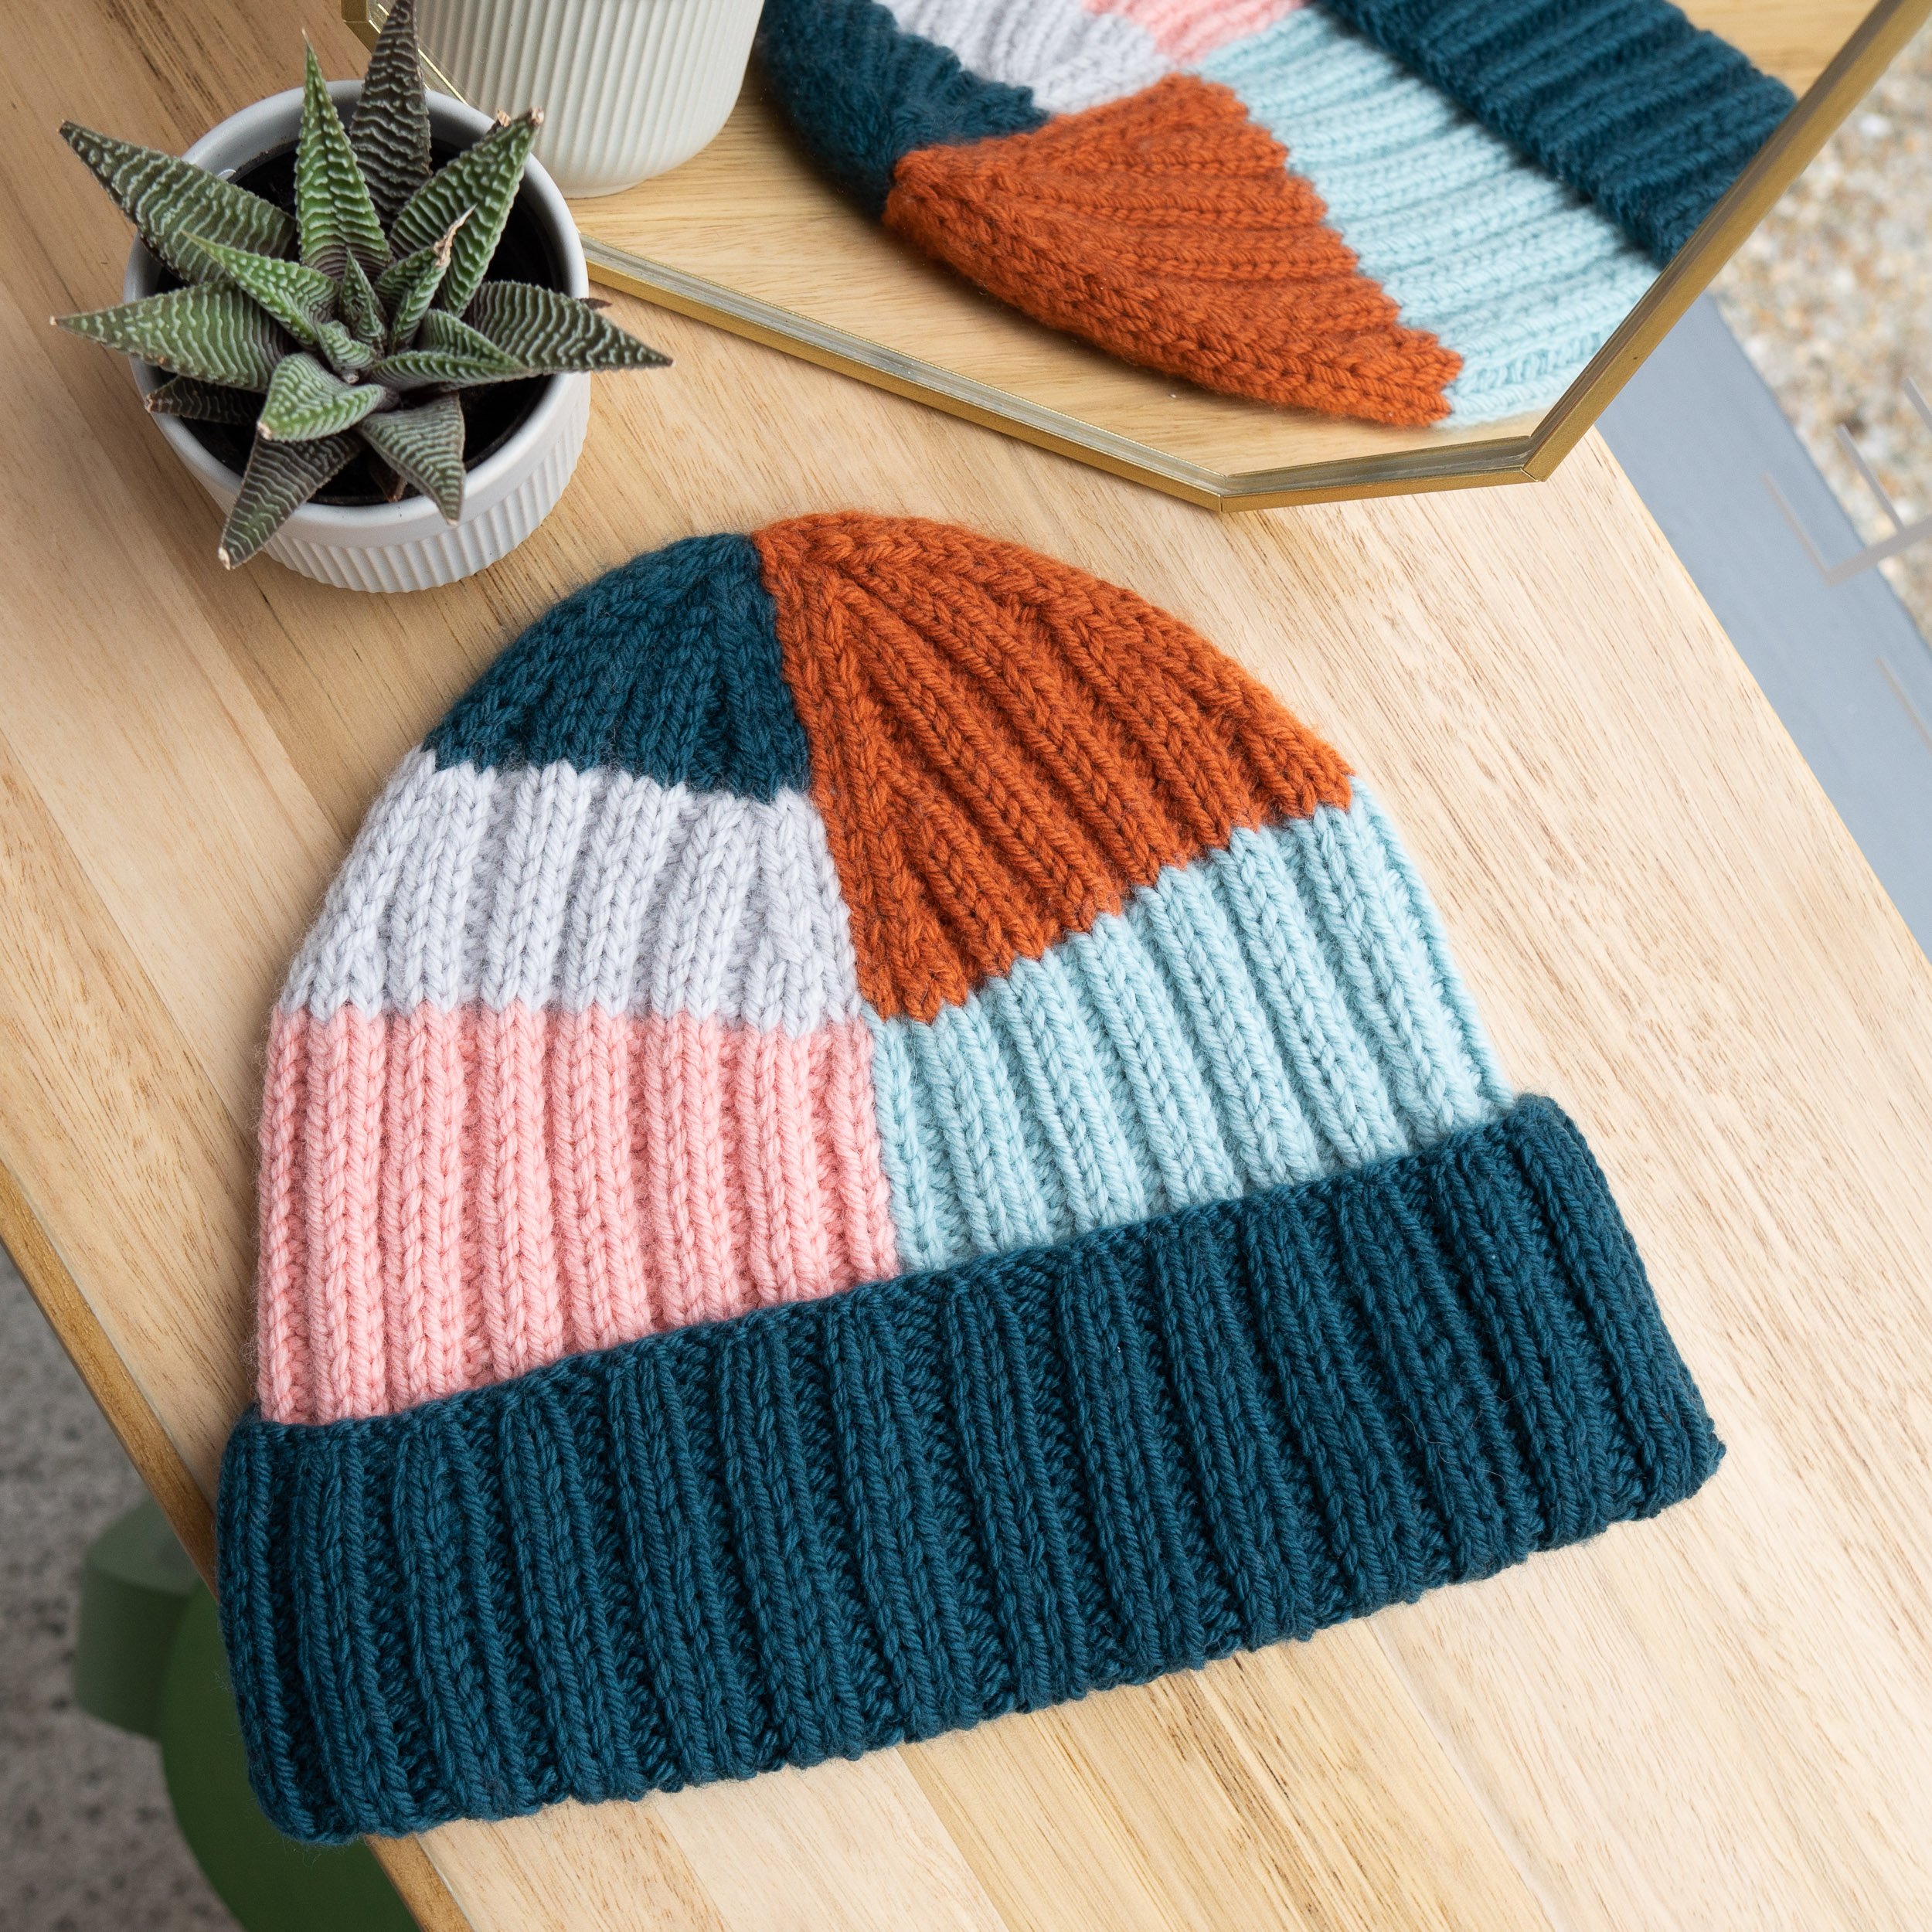
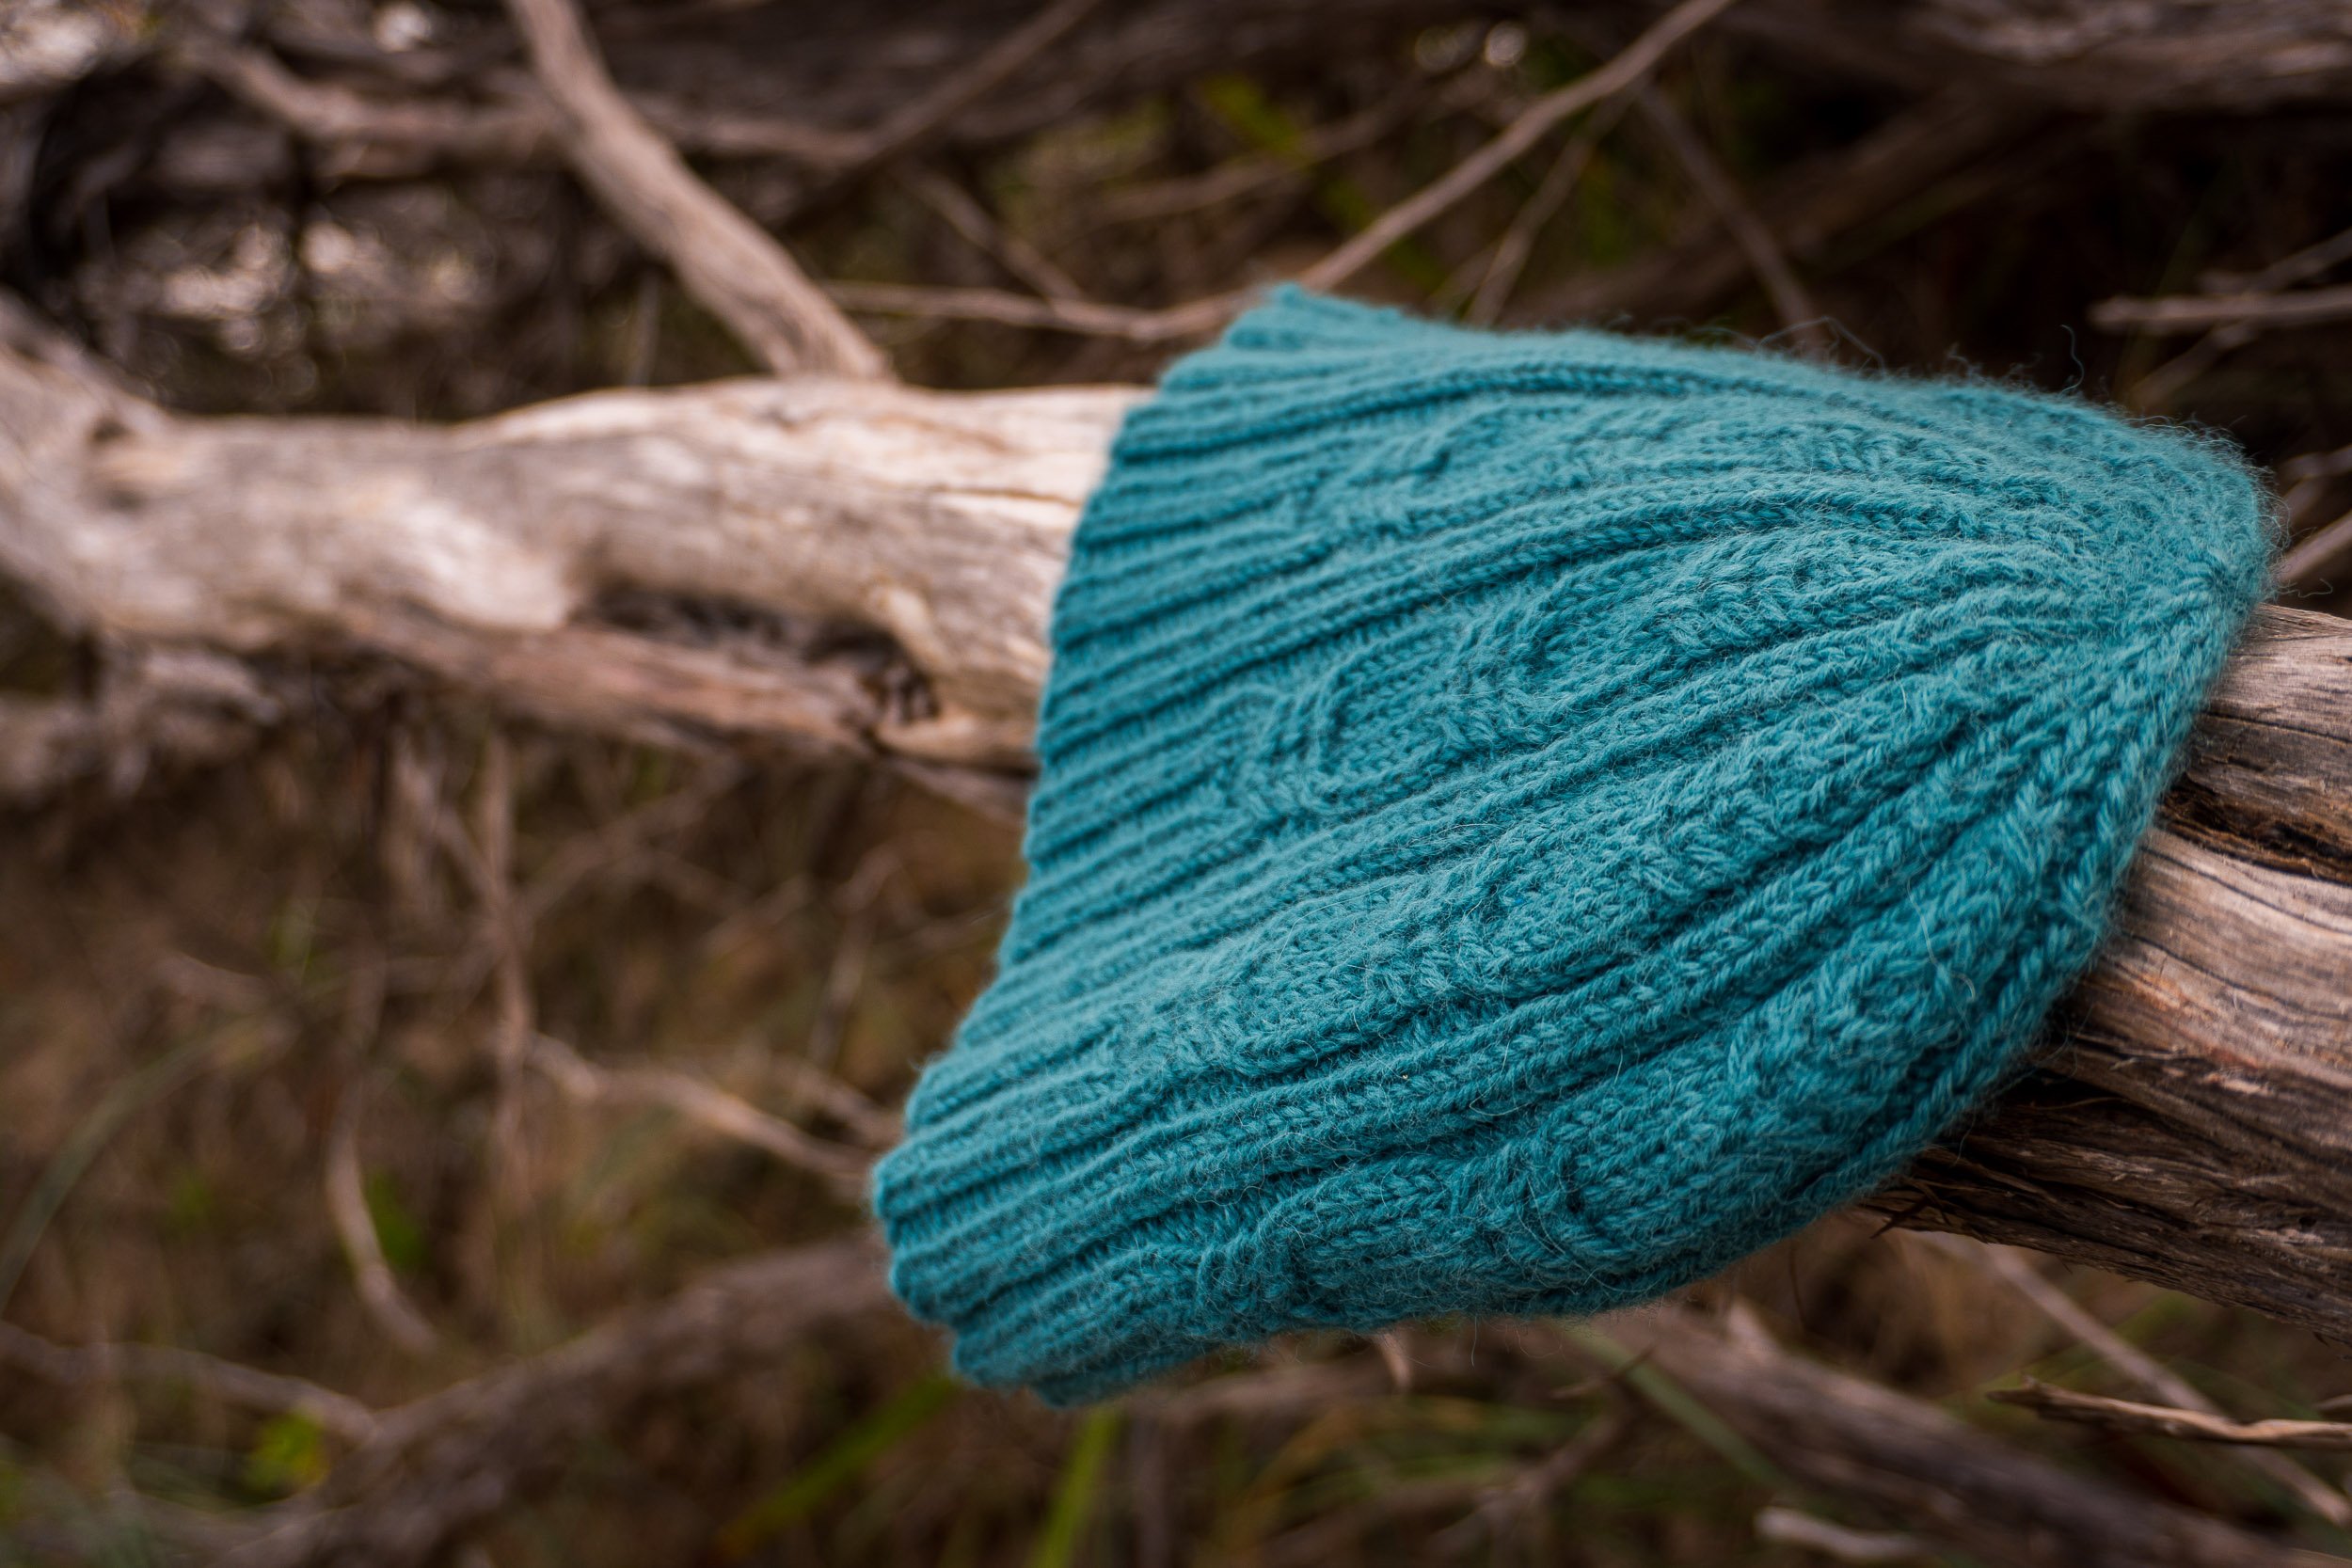
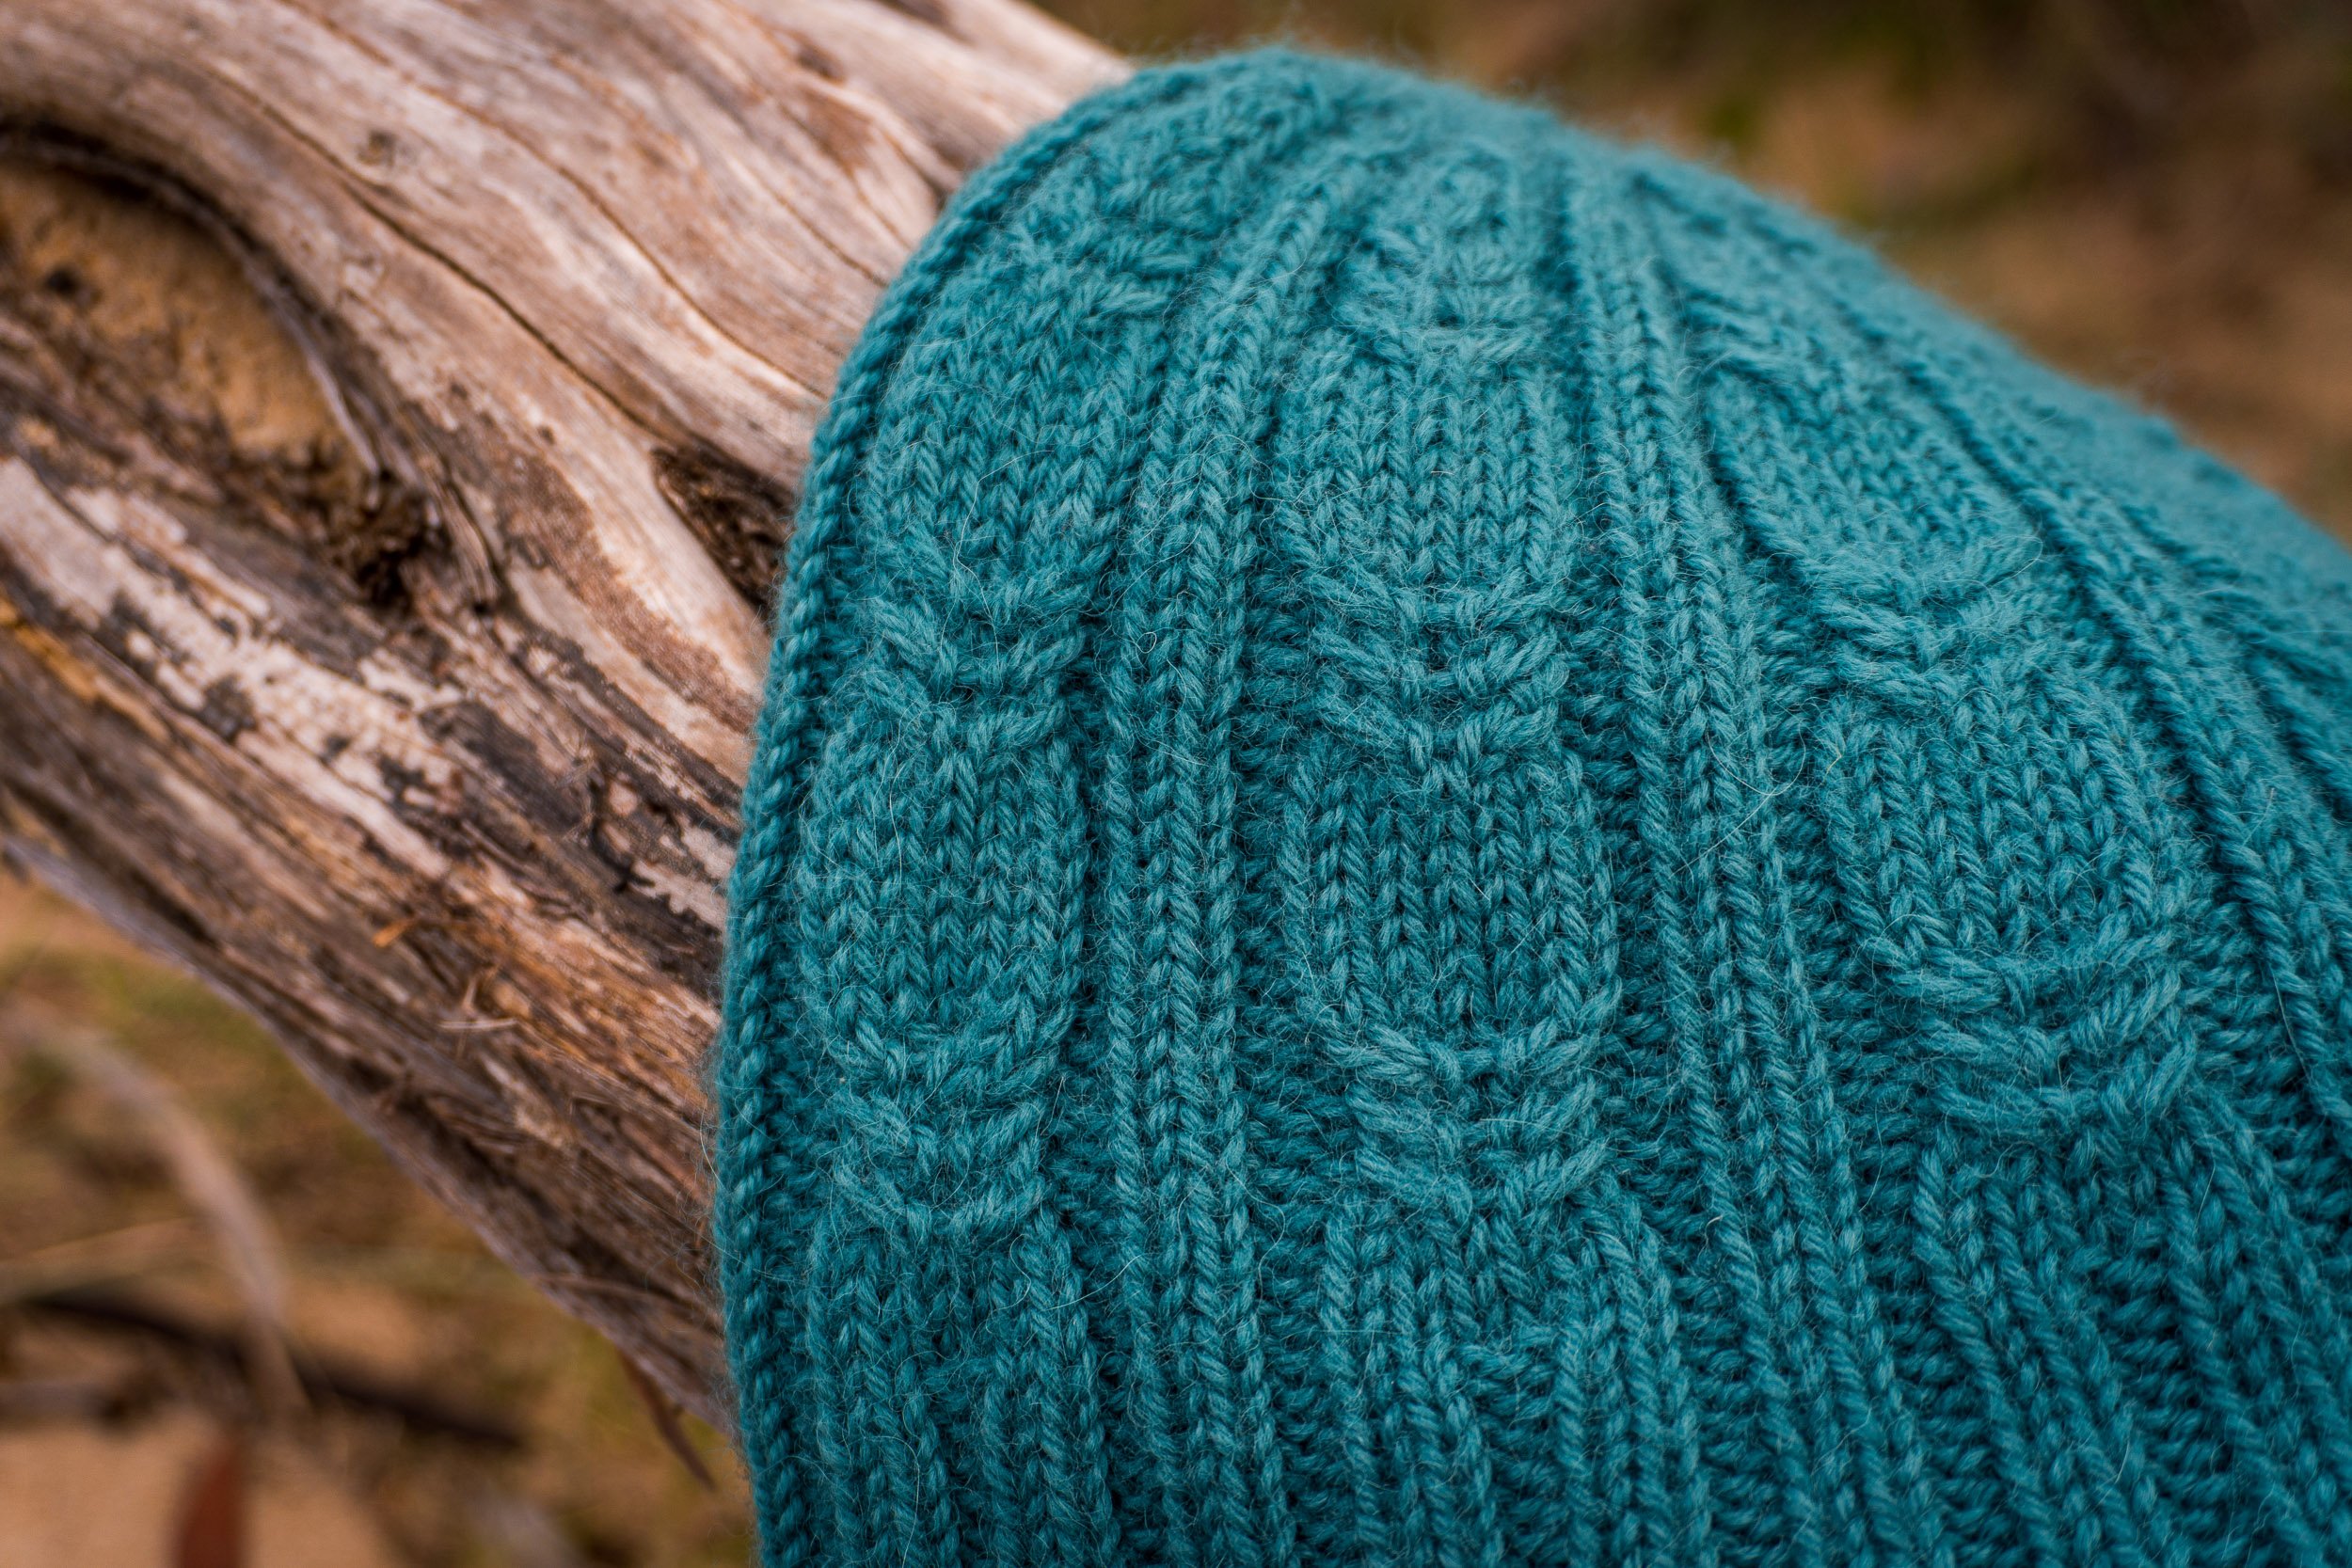
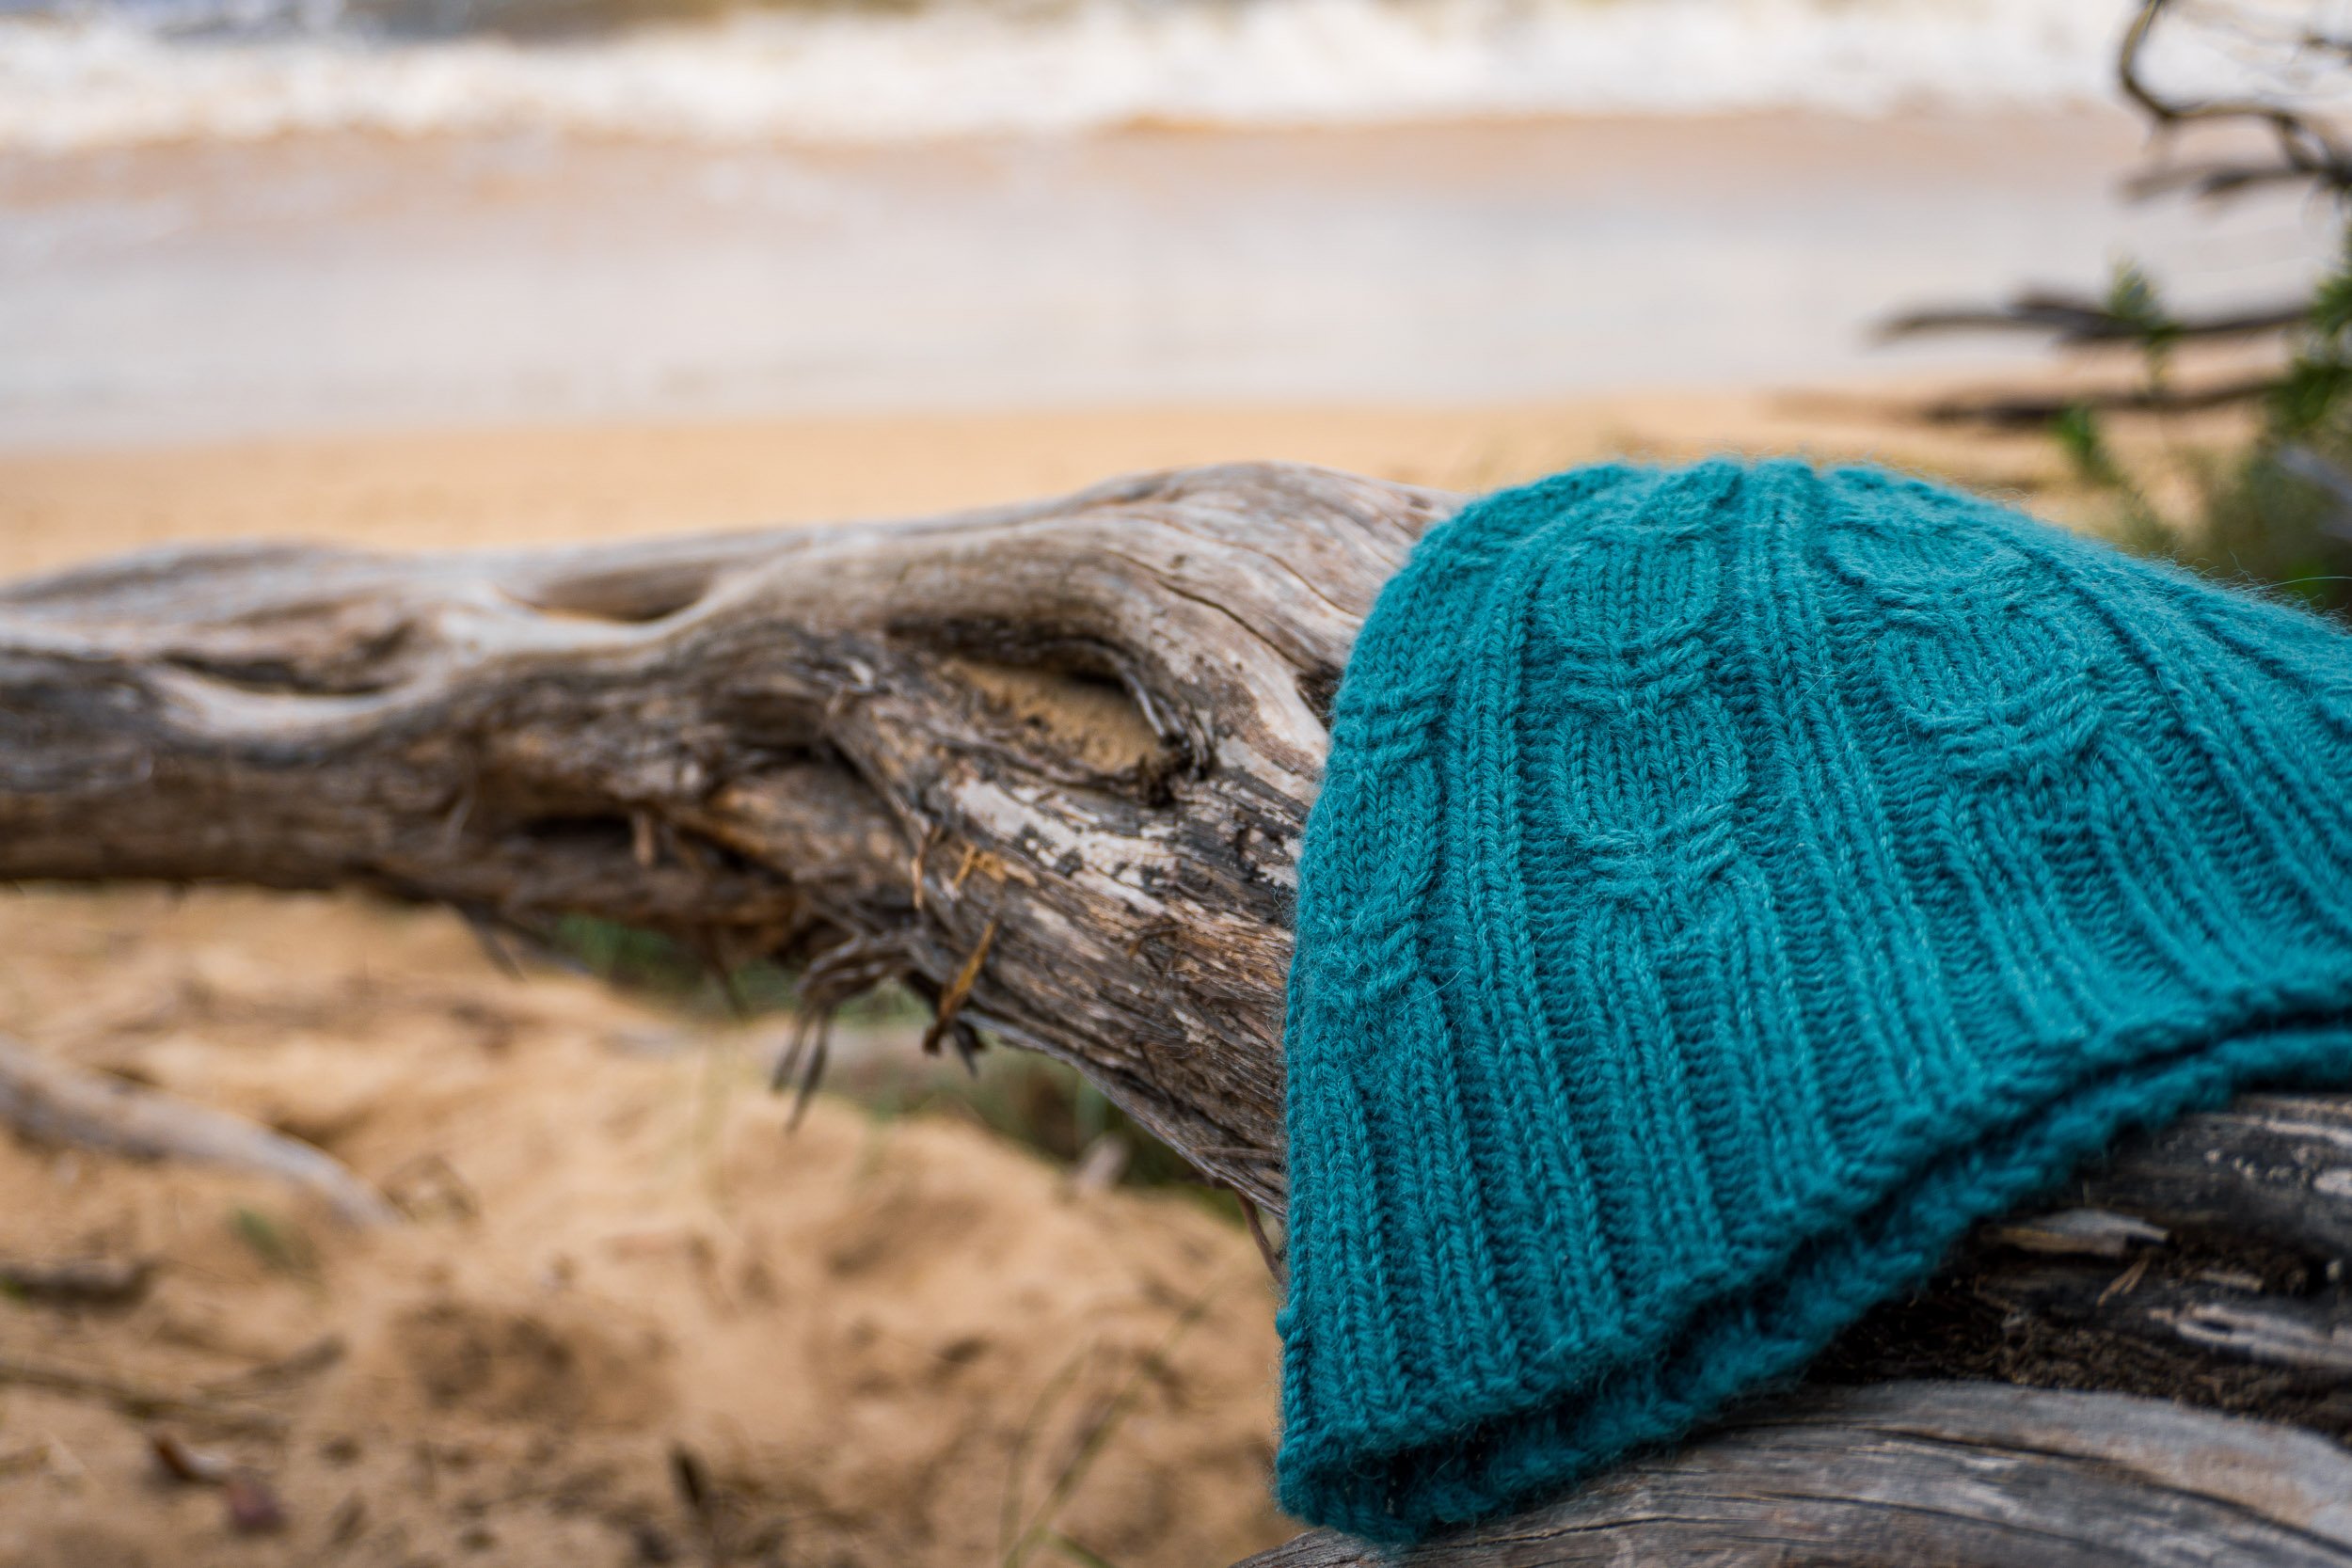
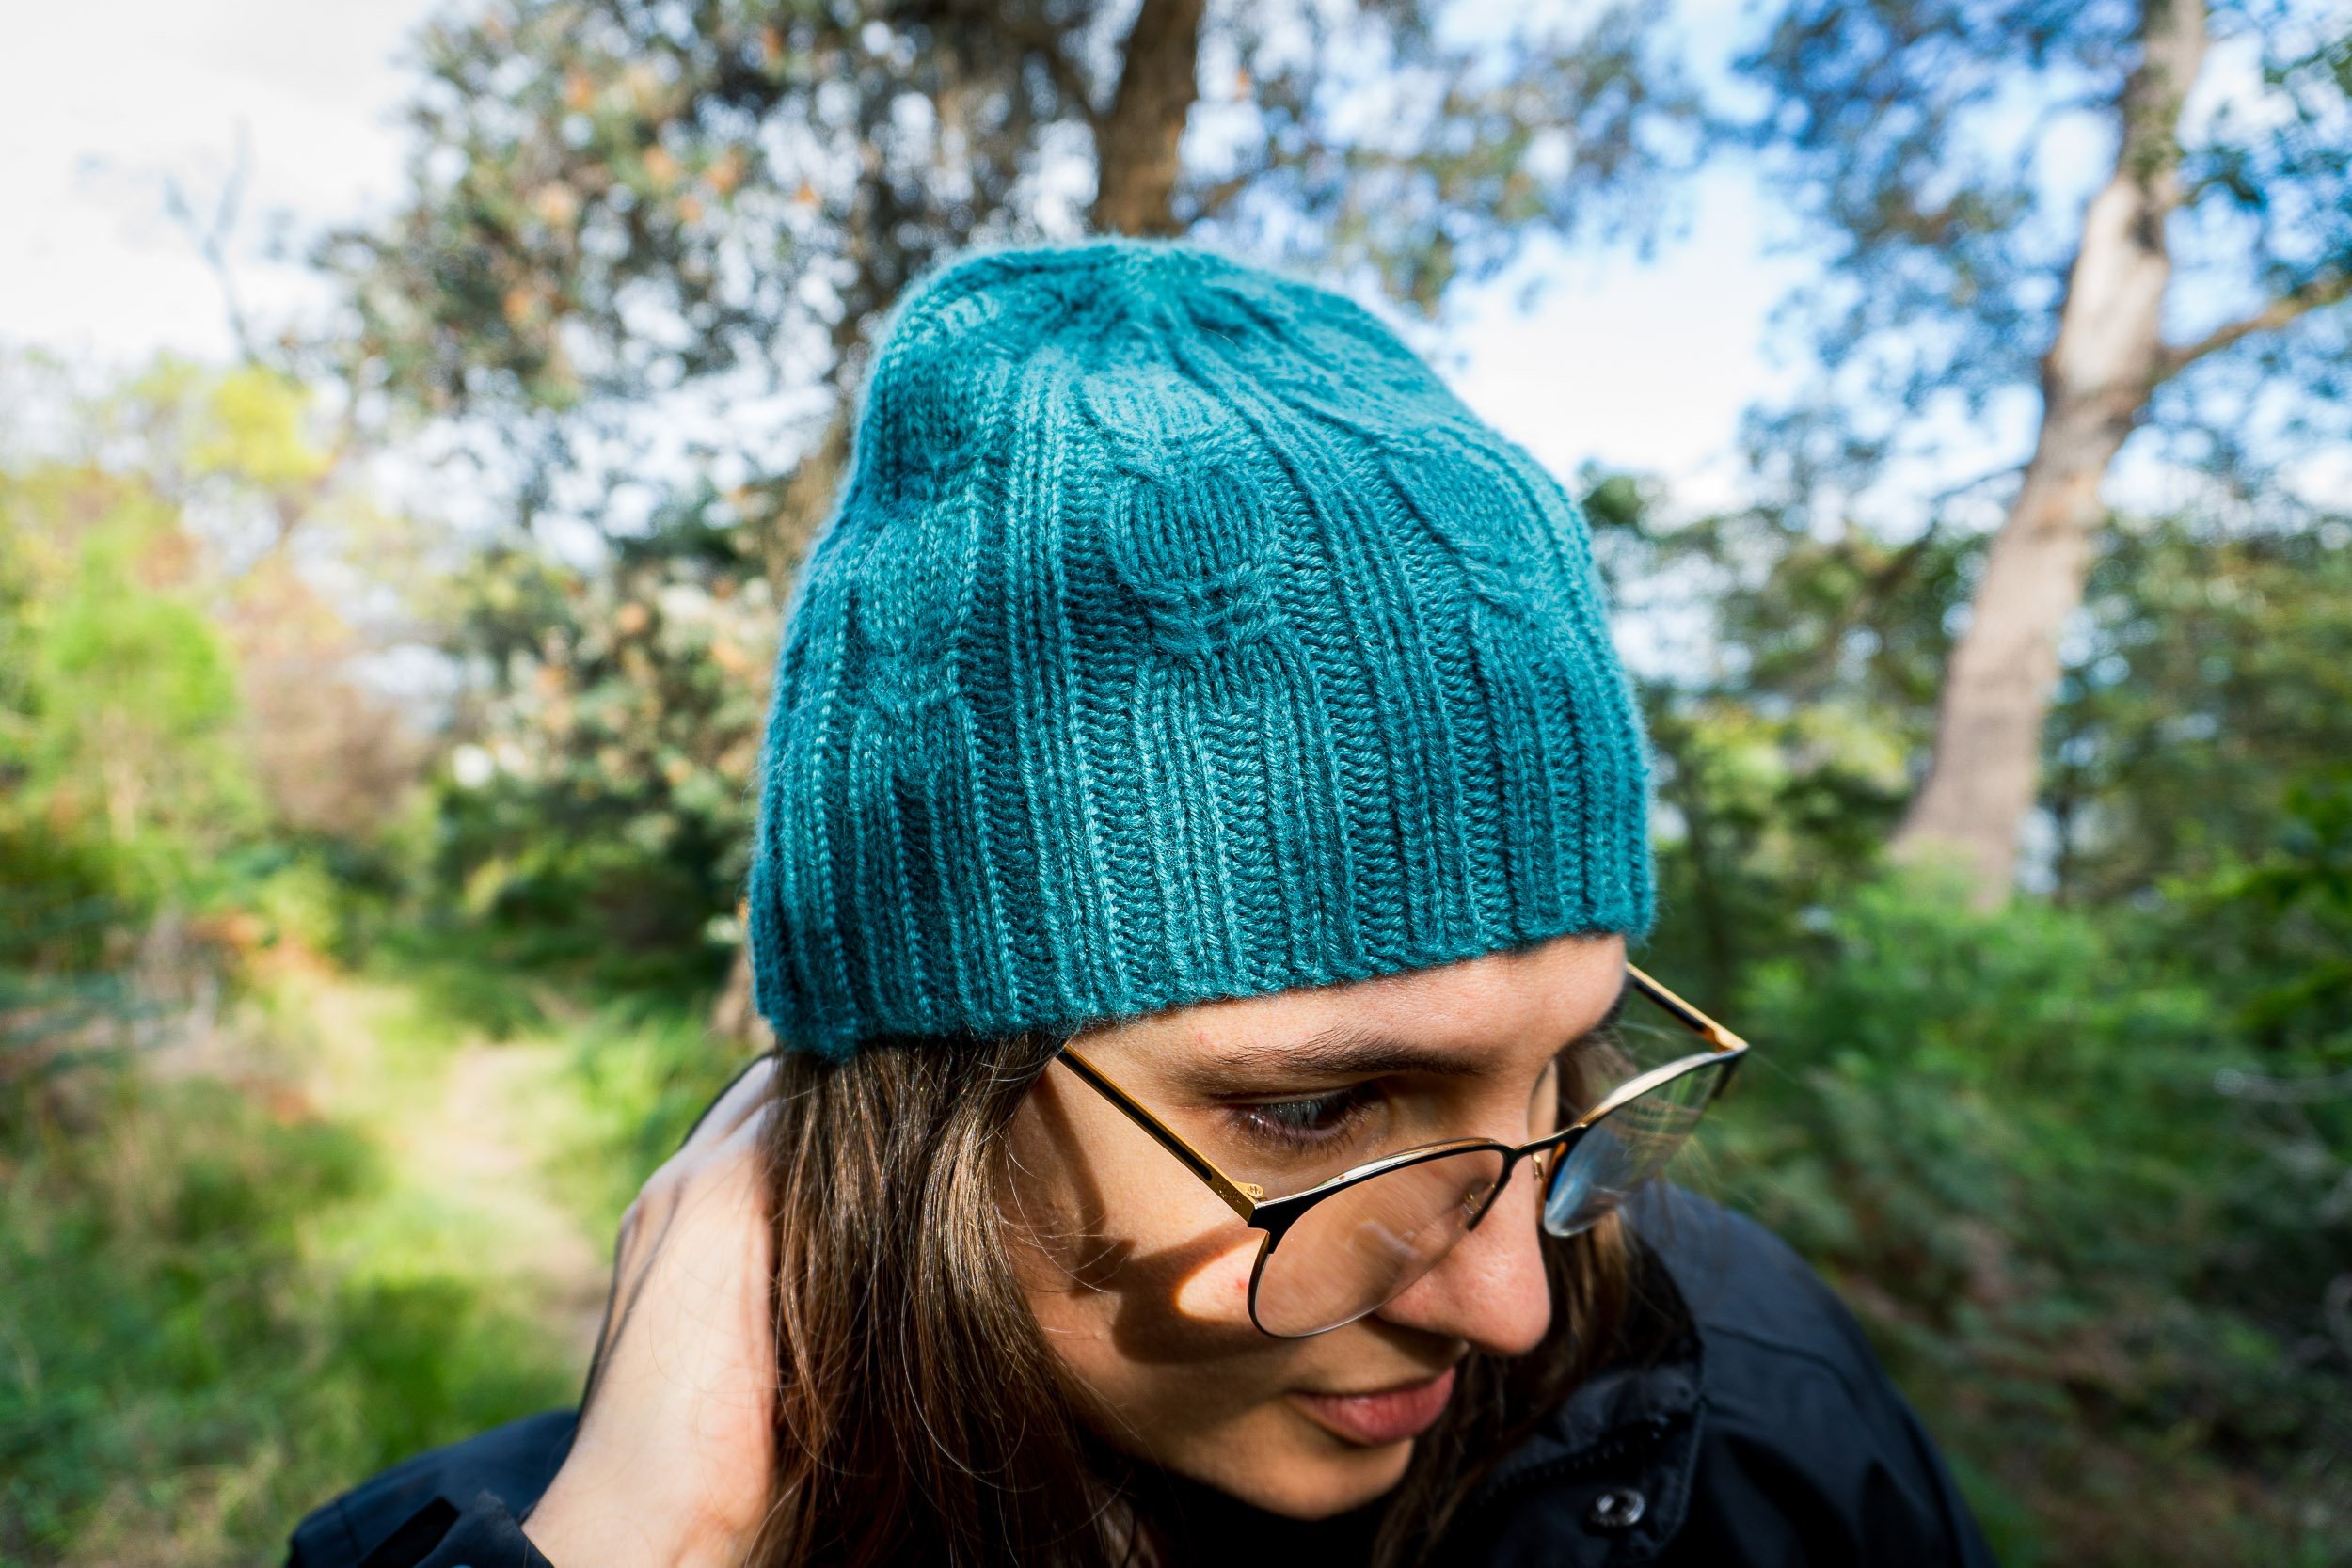
So join me while I explore the wonderfully squishy and colourful Periphery beanie. You’ll find my project notes below.

Enjoy!

Andrea | Loom + Spindle


STUDIO PROJECT | Periphery

DESIGN

Periphery, a design by Kjerstin Rovetta, was first published in Pom Pom Quarterly Issue 43, November 2022.

SKILLS

  • Knit and purl stitches

  • Working in the round

  • Decreasing

  • Intarsia (instructions included in pattern)

  • Twisted German cast-on

TOOLS

MATERIALS

Bio-Wool x 5 Shades

Kits available HERE.


The Project


INSIGHTS AND OPPORTUNITIES

YARN + NEEDLES

  • Bio-wool wool was definitely my first choice for this project. It has a nice palette of solid shades, it’s a super squishy 10 ply weight and the squishy woolly handfeel is next to skin soft.

  • The plan was to stick with the established colour themes and play with what I had on hand and in the shop. I picked out five Bio-Wool colours, some were new balls and some were scraps from other projects.

  • I used a set of double-pointed needles for this project as they were both useful for working the full circumference of the hat and the crown decreases.

CONSTRUCTION + FINISHING

  • I’m seeing a lot of intarsia designs this year with Pom Pom paving the way! I’ve been a little hesitant to dive in but this small scale project seemed approachable.

  • The technique of working intarsia in-the-round was detailed clearly in the pattern instructions. I found the process fairly straightforward and didn’t get too tangled 😅

  • I found lots of Youtube videos on the twisted German cast-on method. Already familiar with long-tail cast-ons, I found this method similar and fairly easy to pick up. Will definitely use it again!

  • I love the colour block elements of this design. The pattern includes an option for a clever invisible colour change, which I did use and I’m very happy with the results.


FINAL THOUGHTS

Periphery was another good skill building project. I learnt the twisted German cast-on method, working intarsia in the round and the invisible colour change!

The design offers lots of room for colour-play, I definitely encourage mixing and matching what you have on hand. You can be quite free-form with the colour placement so you there’s lots of fun to be had.

I feel like I’m ready to tackle another intarsia project, maybe something on a larger scale - stay tuned!


THANK YOU FOR READING!

Add this project to your Ravelry favourites HERE.


WANT TO KNIT PERIPHERY?


Explore More Studio projects…

You may also like…

EMERGE WRAP | A Studio Project
 

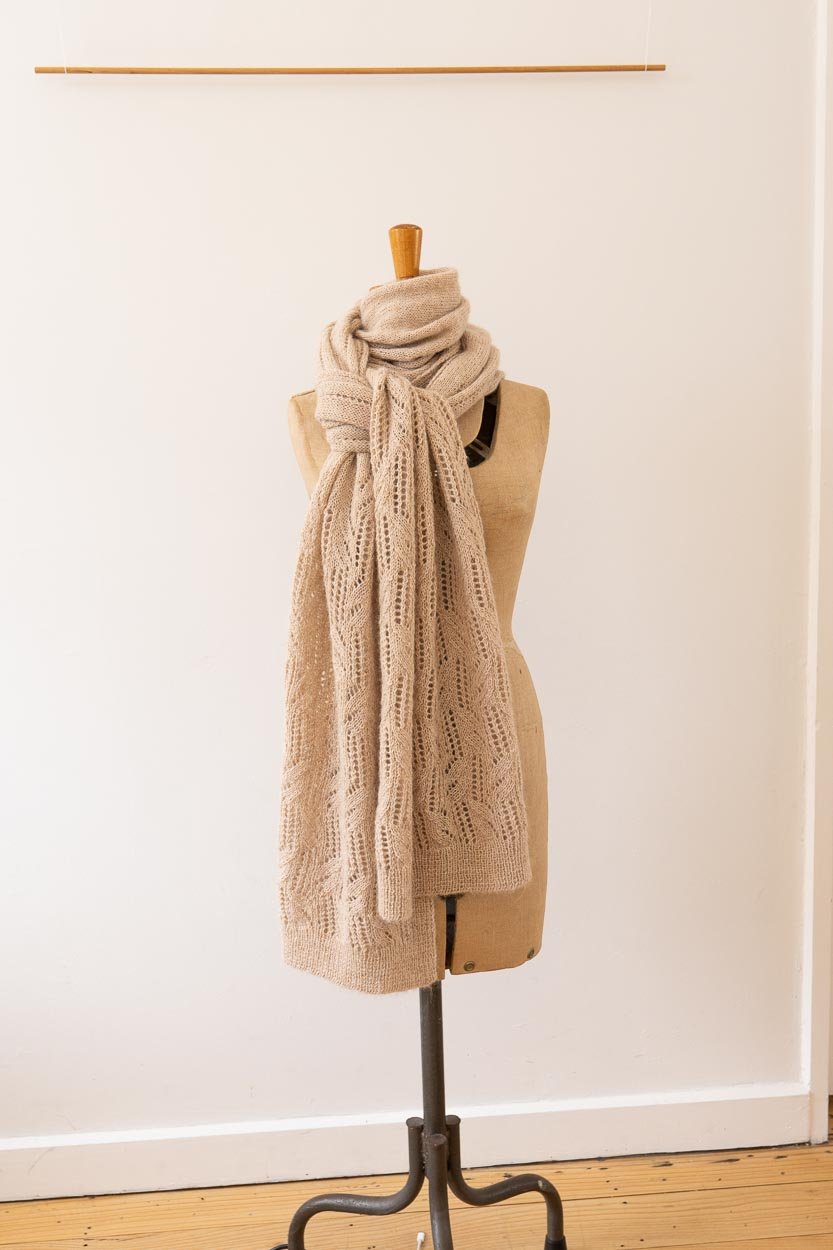
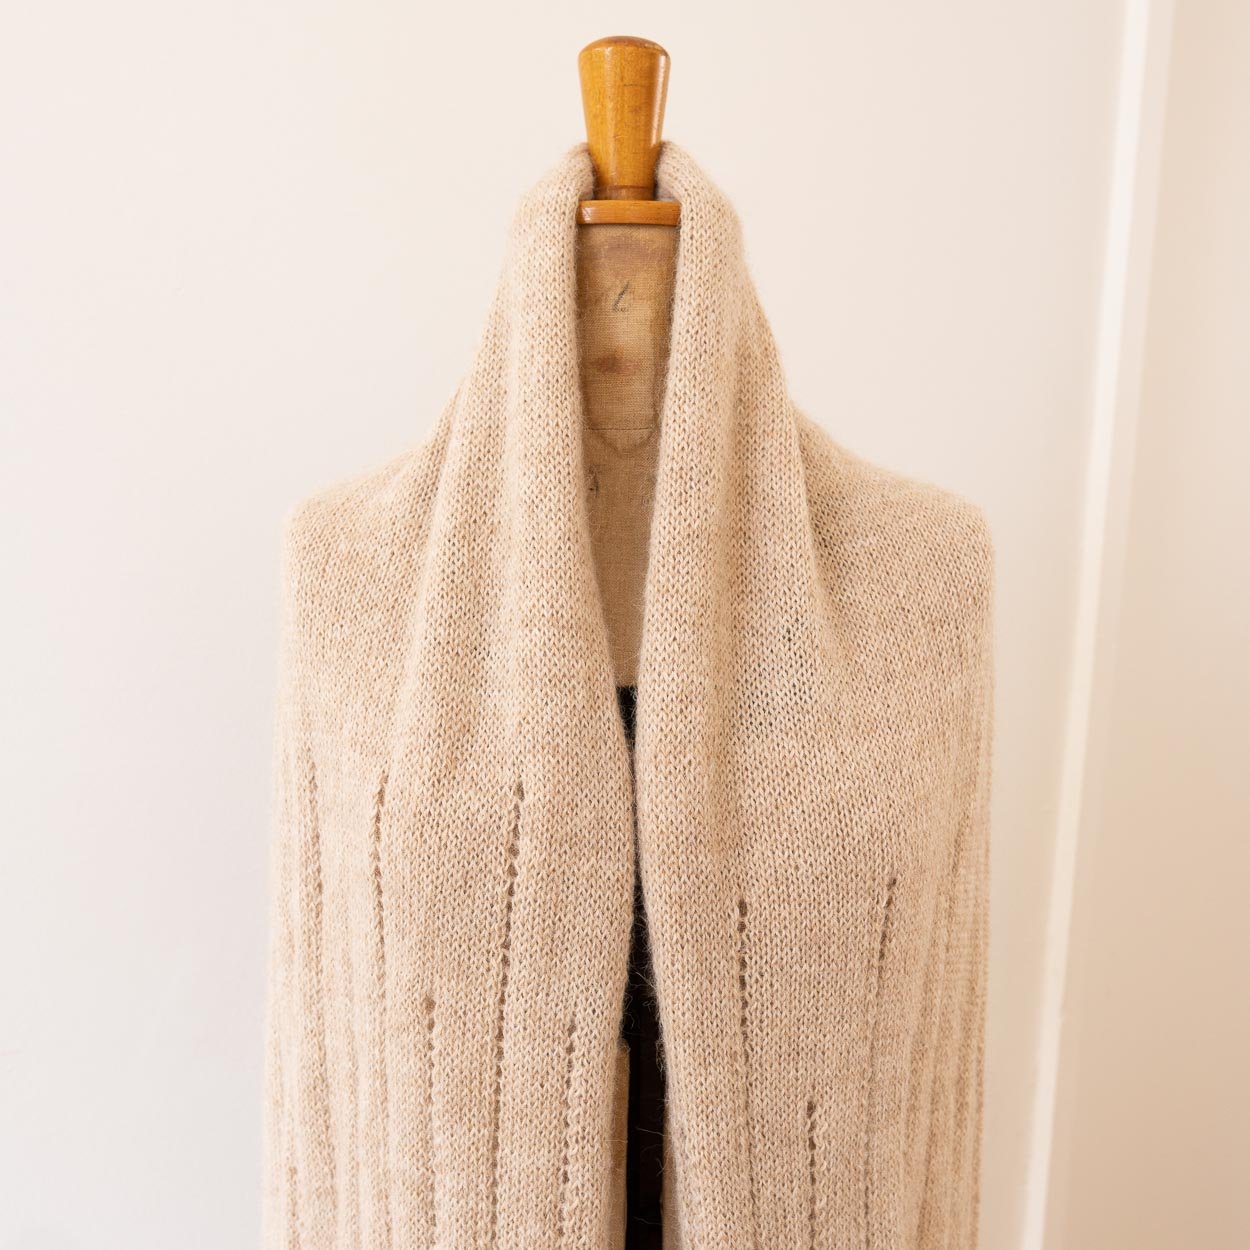
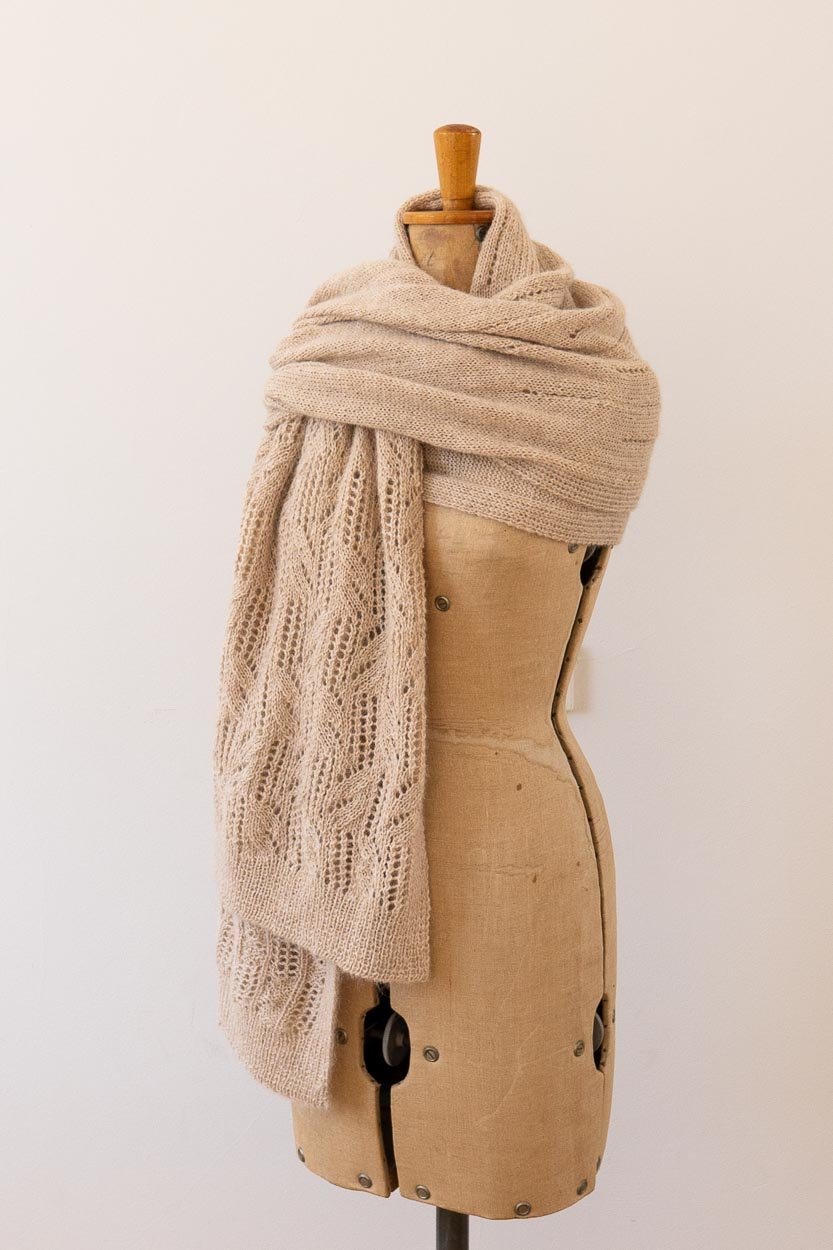
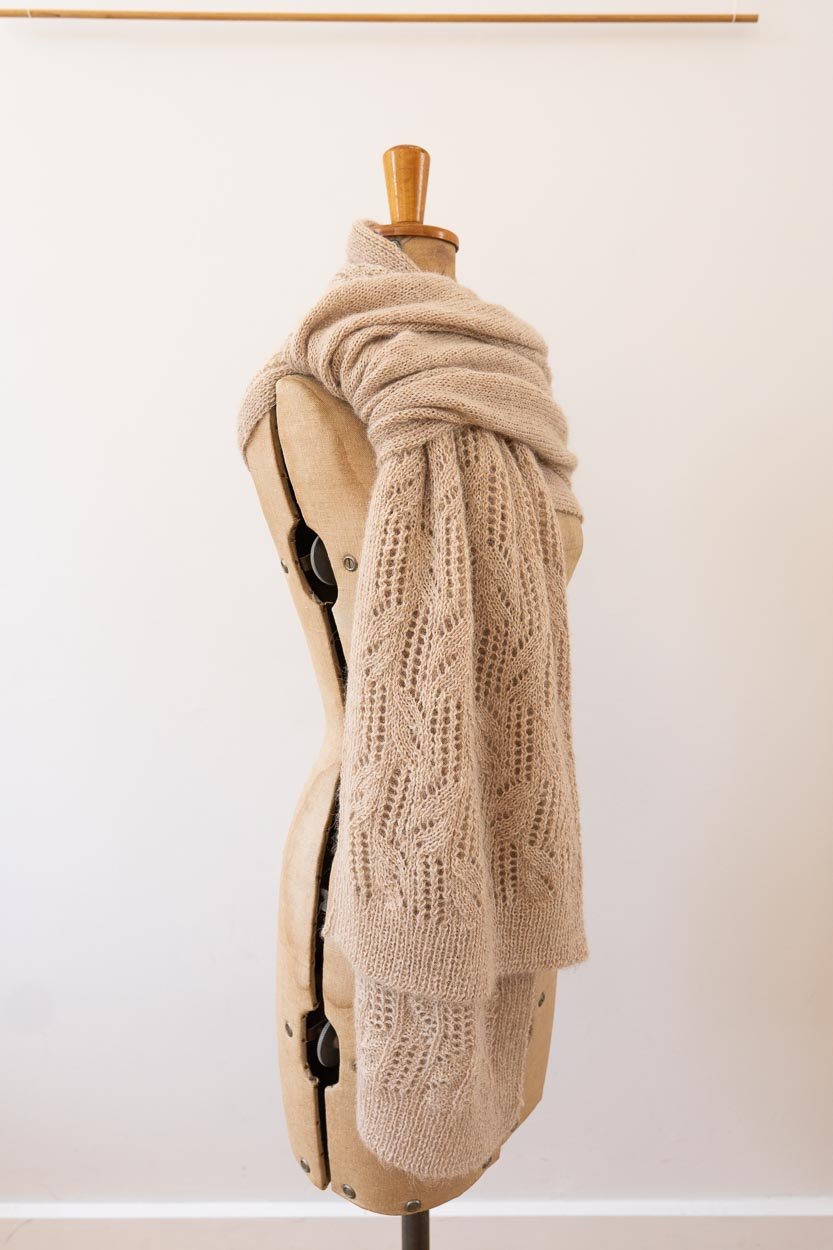
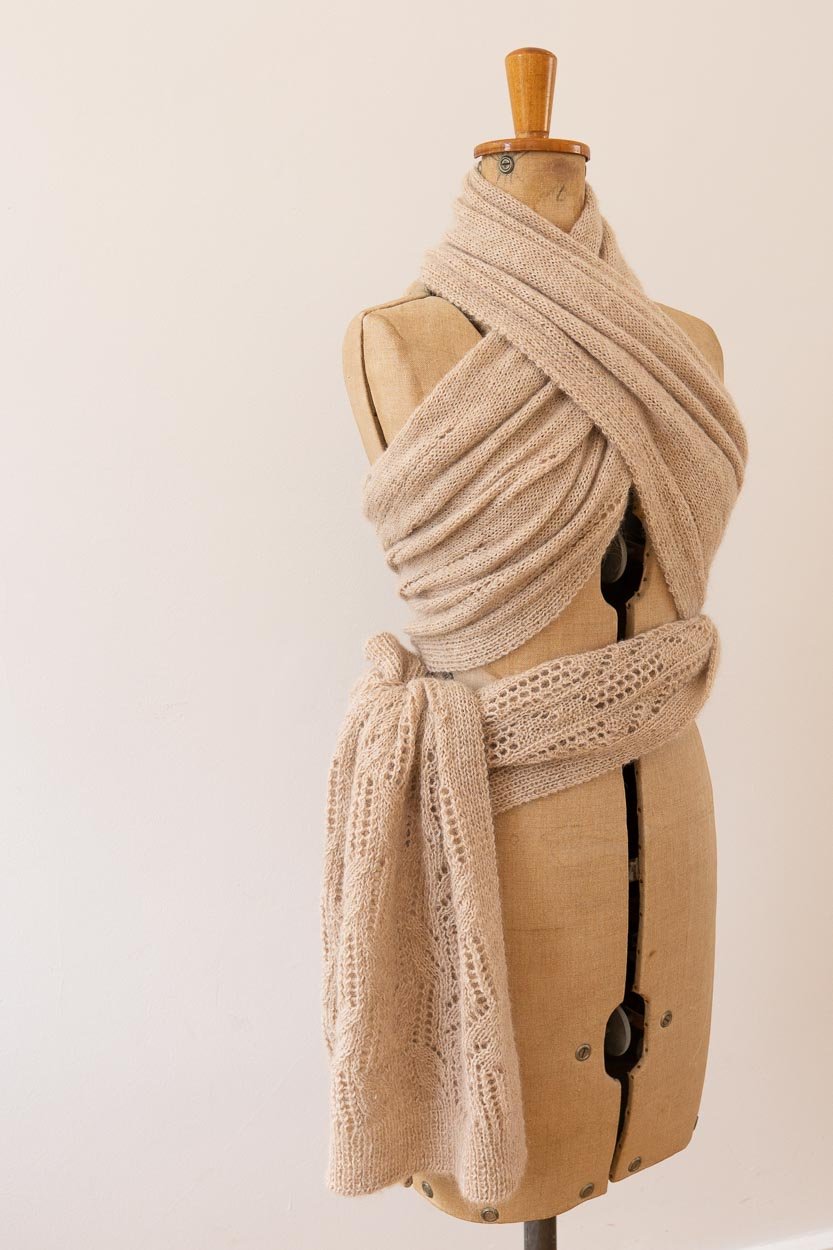
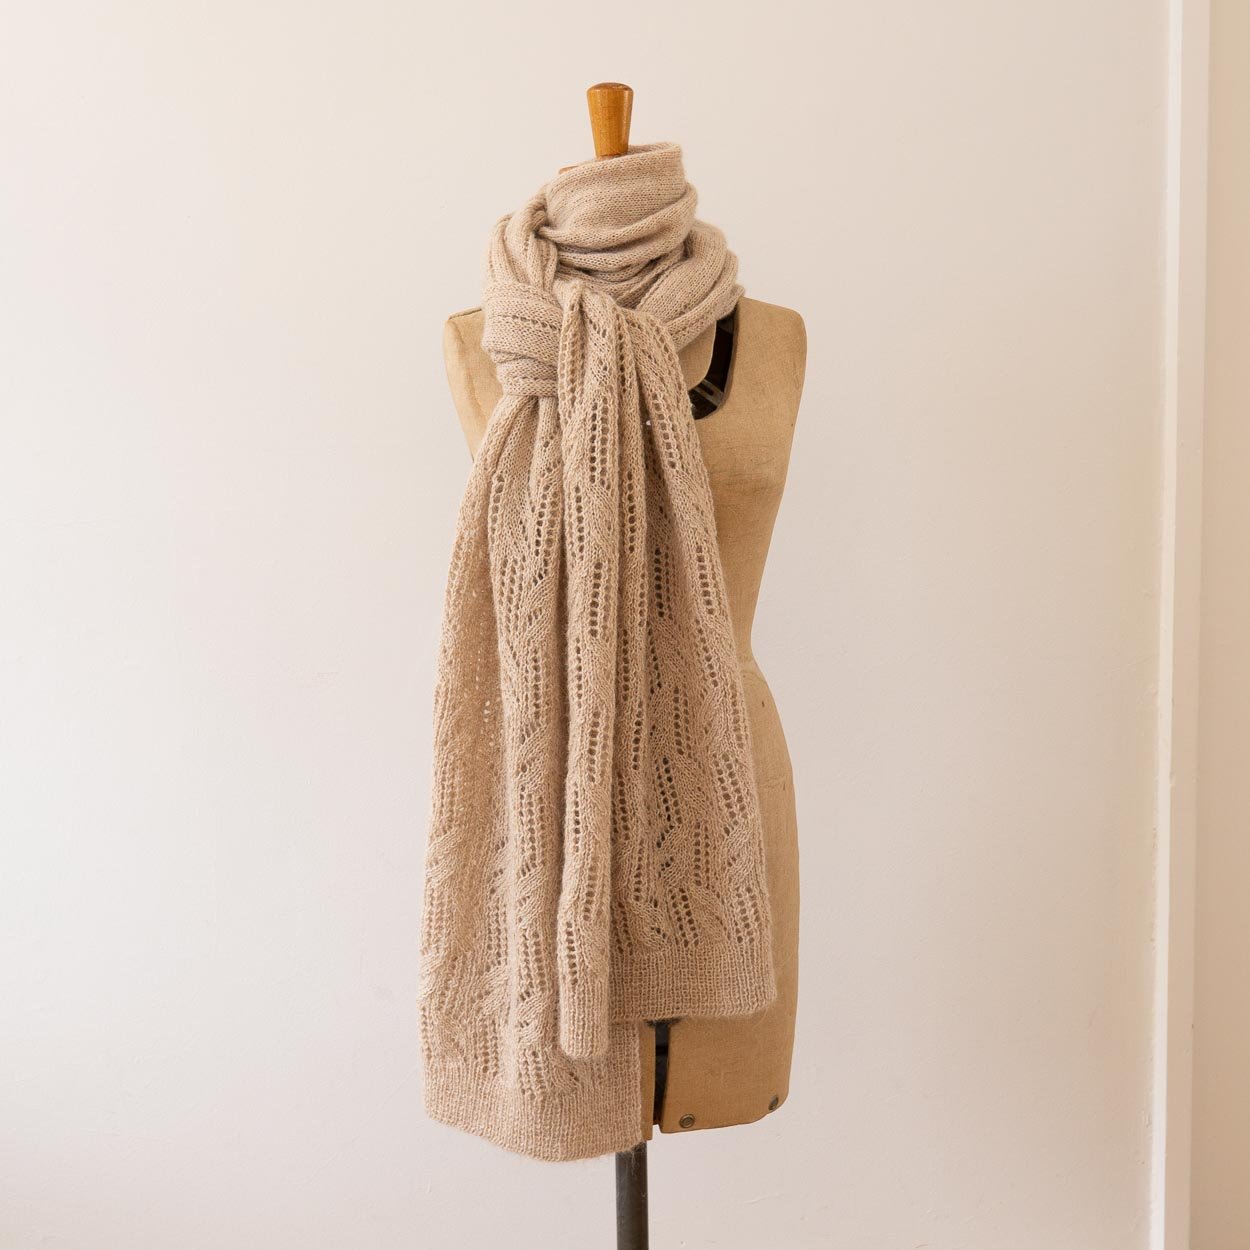
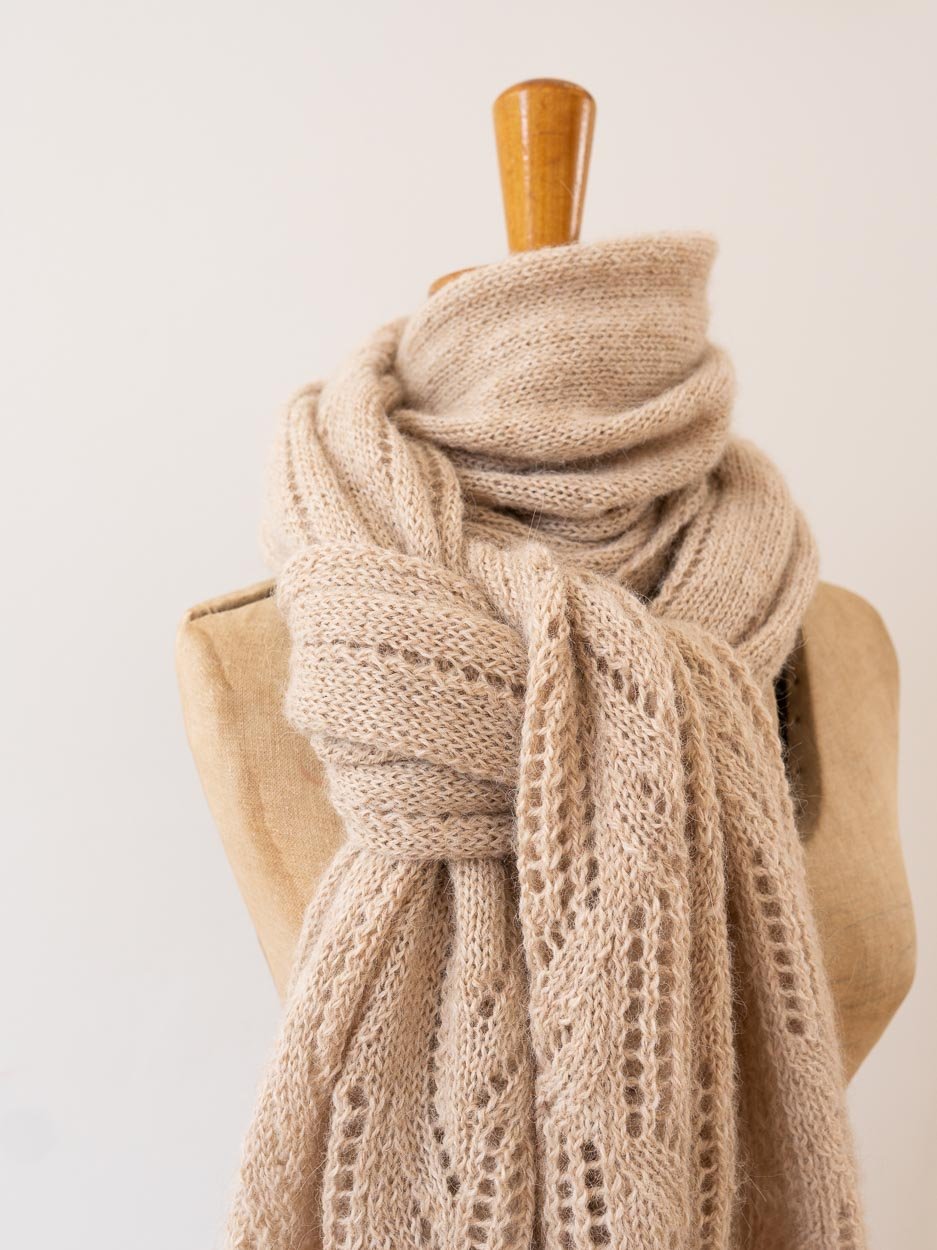
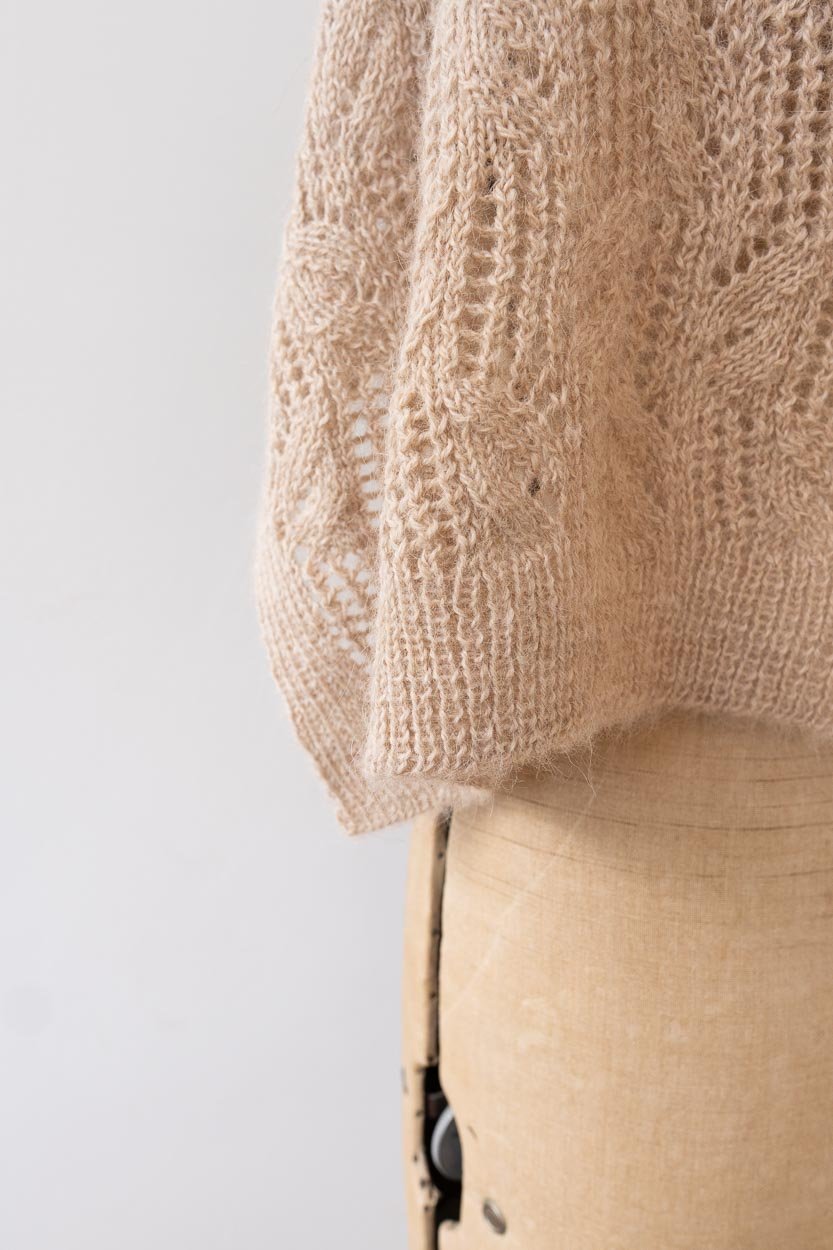
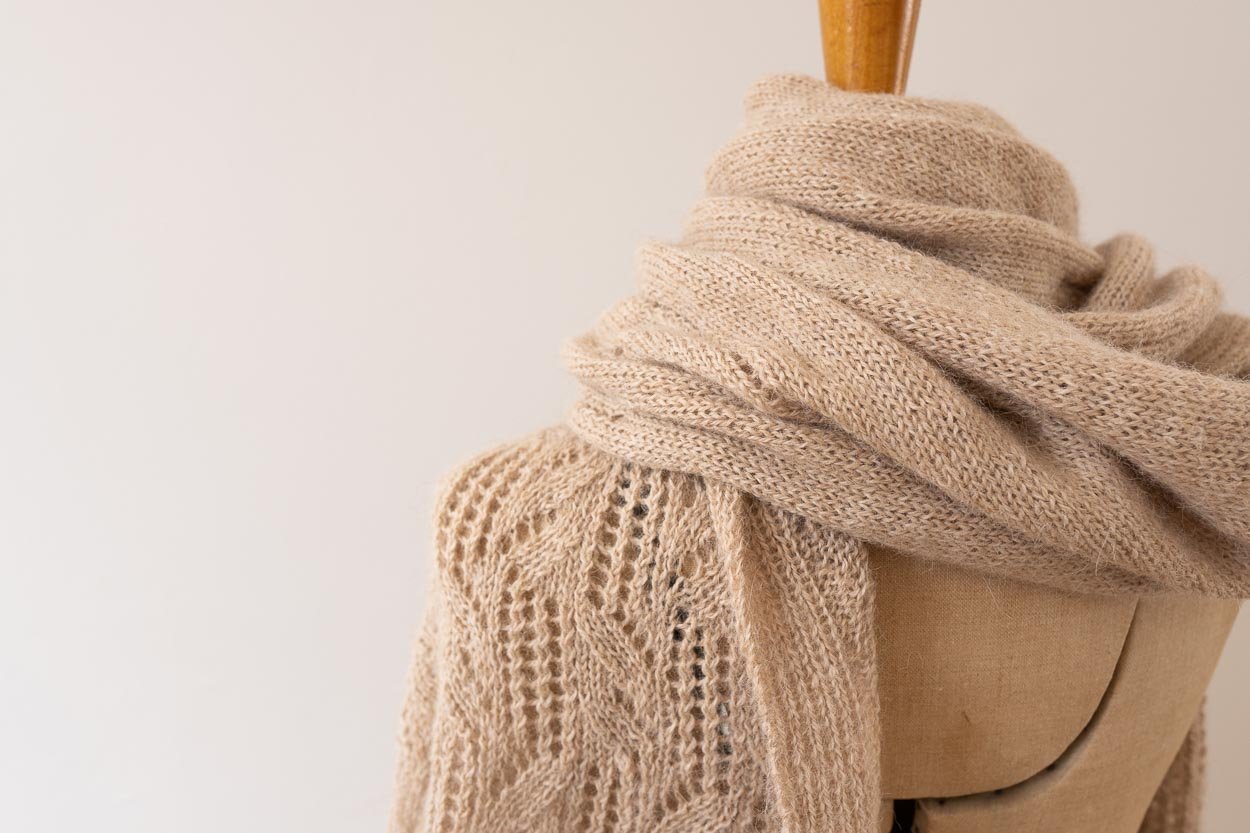
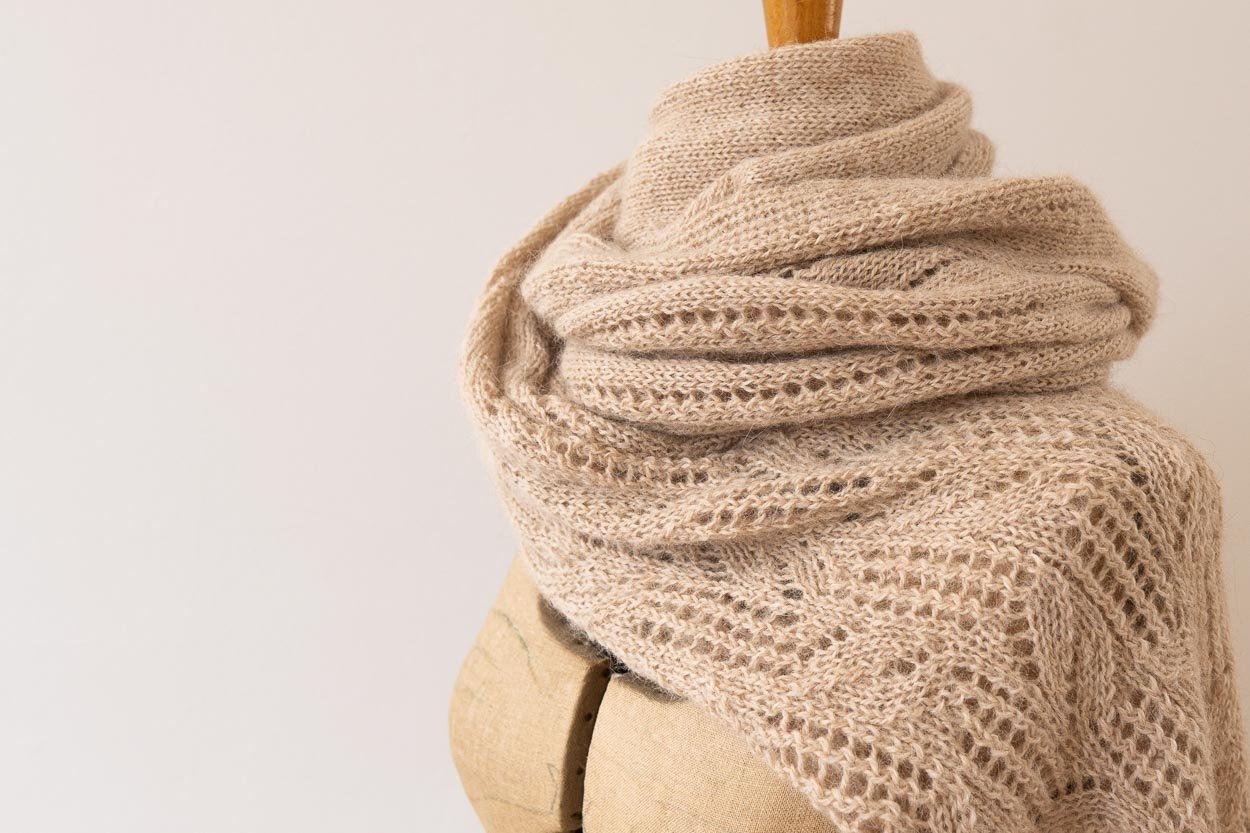
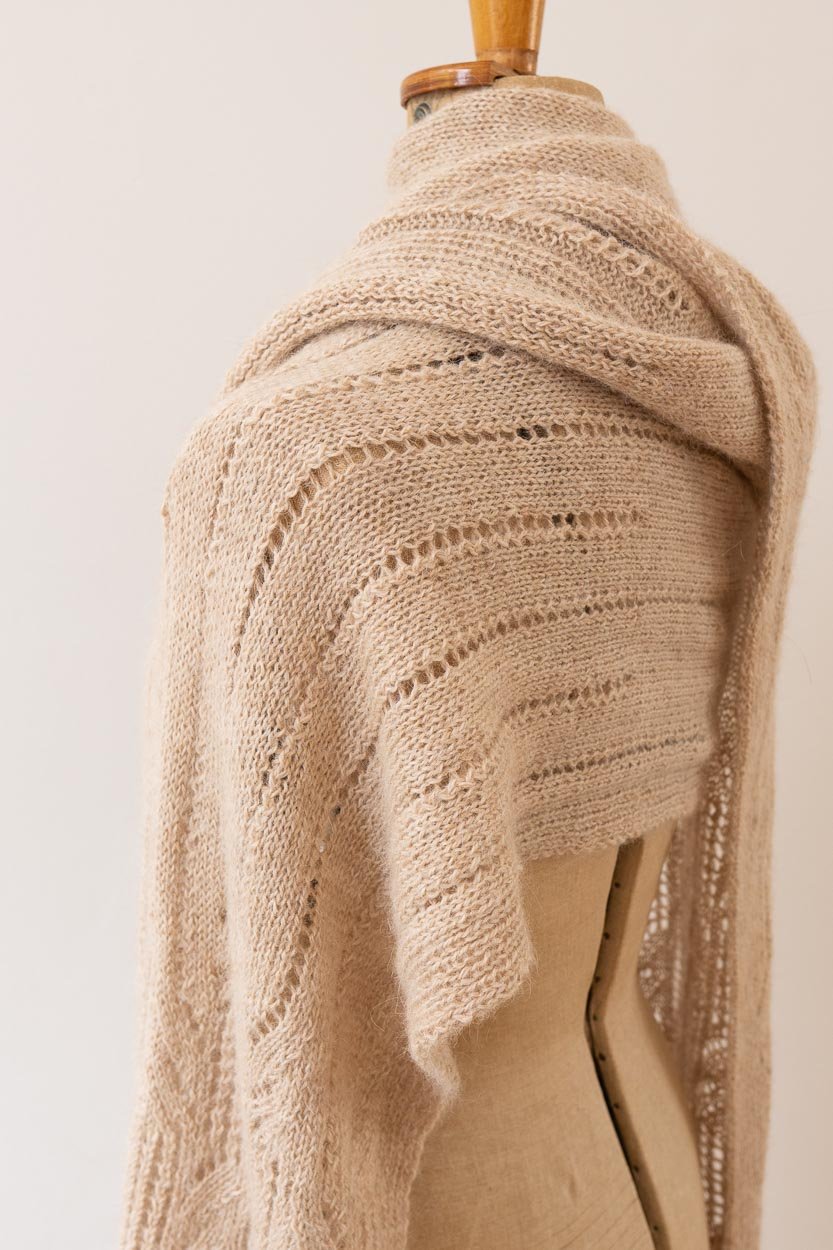
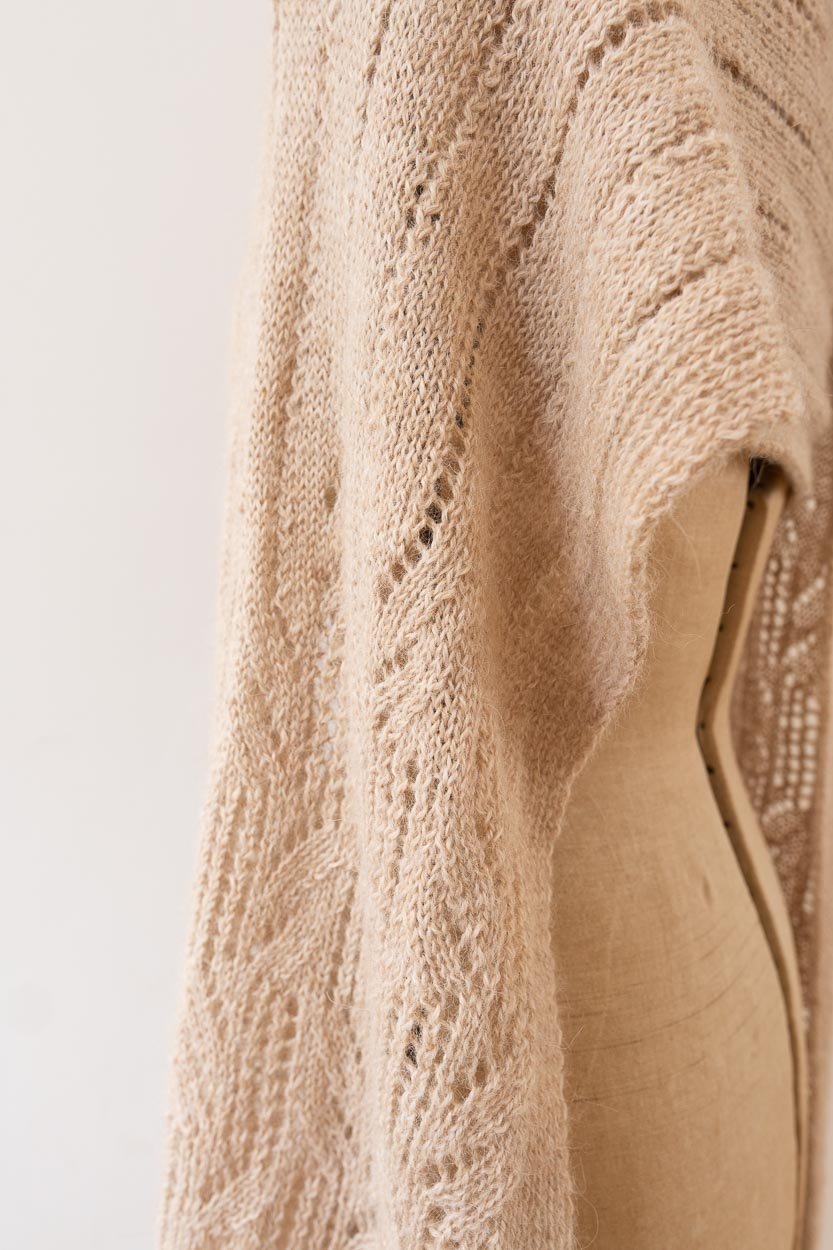
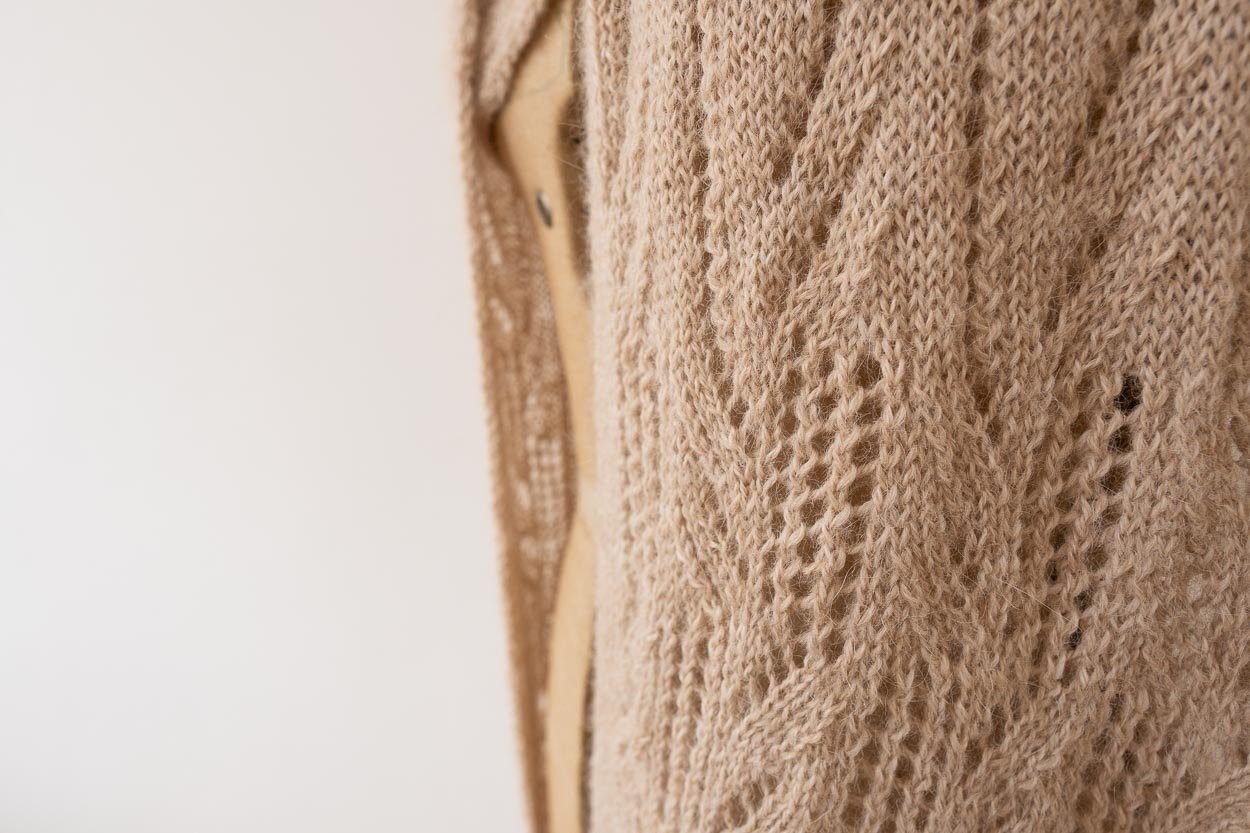
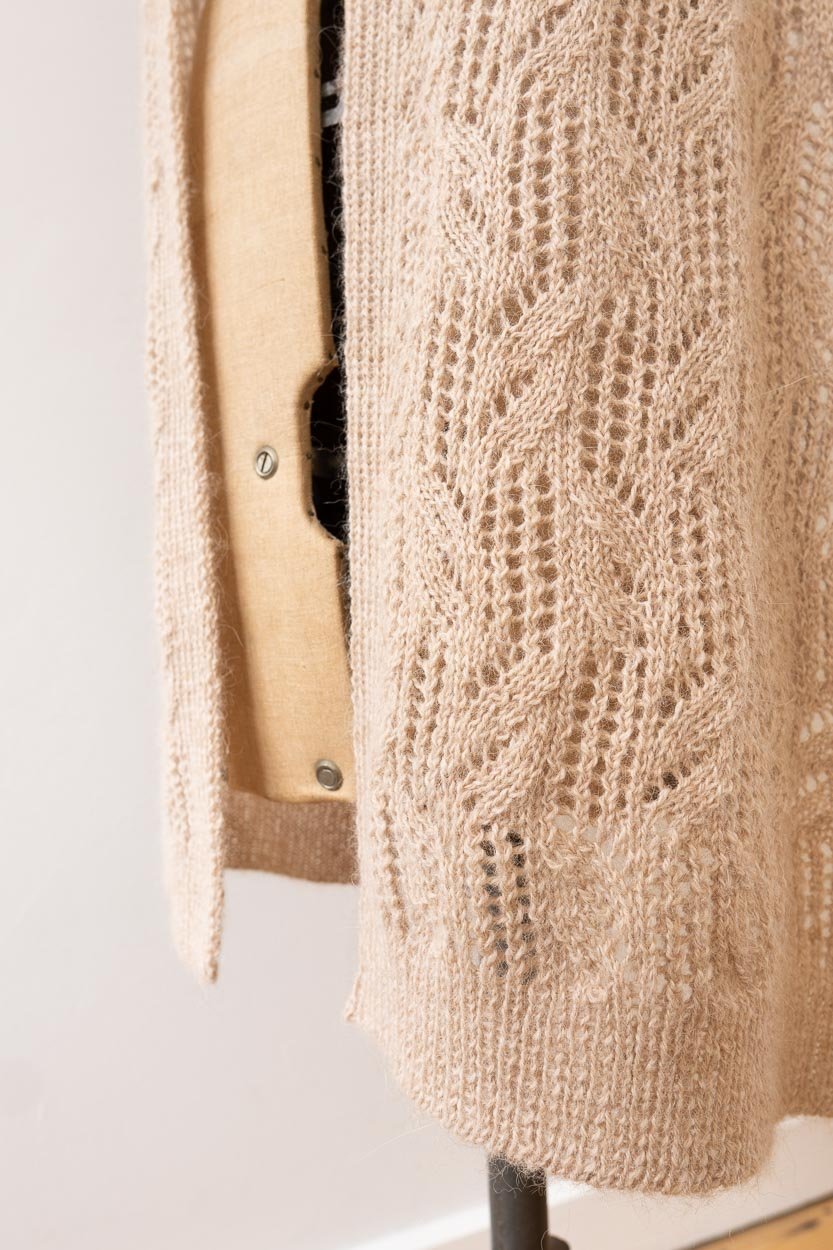
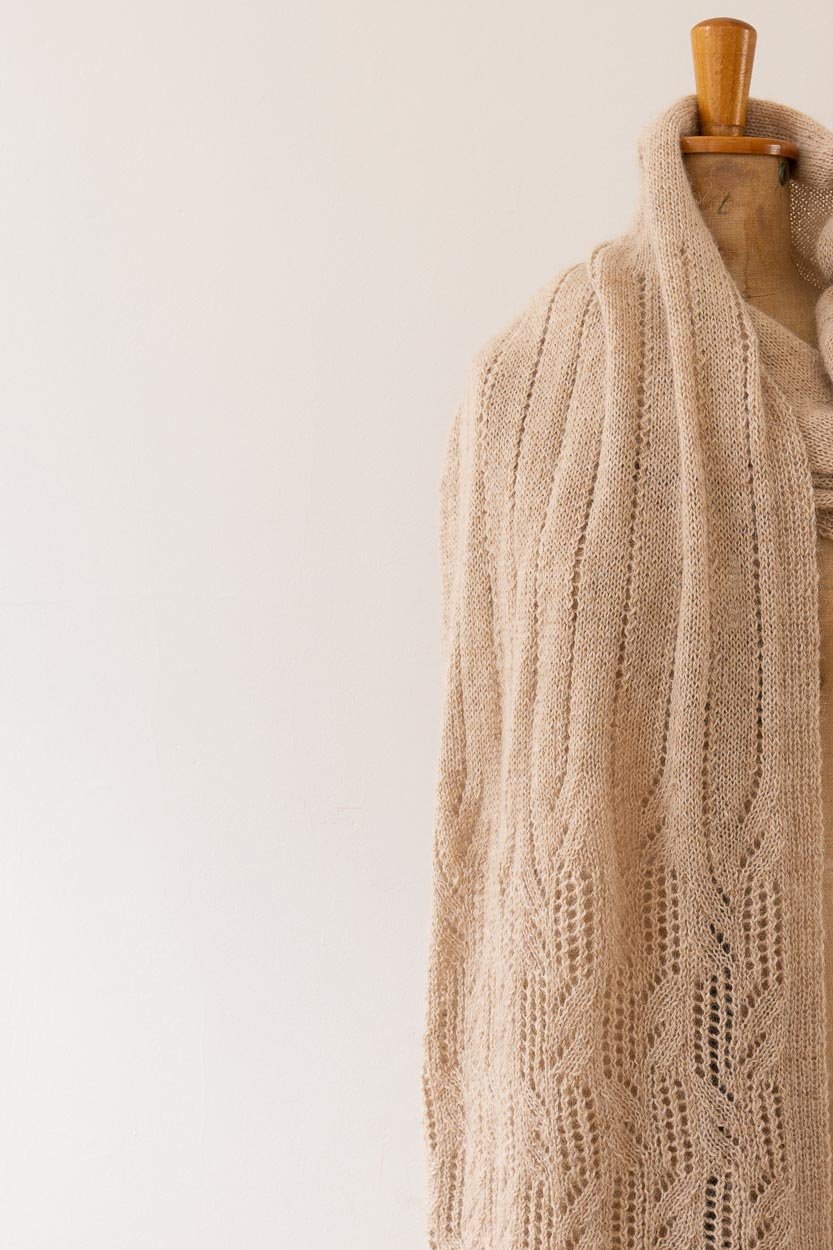
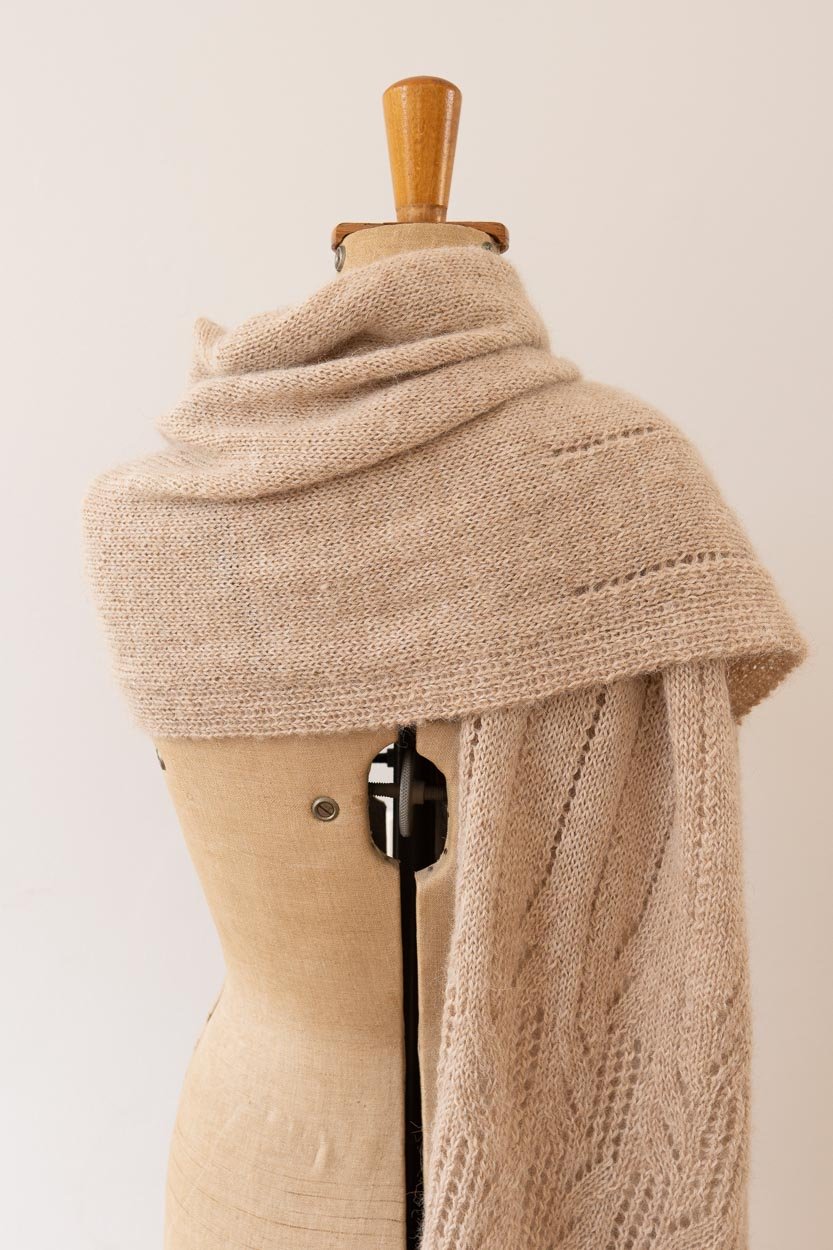
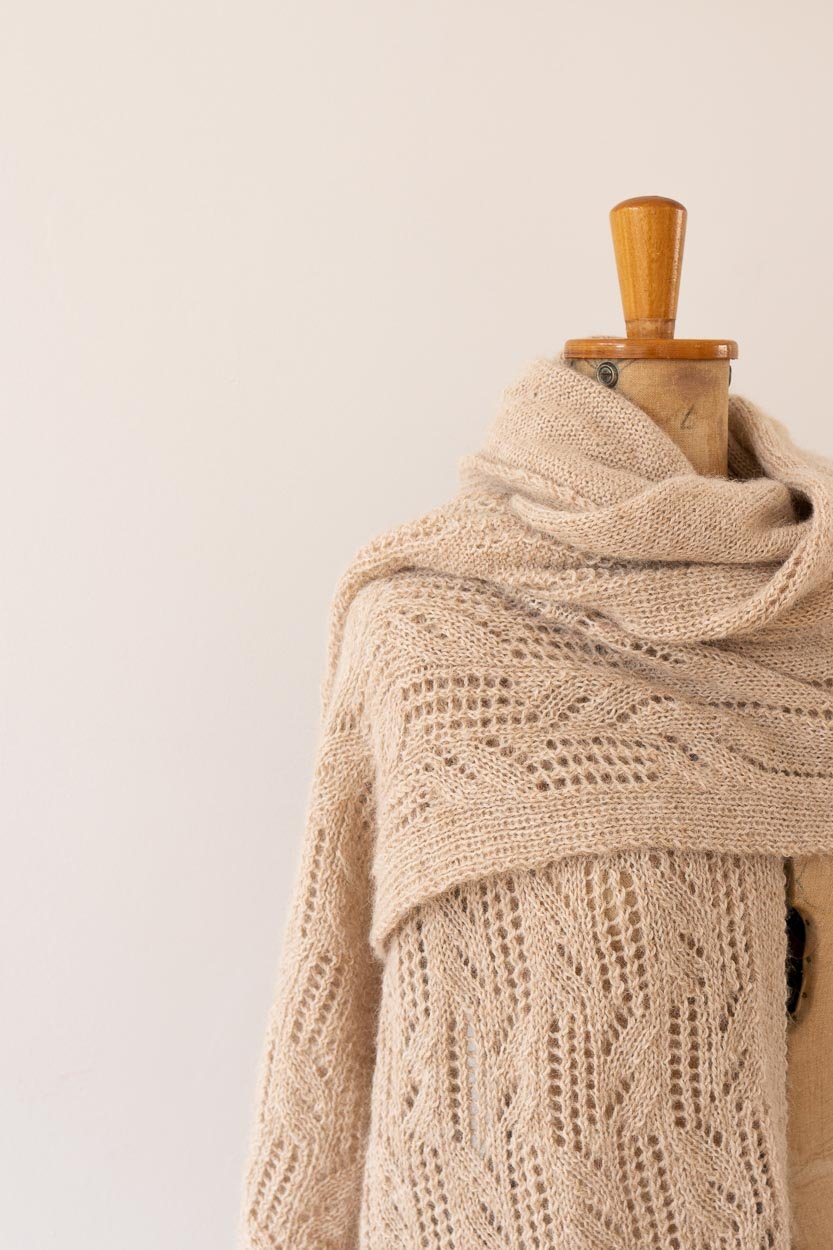
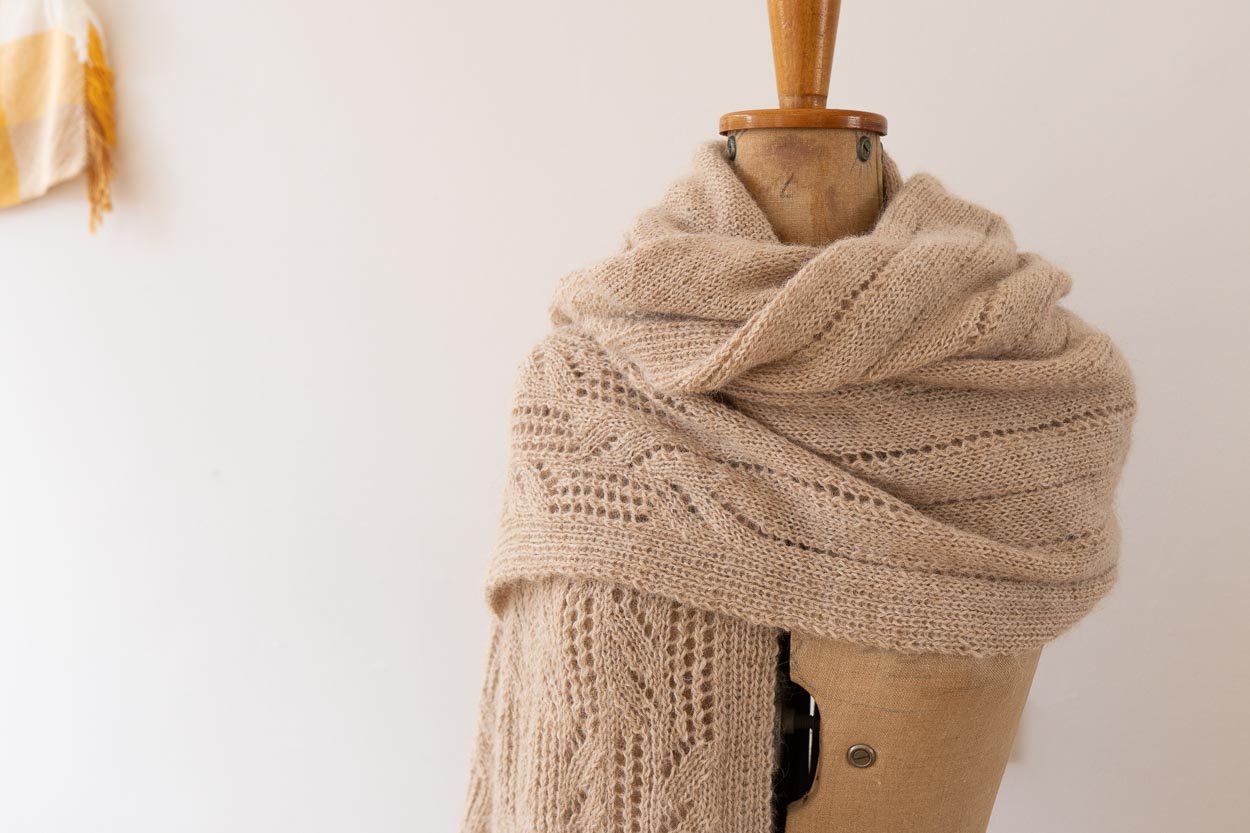
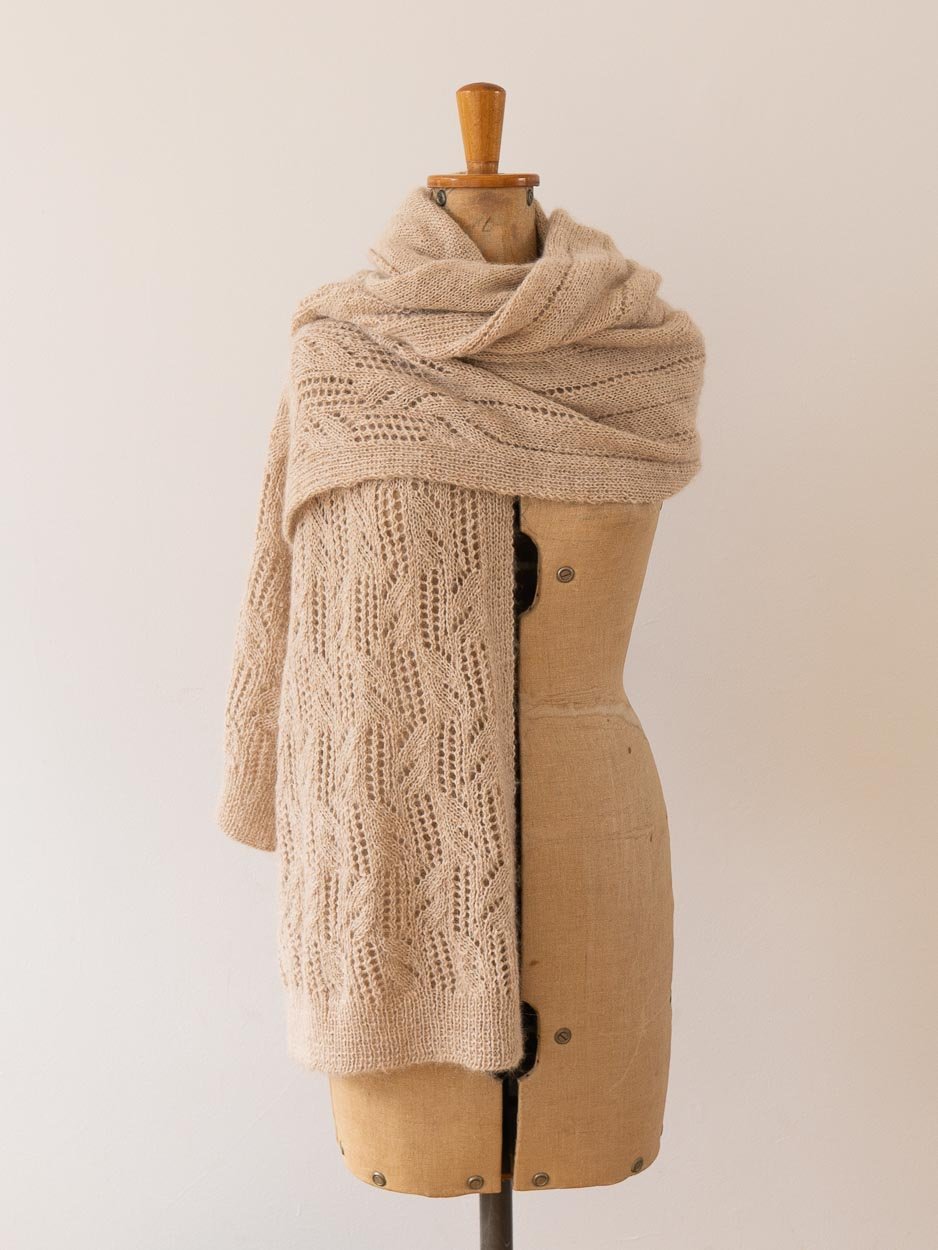
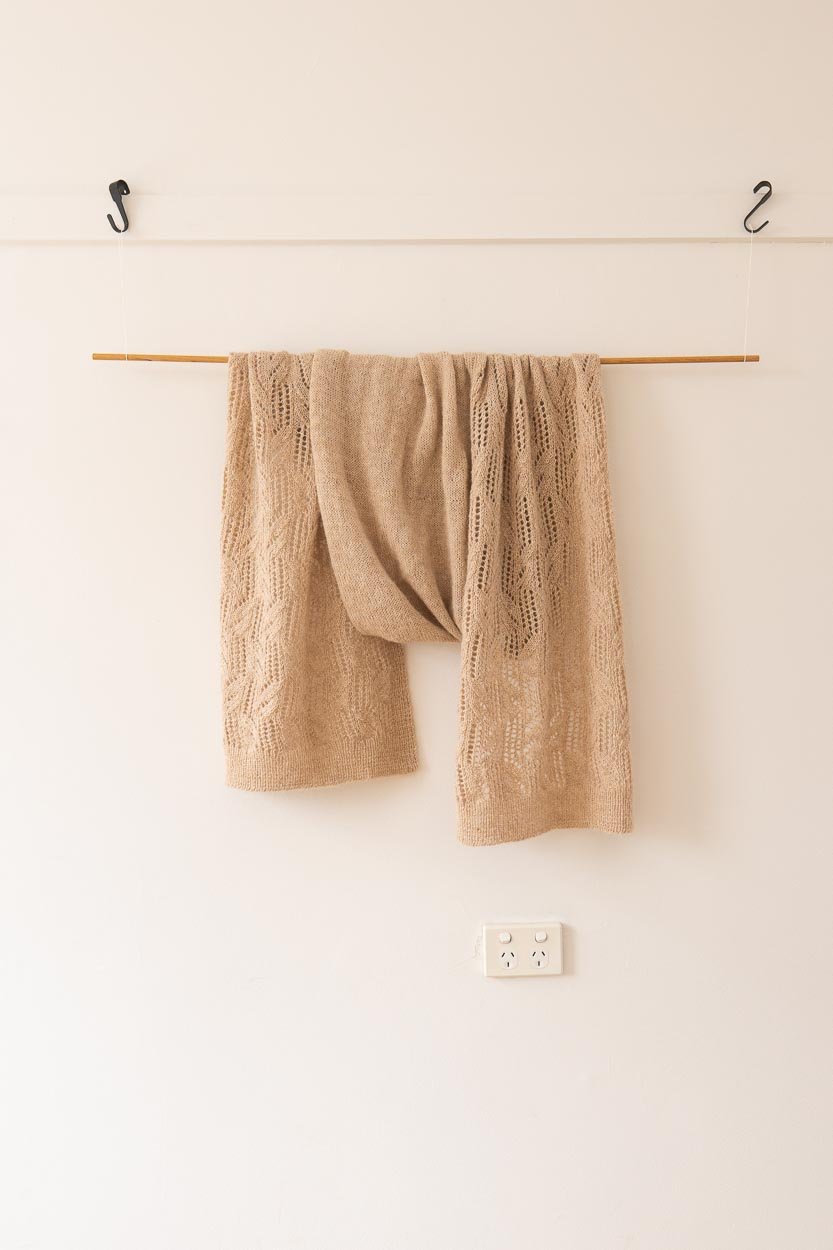
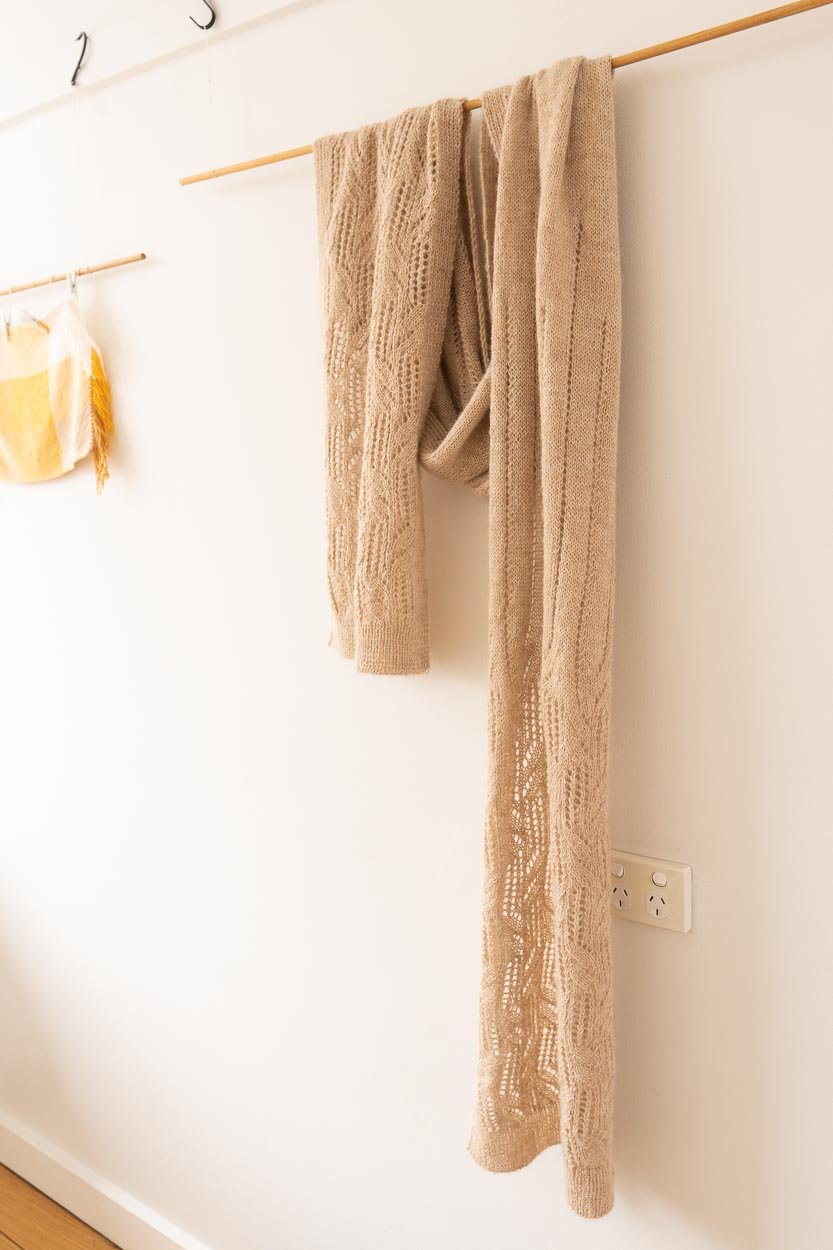
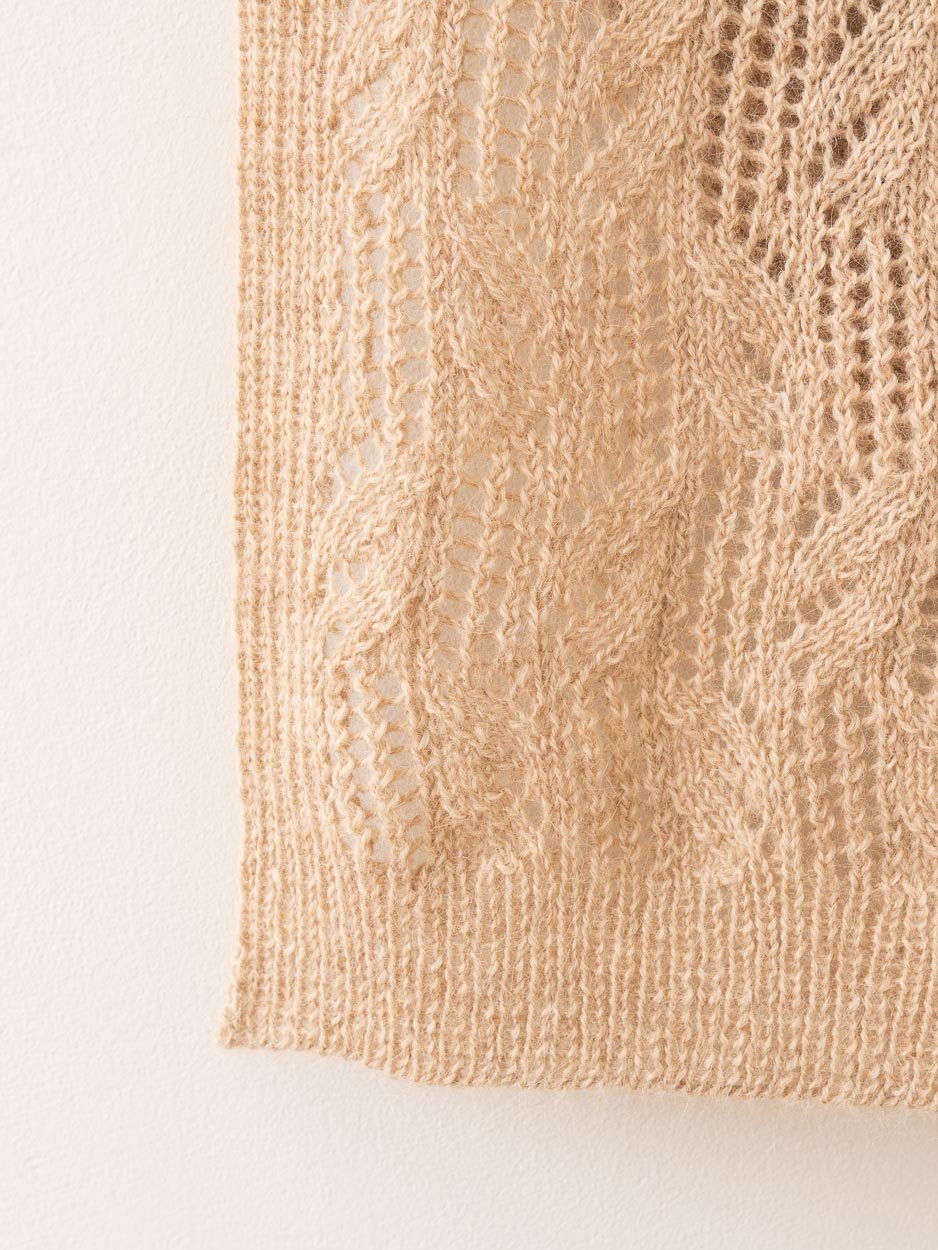
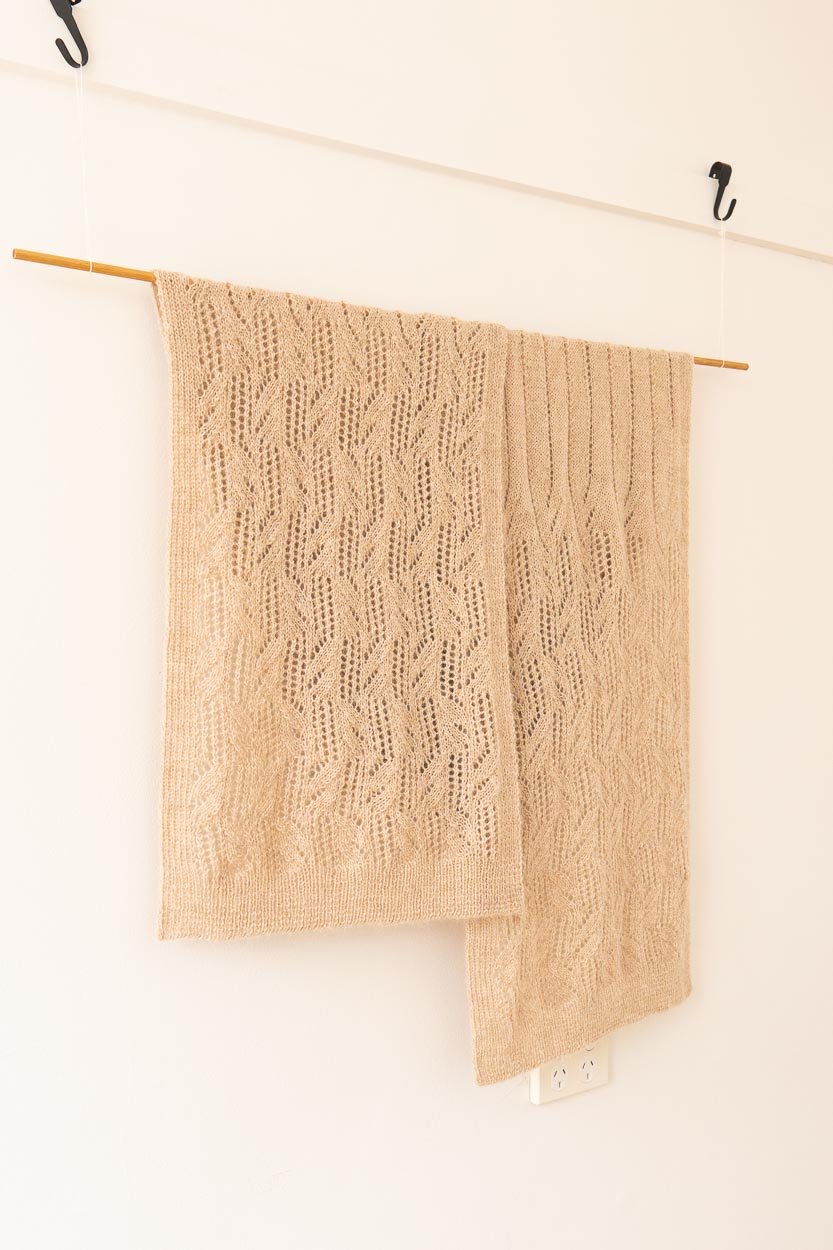
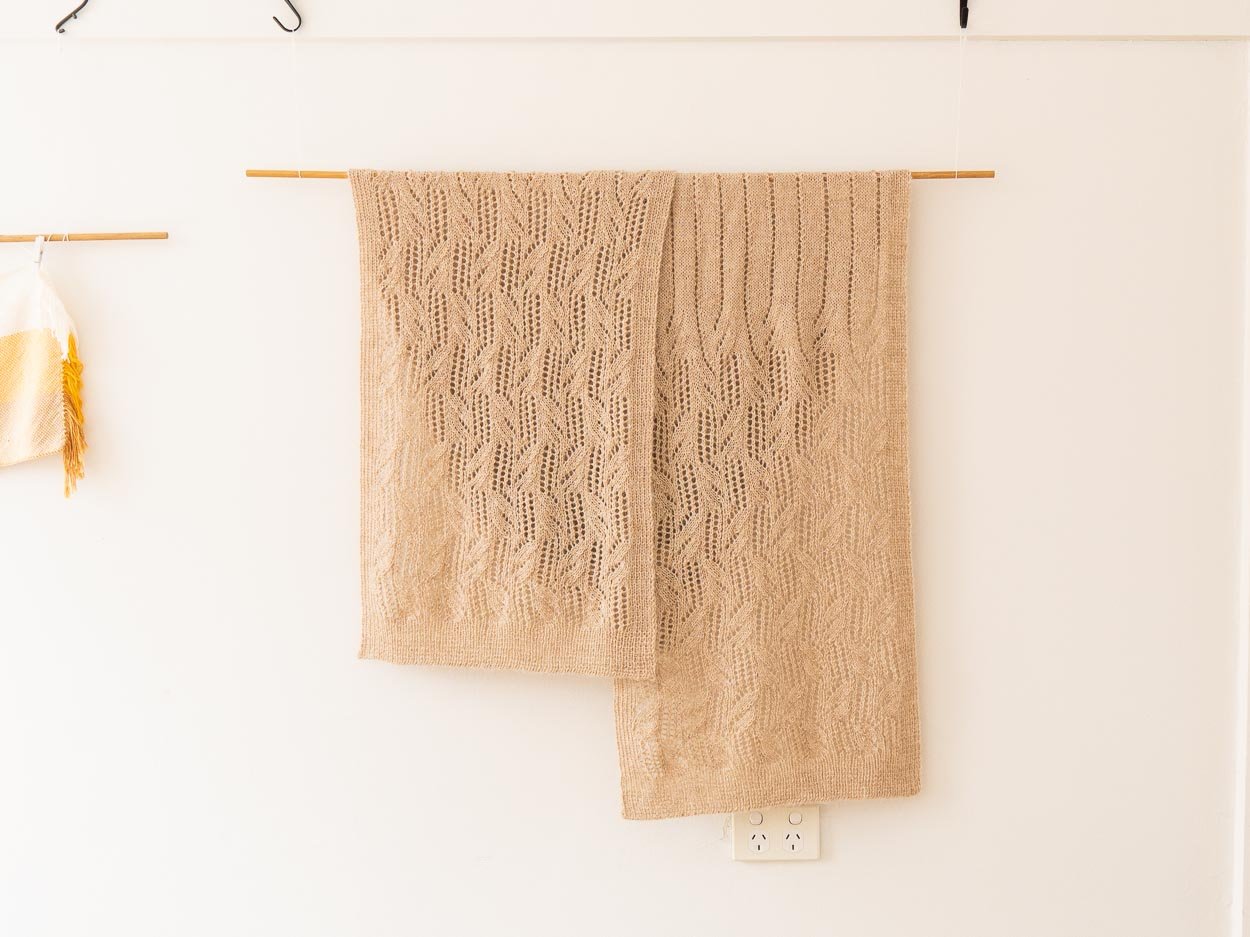
This luscious wrap came to the shop care of Australian Yarn Co. as part of their traveling trunk show for the new Heirloom Alpaca 4 Ply range.

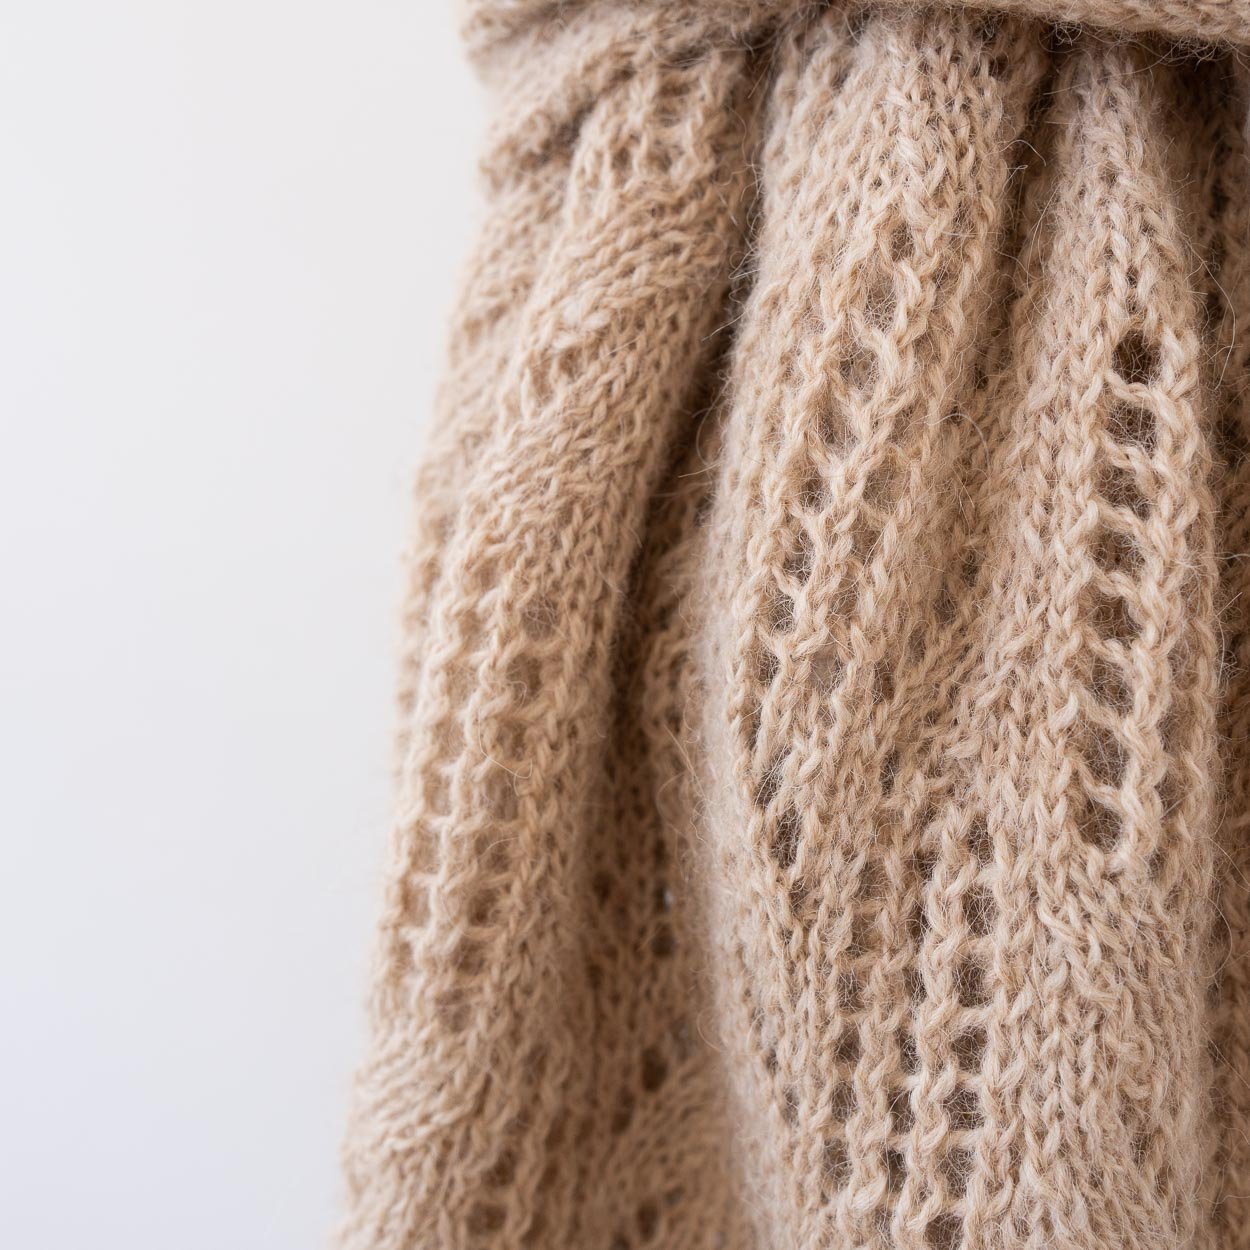
This stunningly soft yarn is 100% alpaca and made right here is Australia. We love the nature inspired colour palette and delicate heather of the dyed-in-the-wool alpaca fibre.

Heirloom’s new booklet, Essential Alpaca, features Alpaca 4 Ply in two versatile patterns - the Emerge Wrap (featured here) and the Chrysalis Jumper.

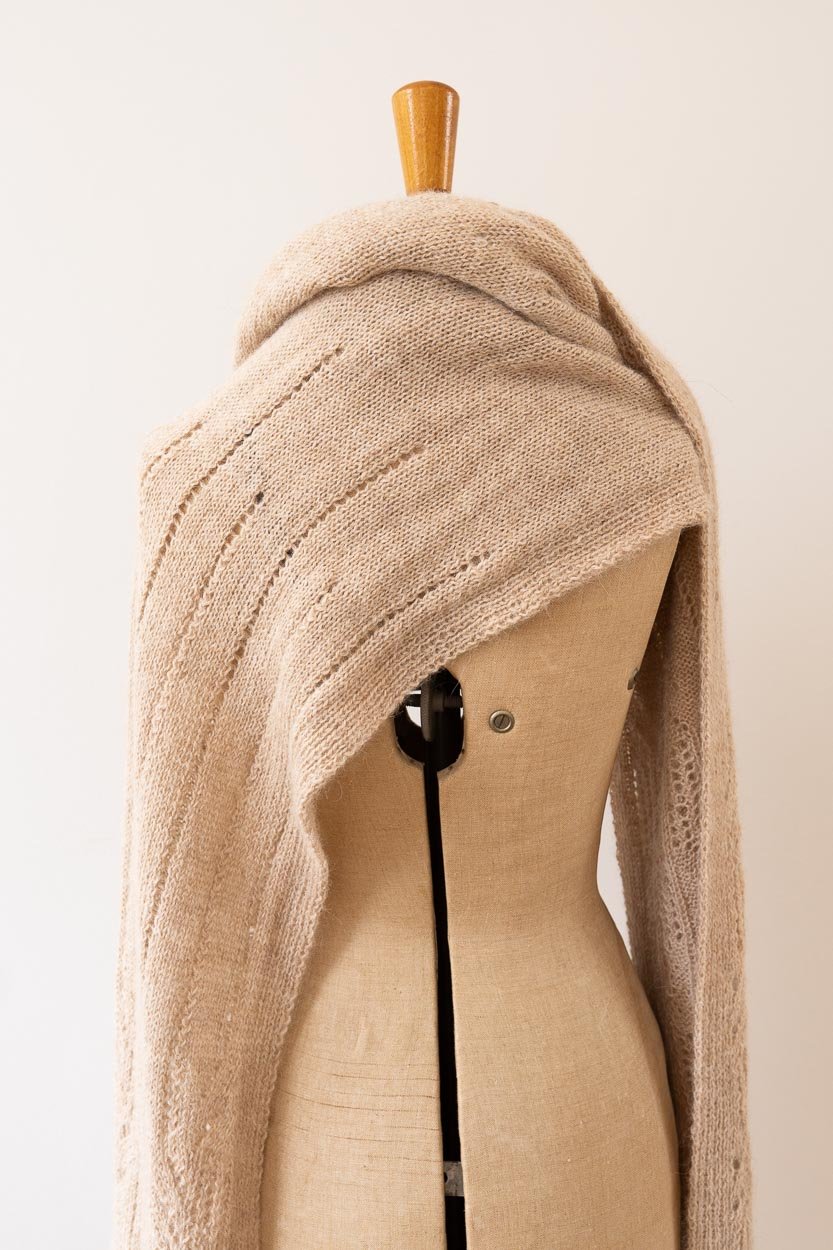
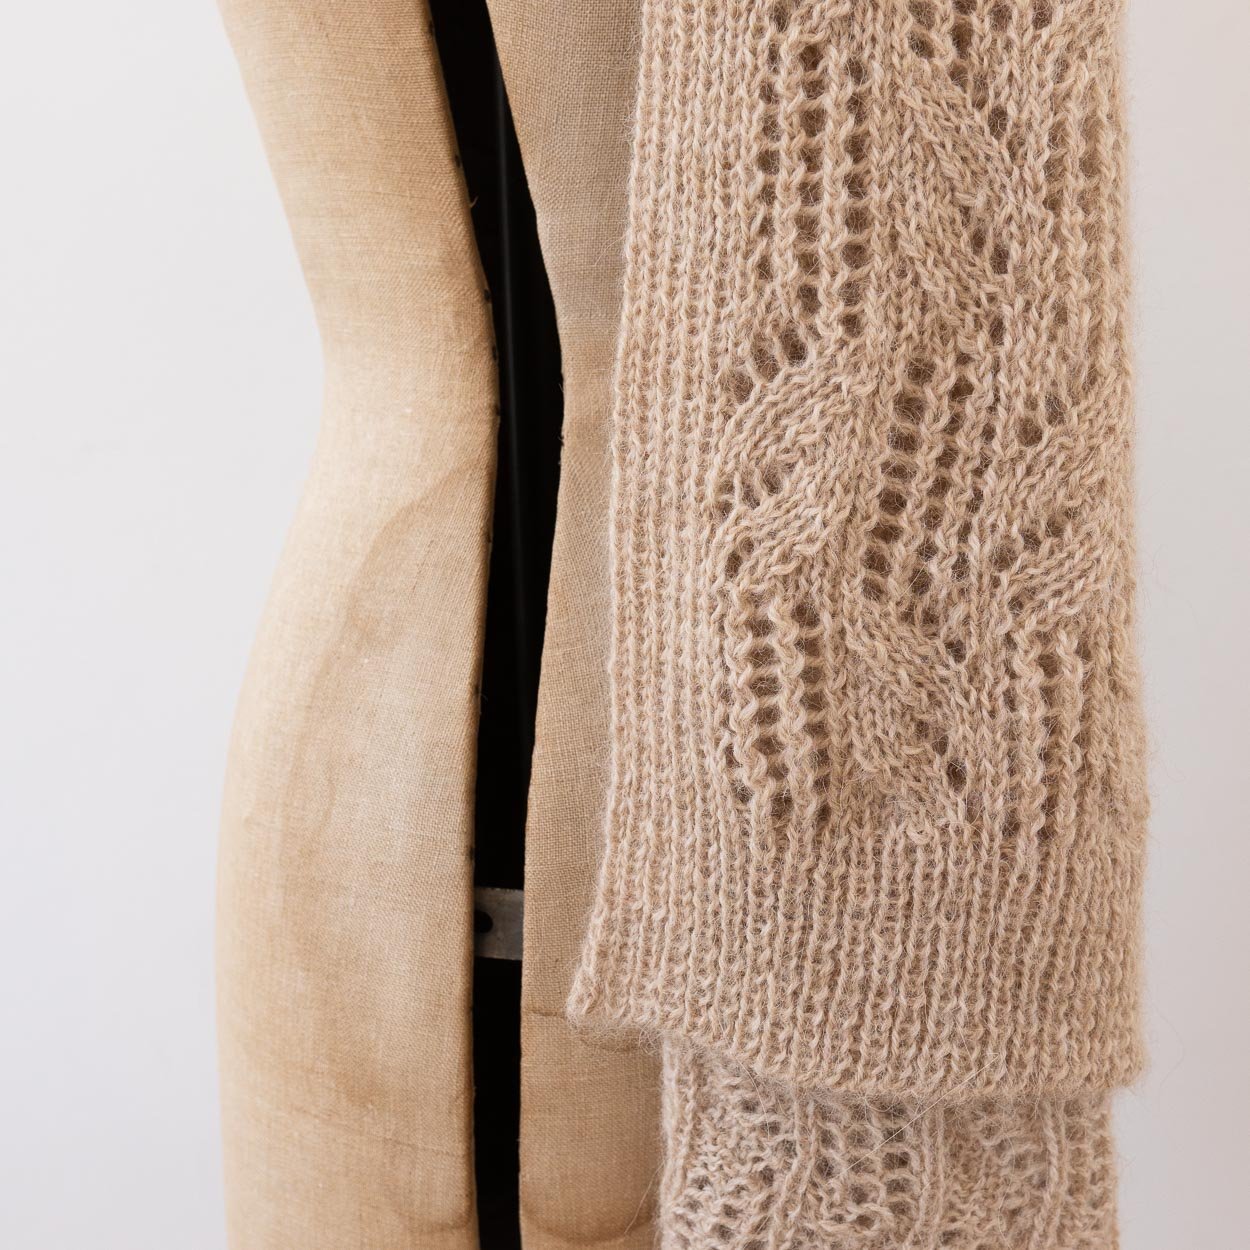
I’ve detailed some notes on the wrap below, enjoy the project photos - there’s a few!

Enjoy!

Andrea | Loom + Spindle


STUDIO PROJECT | Emerge Wrap

DESIGN

The Emerge Wrap is featured in Essential Alpaca, Heirloom book 009. The book is available to purchase HERE.

SKILLS

  • Knit and purl stitches

  • Increasing and decreasing

  • Yarn-overs

  • Grafting stitches

  • Reading charts

TOOLS

MATERIALS

The Project


THANK YOU FOR READING!

WANT THE LATEST FROM LOOM & SPINDLE?

Subscribe to our e-newsletter to receive updates from our studio, project inspiration and product news.


Explore More Studio projects…

You may also like…

CALATHEA | A Studio Project

The spring air and short bursts of sunshine was just the motivation I needed to write up this studio project.

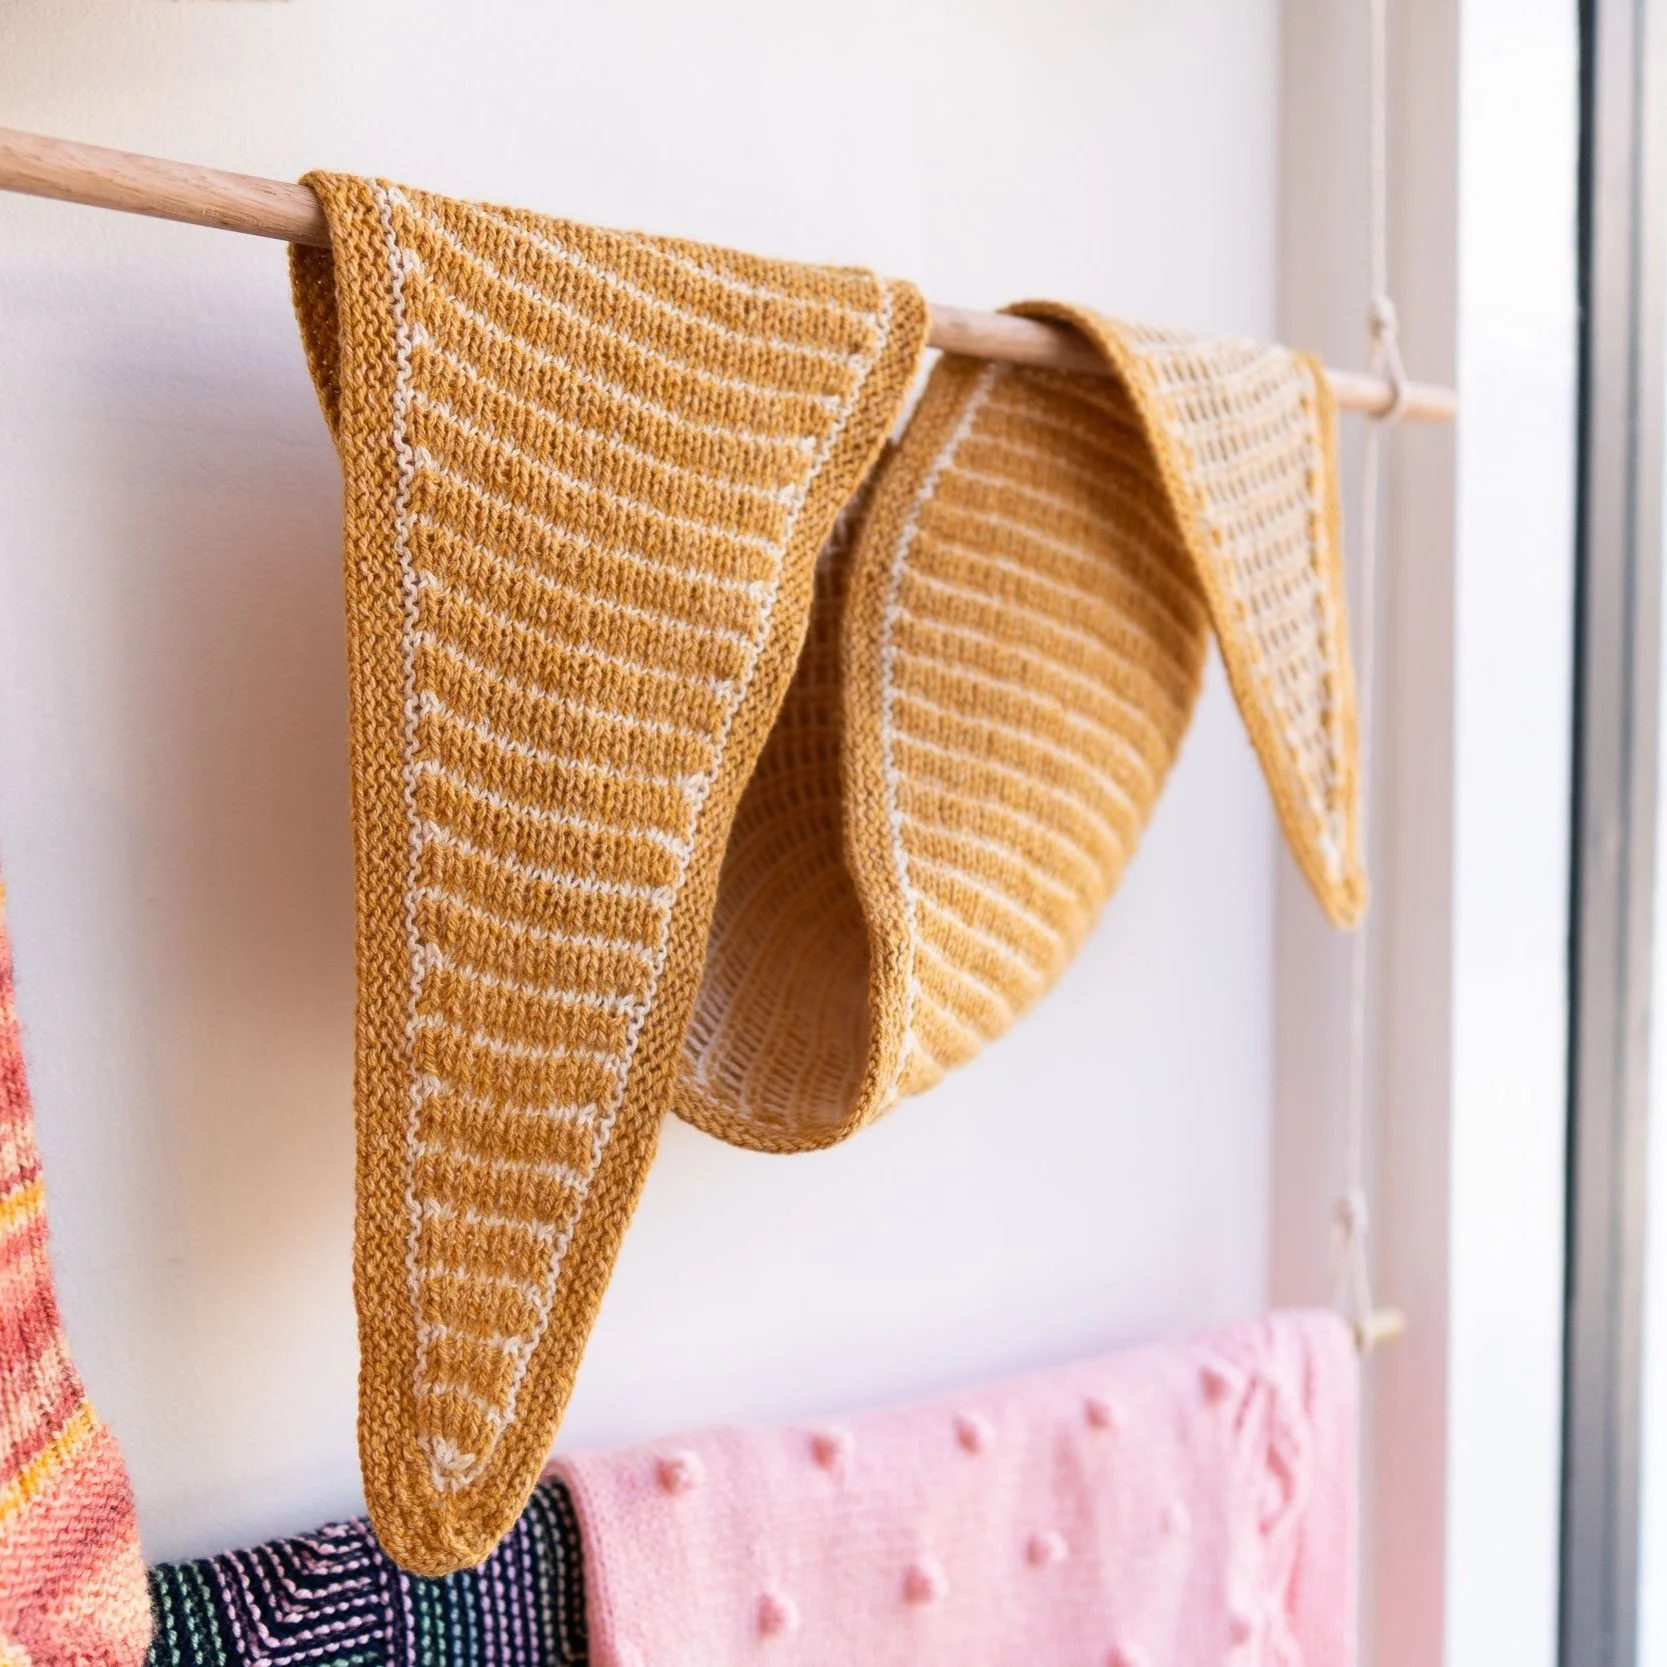
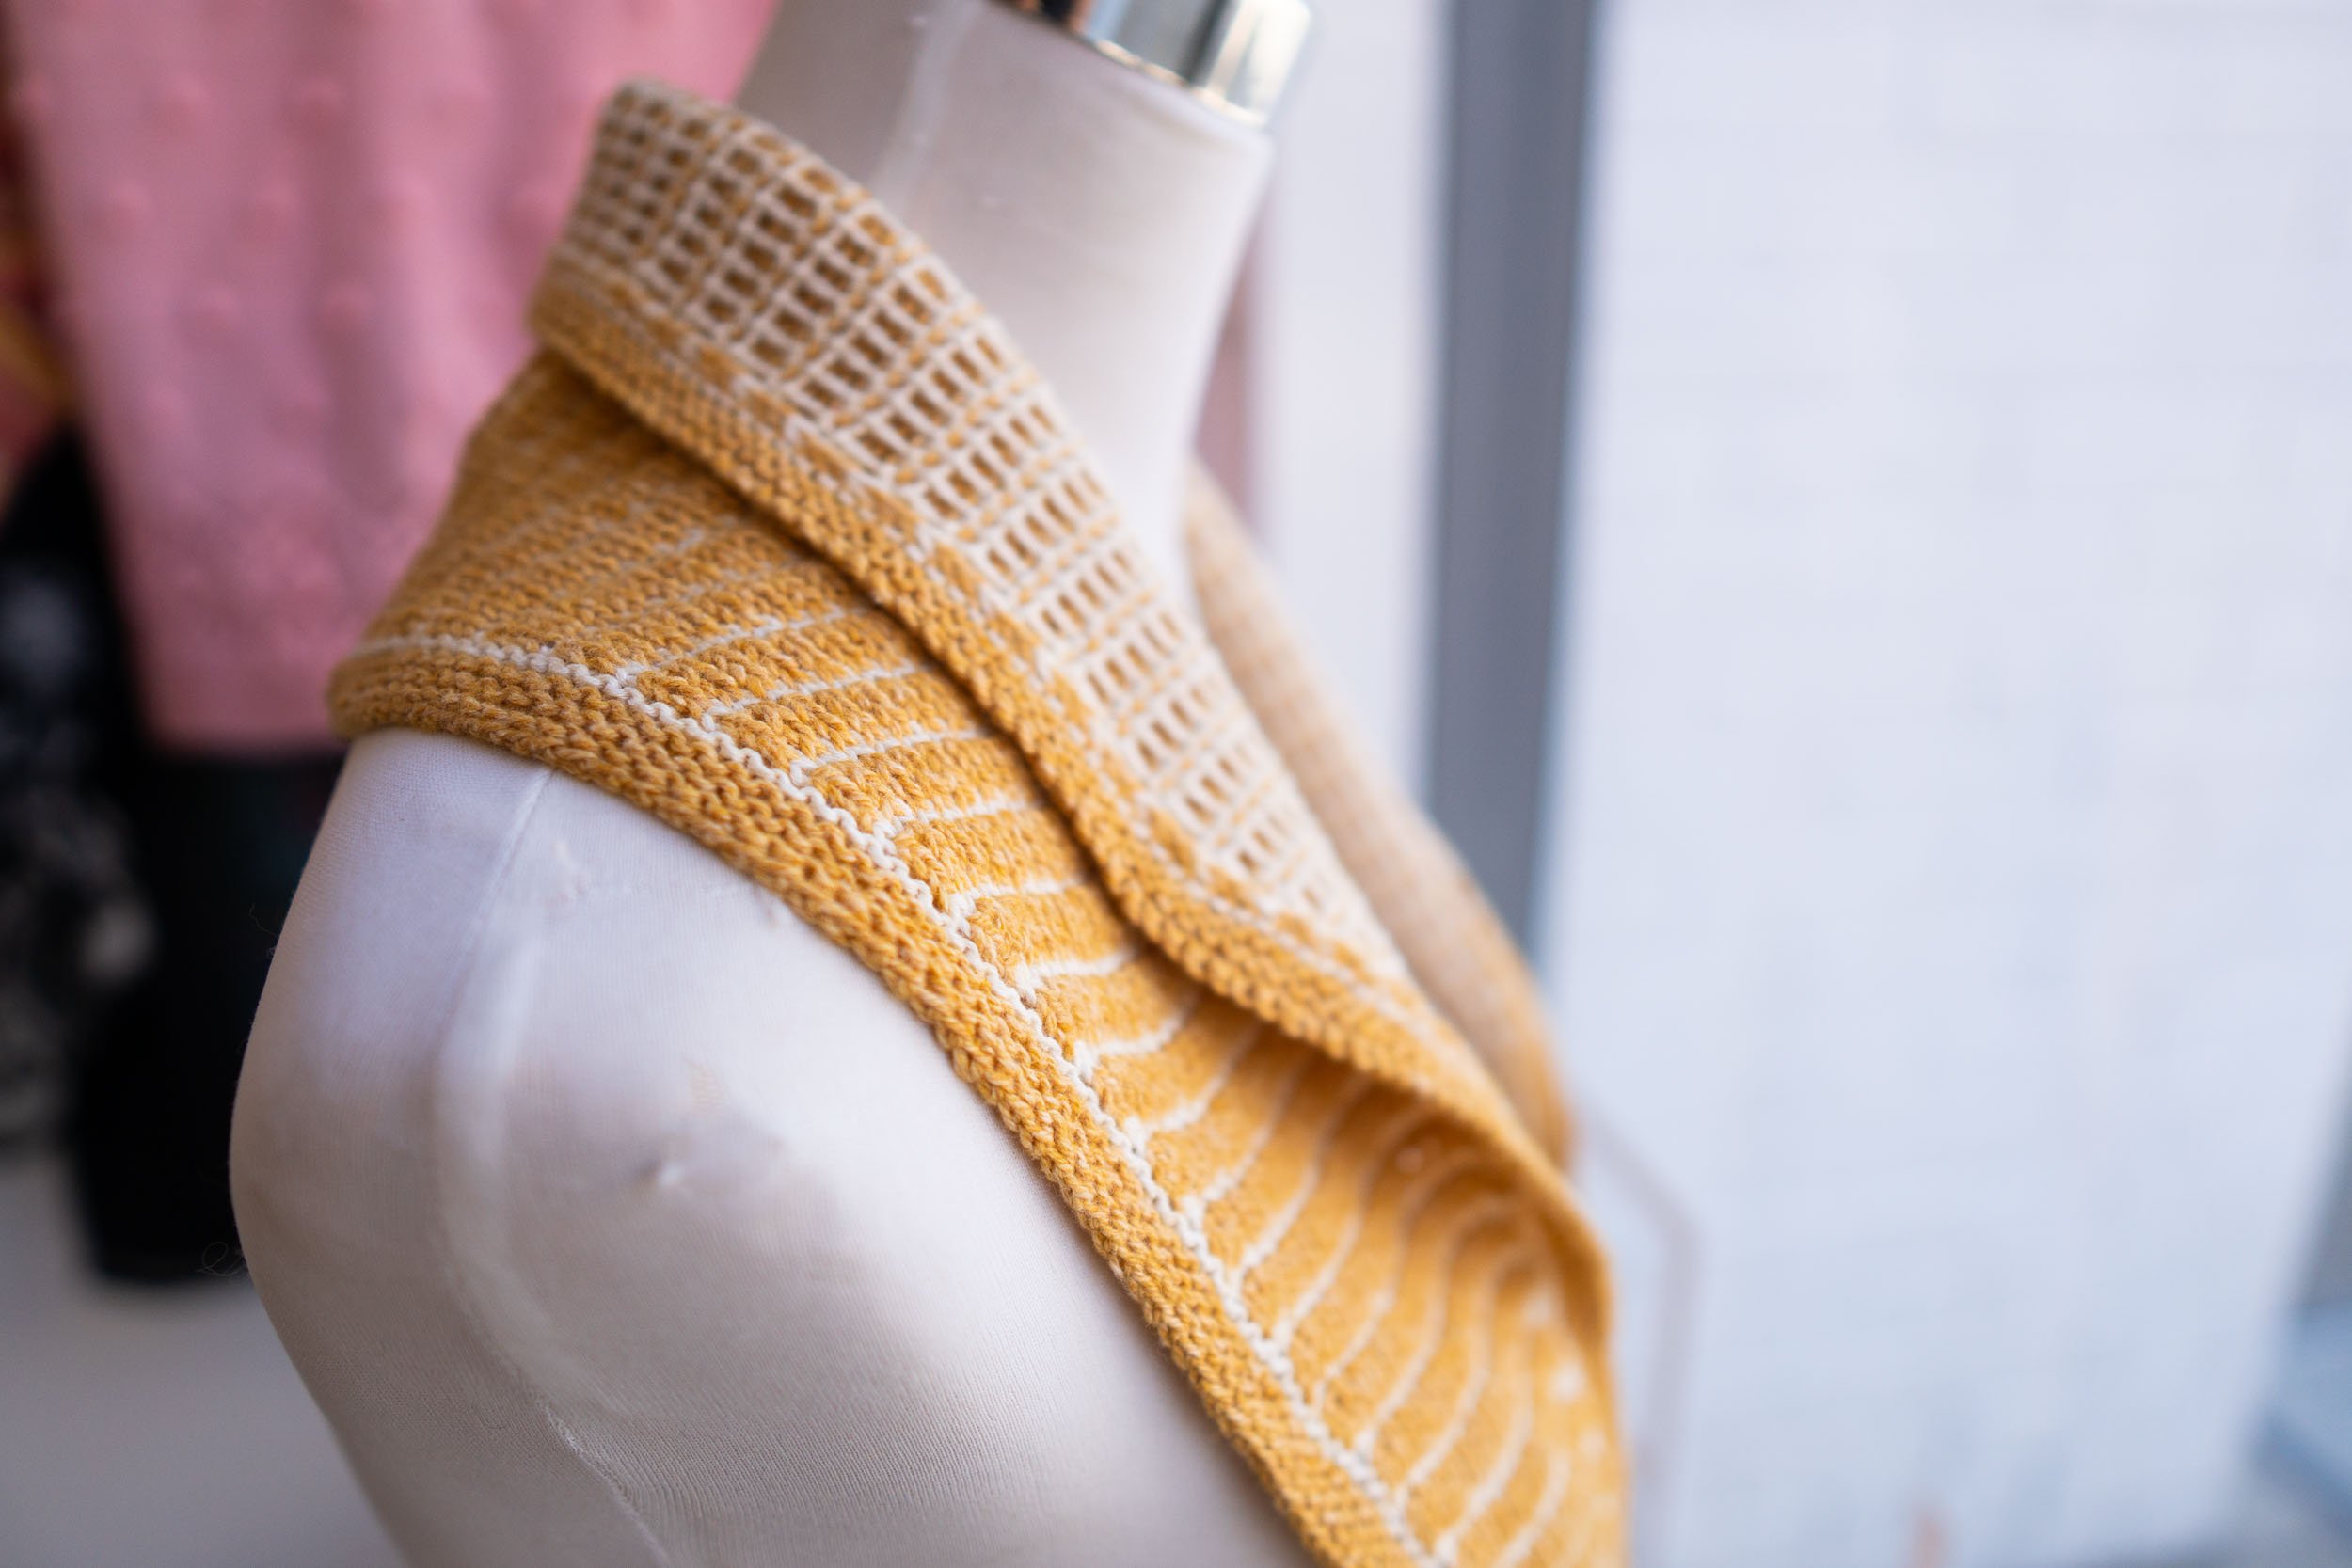
Featured in amirisu Spring/Summer 2021 Issue 22, Calathea, a design by amirisu, is a neckerchief style scarf worked flat using a curious double-twisted purl stitch pattern repeat to create a faux quilted texture that results in an equally interesting front and reverse side.

This spring/summer style is certainly on trend, and the simple colour play and somewhat contradictory yarn choices added to the appeal.

I had so much fun styling this piece, find all my project notes and styling ideas below.

Enjoy!

Andrea | Loom + Spindle


STUDIO PROJECT | Calathea

DESIGN

Calathea is a design by amirisu Magazine, first published in June 2021. The pattern is available to purchase as a digital download via Ravelry.

SKILLS

  • Knit and purl stitches

  • Twisted stitches

  • Increasing and decreasing

  • Following pattern repeats

  • Picking up stitches

  • Elastic bind-off (instructions are included in the pattern)

TOOLS

MATERIALS


The Project


INSIGHTS AND OPPORTUNITIES

YARN

  • I took a ‘no fear’ approach when it came to subbing in yarns. I didn’t completely disregard gauge but thought there was some room to play.

  • I had Jardim and Cotton Fine on hand that was set aside for a shop sample. The colour combo was bright and happy so I locked it in.

  • I used Jardim (Amber), a 50/50 cotton and wool blend, with its soft hand feel and springy texture for the ‘quilted’ side.

  • Cotton Fine (Putty) was used for the twisted-purl slipstitch side.

CONSTRUCTION + FINISHING

  • I note the skill rating on this pattern is rated as high. I think for anyone familiar with knit/purl stitches and comfortable with increasing/decreasing, it would certainly doable.

  • The stitch pattern was new to me, after working through a few rows I was able to memorise the pattern.

  • The pattern has some really nice details to make the finished piece appear seamless and the design reversible. So do take care when the pattern instructs you to slip or pick up stitches .

  • The elastic bind-off was a great knew skill to learn, it produced a uniform and appealing cast-off edge.

  • I knit to the length suggested in the pattern. My final stitch gauge was 36 stitches over 10cm - so wasn’t too far out!


STYLING IDEAS


FINAL THOUGHTS

This piece was such a good skill builder. The quilted texture is really unique and the neckerchief size kept things manageable.

Even though I used a 5 ply (Jardim) and a 4 Ply (Cotton Fine), my gauge wasn’t too far off the pattern recommendation. I think you’ll get great results with many different yarns that are on this lighter end of the spectrum.

With less than a ball of each yarn required, you can definitely stash dive for this one or experiment with a few new ones on a modest budget!


THANK YOU FOR READING!

Add this project to your Ravelry favourites HERE.


Explore More Studio projects…

You may also like…

SALTGRASS | A Free Knitting Pattern

SALTGRASS

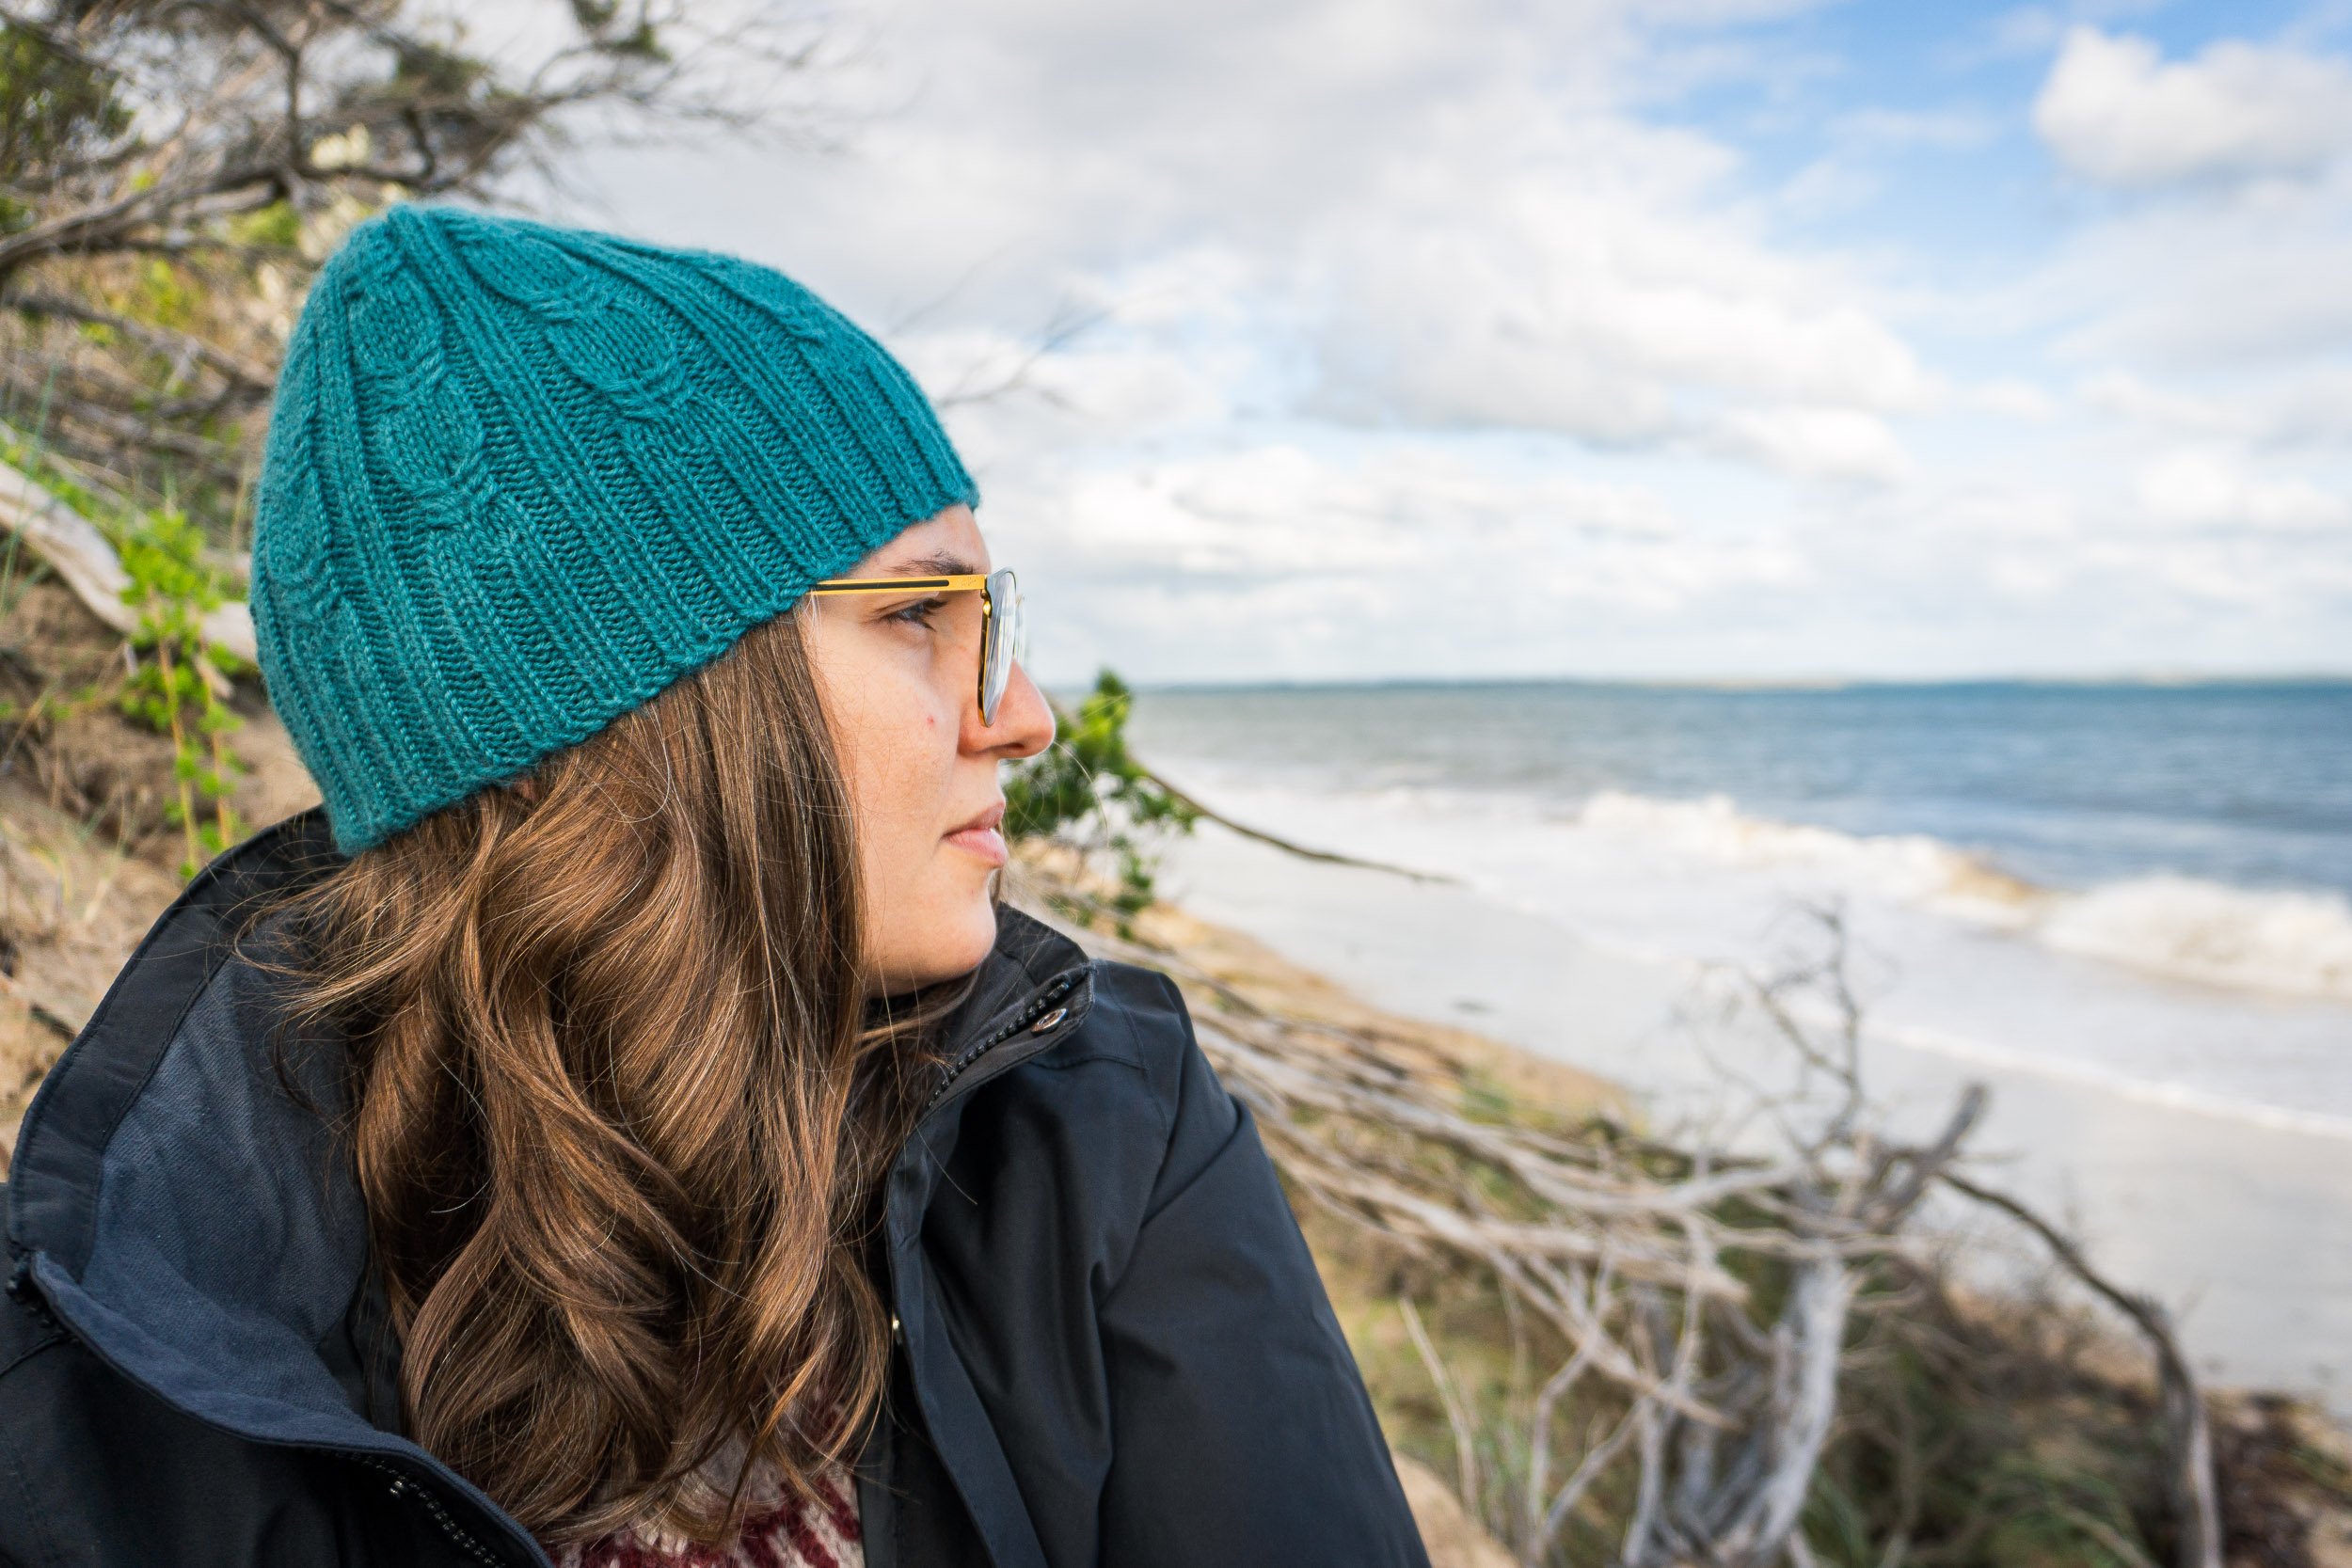
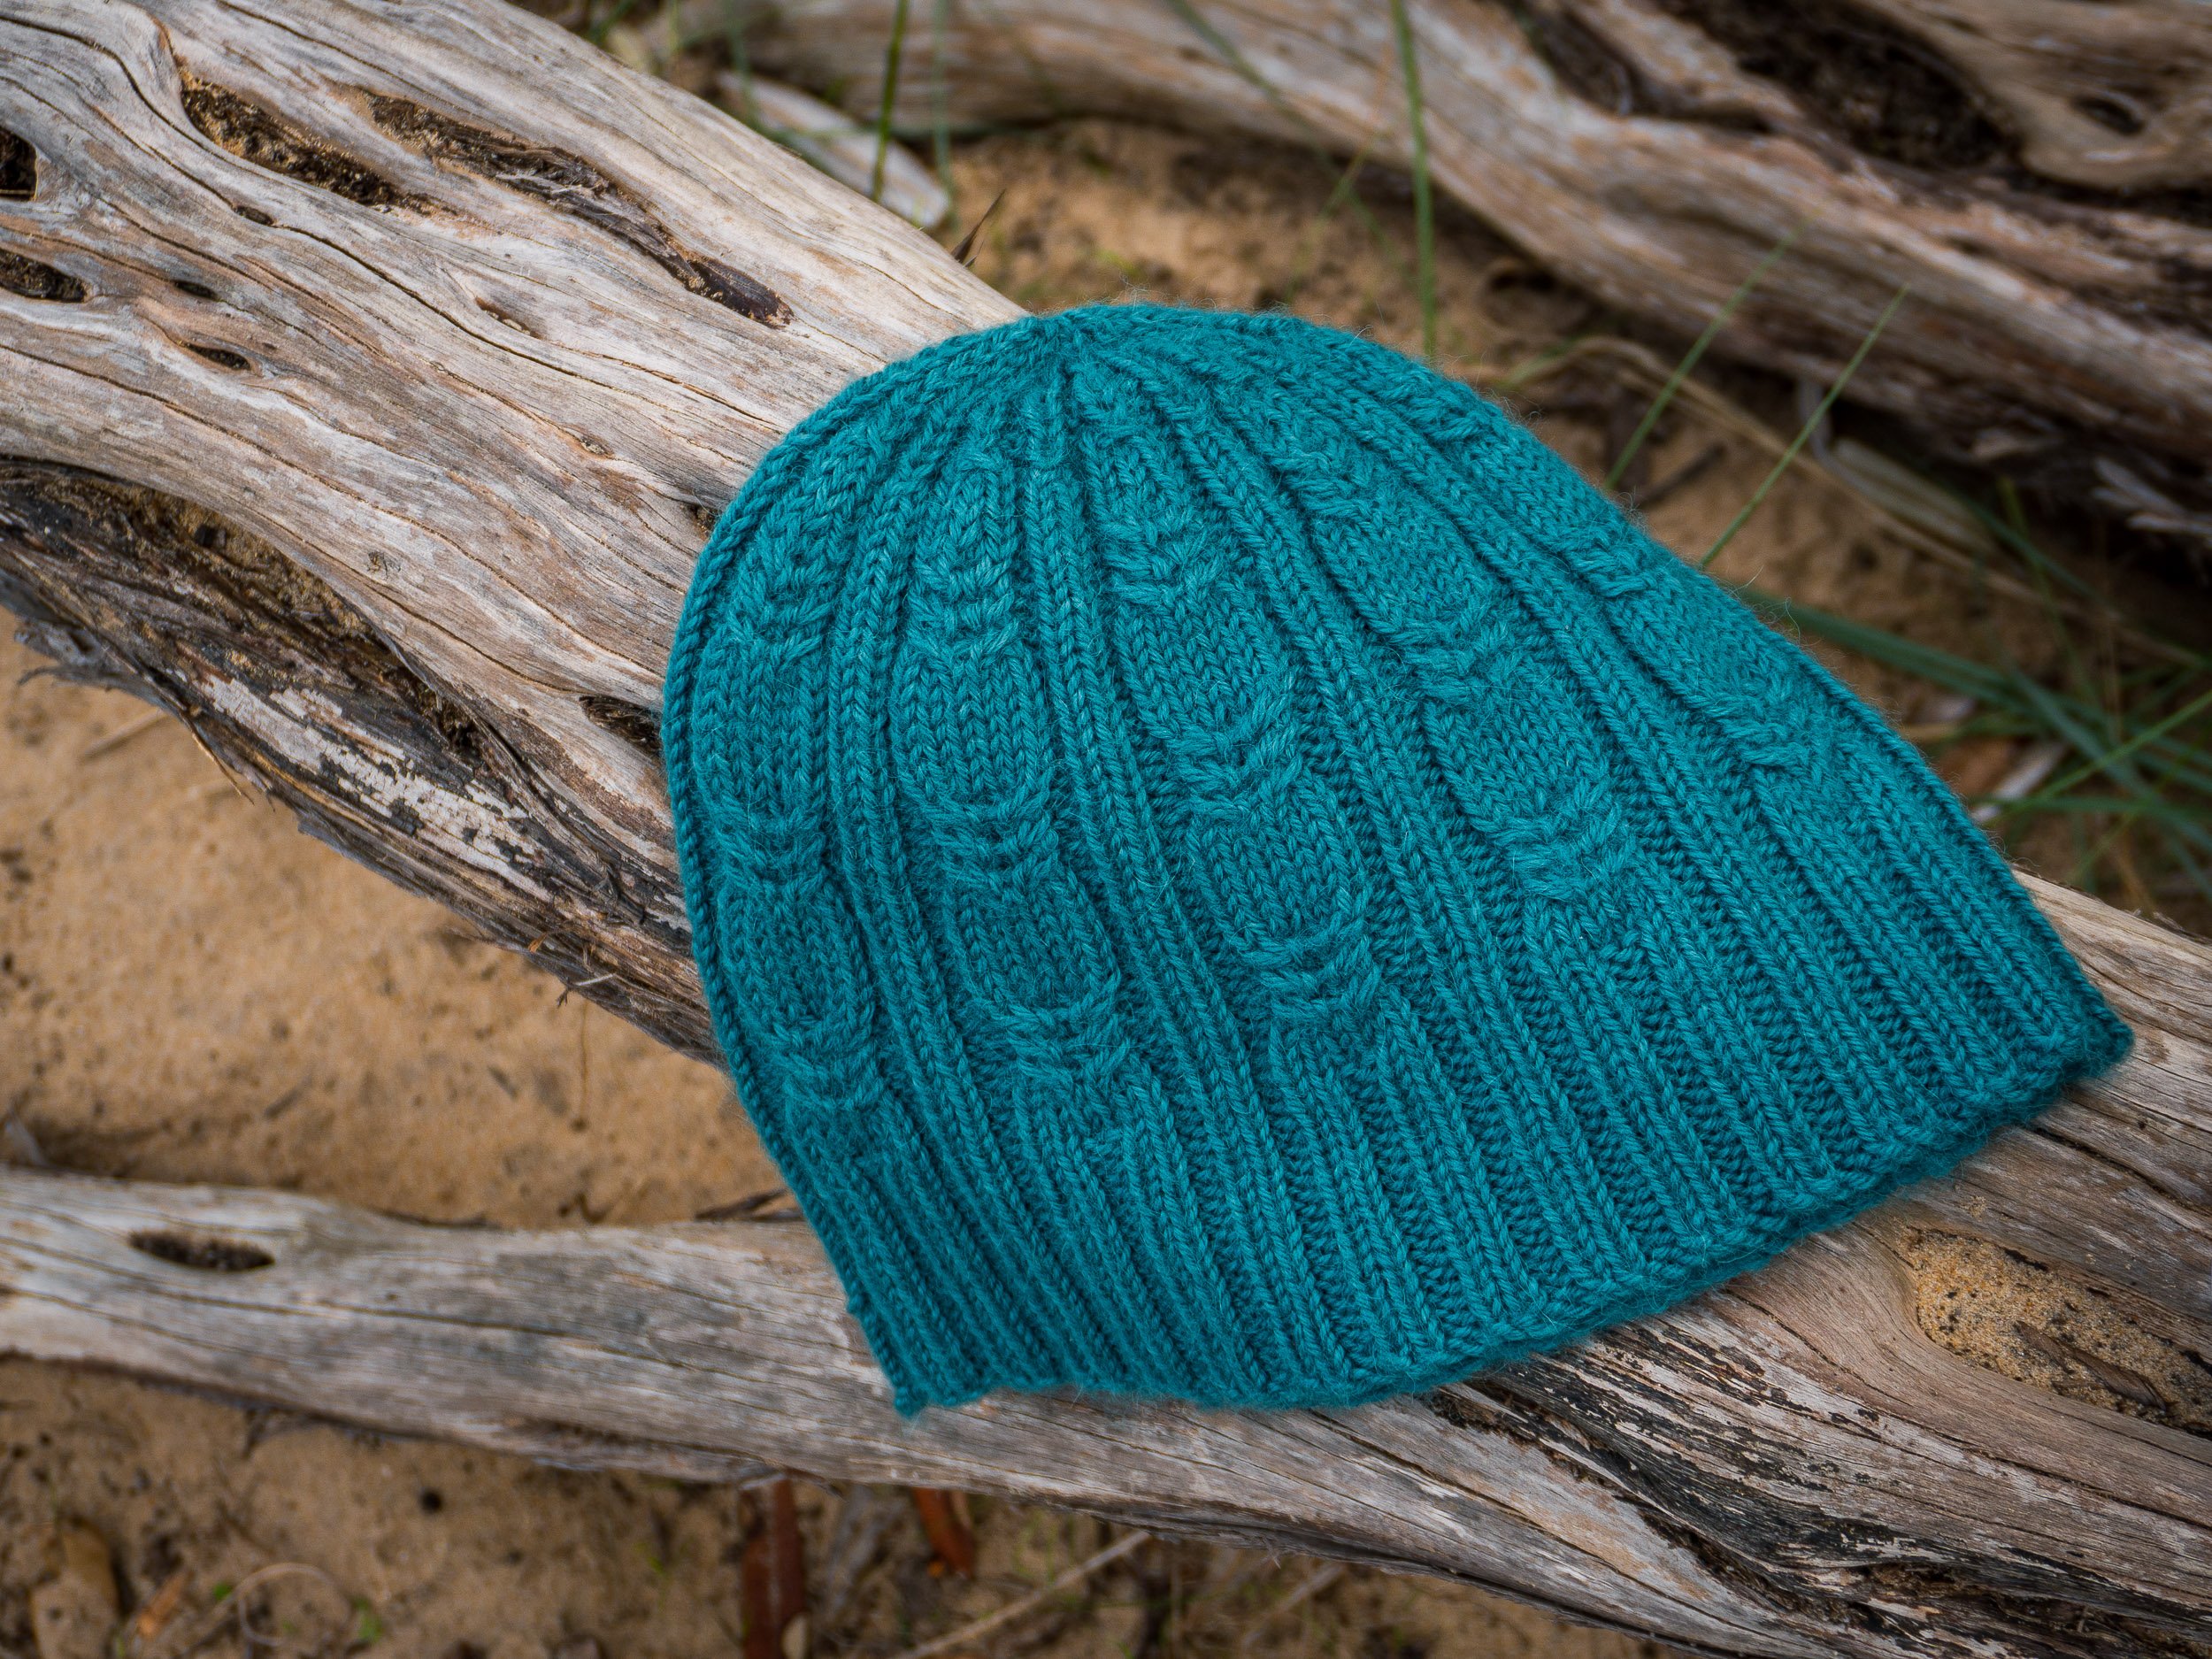
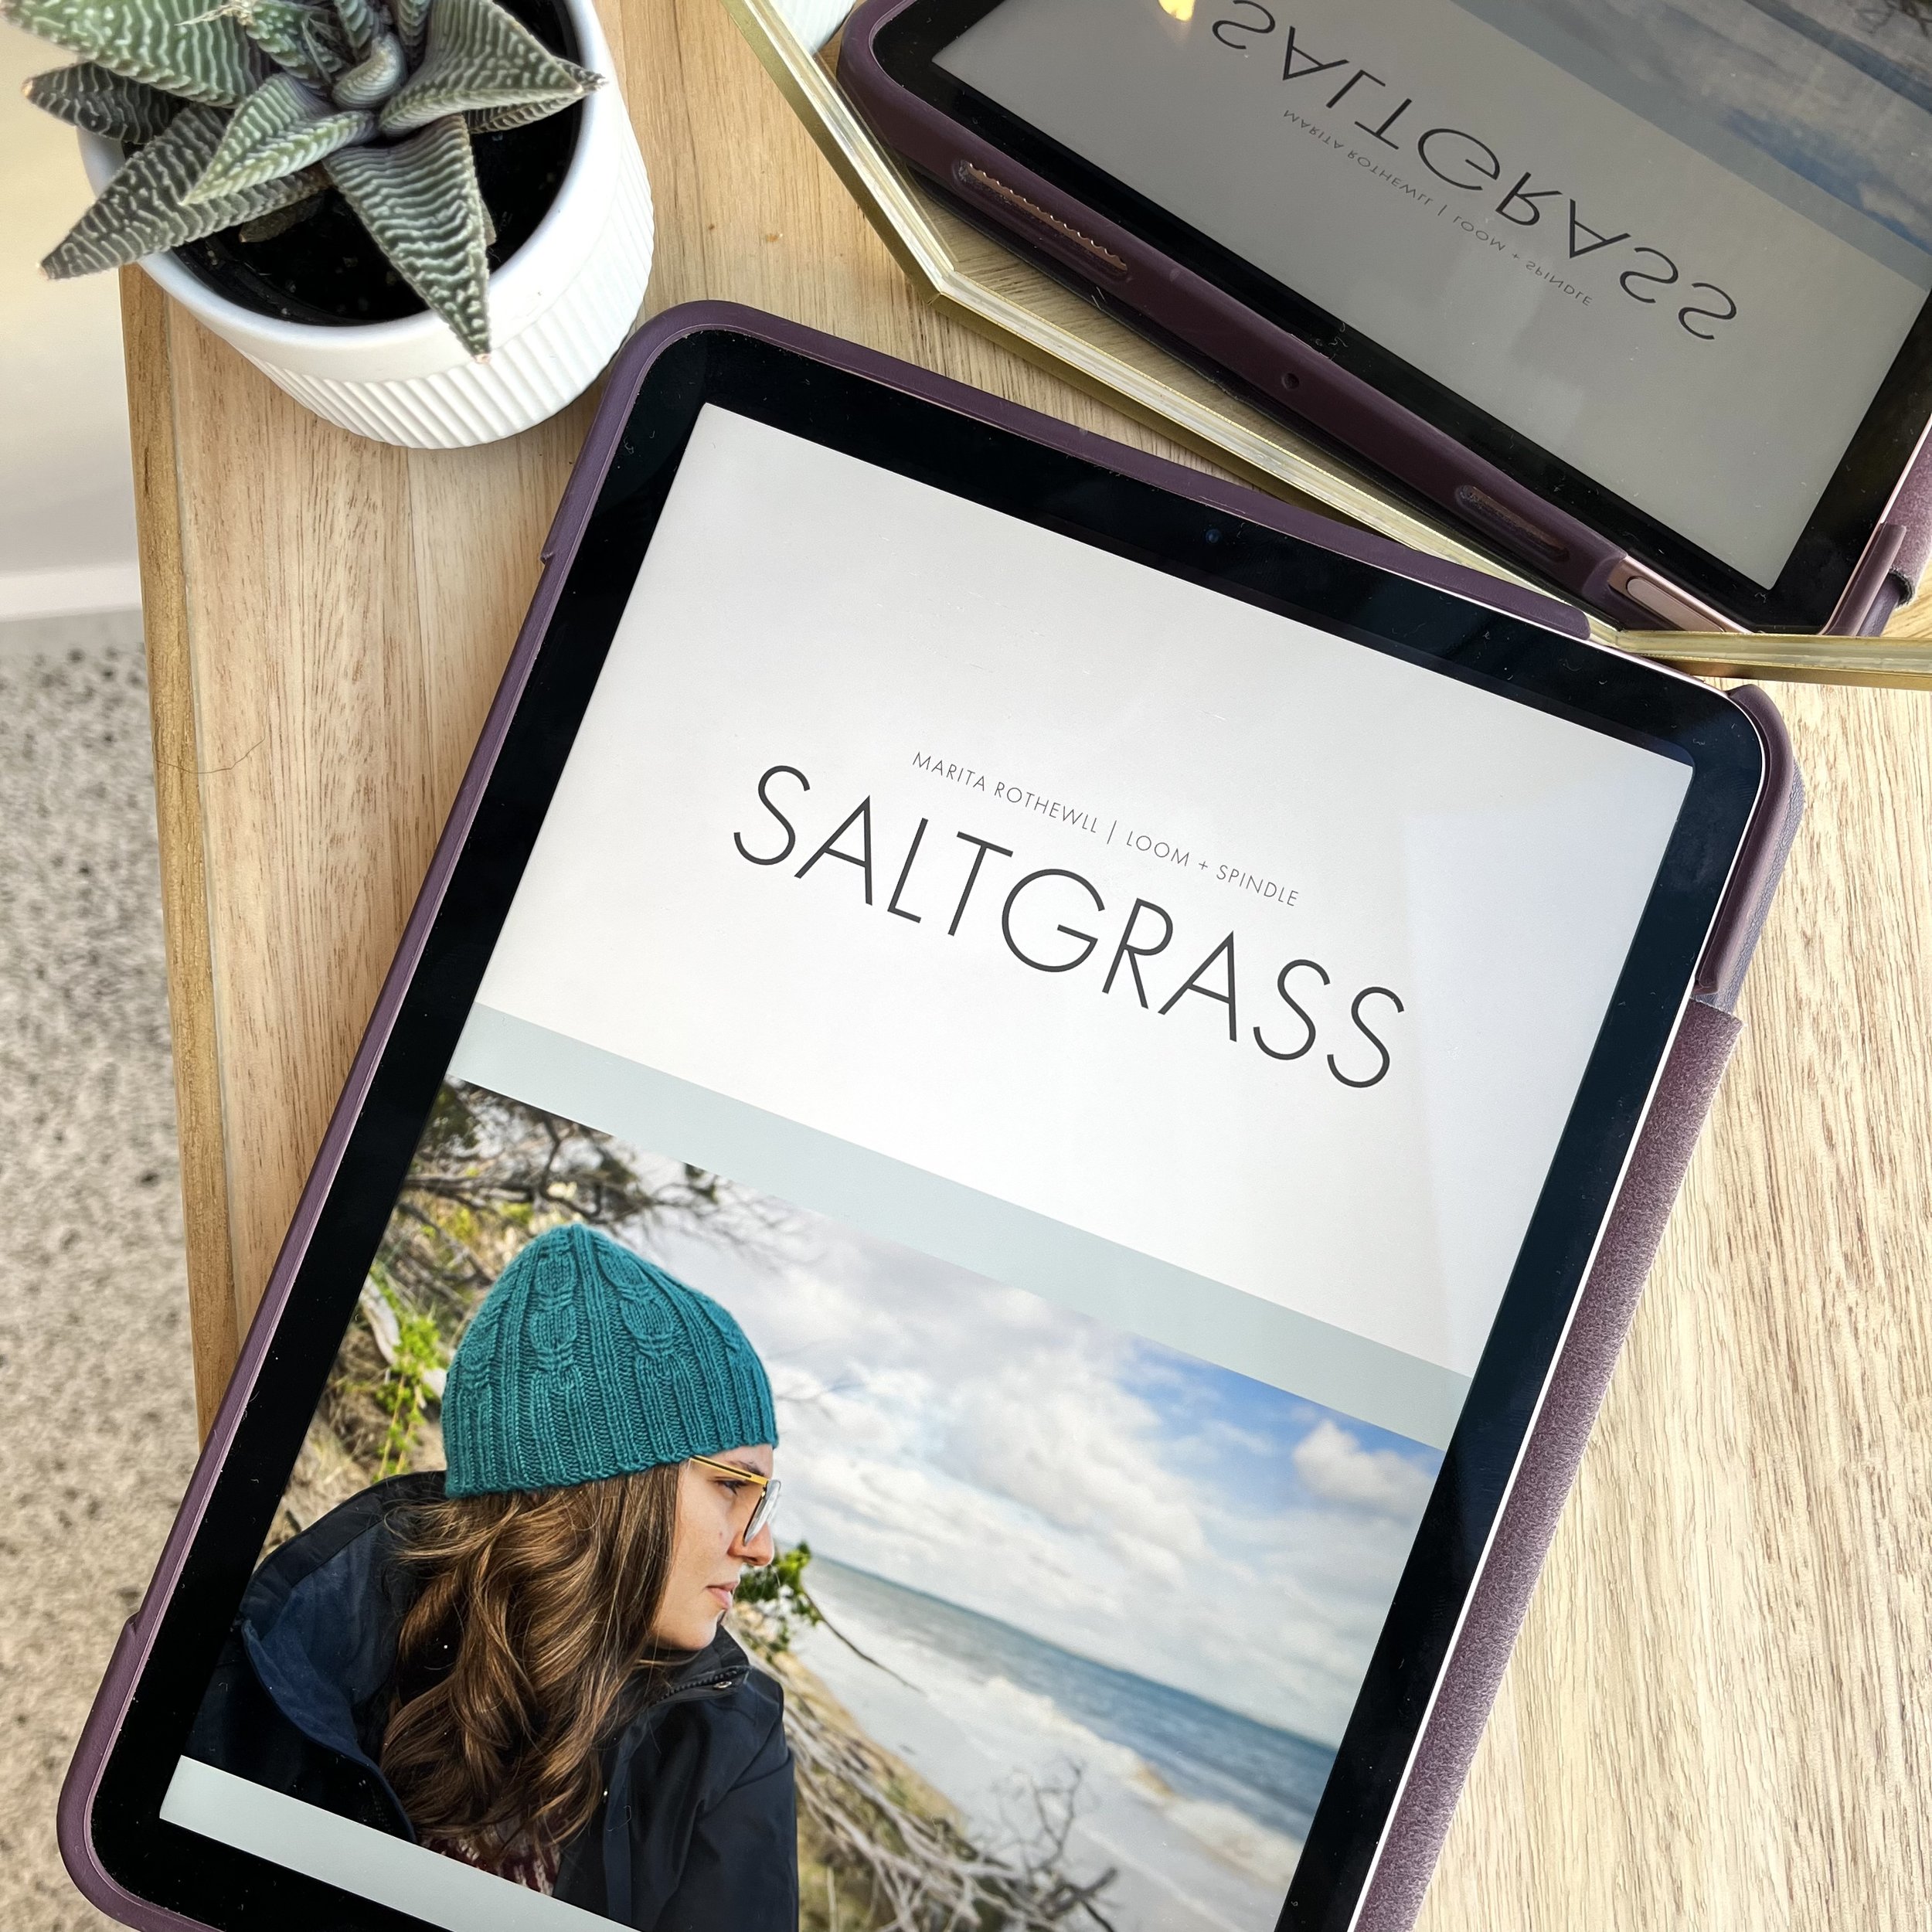
Named for the perennial salt-grass that grows along our local coastline, the Saltgrass beanie combines a delicate spikelet-like cable reminiscent of the salt-grass florets that appear every Spring. Its all-over rib pattern visually stabilises the design much like the physical effects of salt-grass traveling across the dunes. Knitted in the round from brim to crown in the softest baby alpaca from Amano Yarns, the Saltgrass beanie is an enjoyably quick knit to develop your cable skills and prepare for a coastal Spring.

Enjoy!

Andrea | Loom + Spindle


The Project


THANK YOU FOR READING!

Would you like to save this pattern for later?
Add it to your Ravelry favourites HERE.


Explore Puna Traceable


Explore More Studio projects…

You may also like…

HOLIDAY SLIPOVER | A Studio Project

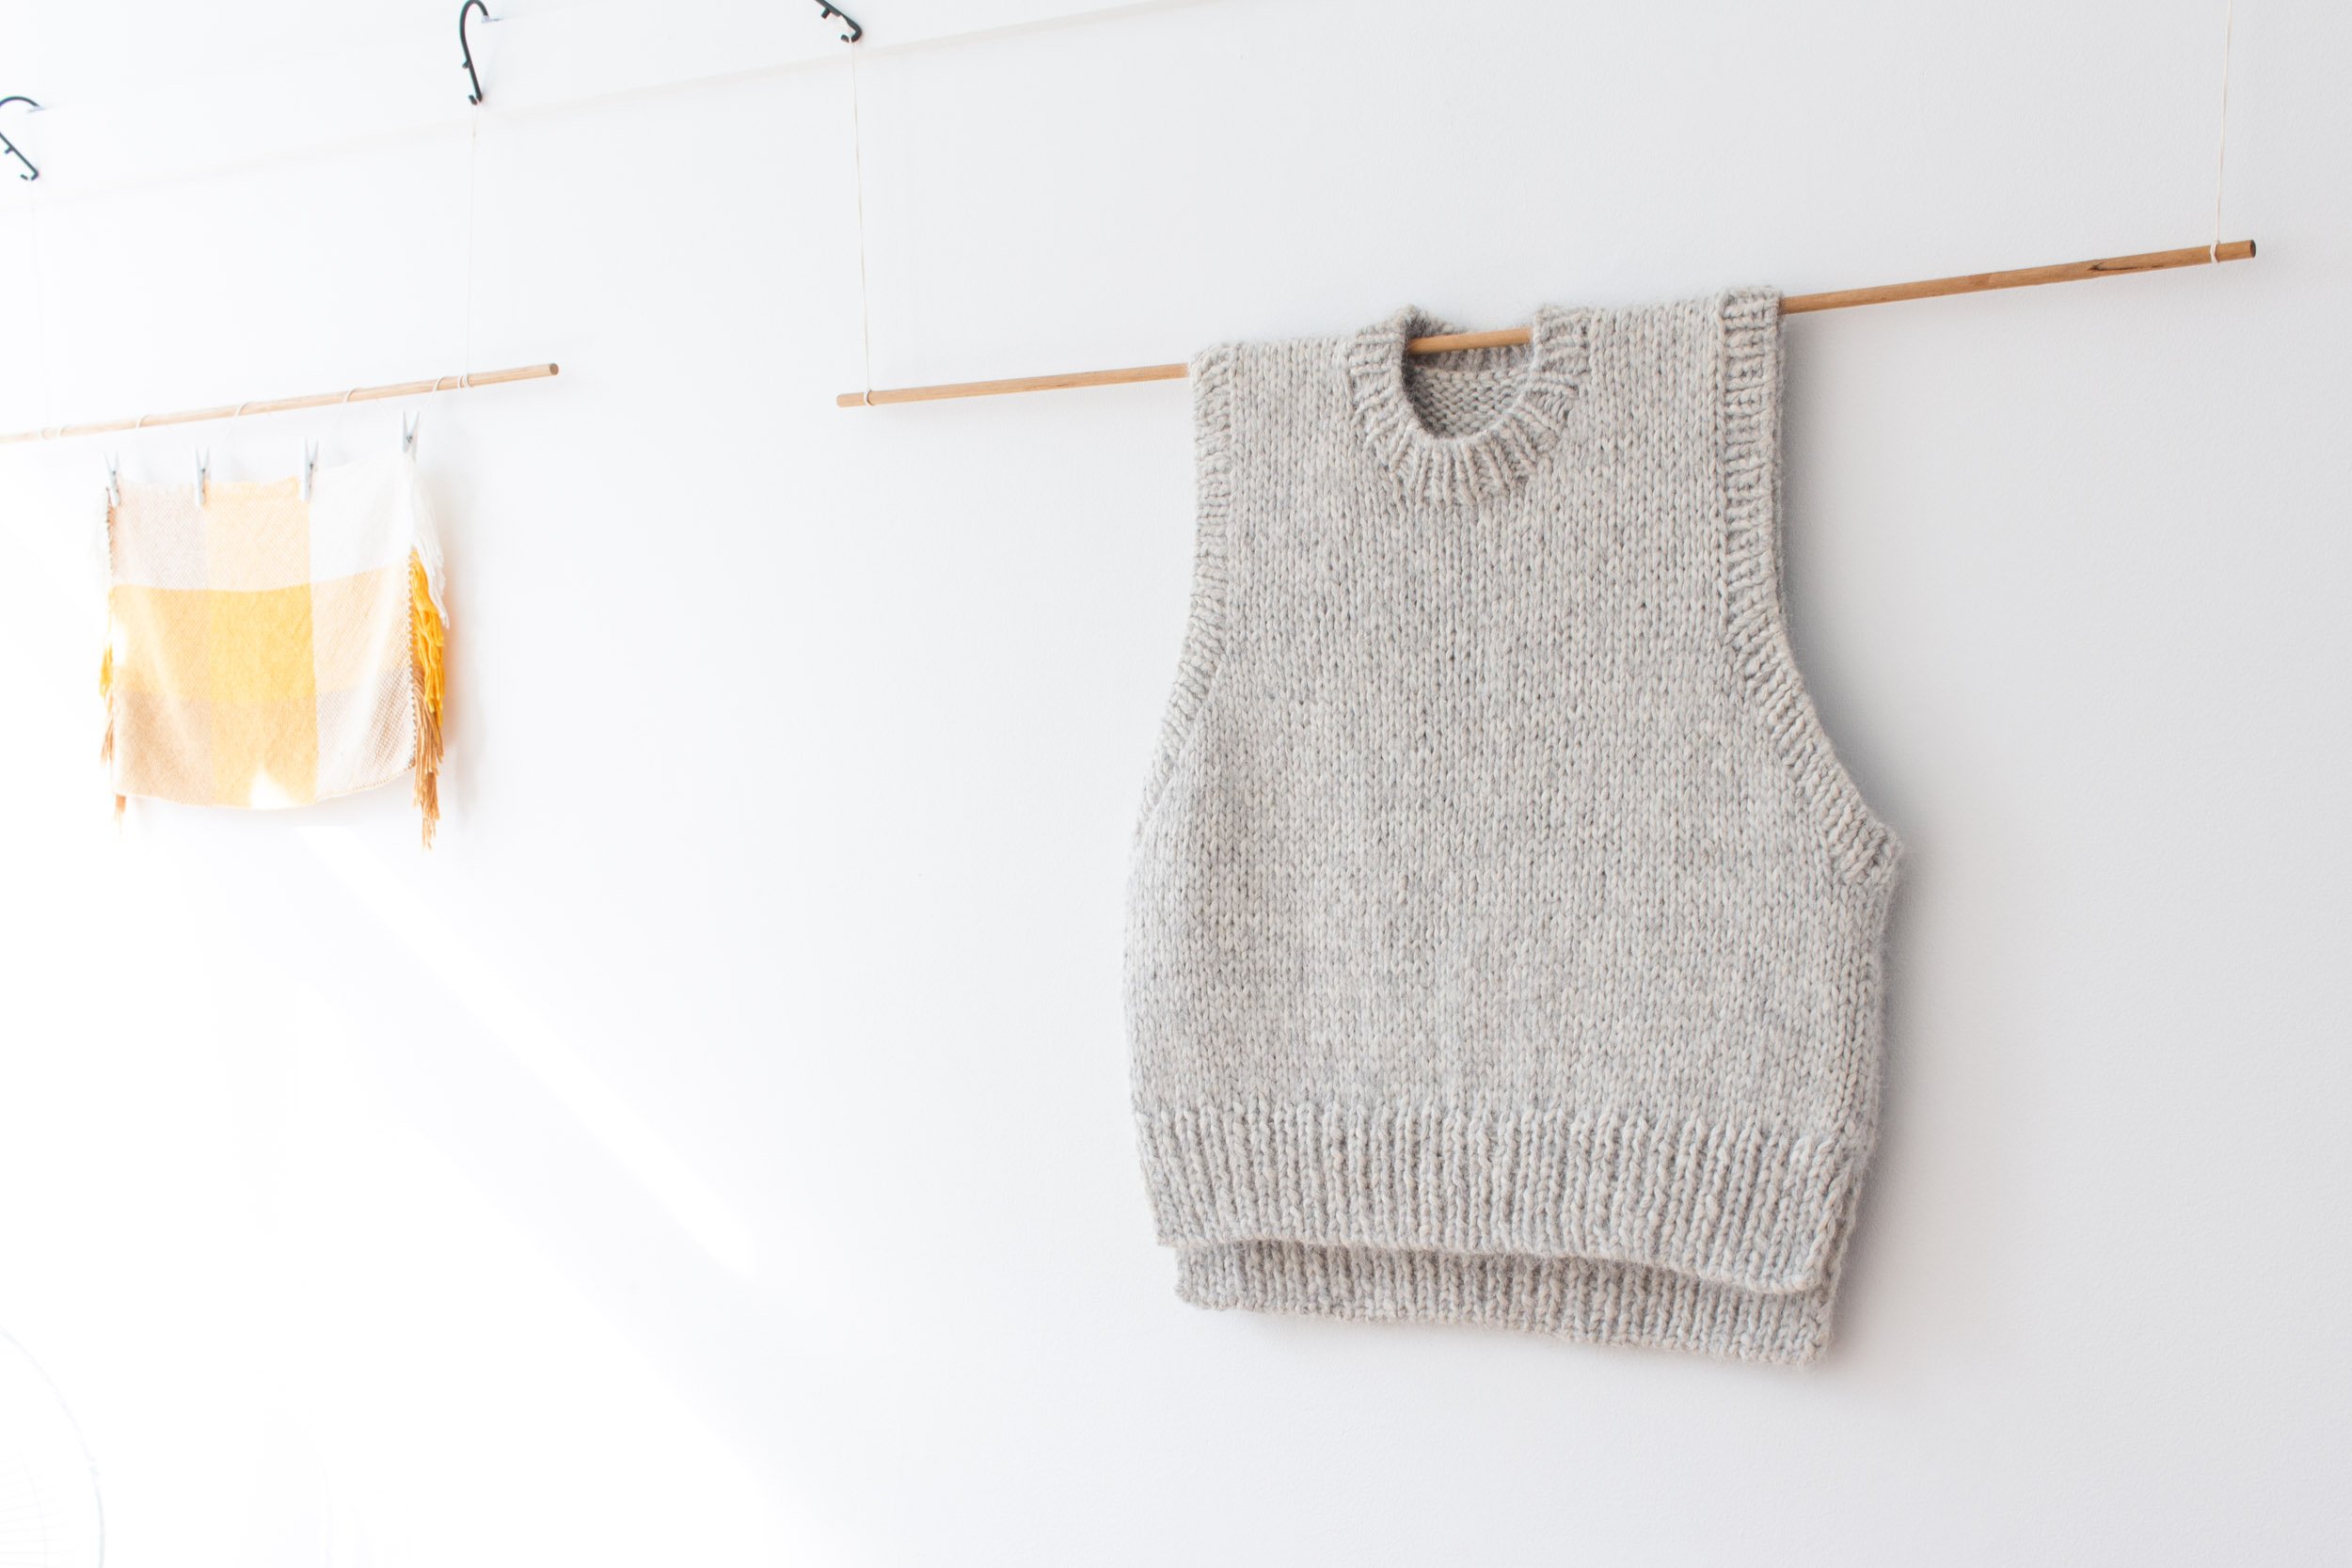
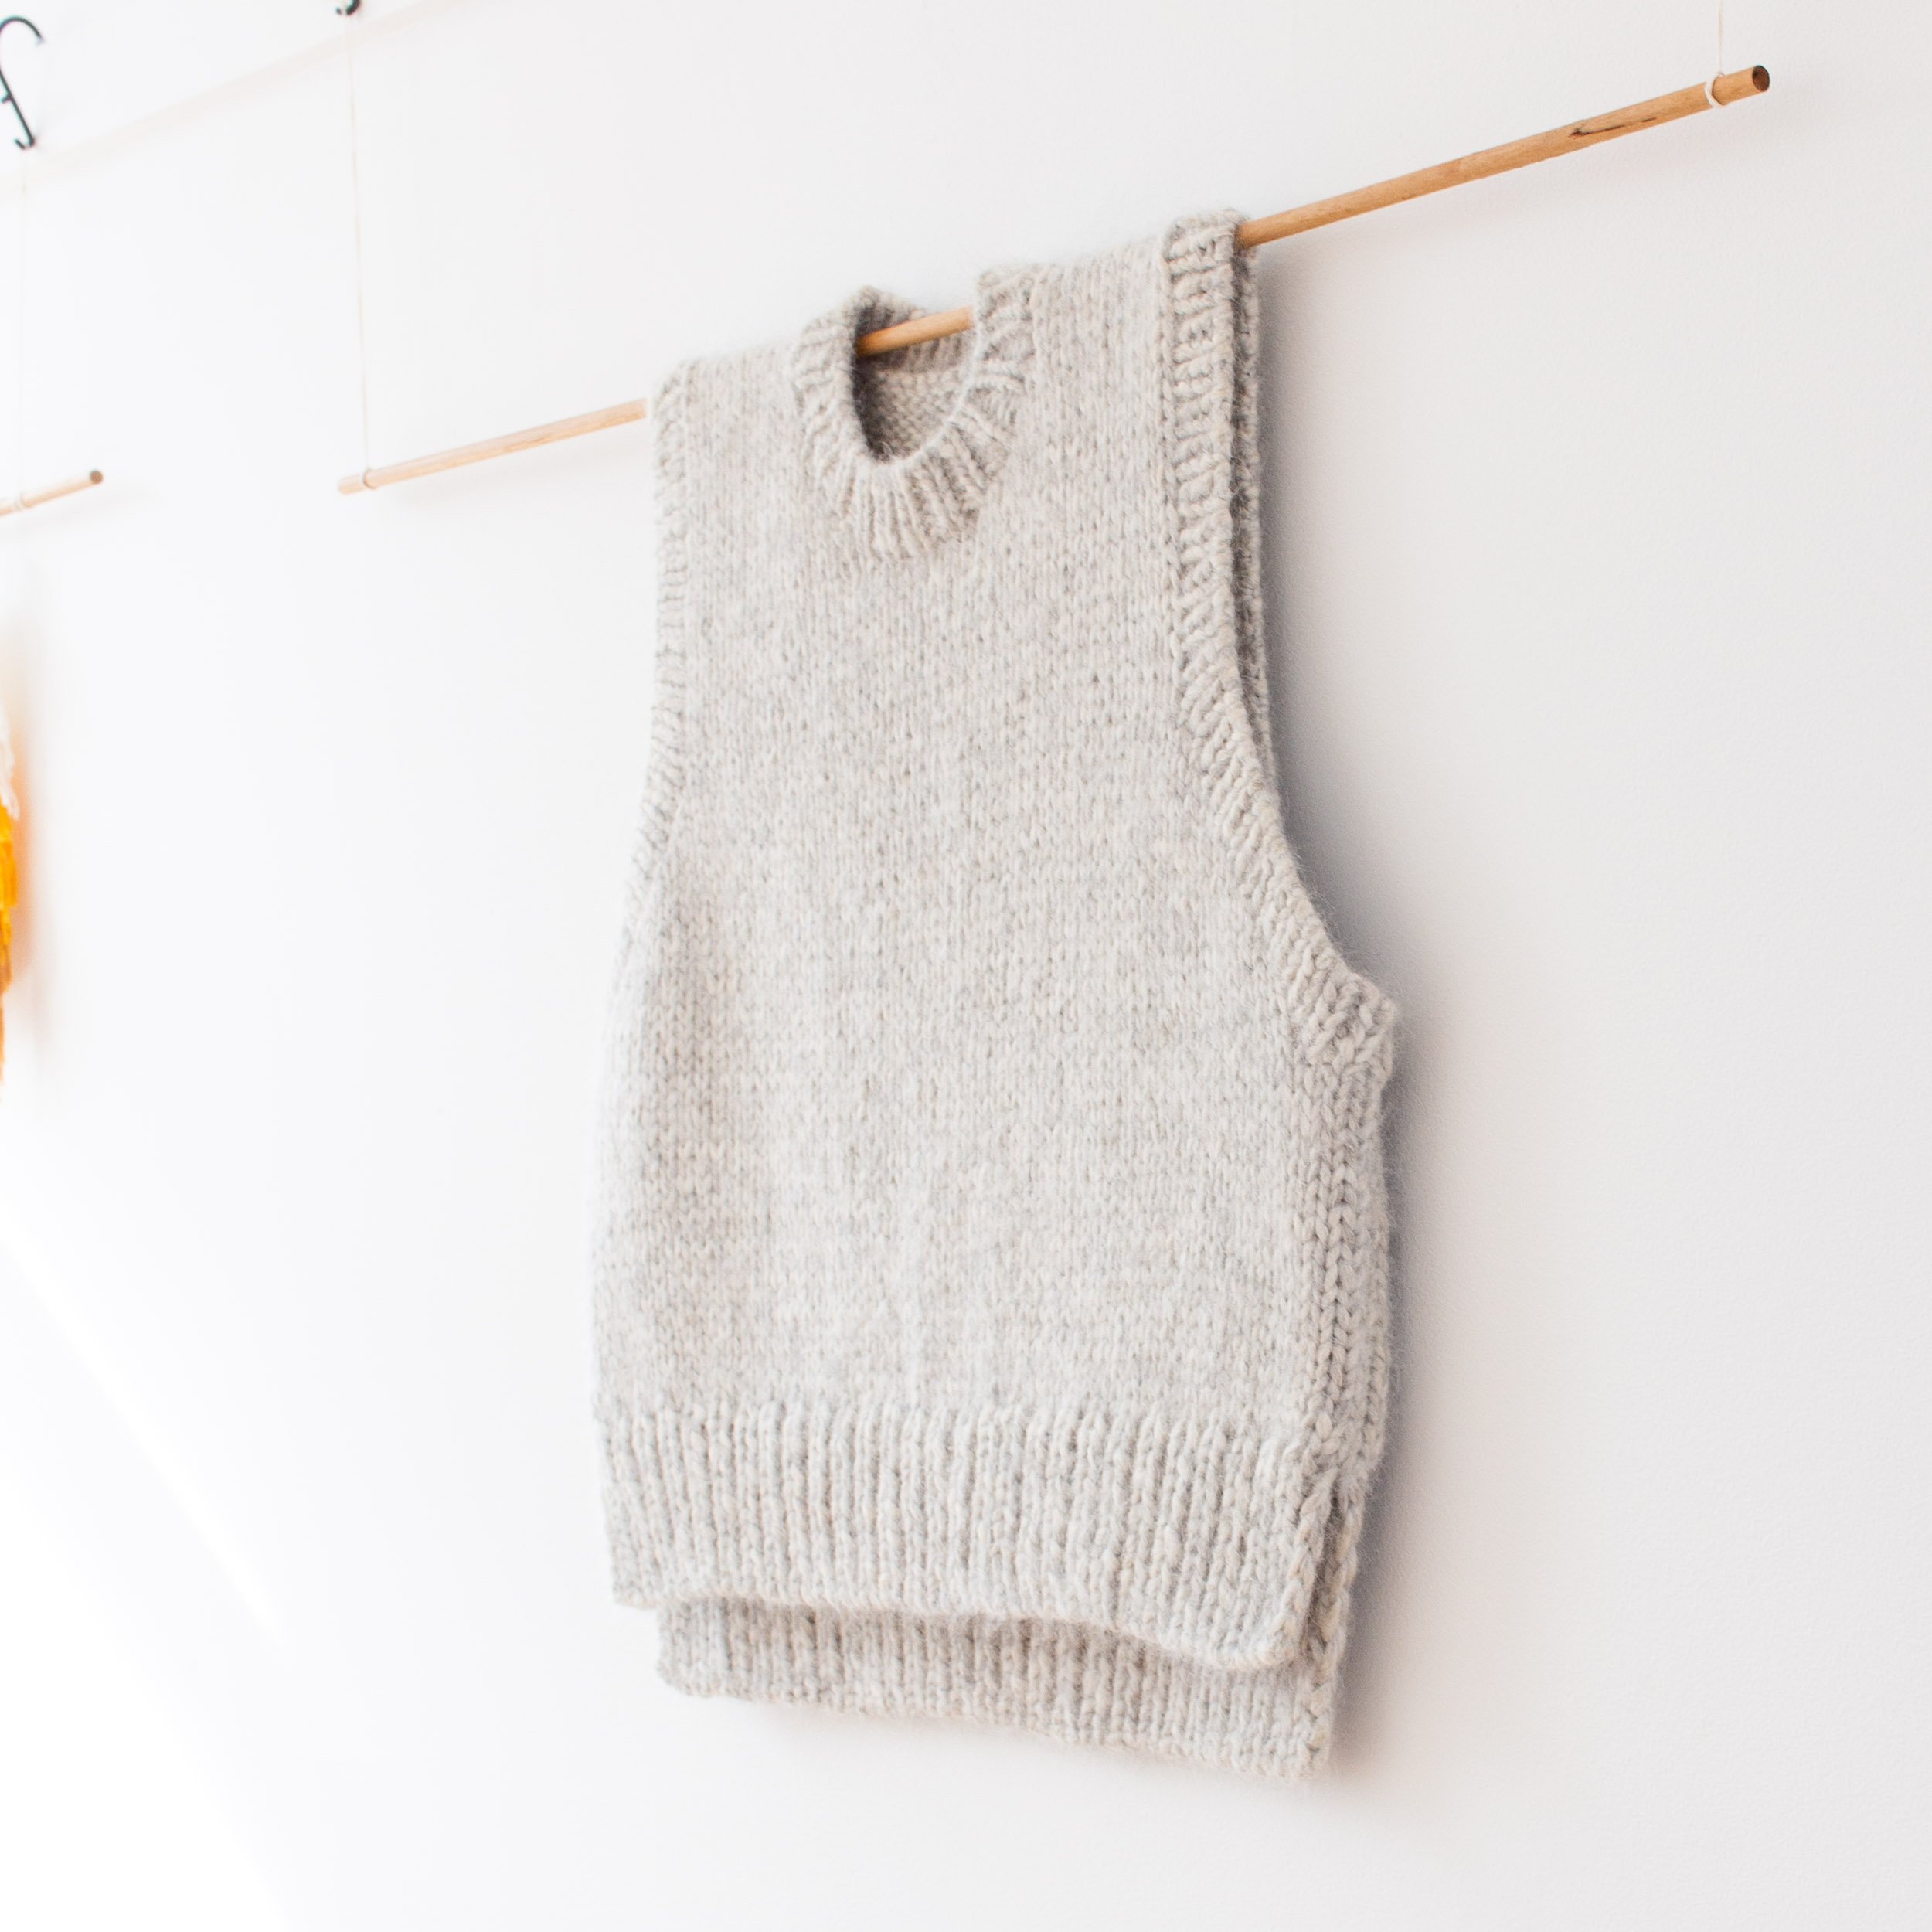
One of my most favourite projects in recent years has been the PetiteKnit Holiday Slipover.
A super comfy, super warm, and super stylish (😅 I’m not very stylish) chunky vest that I’ve worn right through the winter season - including today!

I finally have the yarn in store, so it’s a perfect time to share the project.

Enjoy!

Andrea | Loom + Spindle


STUDIO PROJECT | Holiday Slipover

DESIGN

Holiday Slipover is a design by PetiteKnit, first published in March 2020. The pattern is available to purchase as a digital download via Ravelry.

SKILLS

  • Knit and purl stitches

  • Increasing and decreasing

  • Picking up stitches

  • Italian bind-off

TOOLS

MATERIALS


+ Yarn kits available HERE +


The Project

INSIGHTS AND OPPORTUNITIES

YARN

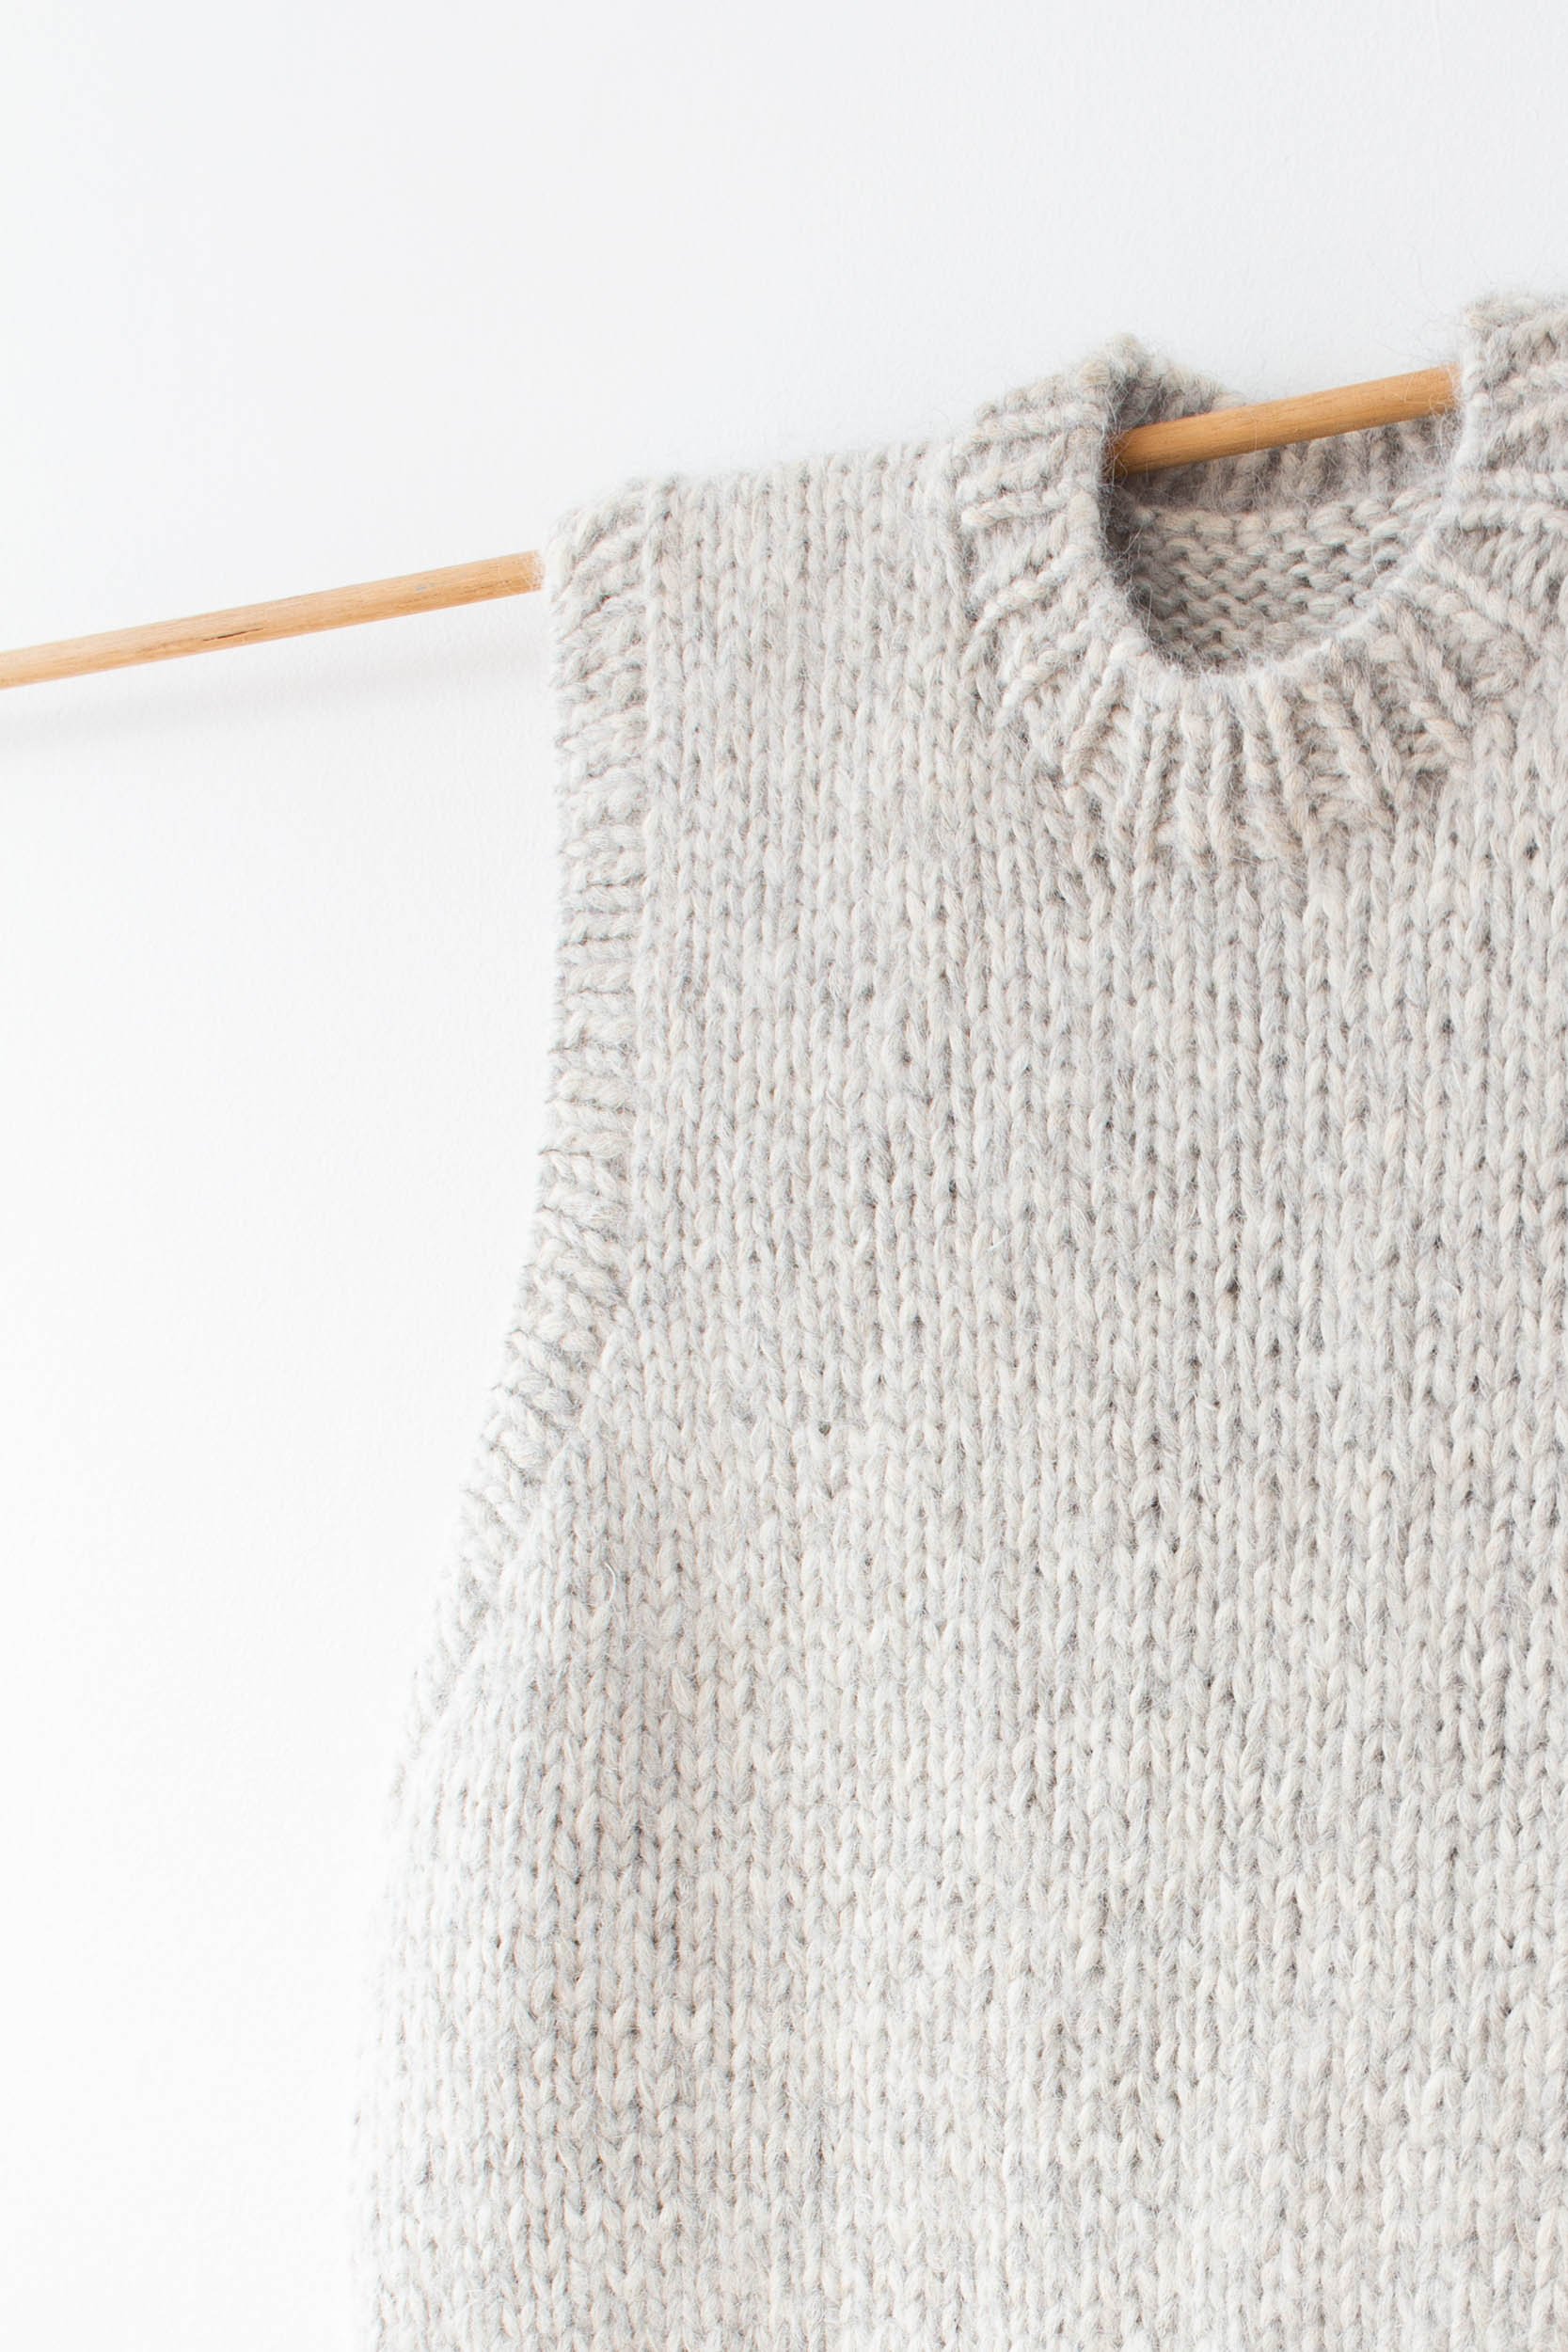
  • Vintage offers a lush blend of alpaca and Merino wool carefully blown into a soft cotton core. The results are a super soft and fluffy fabric.

  • To achieve a gauge of 10 stitches over 10cm the pattern specifies holding two strands of Vintage (or an equivalent yarn) with a single strand of mohair. The three strands are held together throughout.

CONSTRUCTION + FINISHING

  • On sizing, I really wanted a lot of ease. I went with size XL, this gave me about 16cm (5’’) positive ease.

  • The pattern is worked top-down, beginning with the back yoke and then the front. After the armhole shaping the pattern is worked in the round.

  • Rather than working in the round I deviated from the instructions and continued working the front and back pieces flat. I did this to avoid any change in my knitted gauge and add structure to the knit.

  • I used back stitch to join the side seams and a sewn bind-off at the hems and rib edges.

  • I always hate picking up stitches but think I’ve found a hack - Pick up as many stitches as there are gaps in the fabric, then on the next round decrease in pattern to get the pattern stitch count. Works every time, no holes!

FINAL THOUGHTS

This would make a great first garment if you’re ready to extend you knitting skills.

It’s certainly been a piece that has seen a lot of wear. I tend to layer up during the winter months, so this has been the perfect thing to throw over a shirt and keep my shoulders warm.

Vintage was something new to work with and it certainly didn’t disappoint. The final fabric really looks as good as the day I knit it!

I’d recommend using the mohair as specified in the pattern, it seems to give structure to the other strands, holding everything in place.

I really see my self knitting with Vintage again soon, at the top of my list are the Sunday Cardigan, Sunday Sweater or maybe the Novice Cardigan – Chunky Edition.

I also desperately want another Holiday Slipover, so many colours to choose from.


THANK YOU FOR READING!

Want to knit a Holiday Slipover?

You’ll be glad to know we’ve done all hard work and figured out the yardage for every size - you’re welcome 😉

All that’s left to do is to choose your favourite colour!


Explore Vintage


Explore More Studio projects…

You may also like…