

Well, the short bursts of sunshine, as proclaimed in my last post, were indeed very short-lived. It was a chilly 7 degrees this morning in my part of the world with lots of drizzly rain and cold gusty winds.
While I’m enjoying the extended sweater weather, I’m indulging in all the winter themed publications that recently hit the shop.
With all this inspiration at my finger tips I had to cast-on and get one last woolly fix for the season.
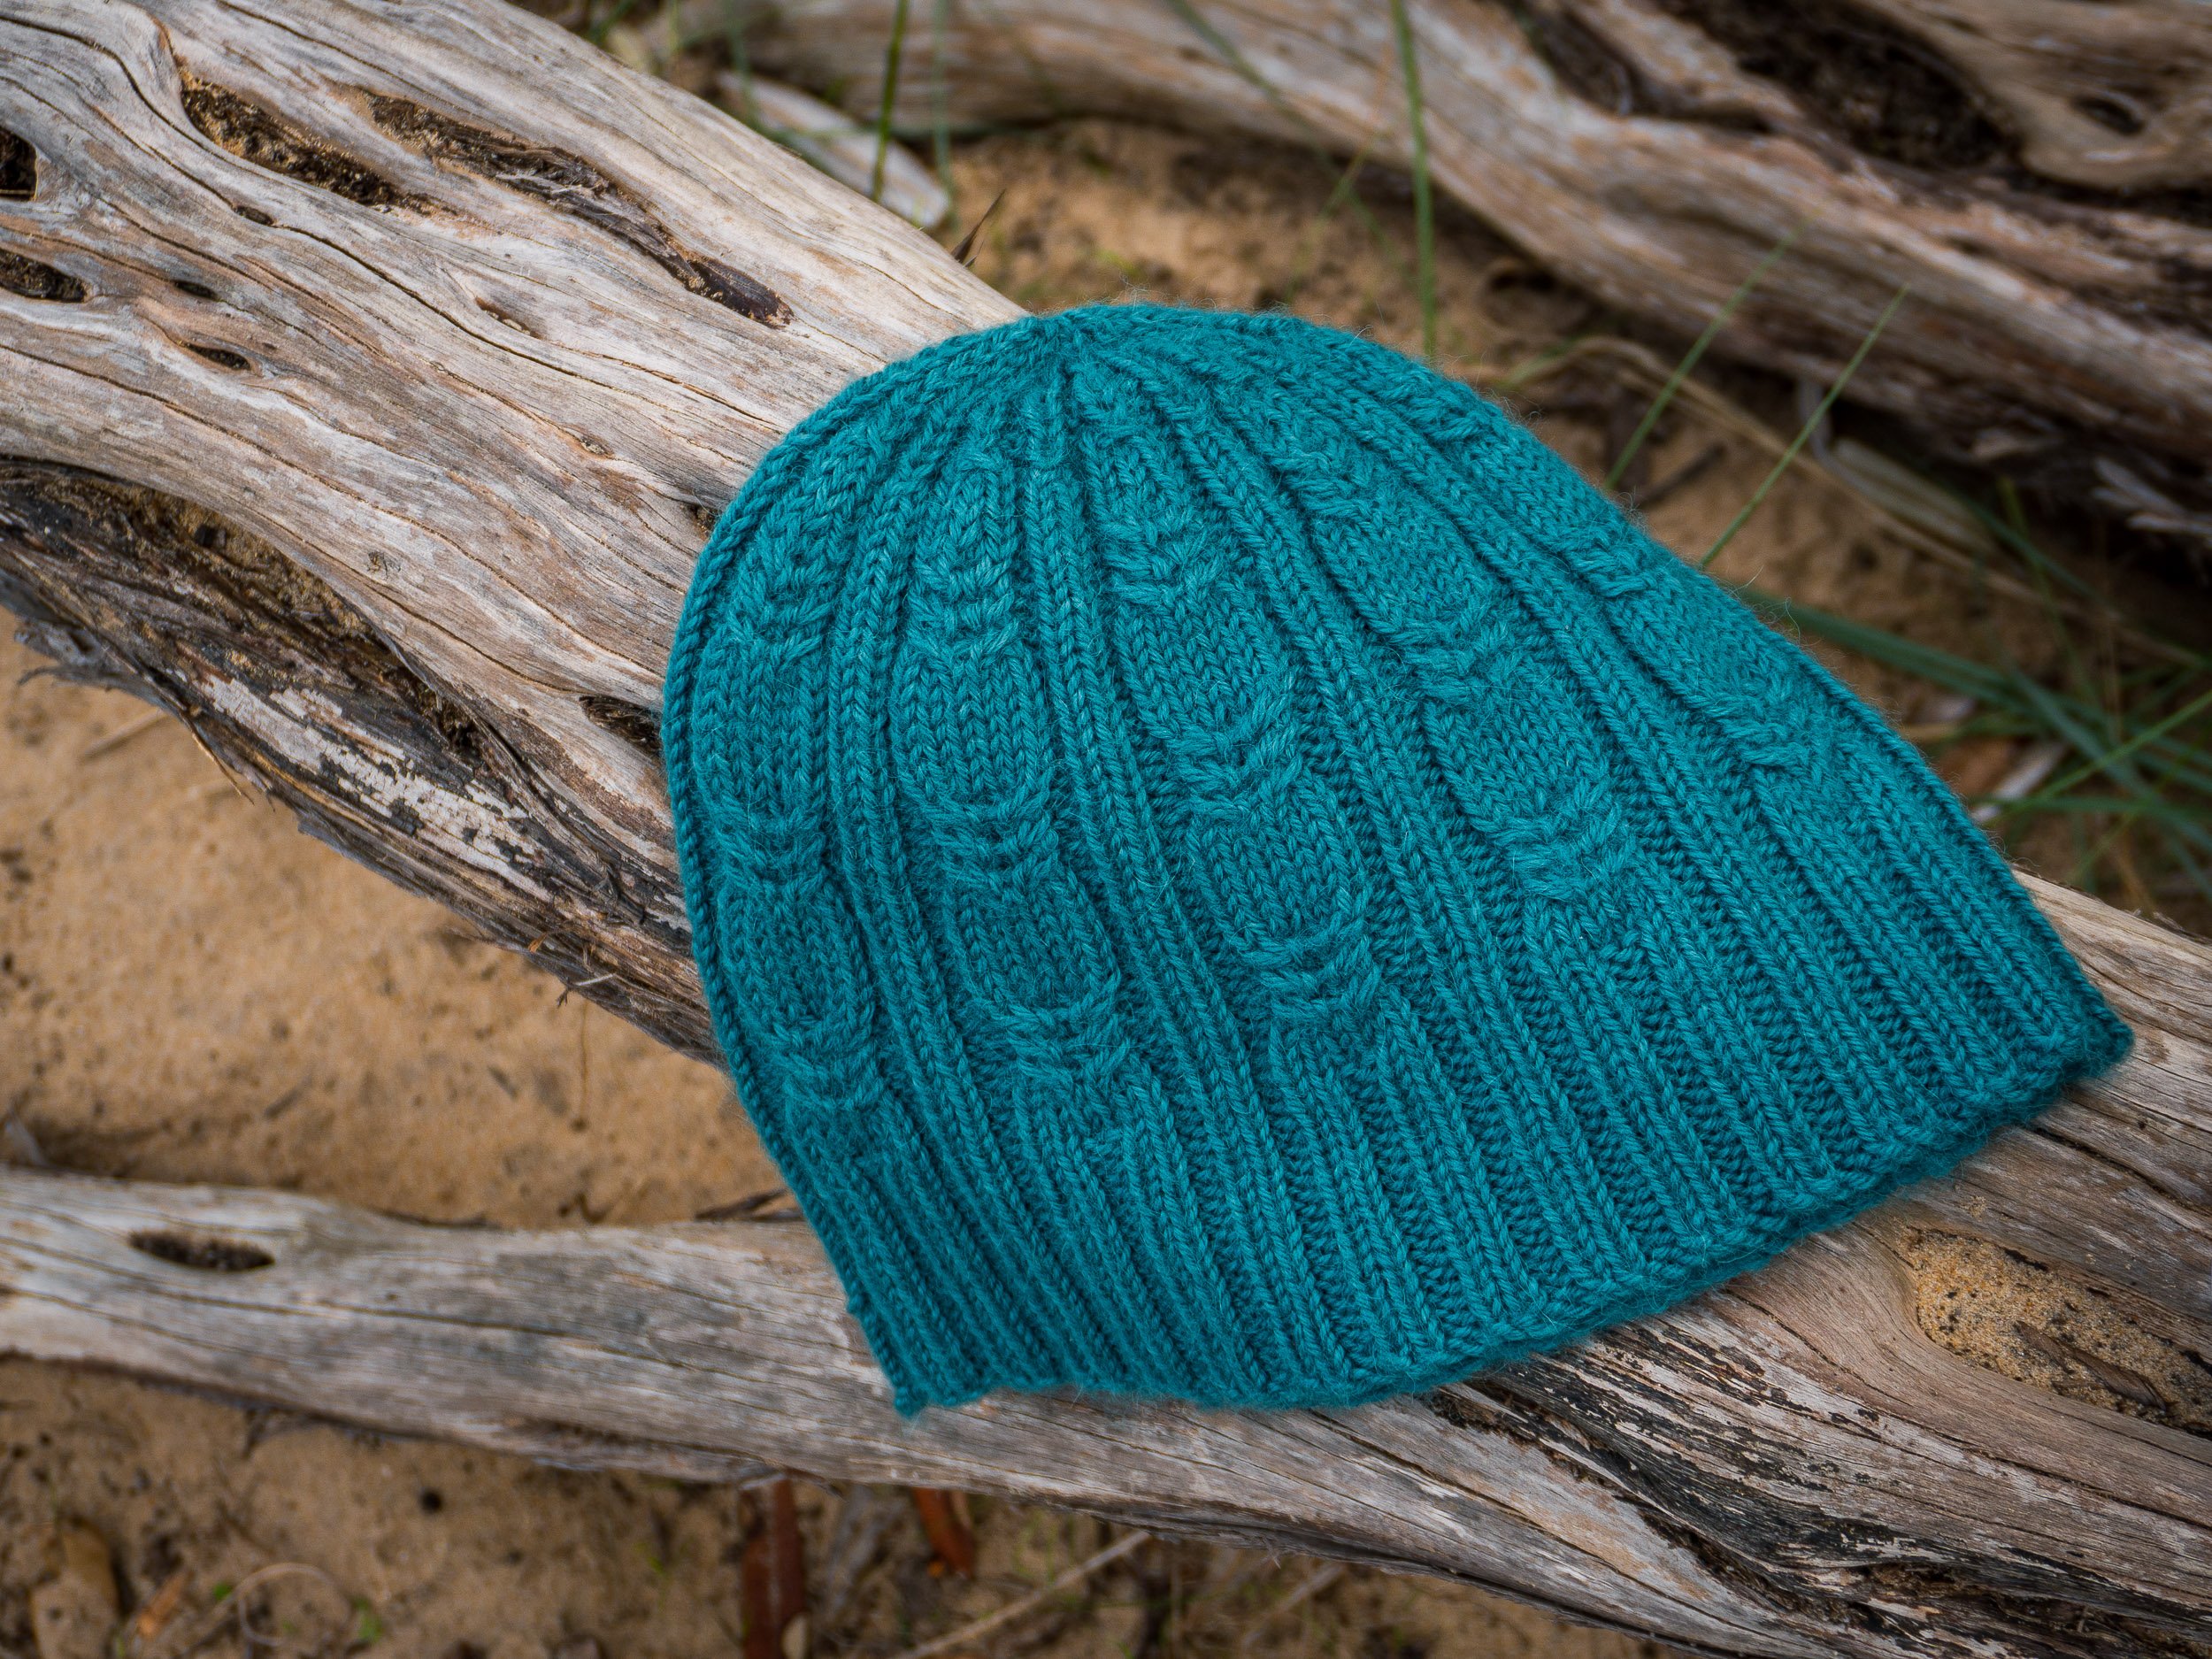
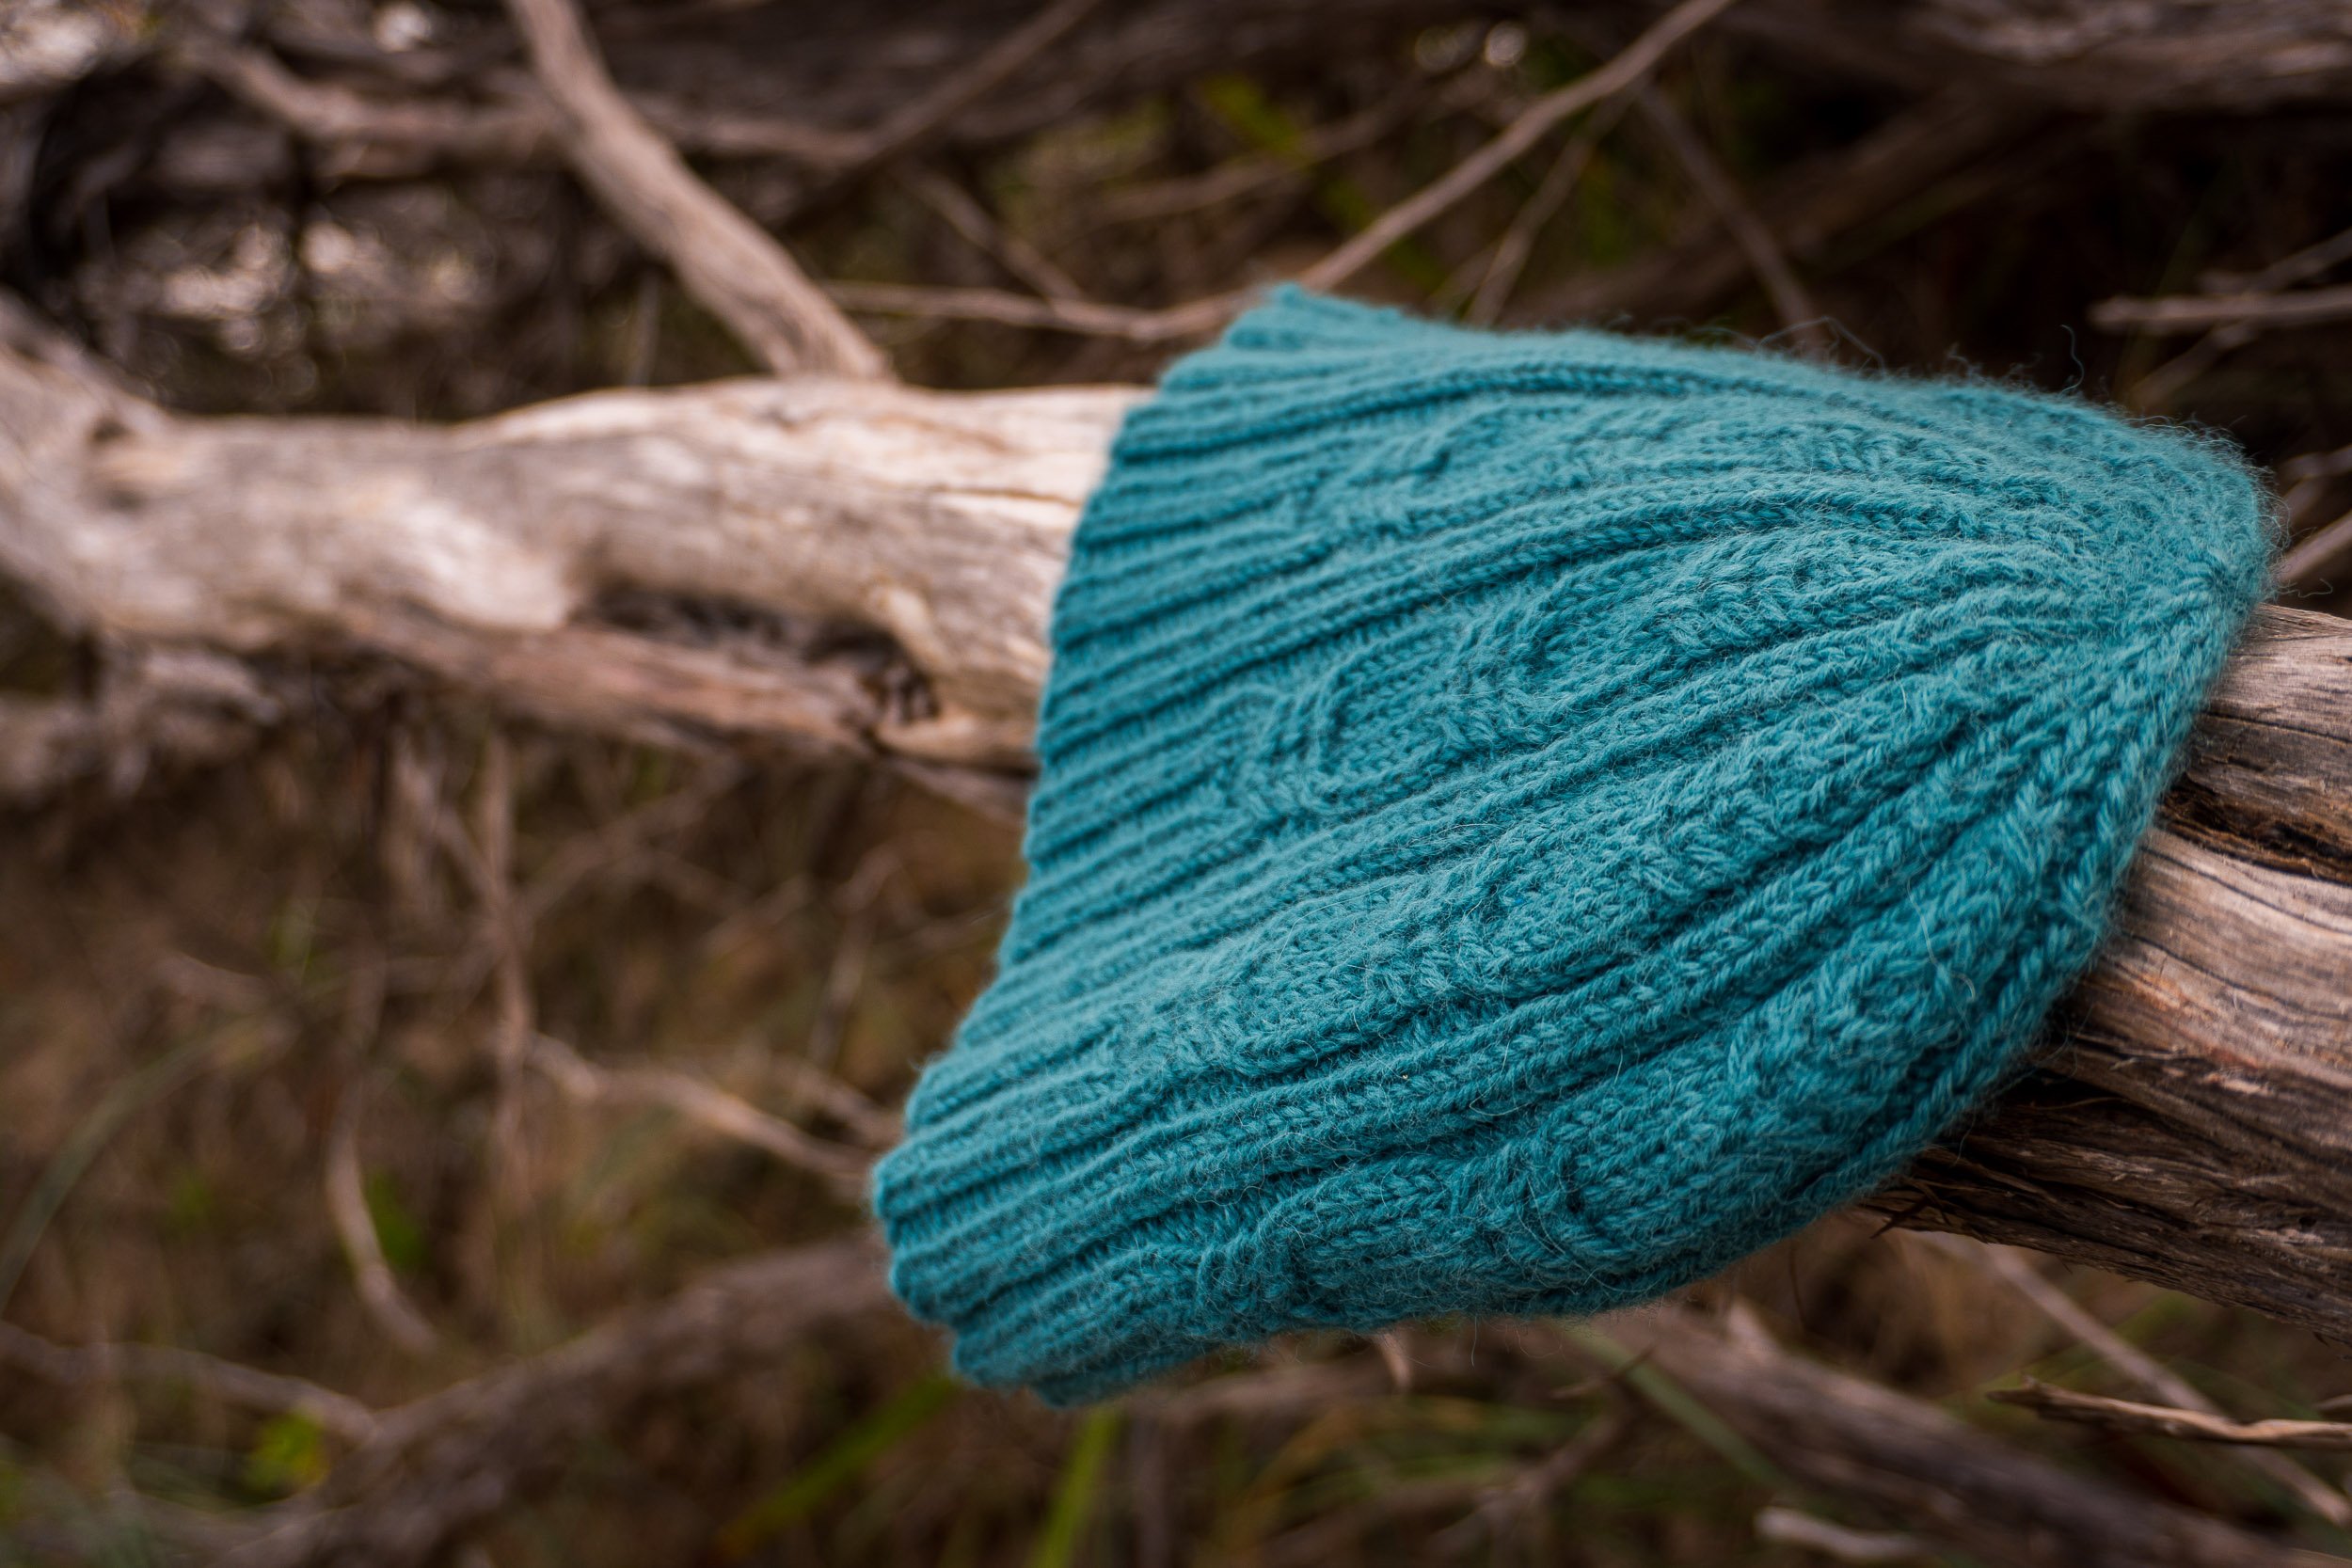
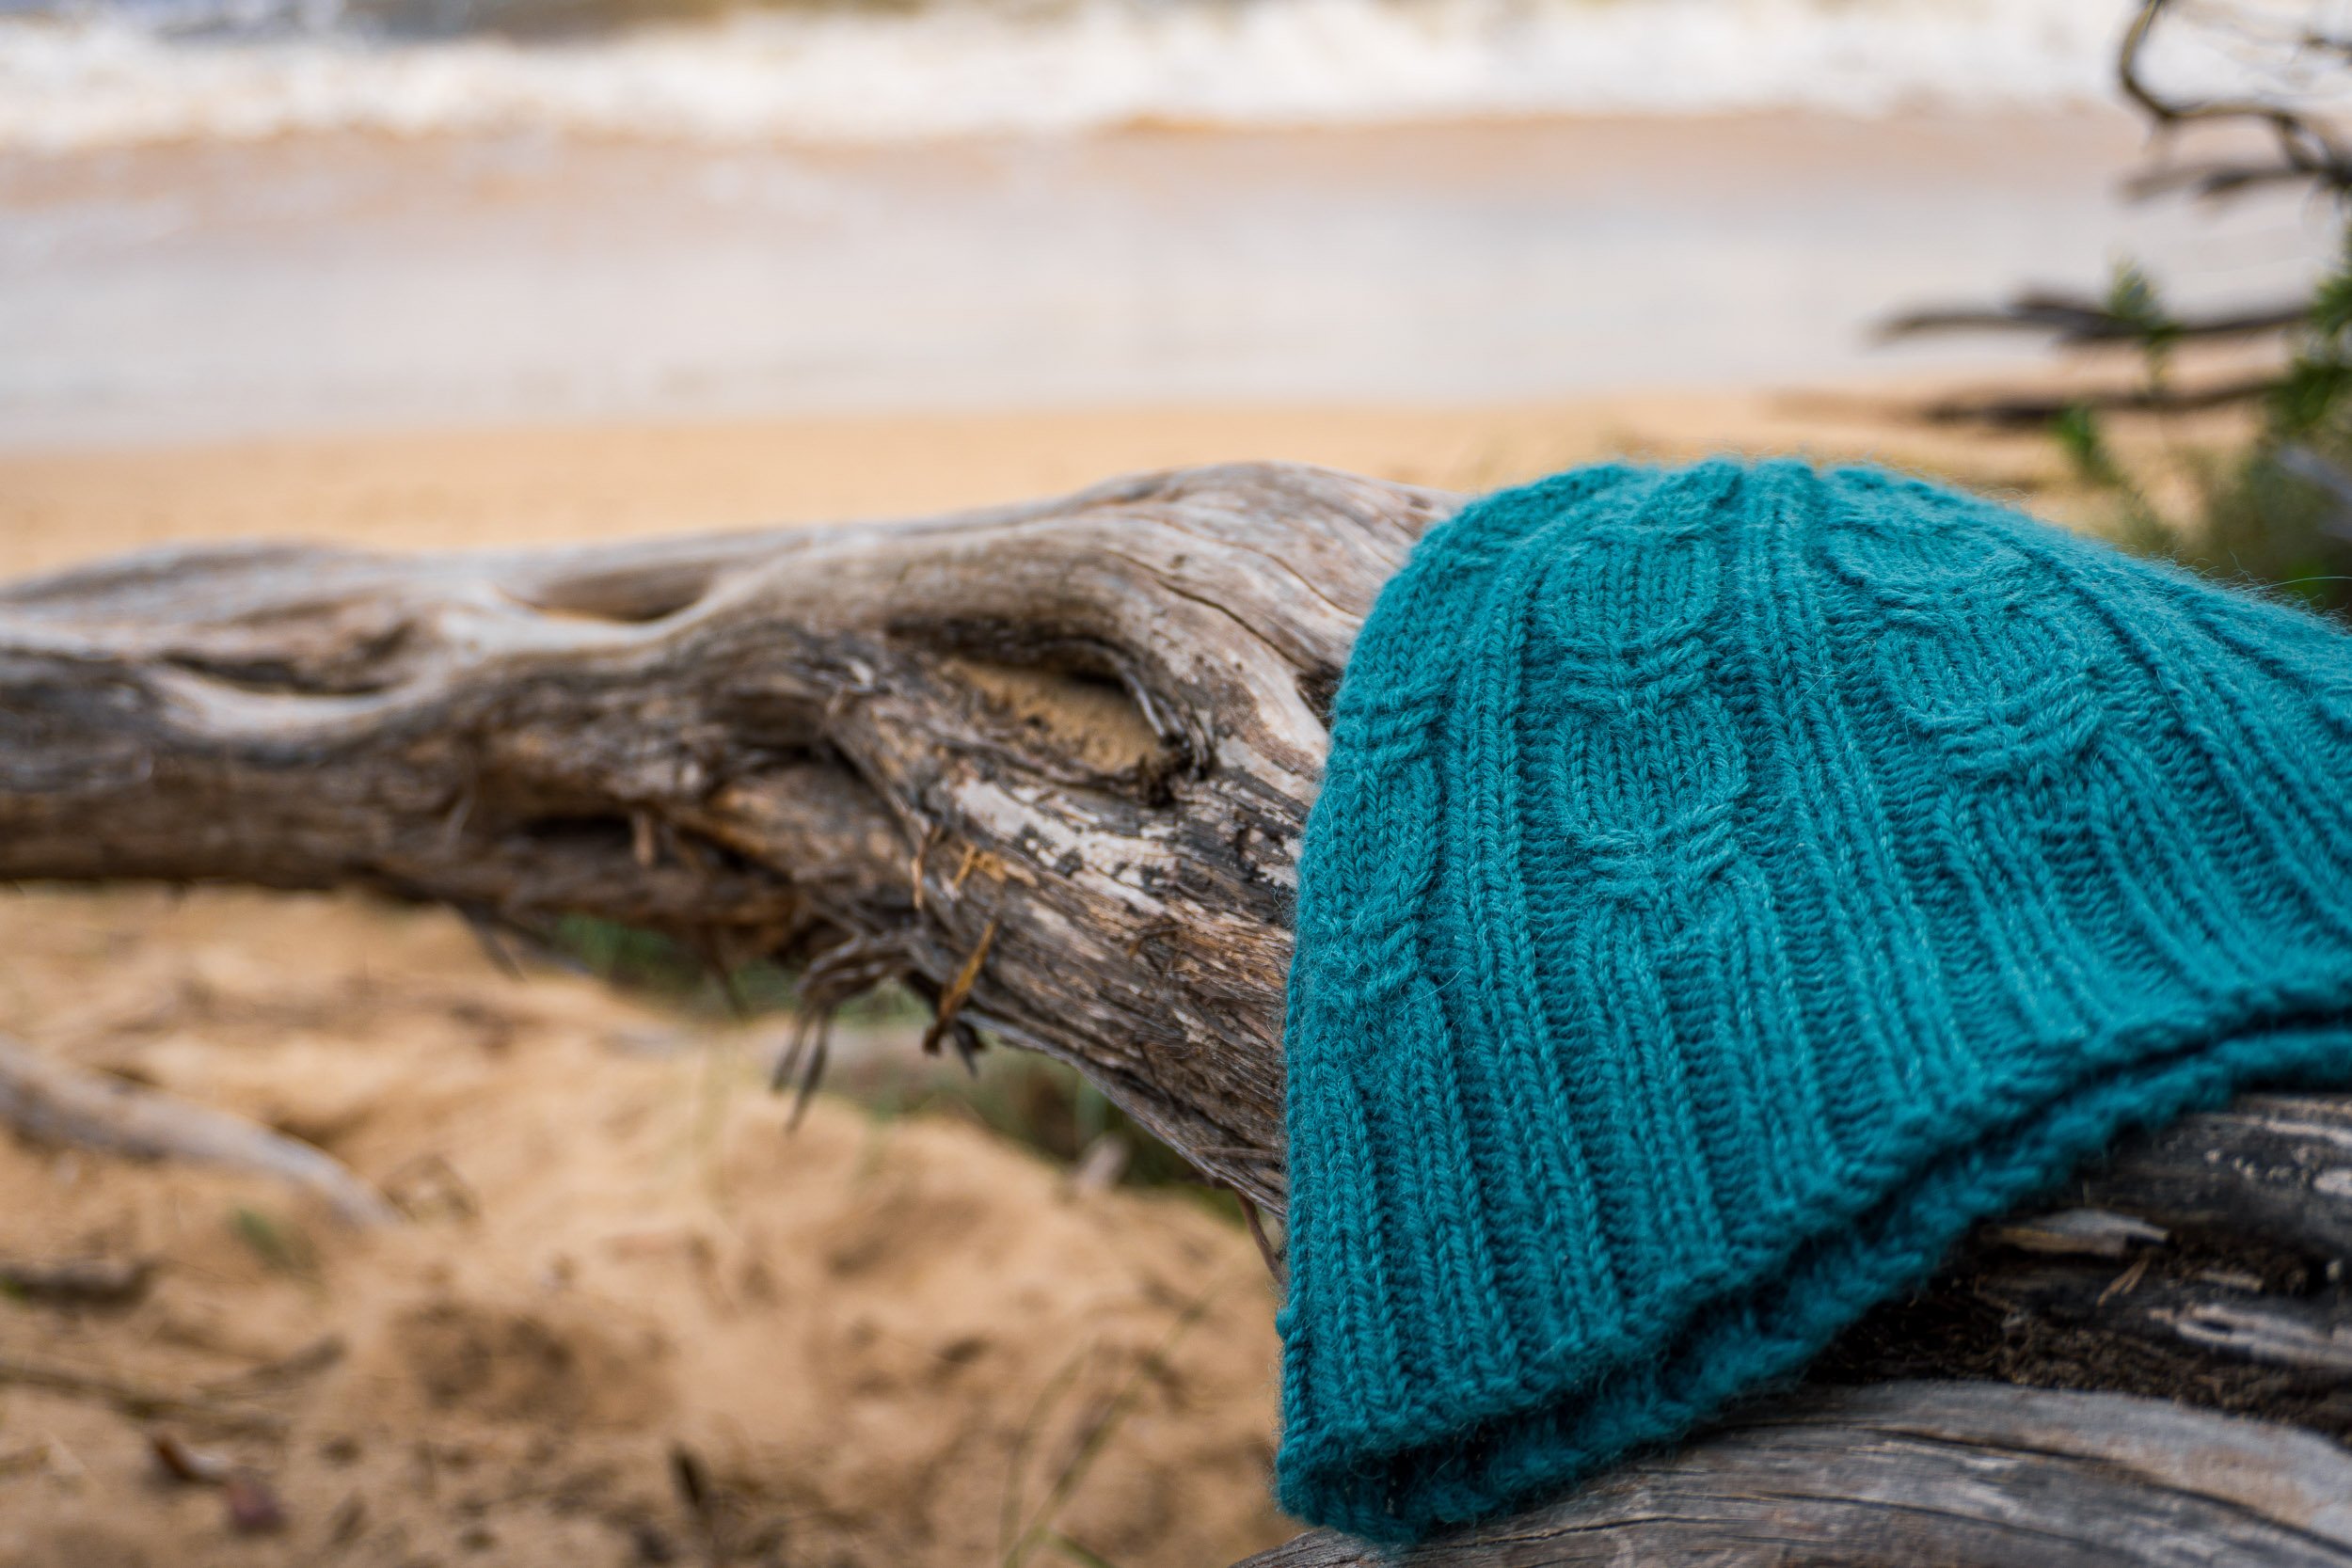
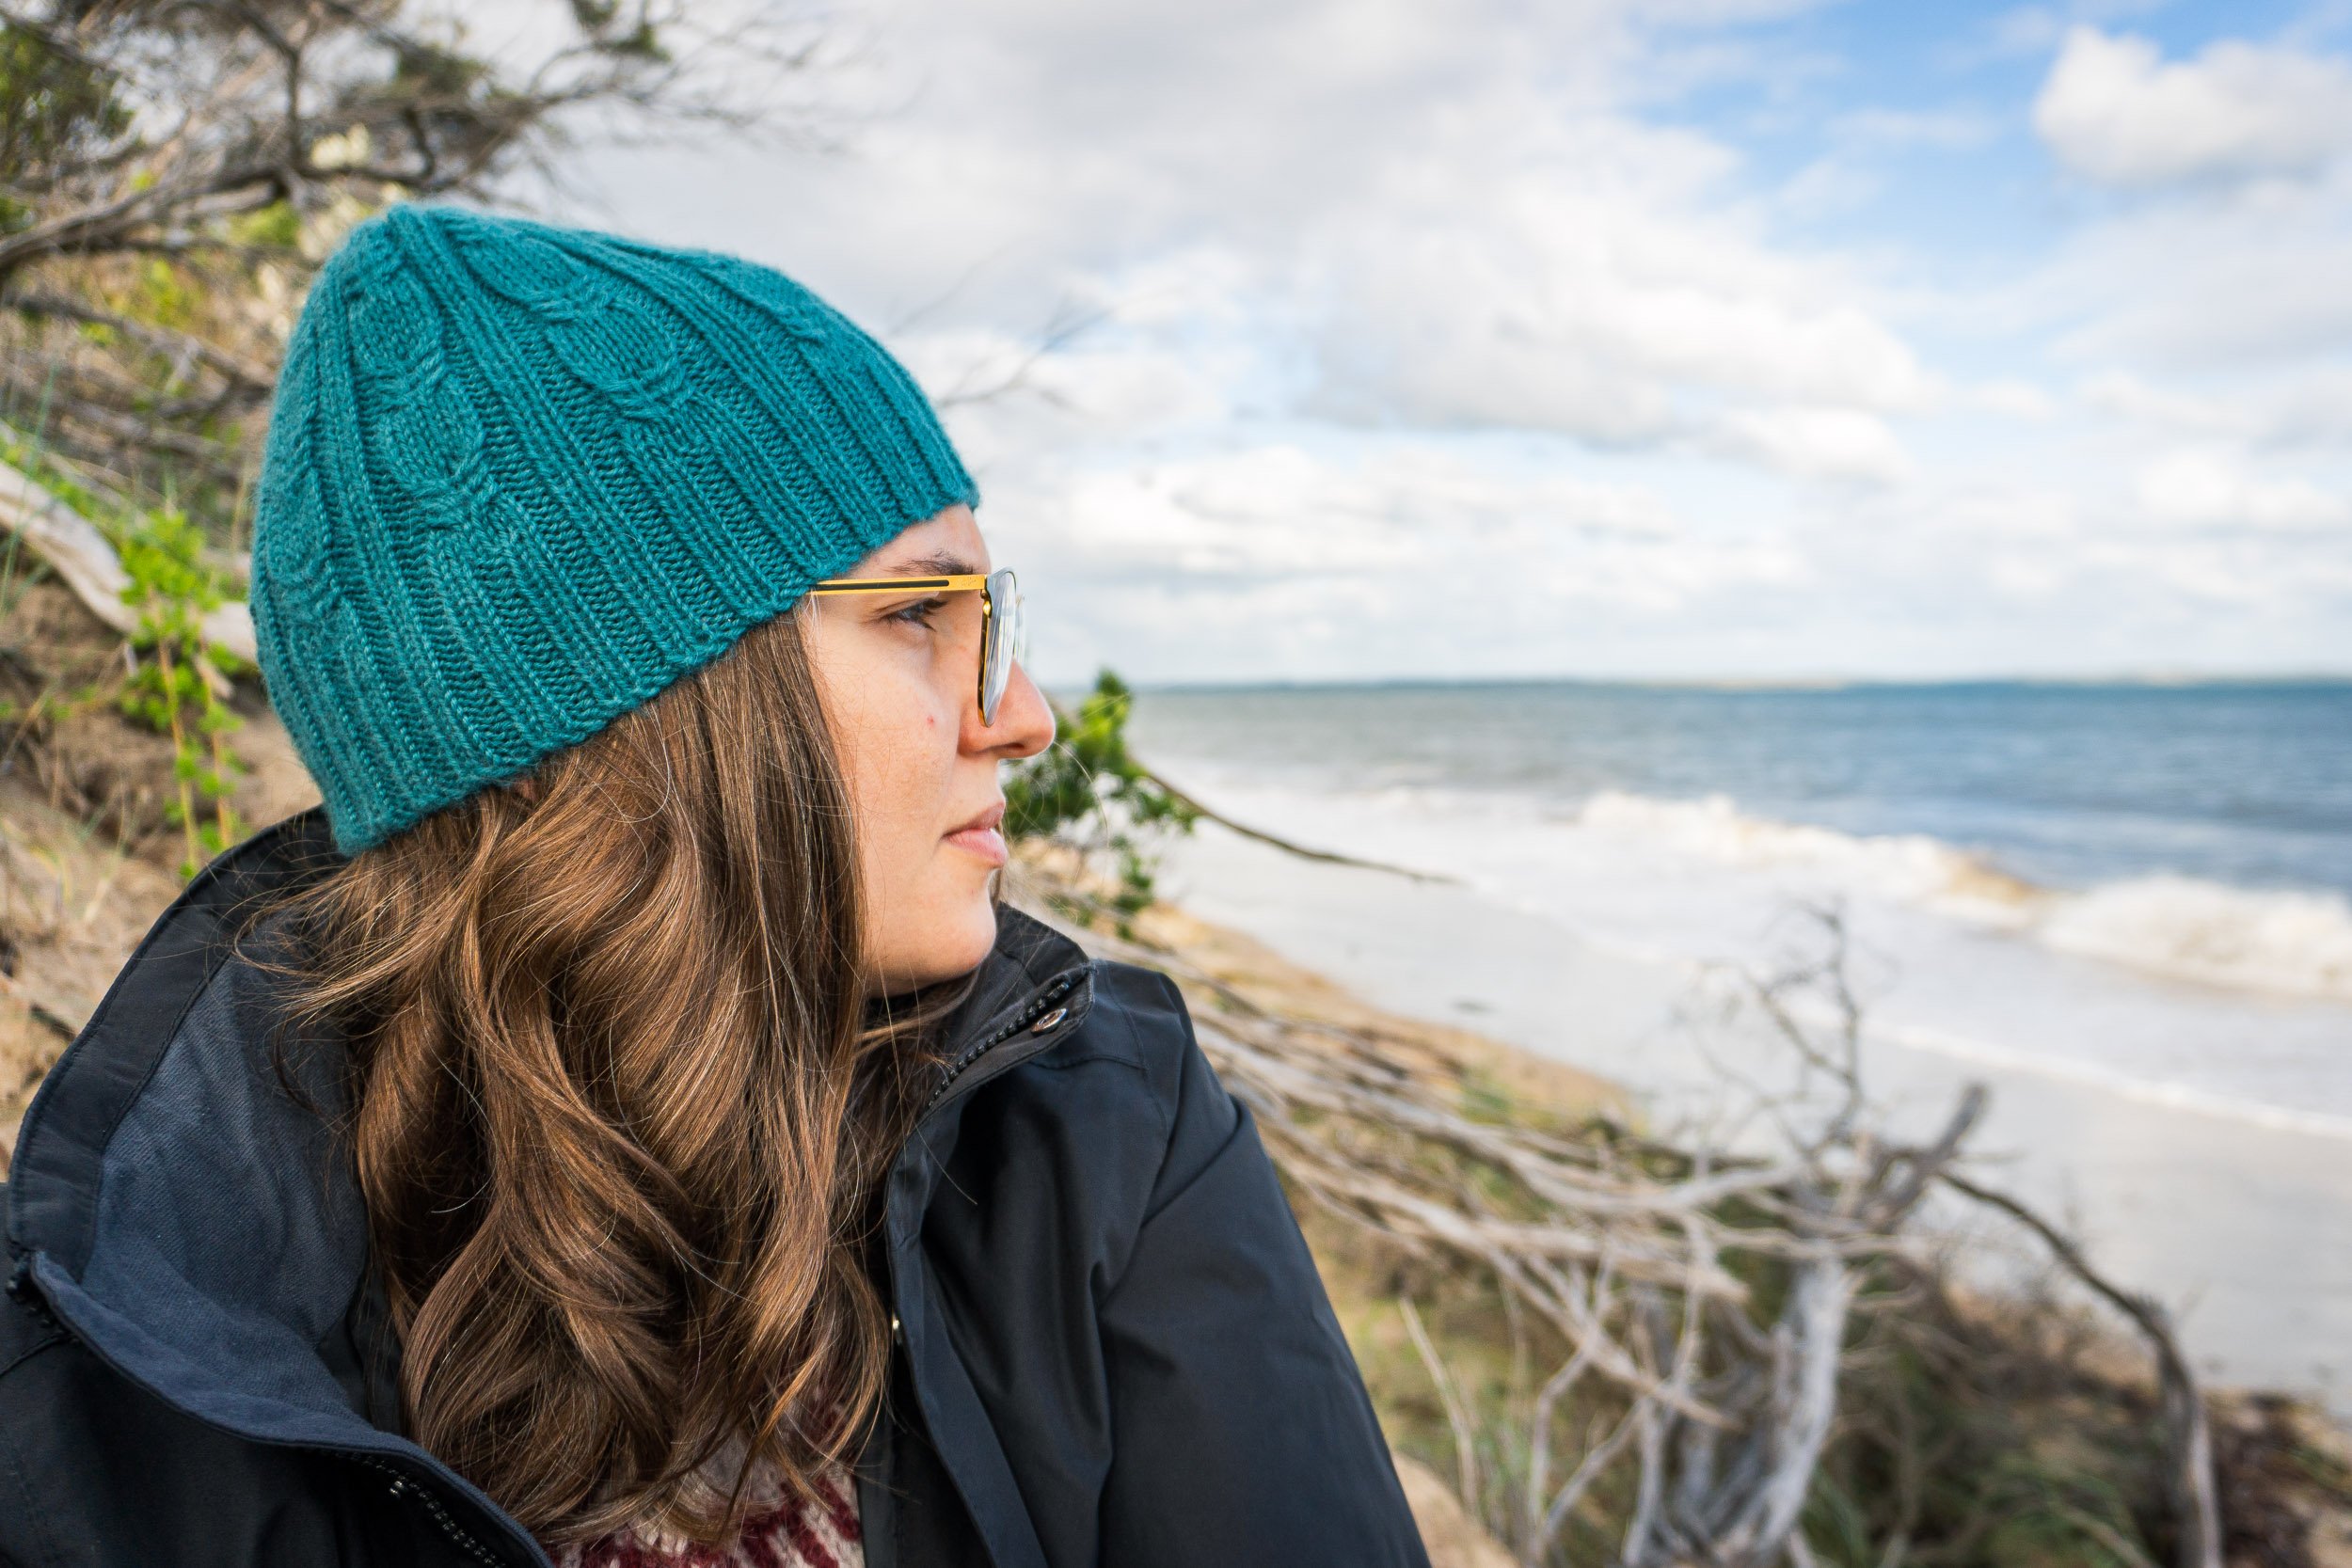
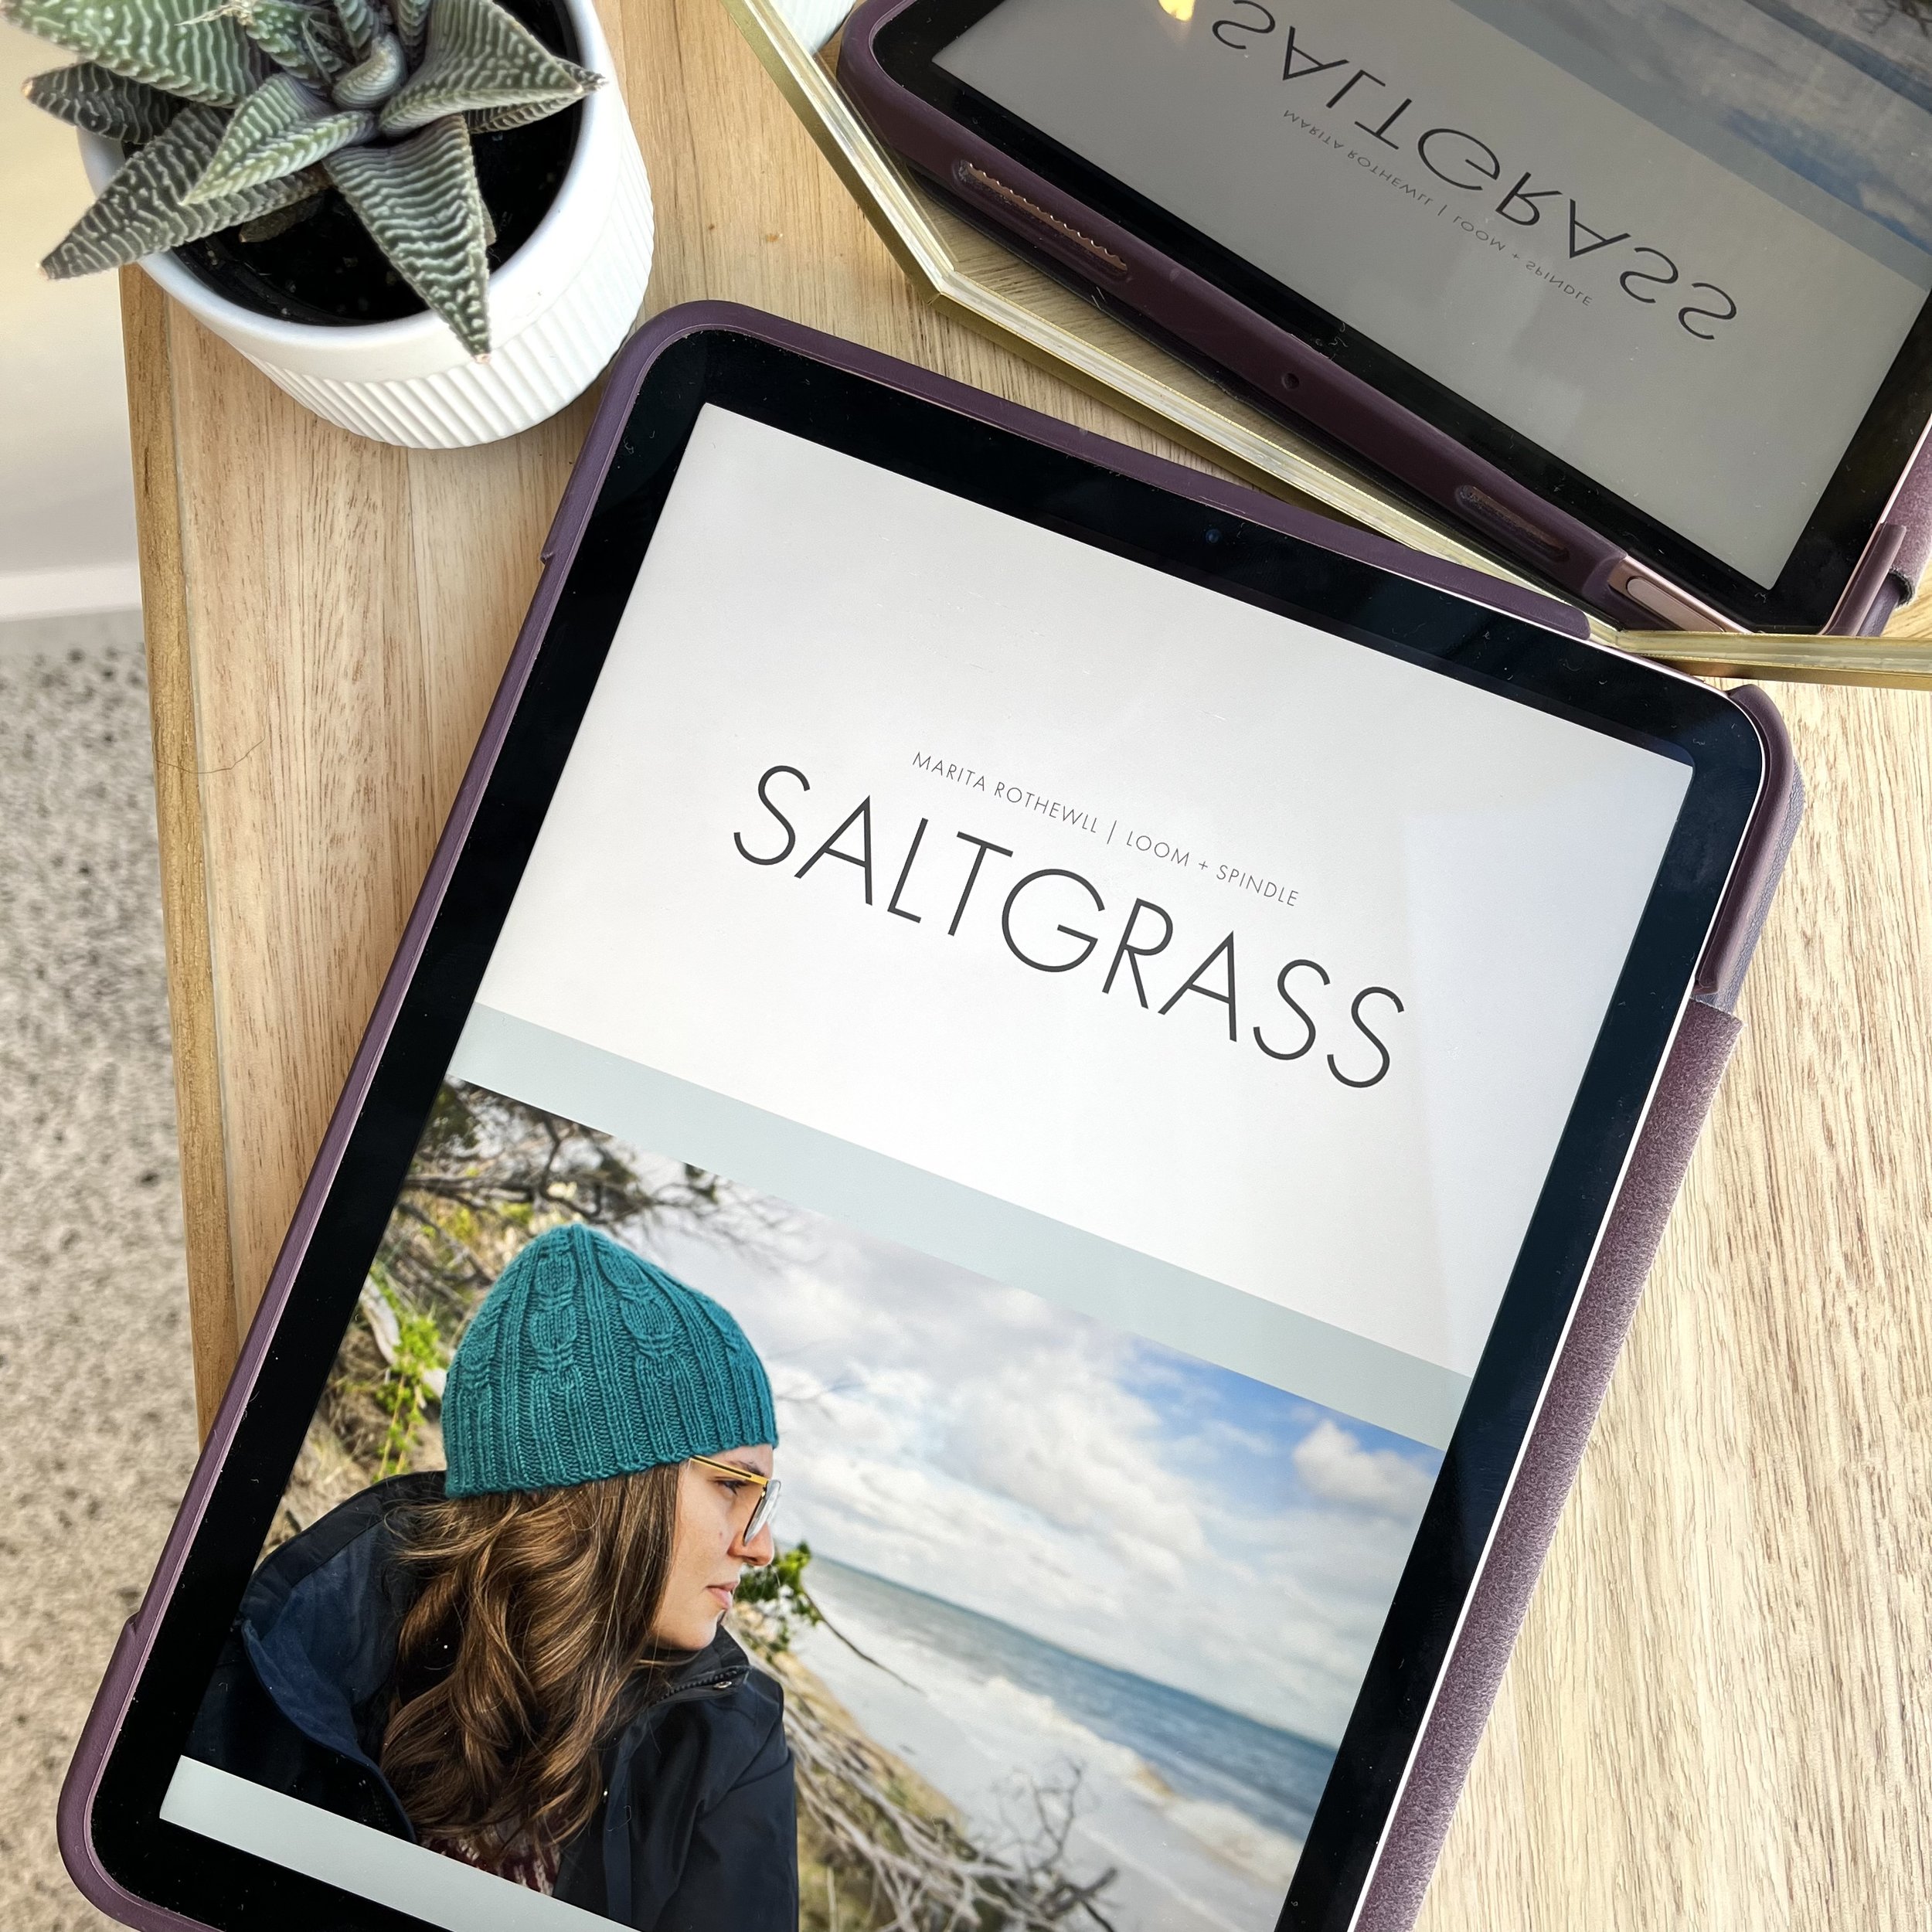
So join me while I explore the wonderfully squishy and colourful Periphery beanie. You’ll find my project notes below.
Enjoy!
Andrea | Loom + Spindle
STUDIO PROJECT | Periphery

DESIGN
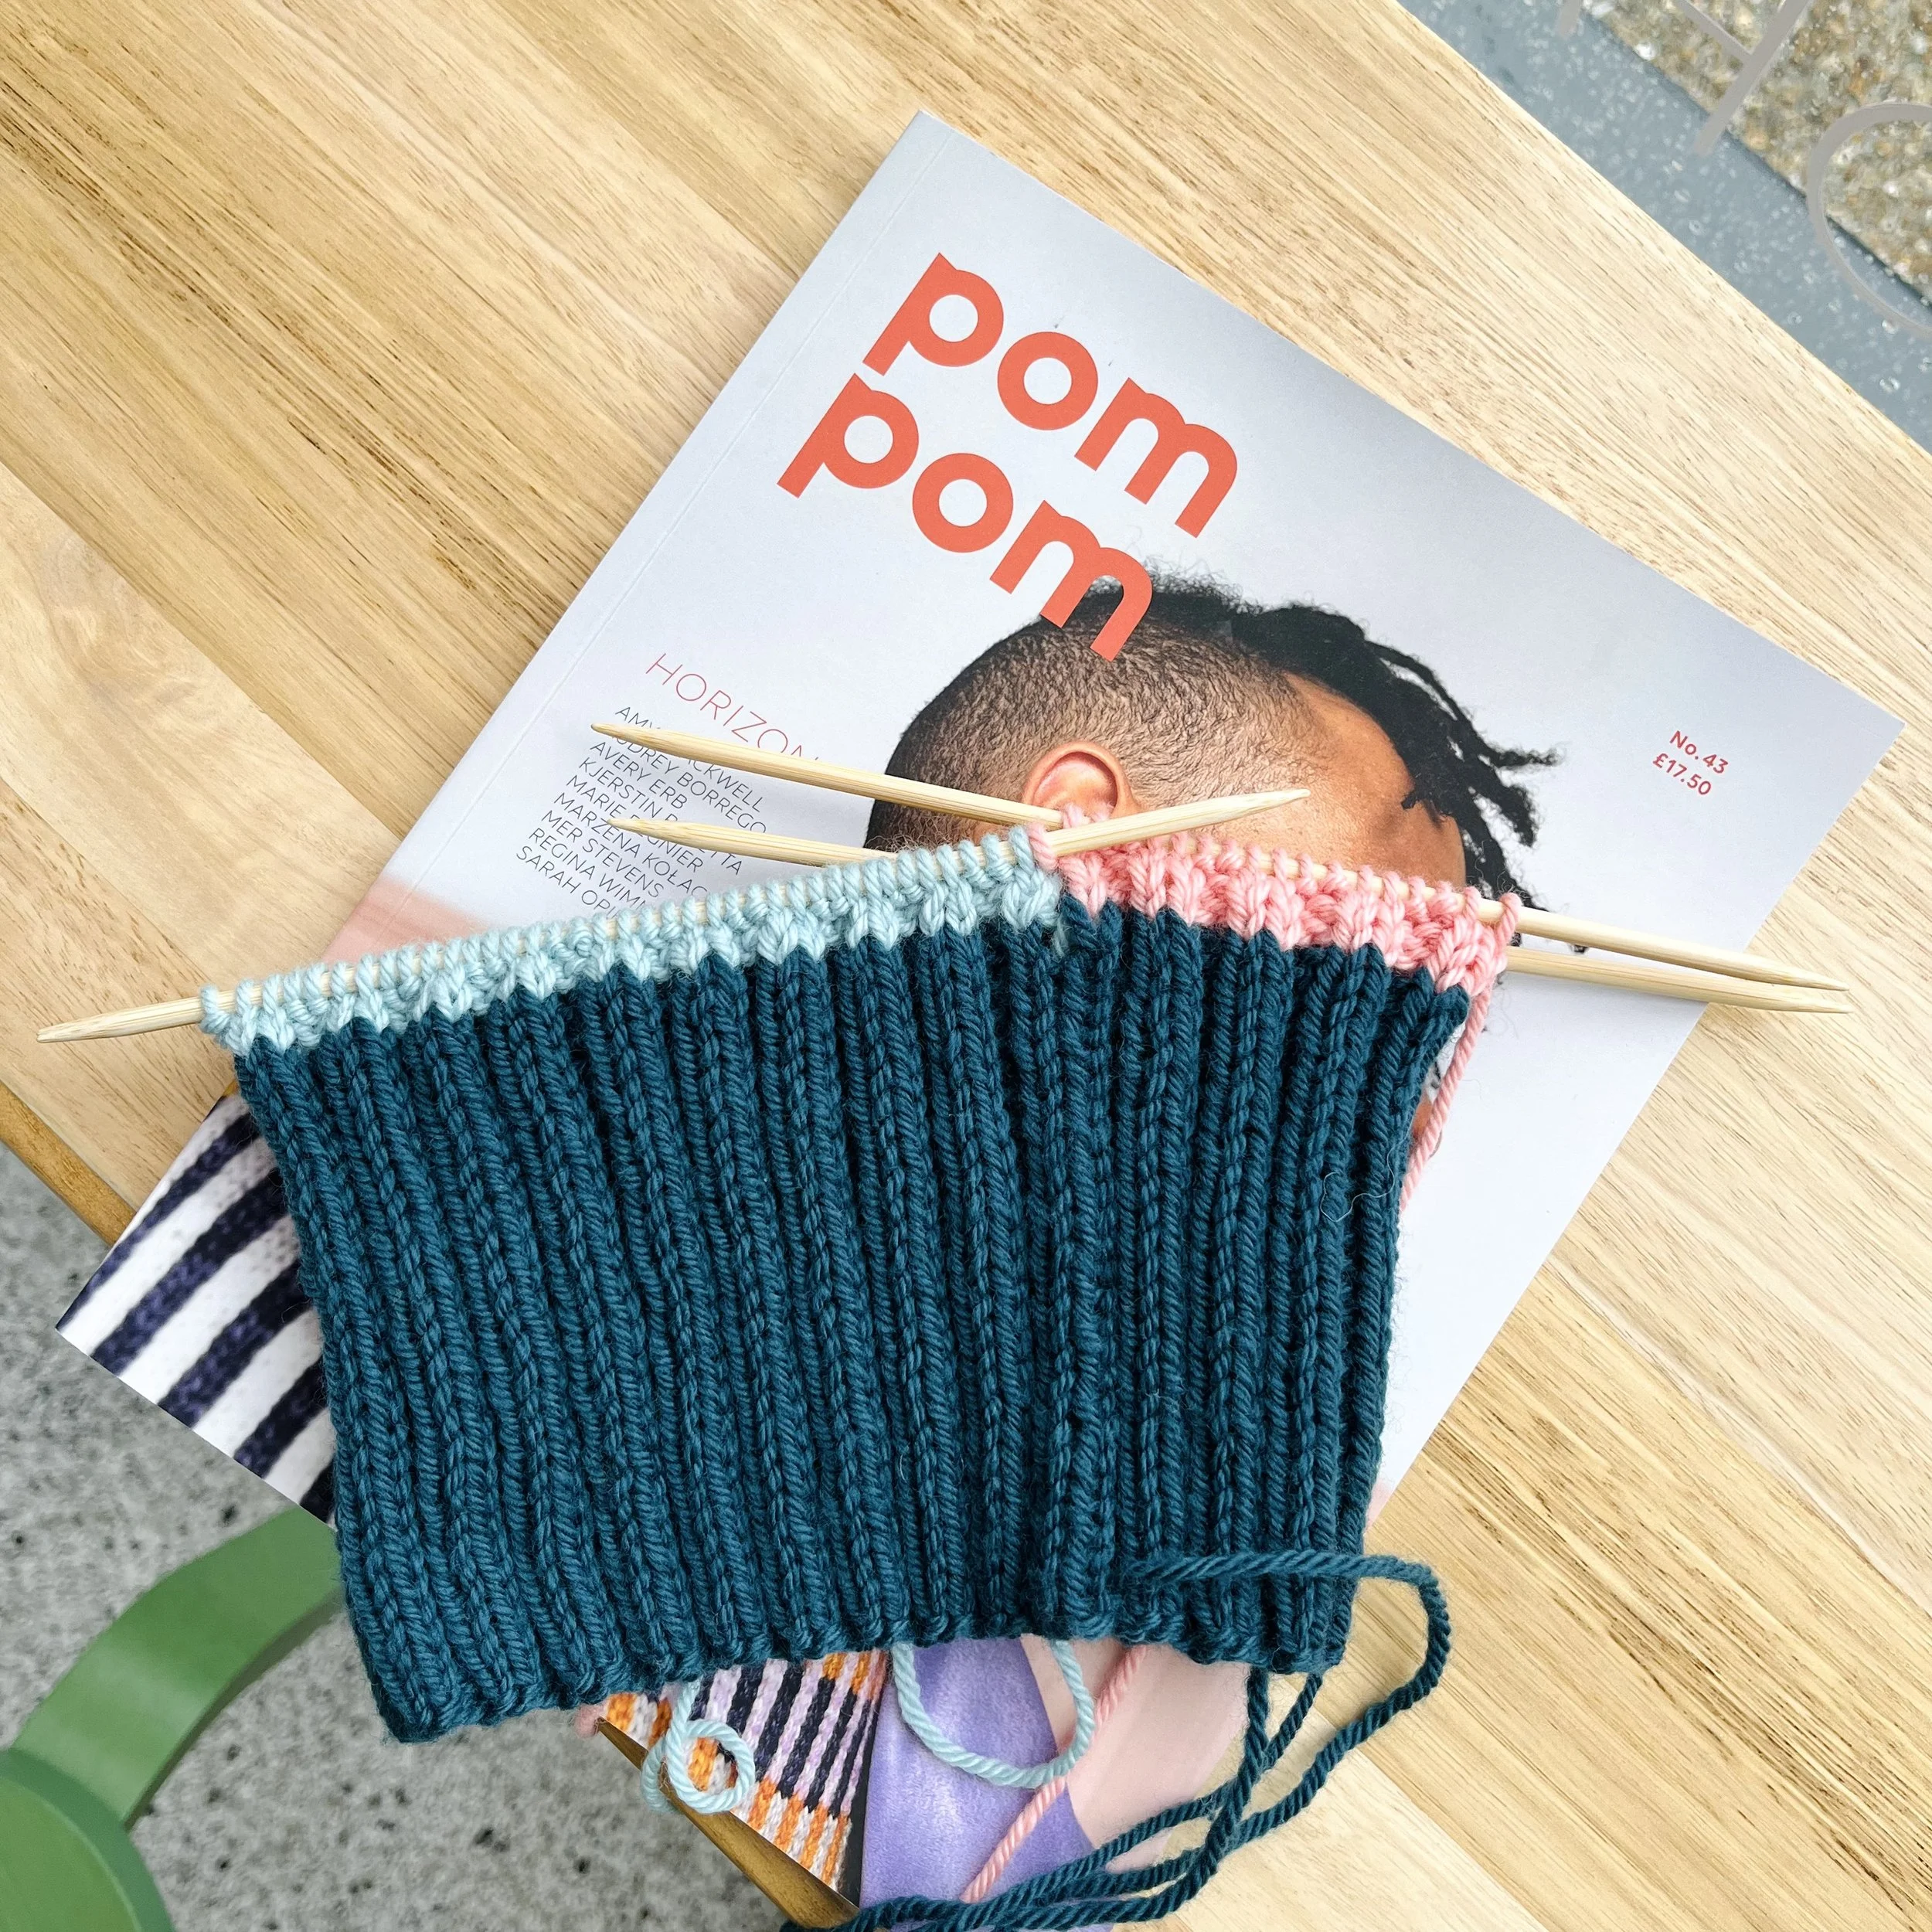
Periphery, a design by Kjerstin Rovetta, was first published in Pom Pom Quarterly Issue 43, November 2022.


SKILLS
Knit and purl stitches
Working in the round
Decreasing
Intarsia (instructions included in pattern)
Twisted German cast-on
TOOLS
MATERIALS

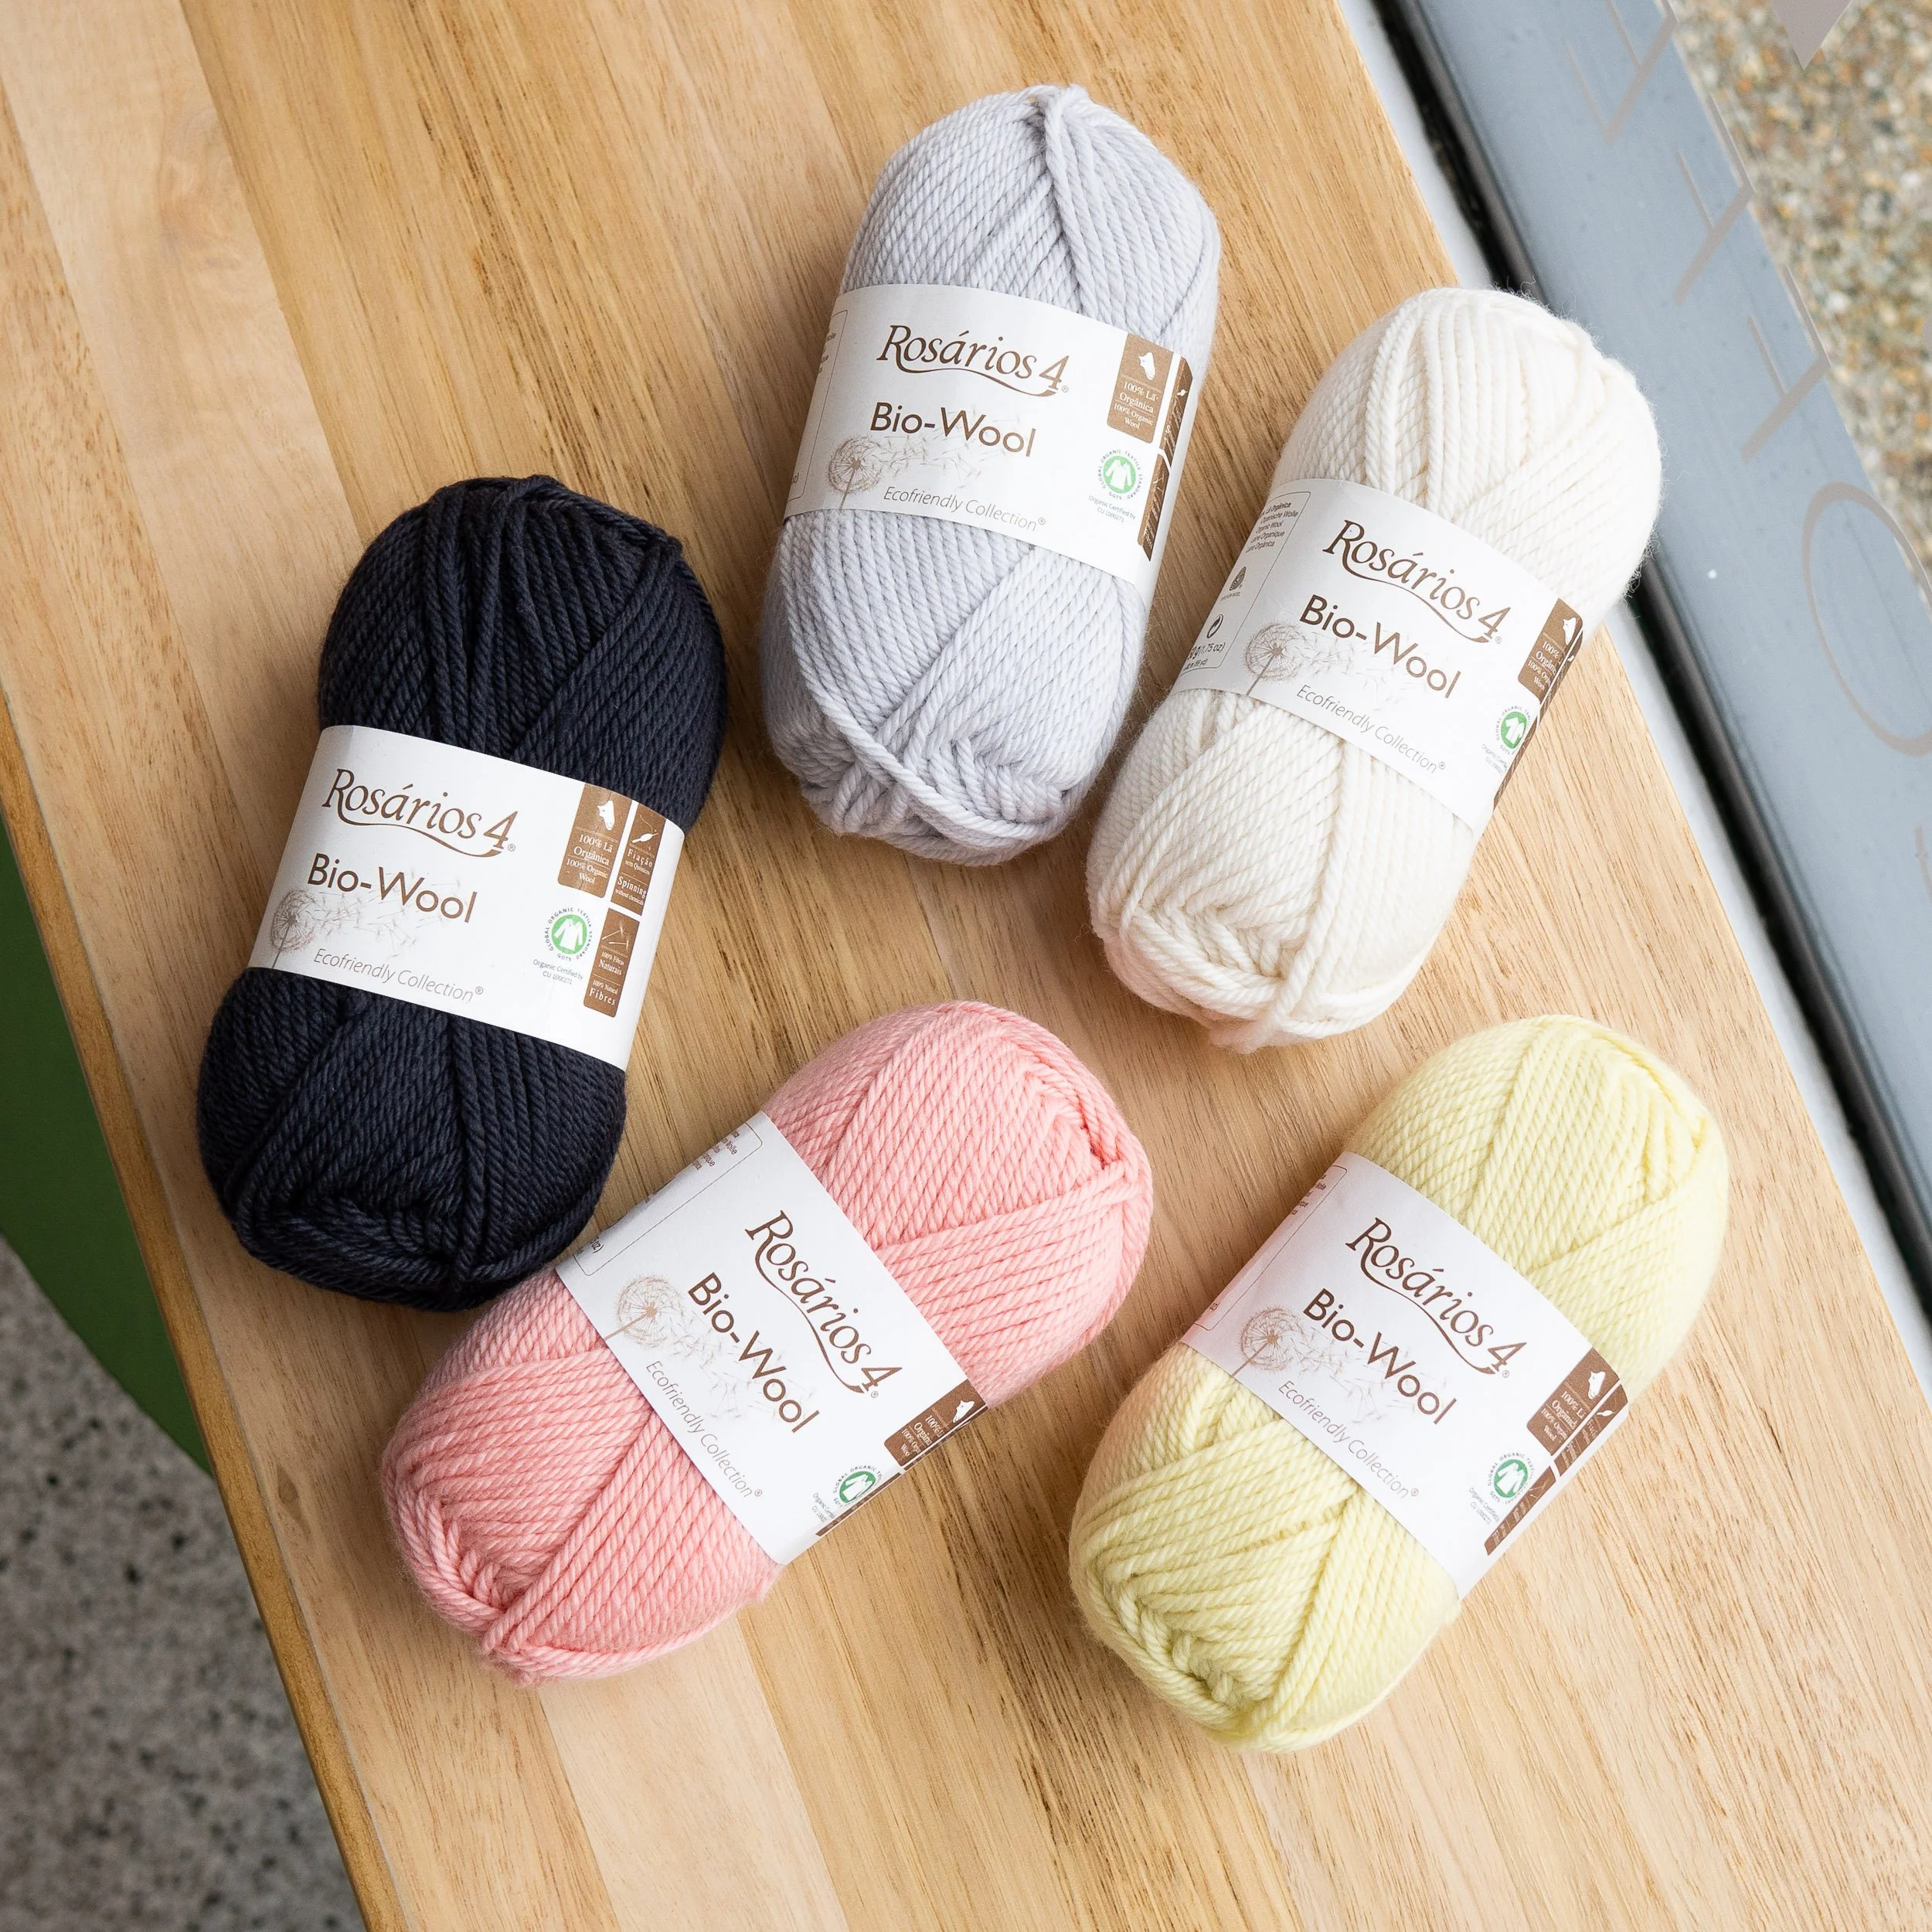
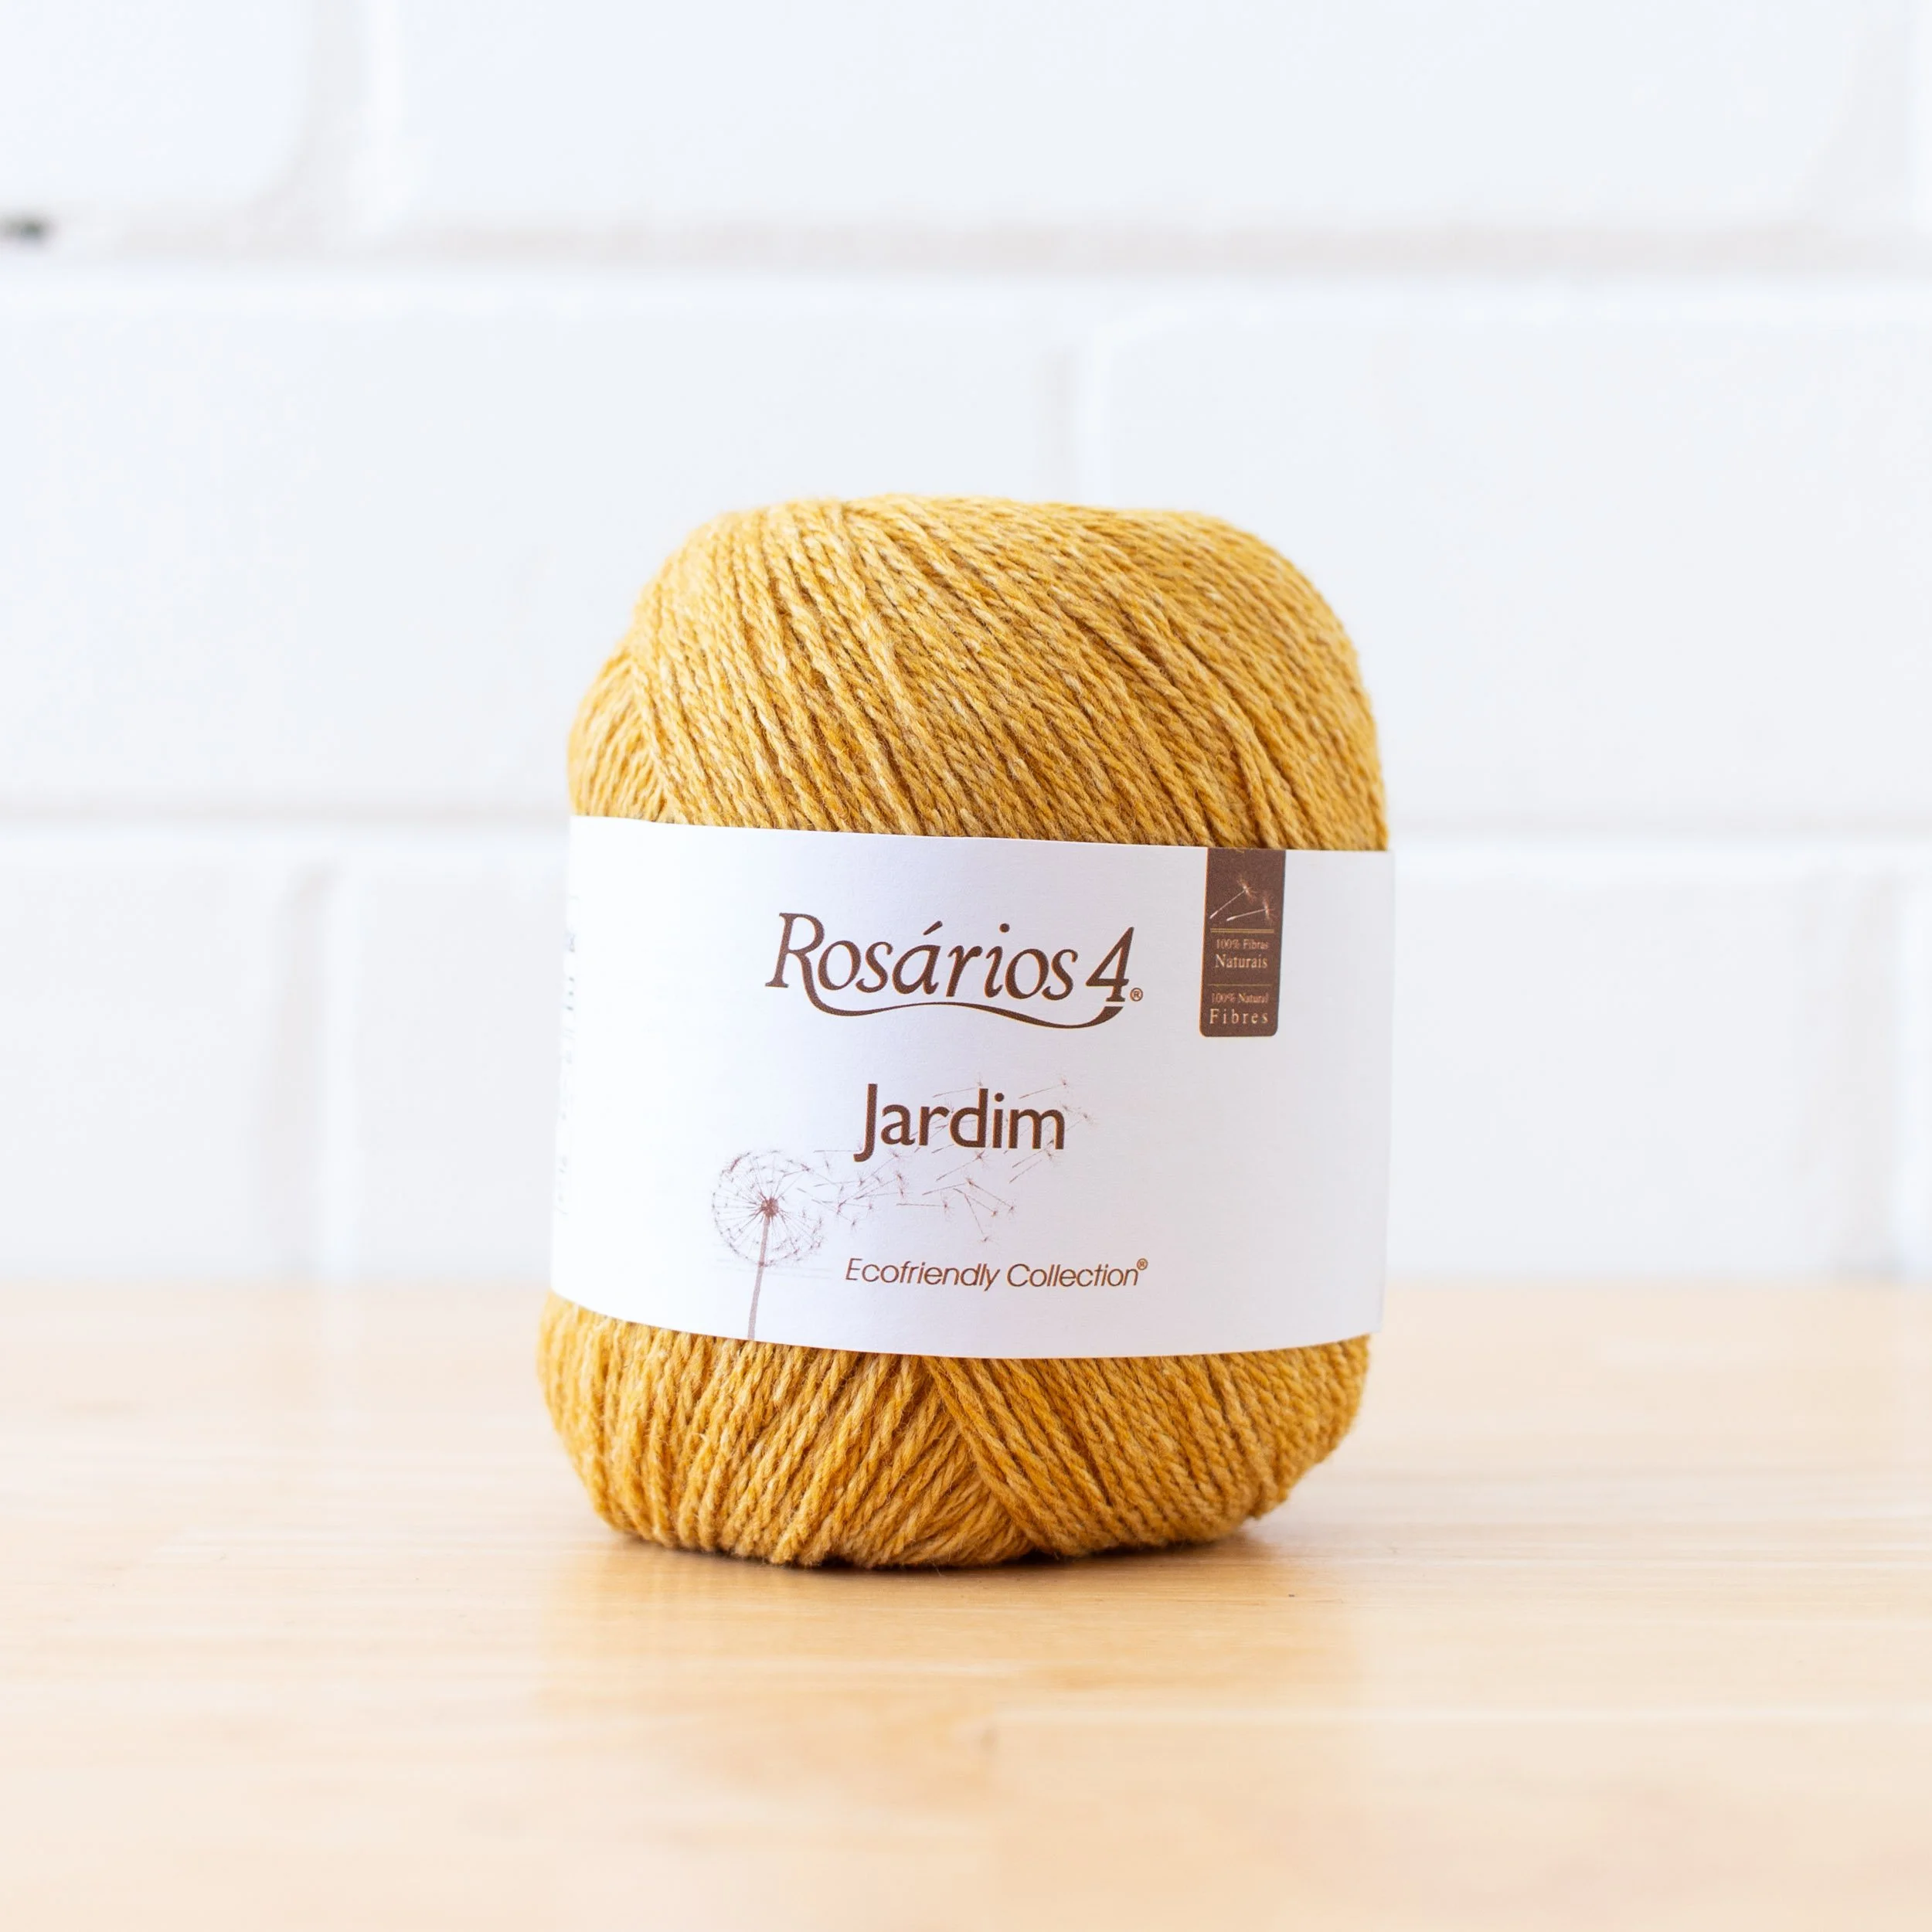
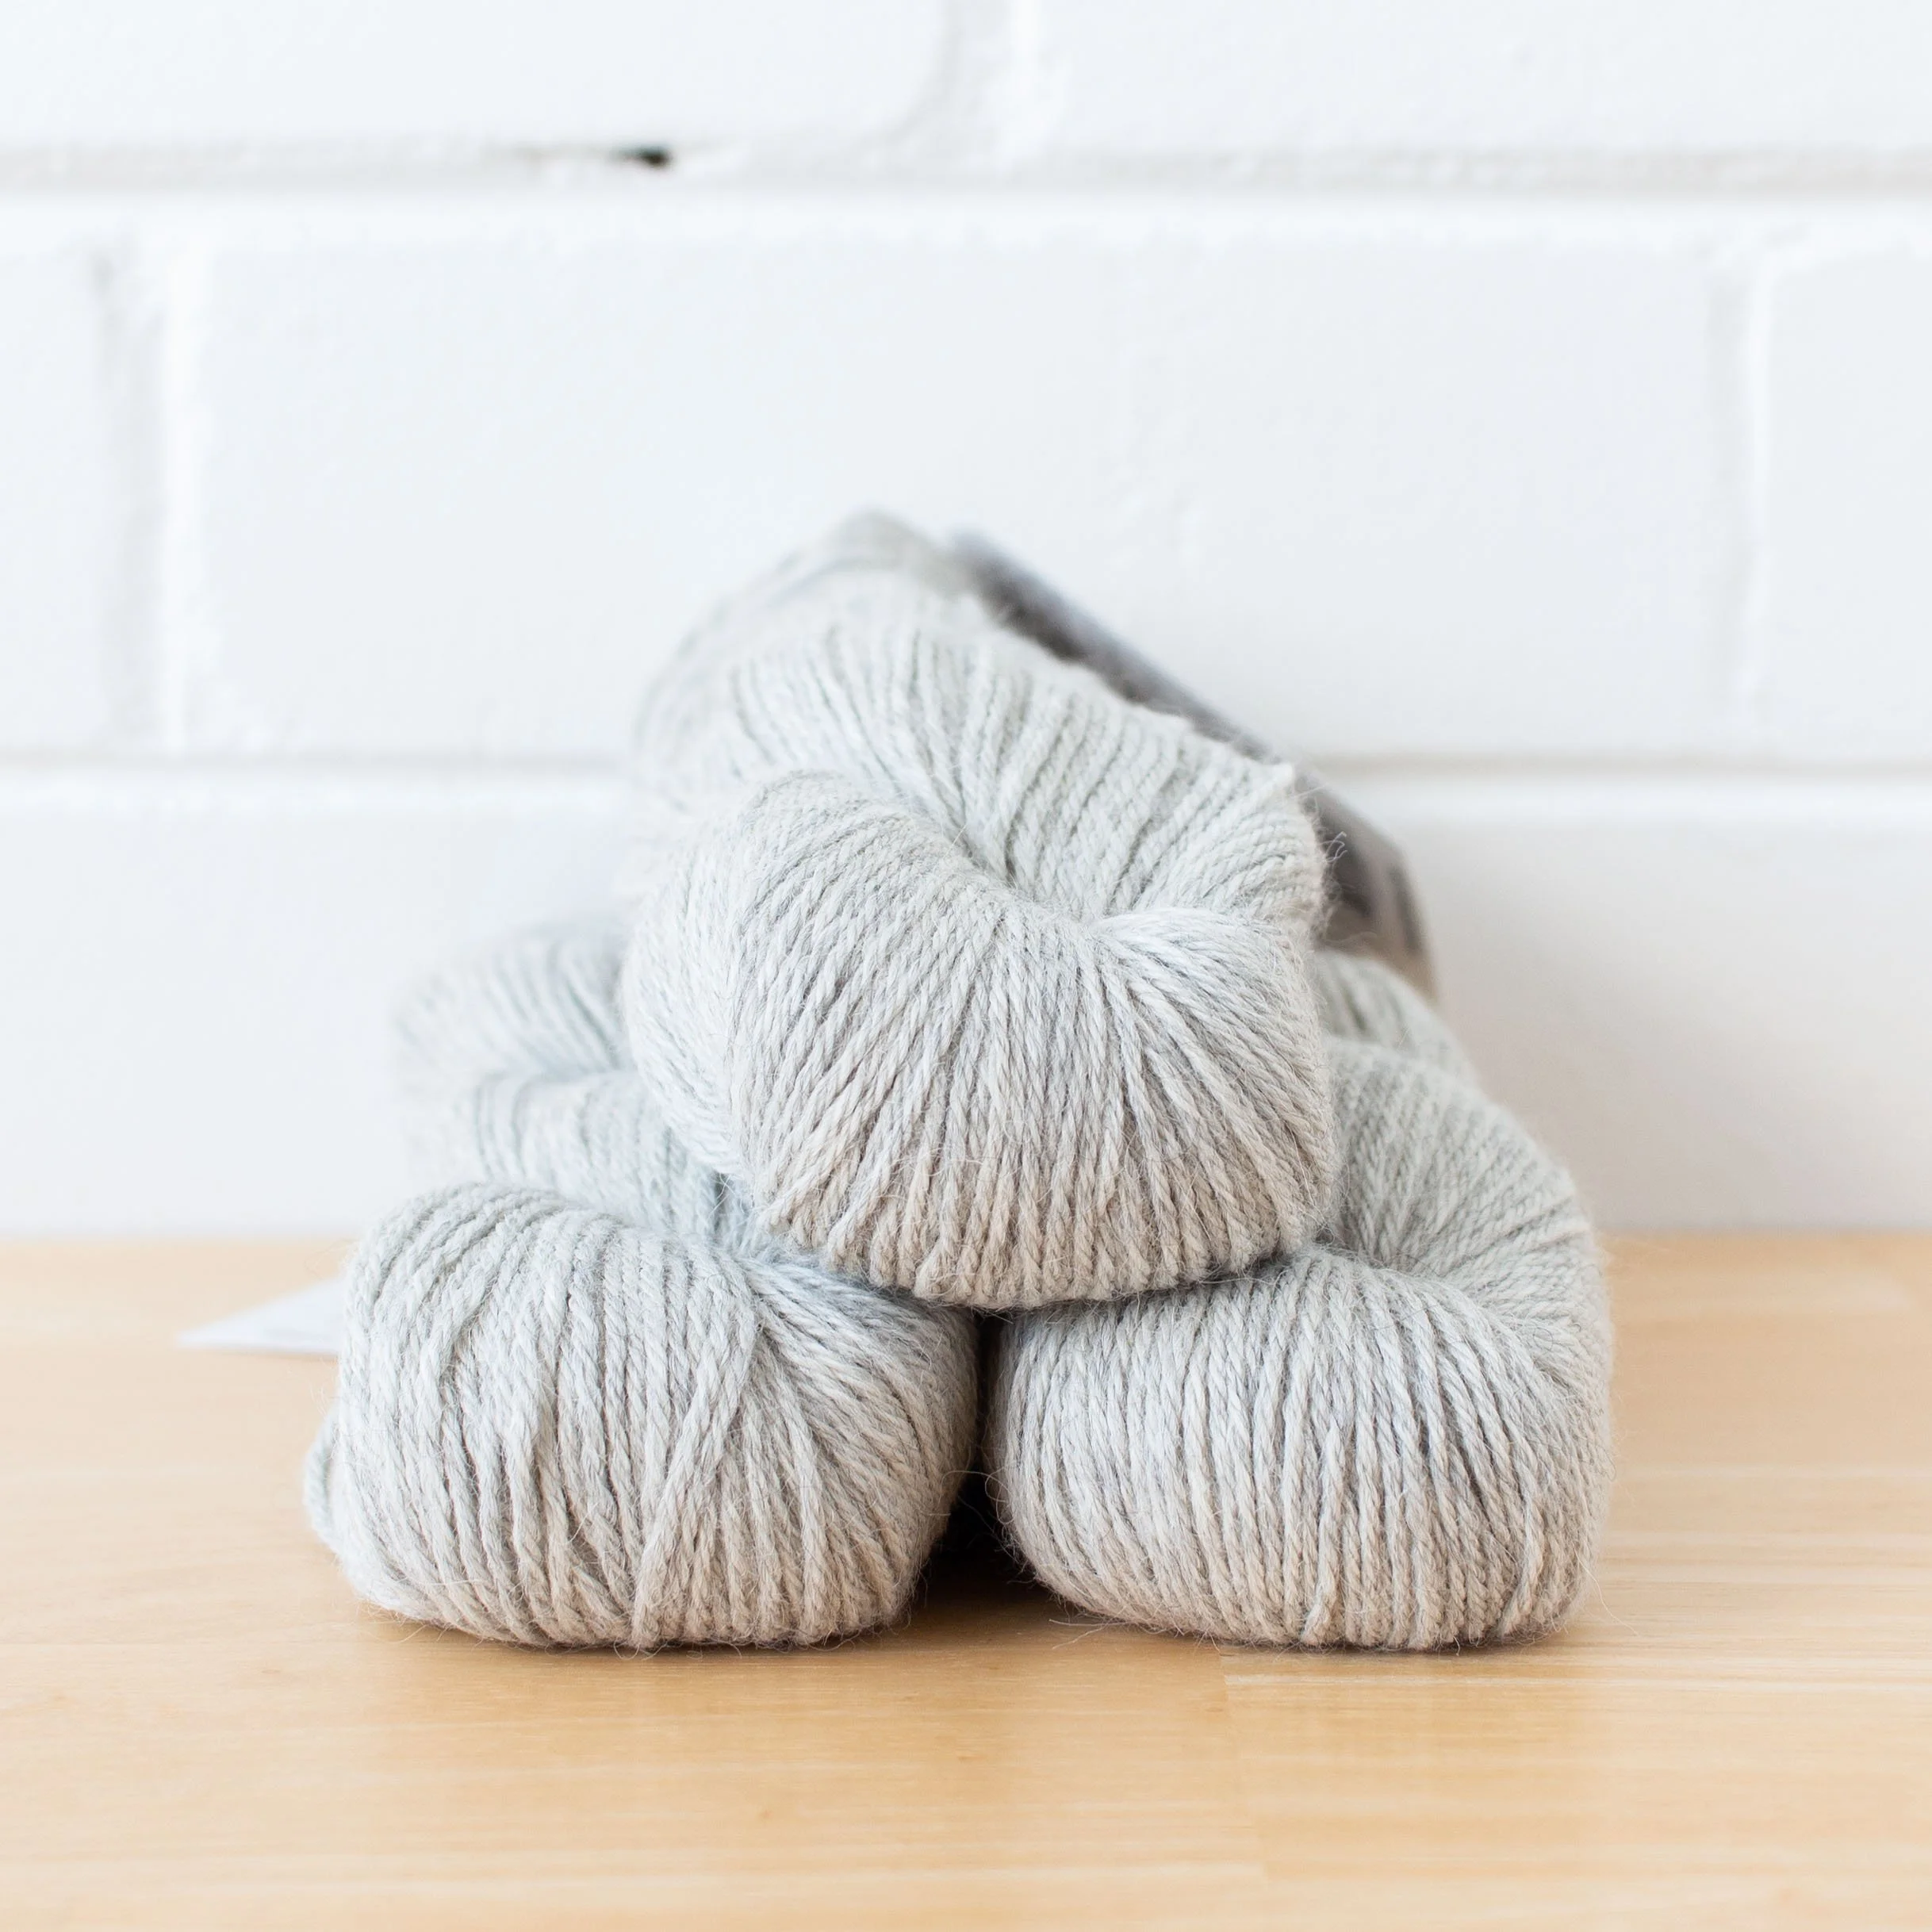
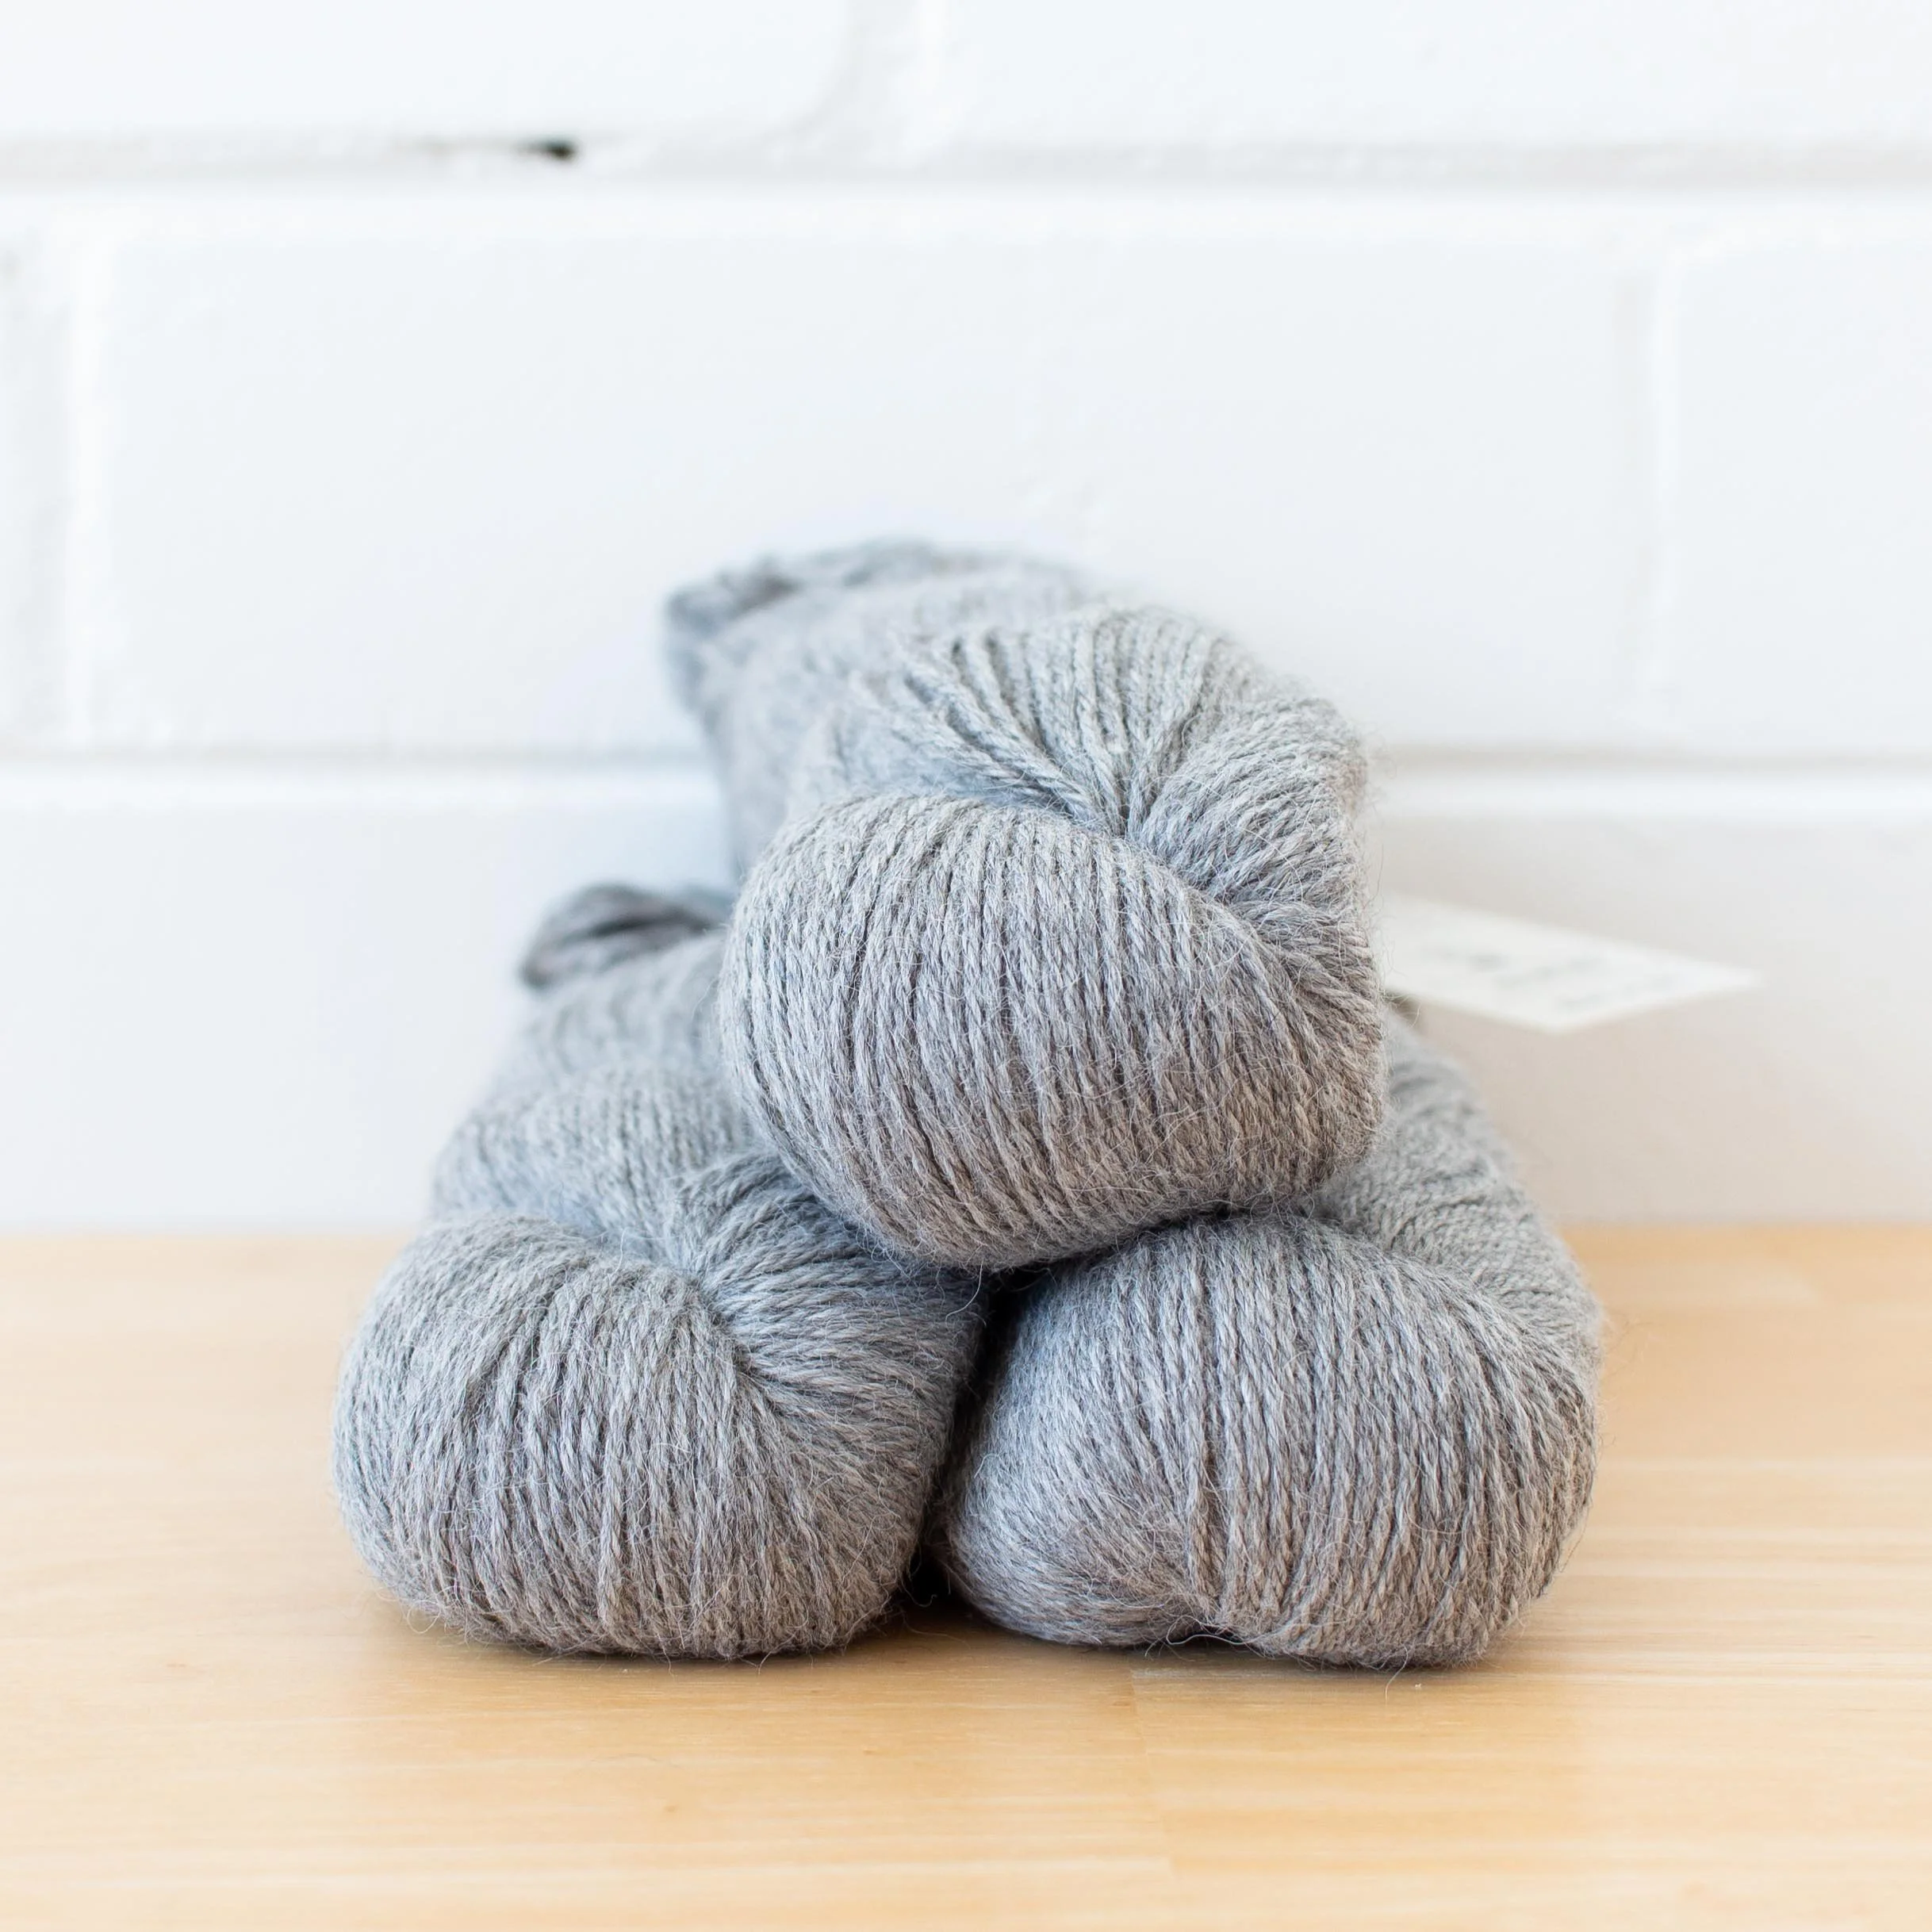
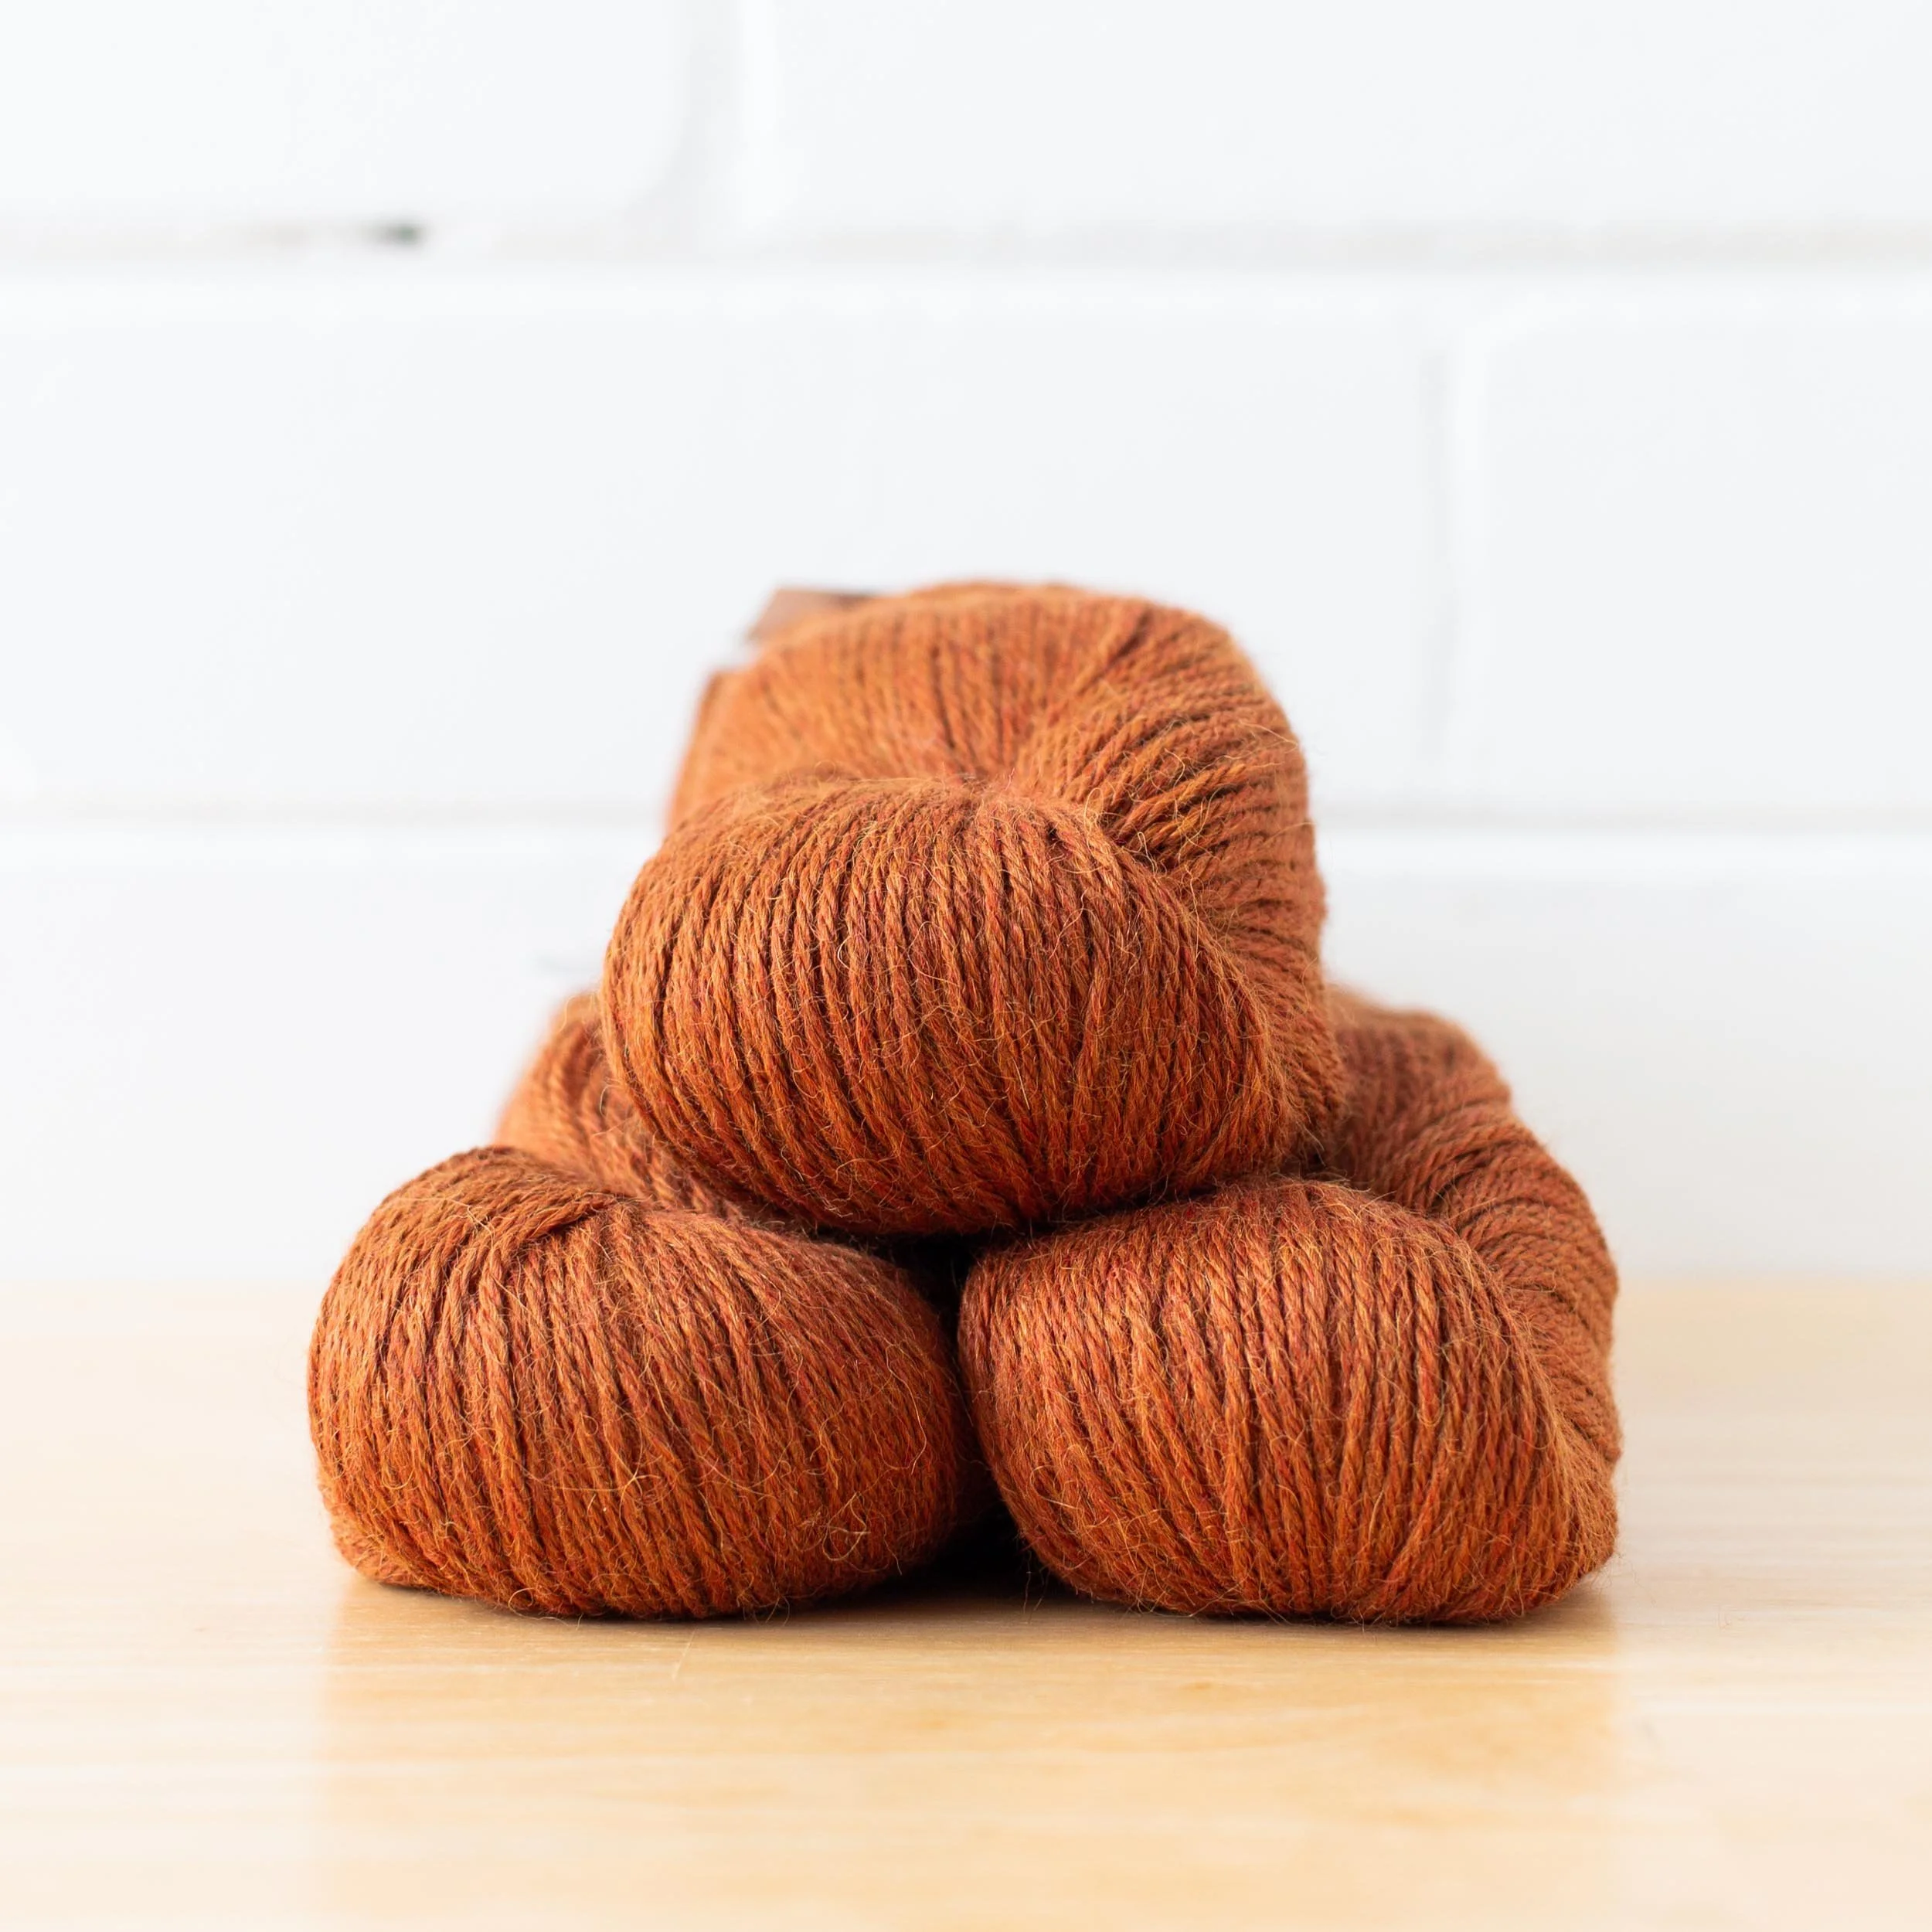
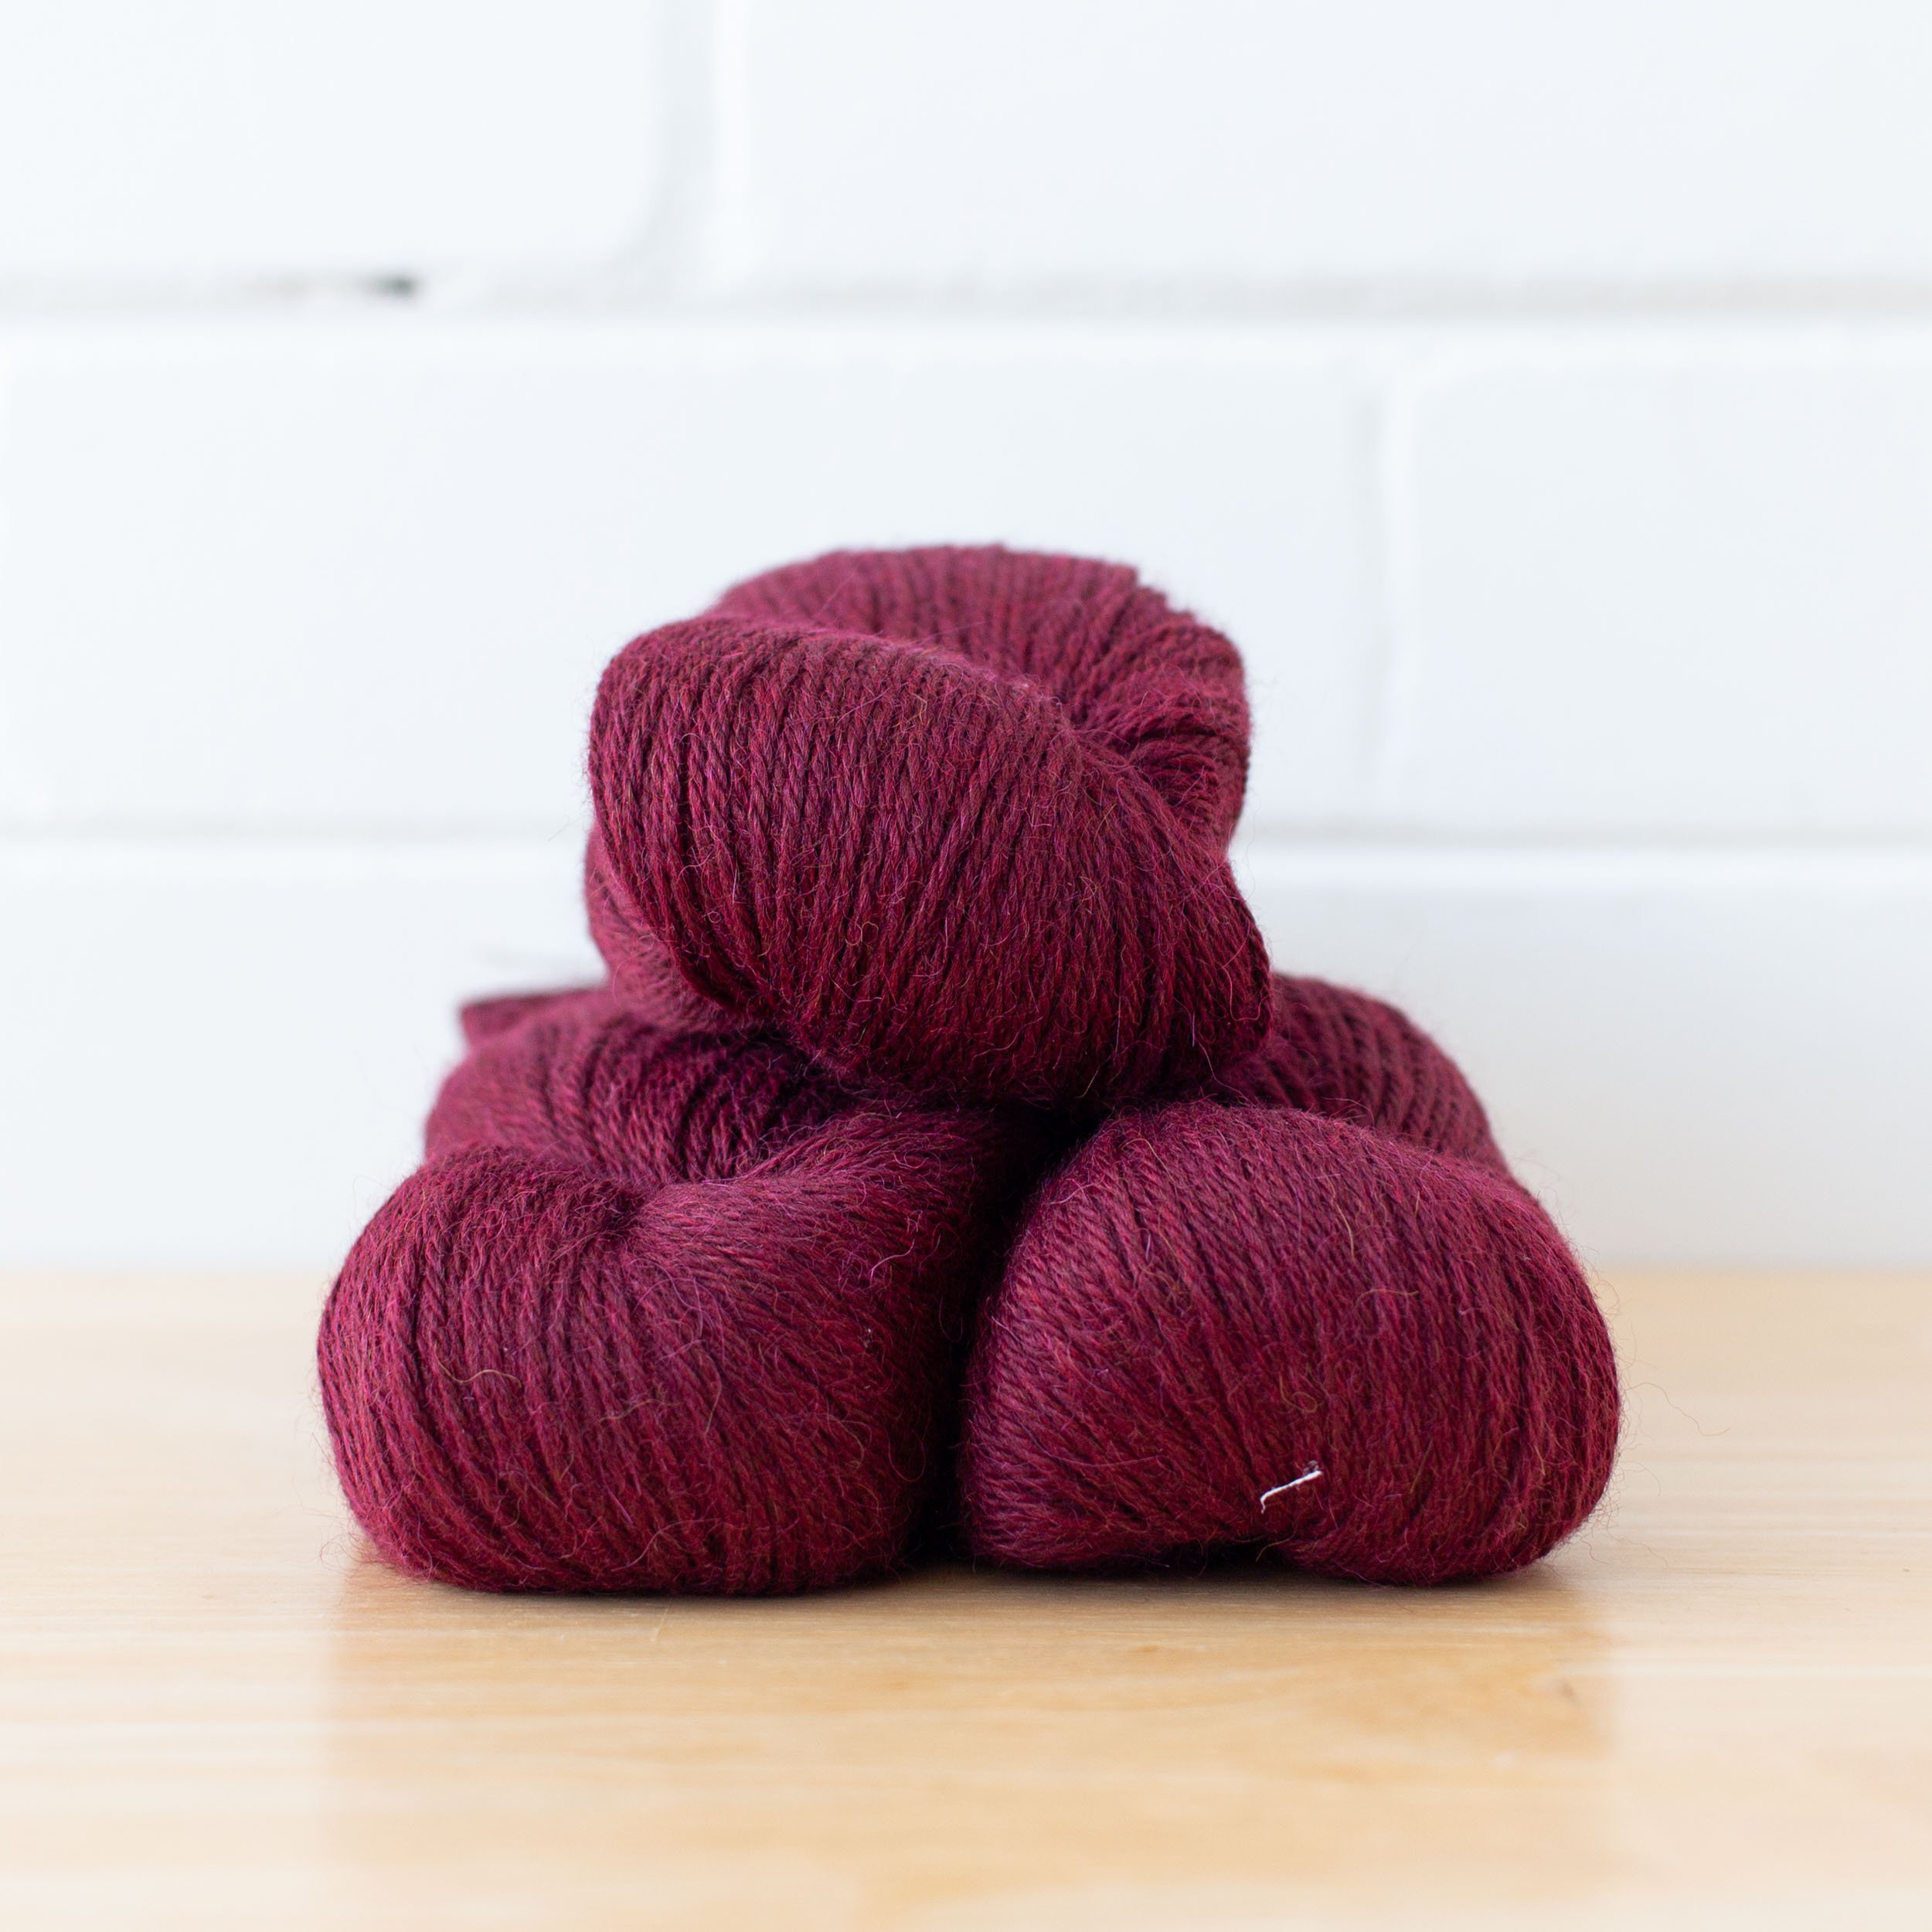
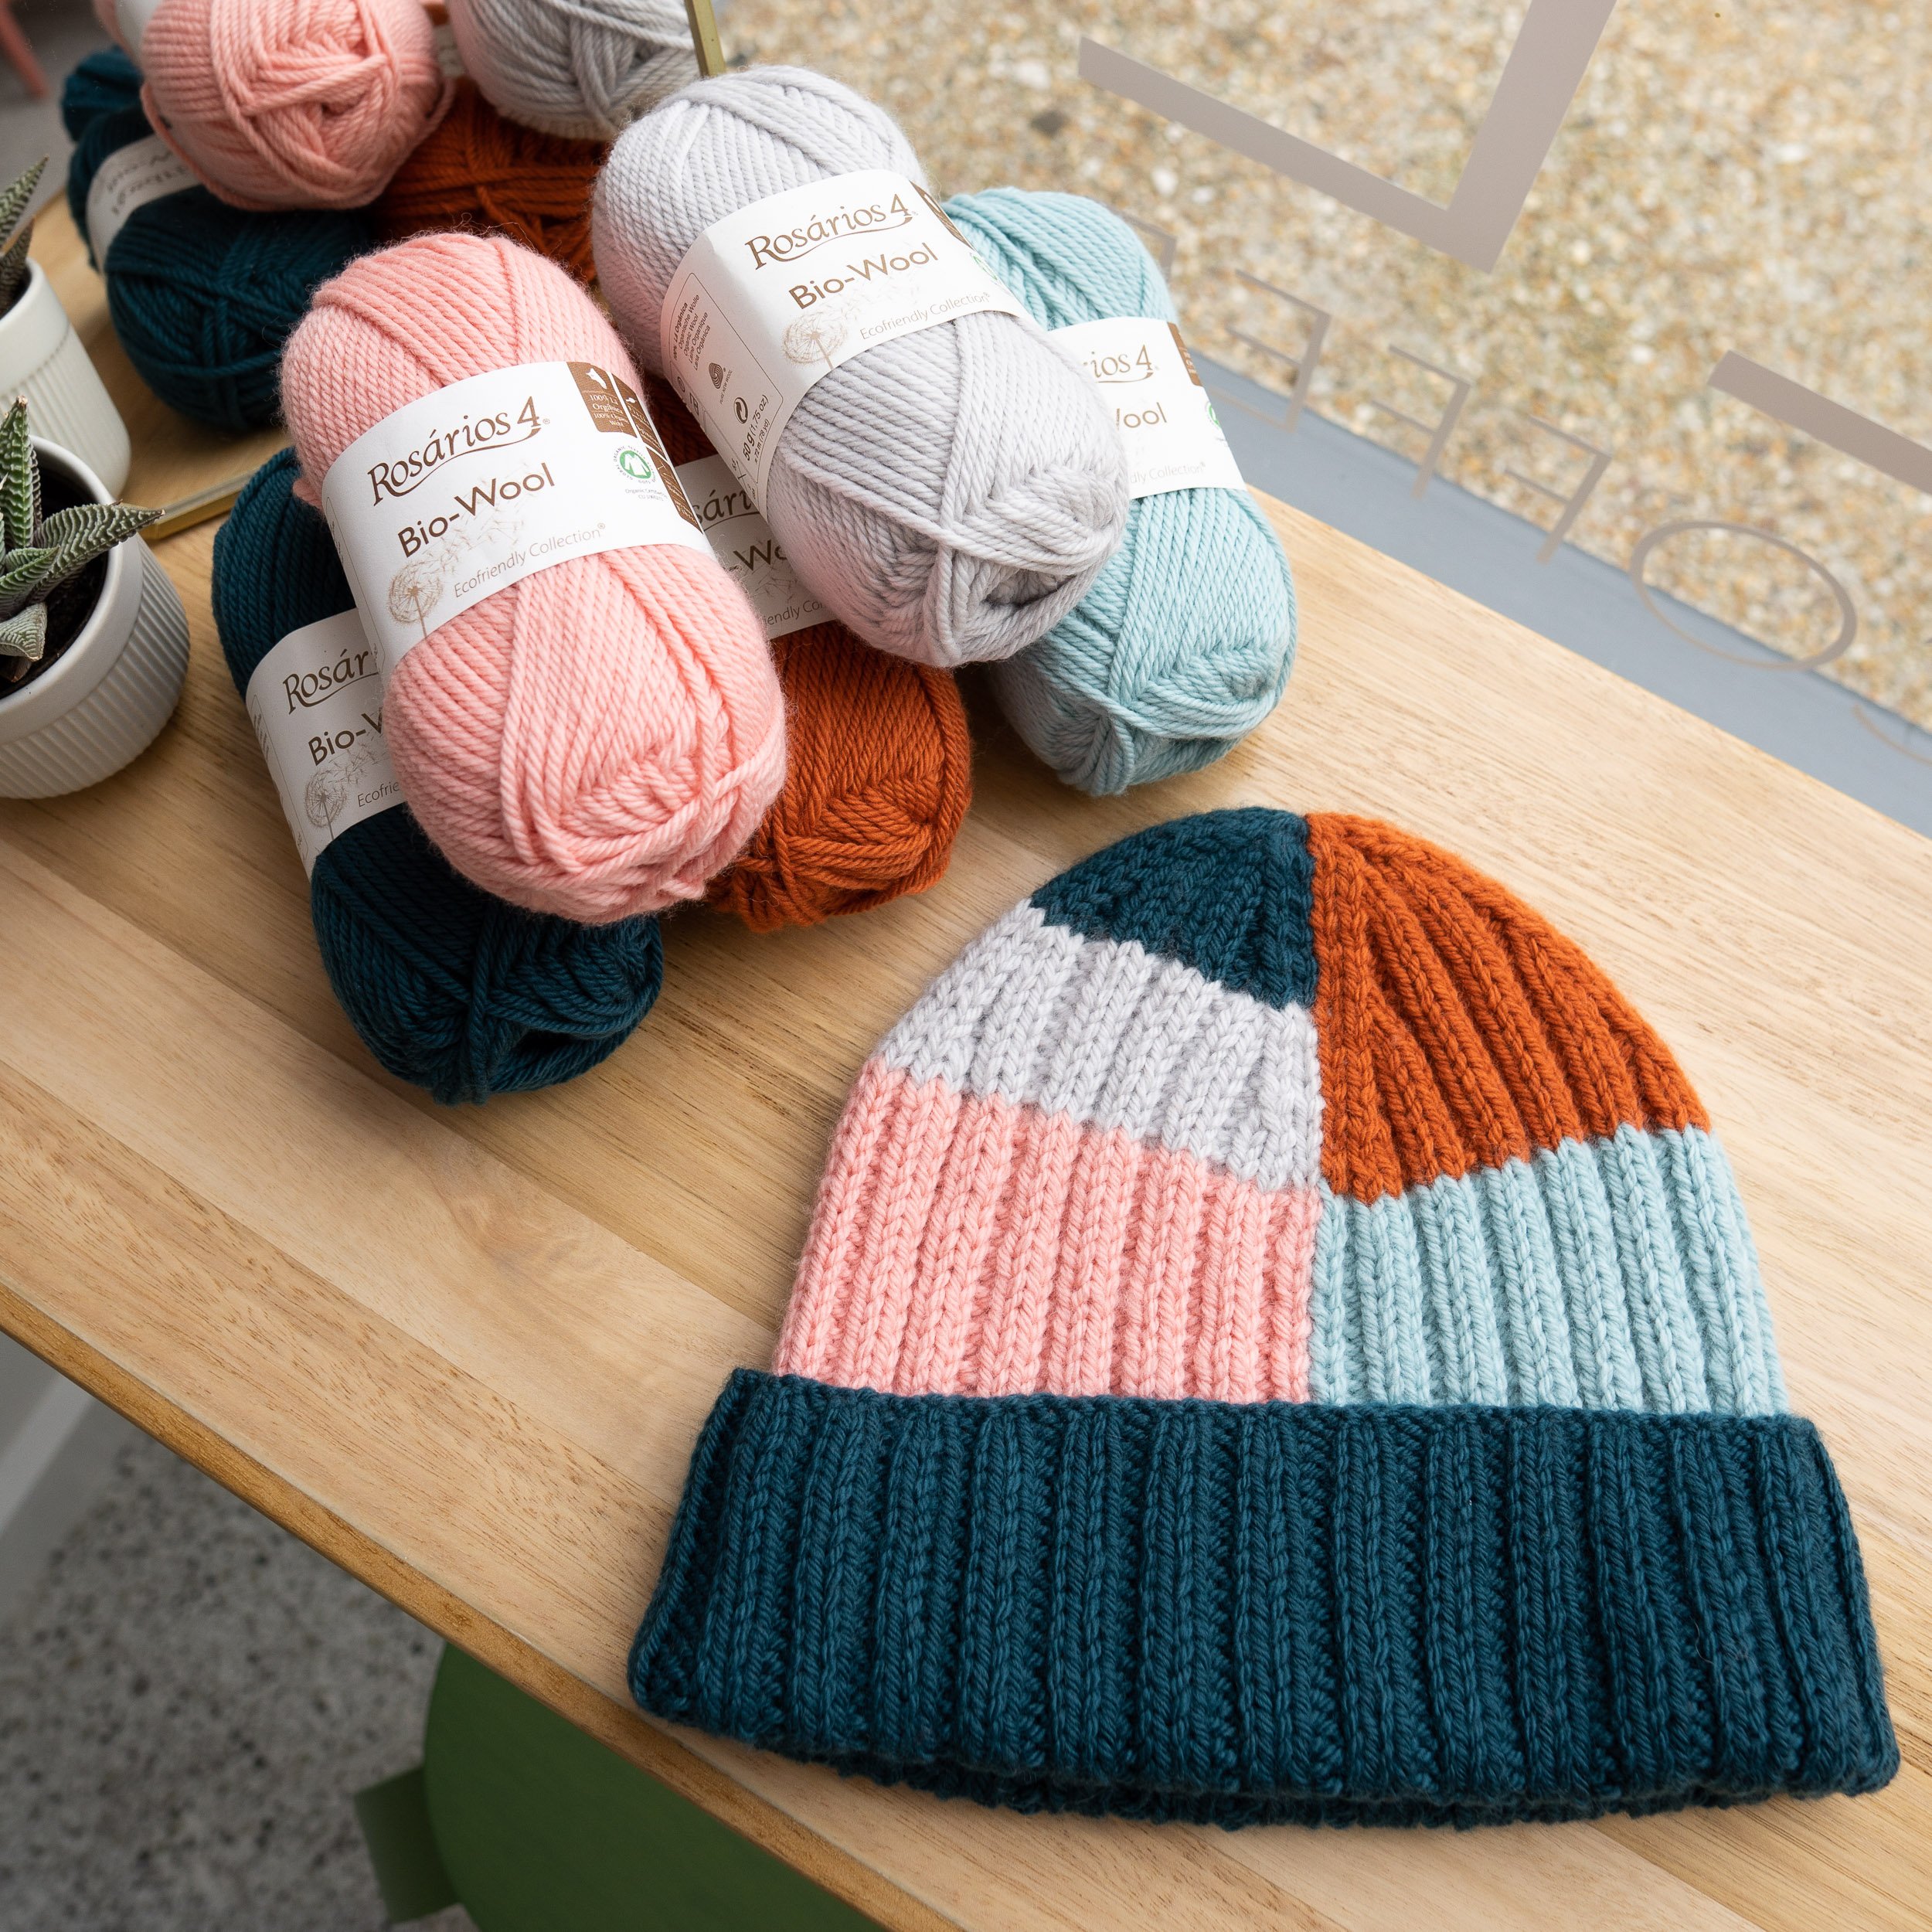
Bio-Wool x 5 Shades
Kits available HERE.
The Project


INSIGHTS AND OPPORTUNITIES
YARN + NEEDLES
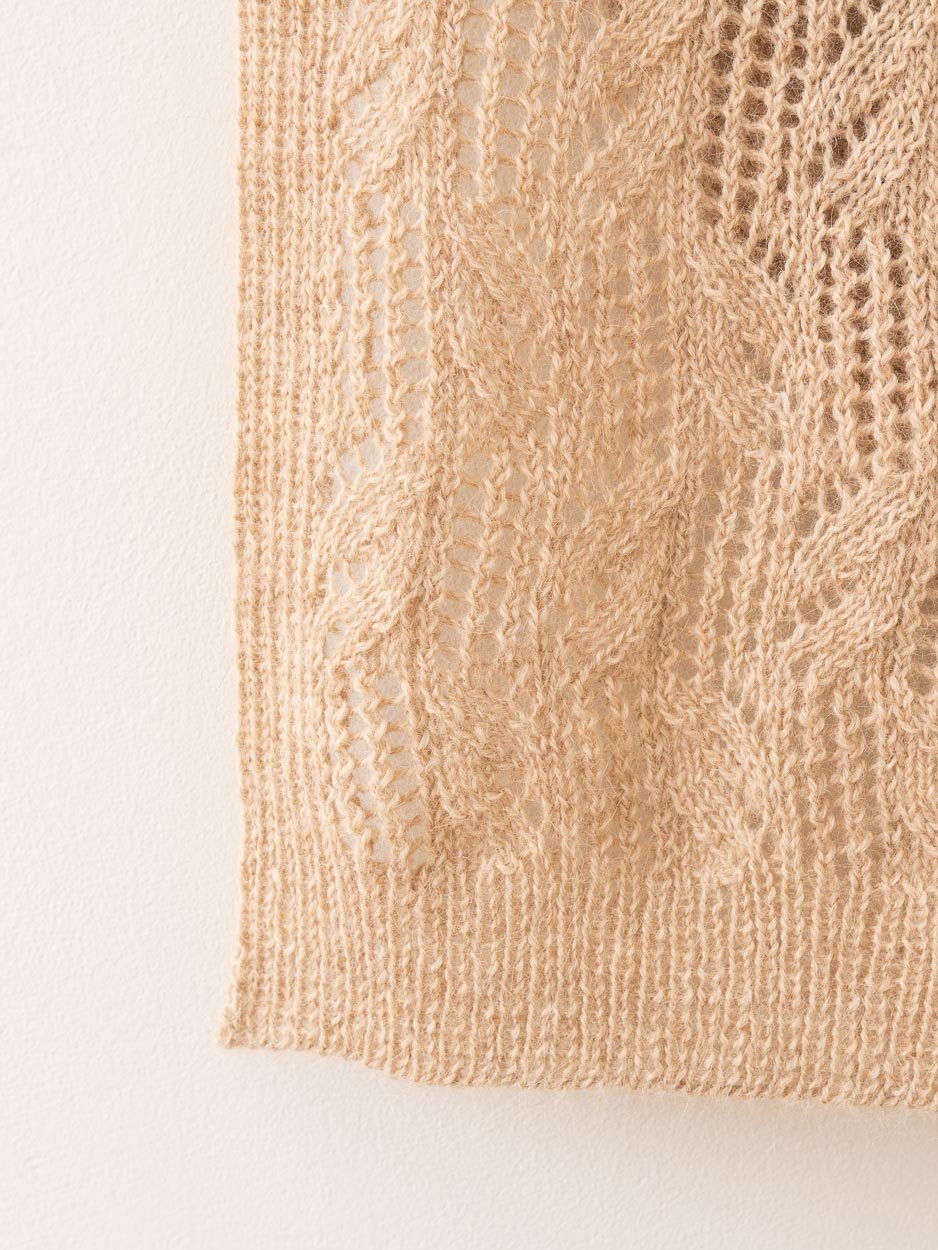
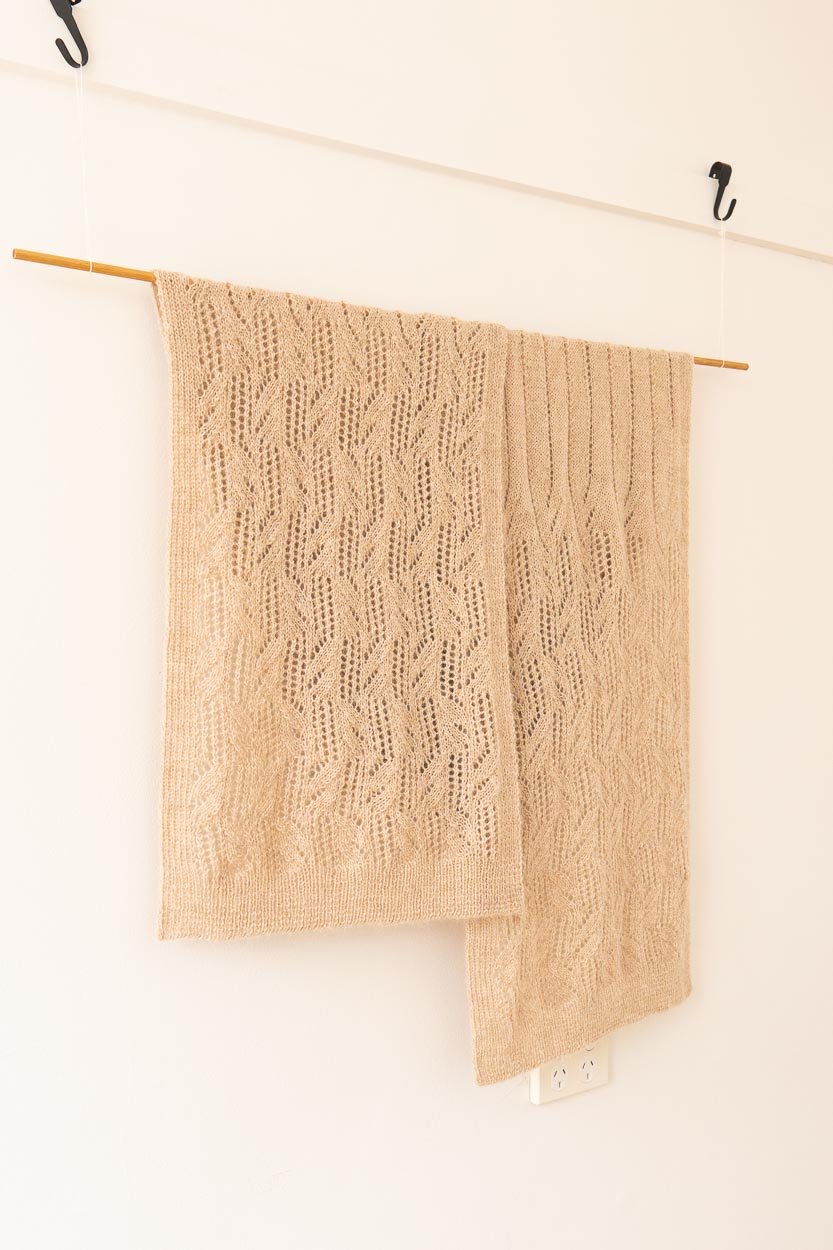
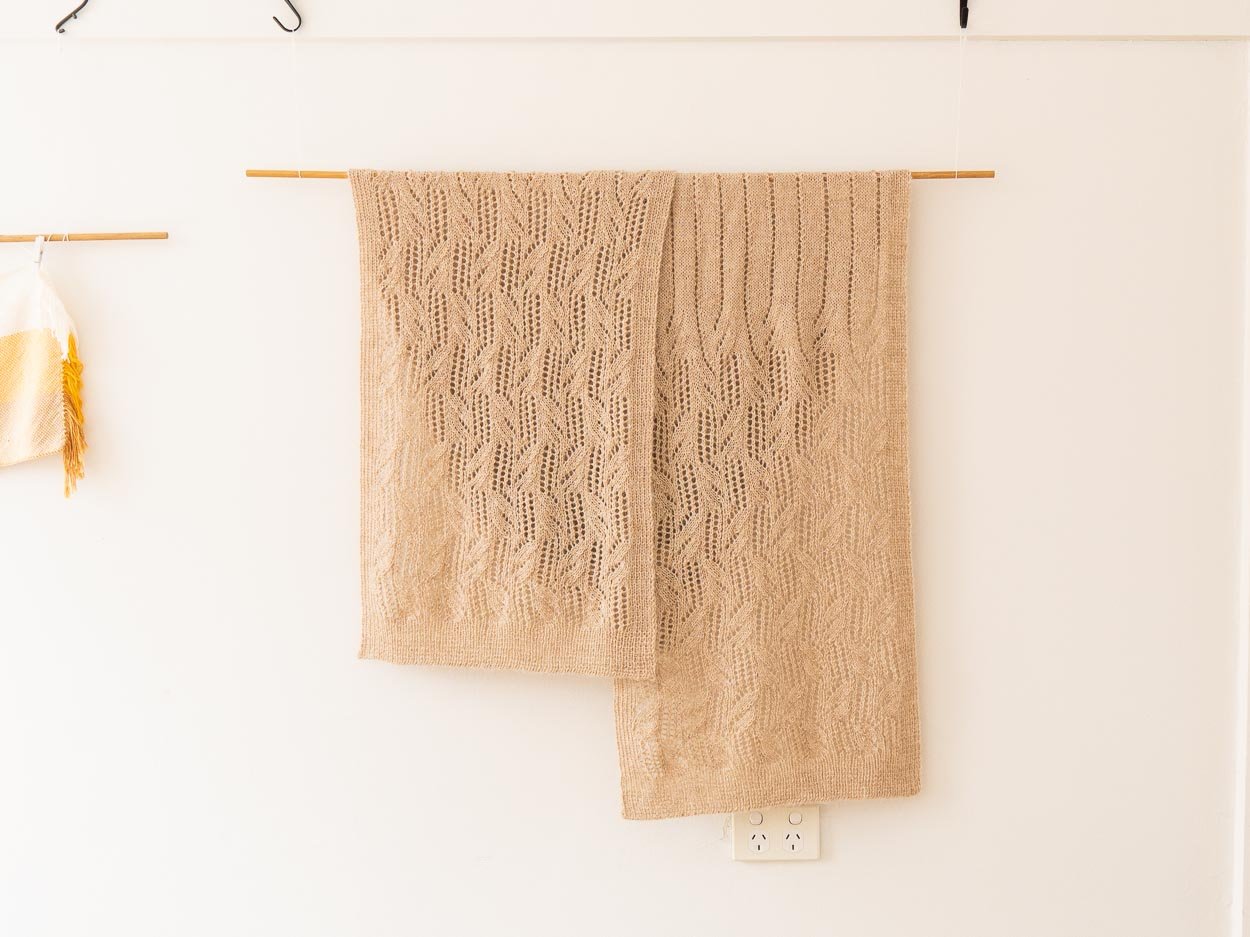
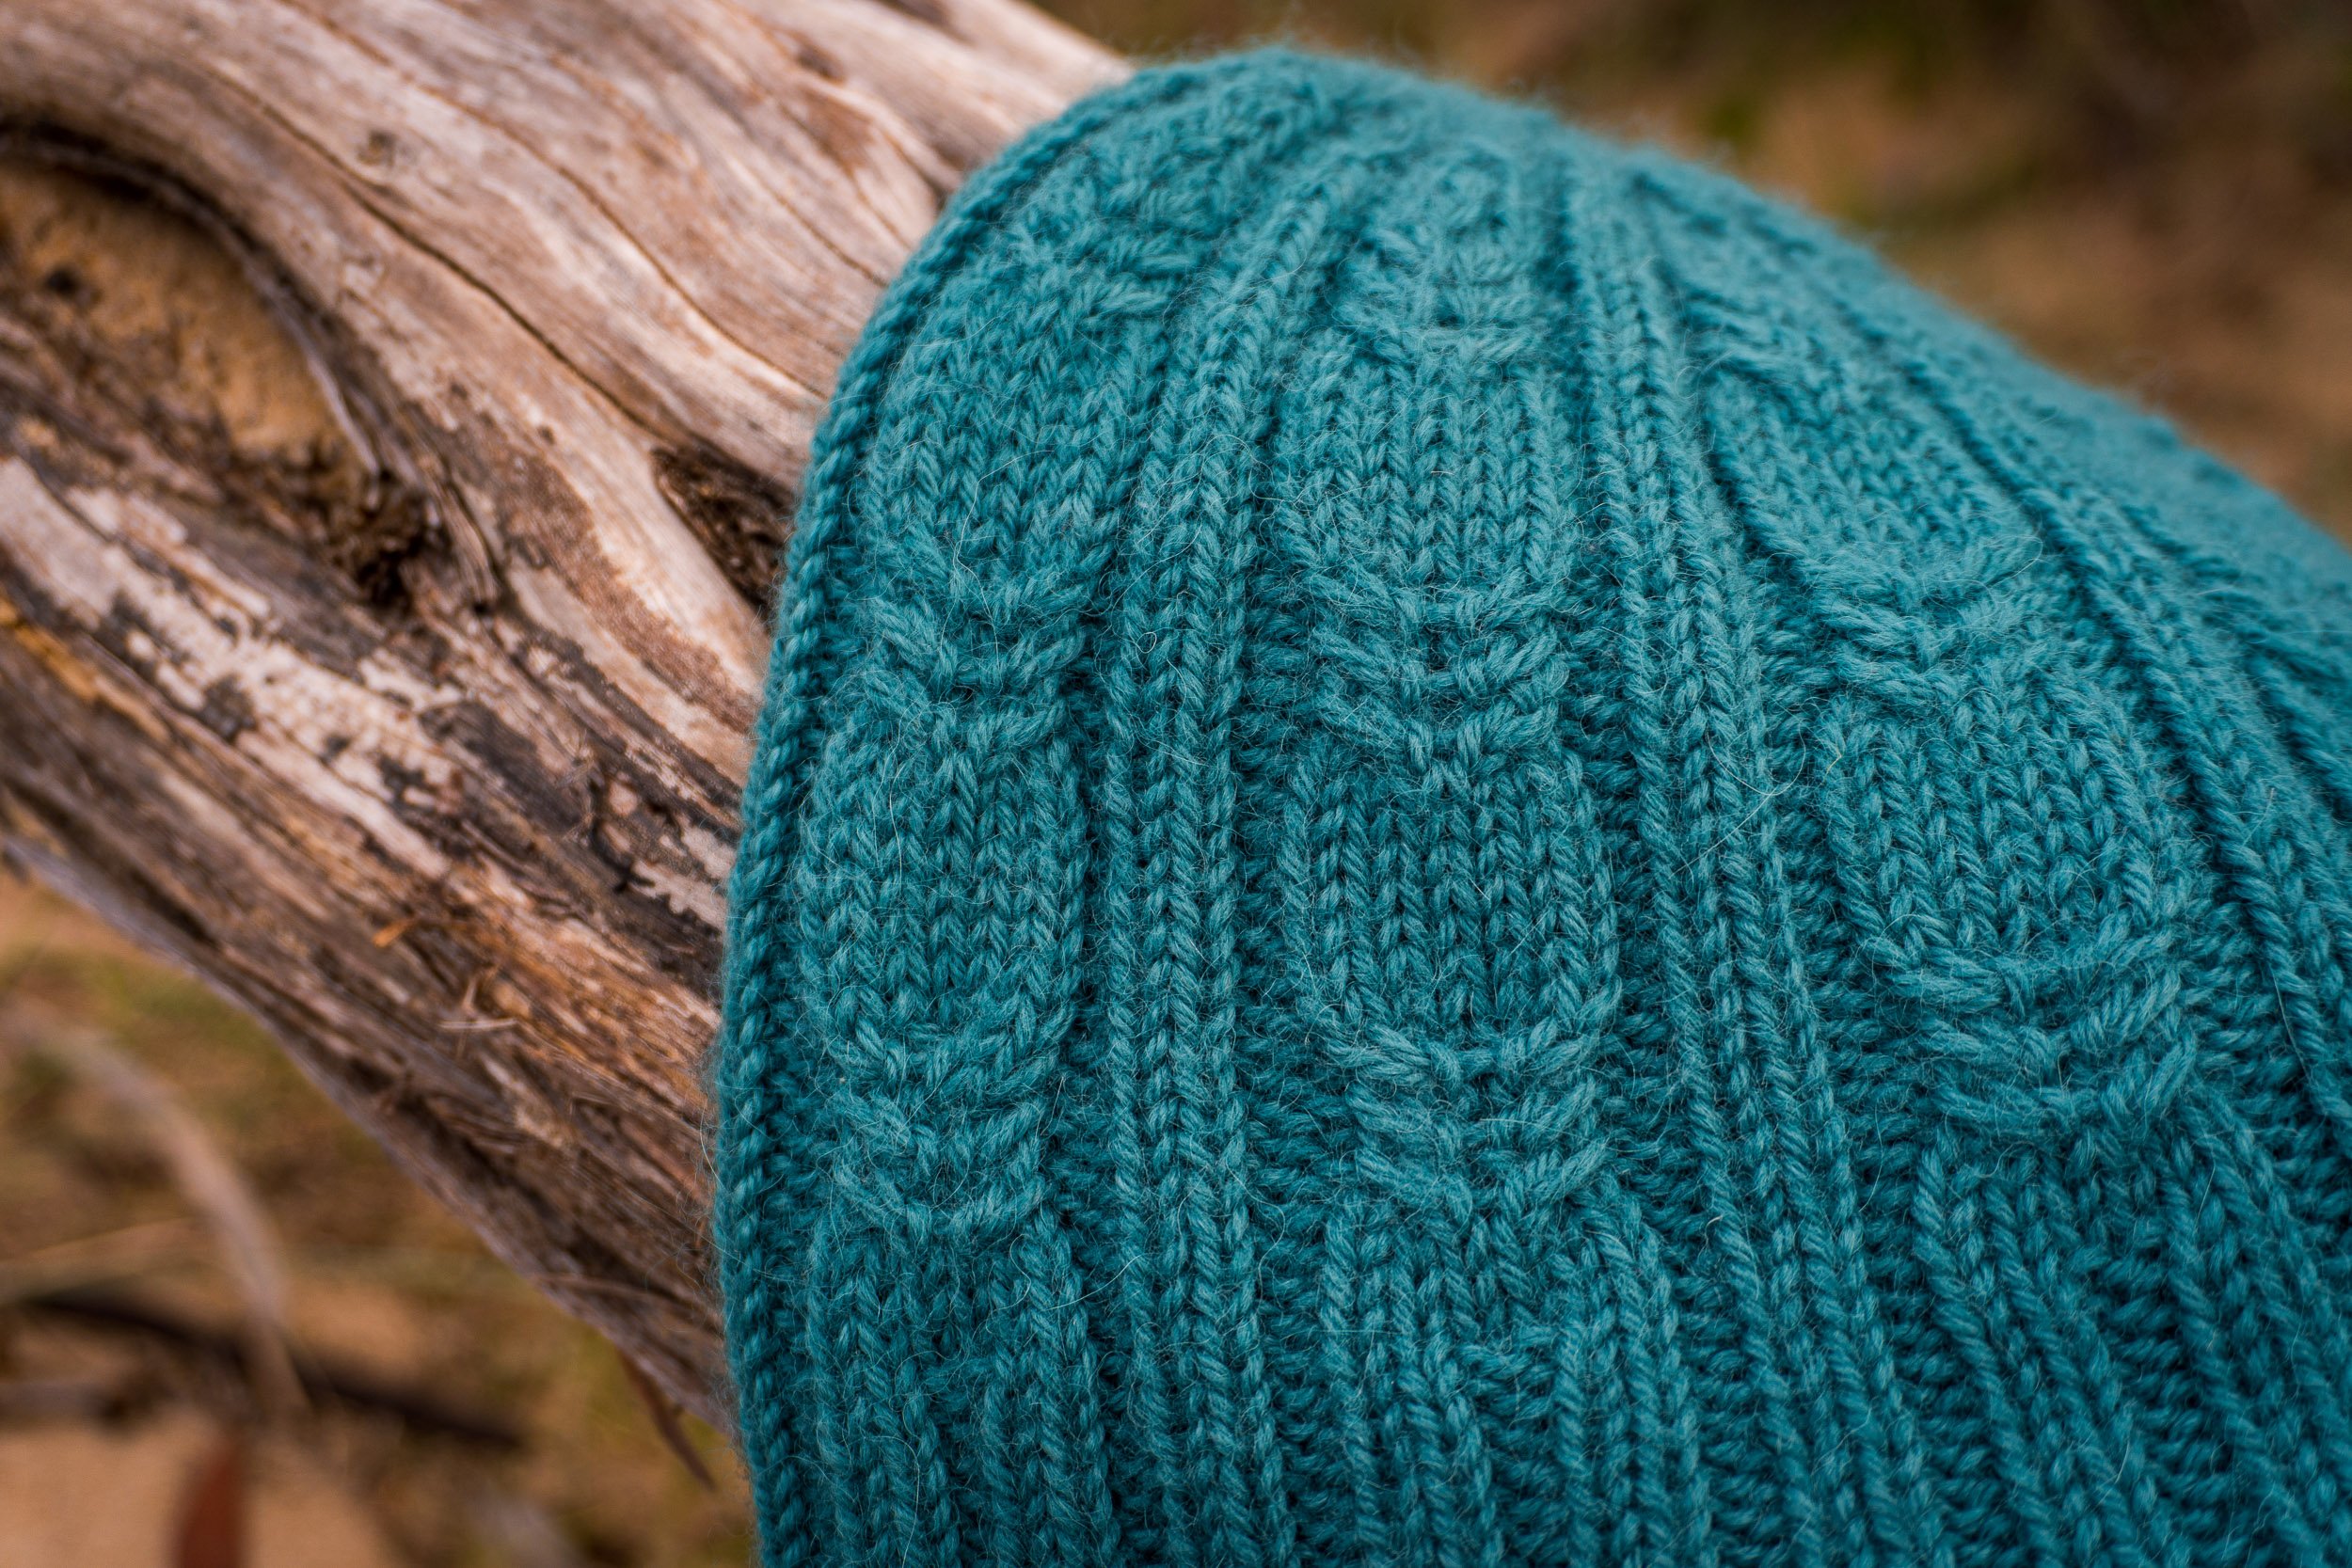
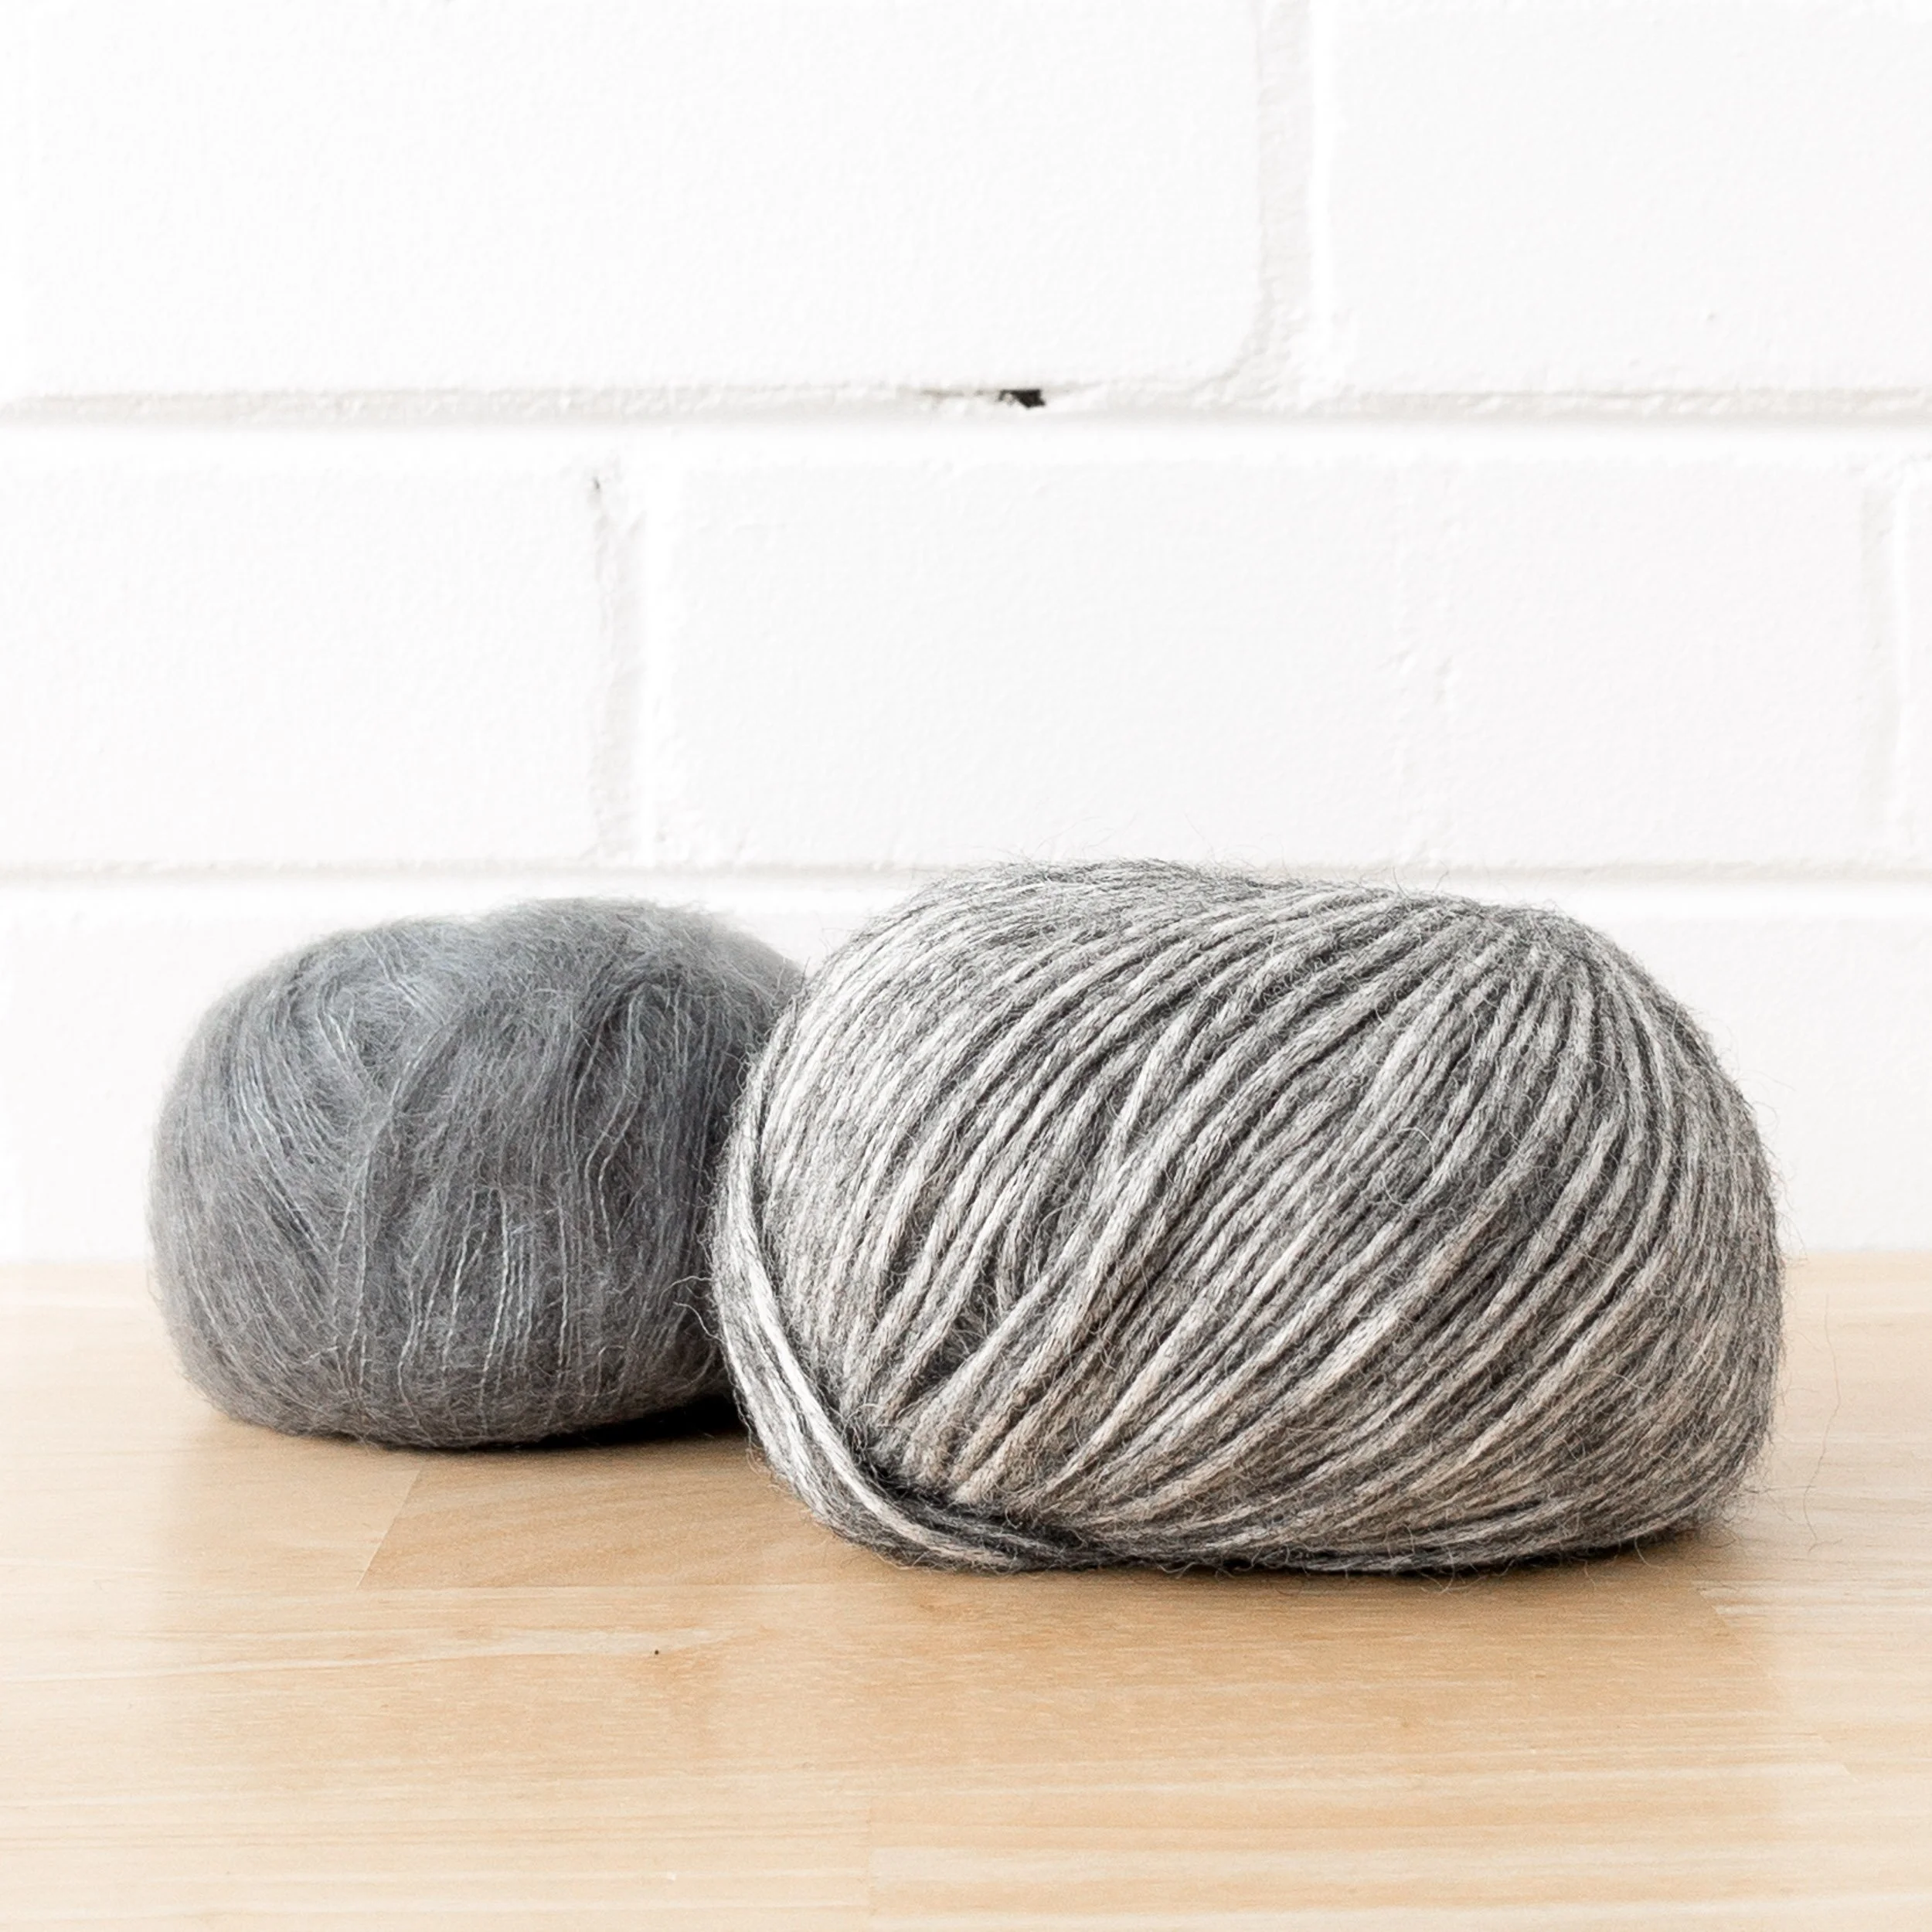
Bio-wool wool was definitely my first choice for this project. It has a nice palette of solid shades, it’s a super squishy 10 ply weight and the squishy woolly handfeel is next to skin soft.
The plan was to stick with the established colour themes and play with what I had on hand and in the shop. I picked out five Bio-Wool colours, some were new balls and some were scraps from other projects.
I used a set of double-pointed needles for this project as they were both useful for working the full circumference of the hat and the crown decreases.
CONSTRUCTION + FINISHING
I’m seeing a lot of intarsia designs this year with Pom Pom paving the way! I’ve been a little hesitant to dive in but this small scale project seemed approachable.
The technique of working intarsia in-the-round was detailed clearly in the pattern instructions. I found the process fairly straightforward and didn’t get too tangled 😅
I found lots of Youtube videos on the twisted German cast-on method. Already familiar with long-tail cast-ons, I found this method similar and fairly easy to pick up. Will definitely use it again!
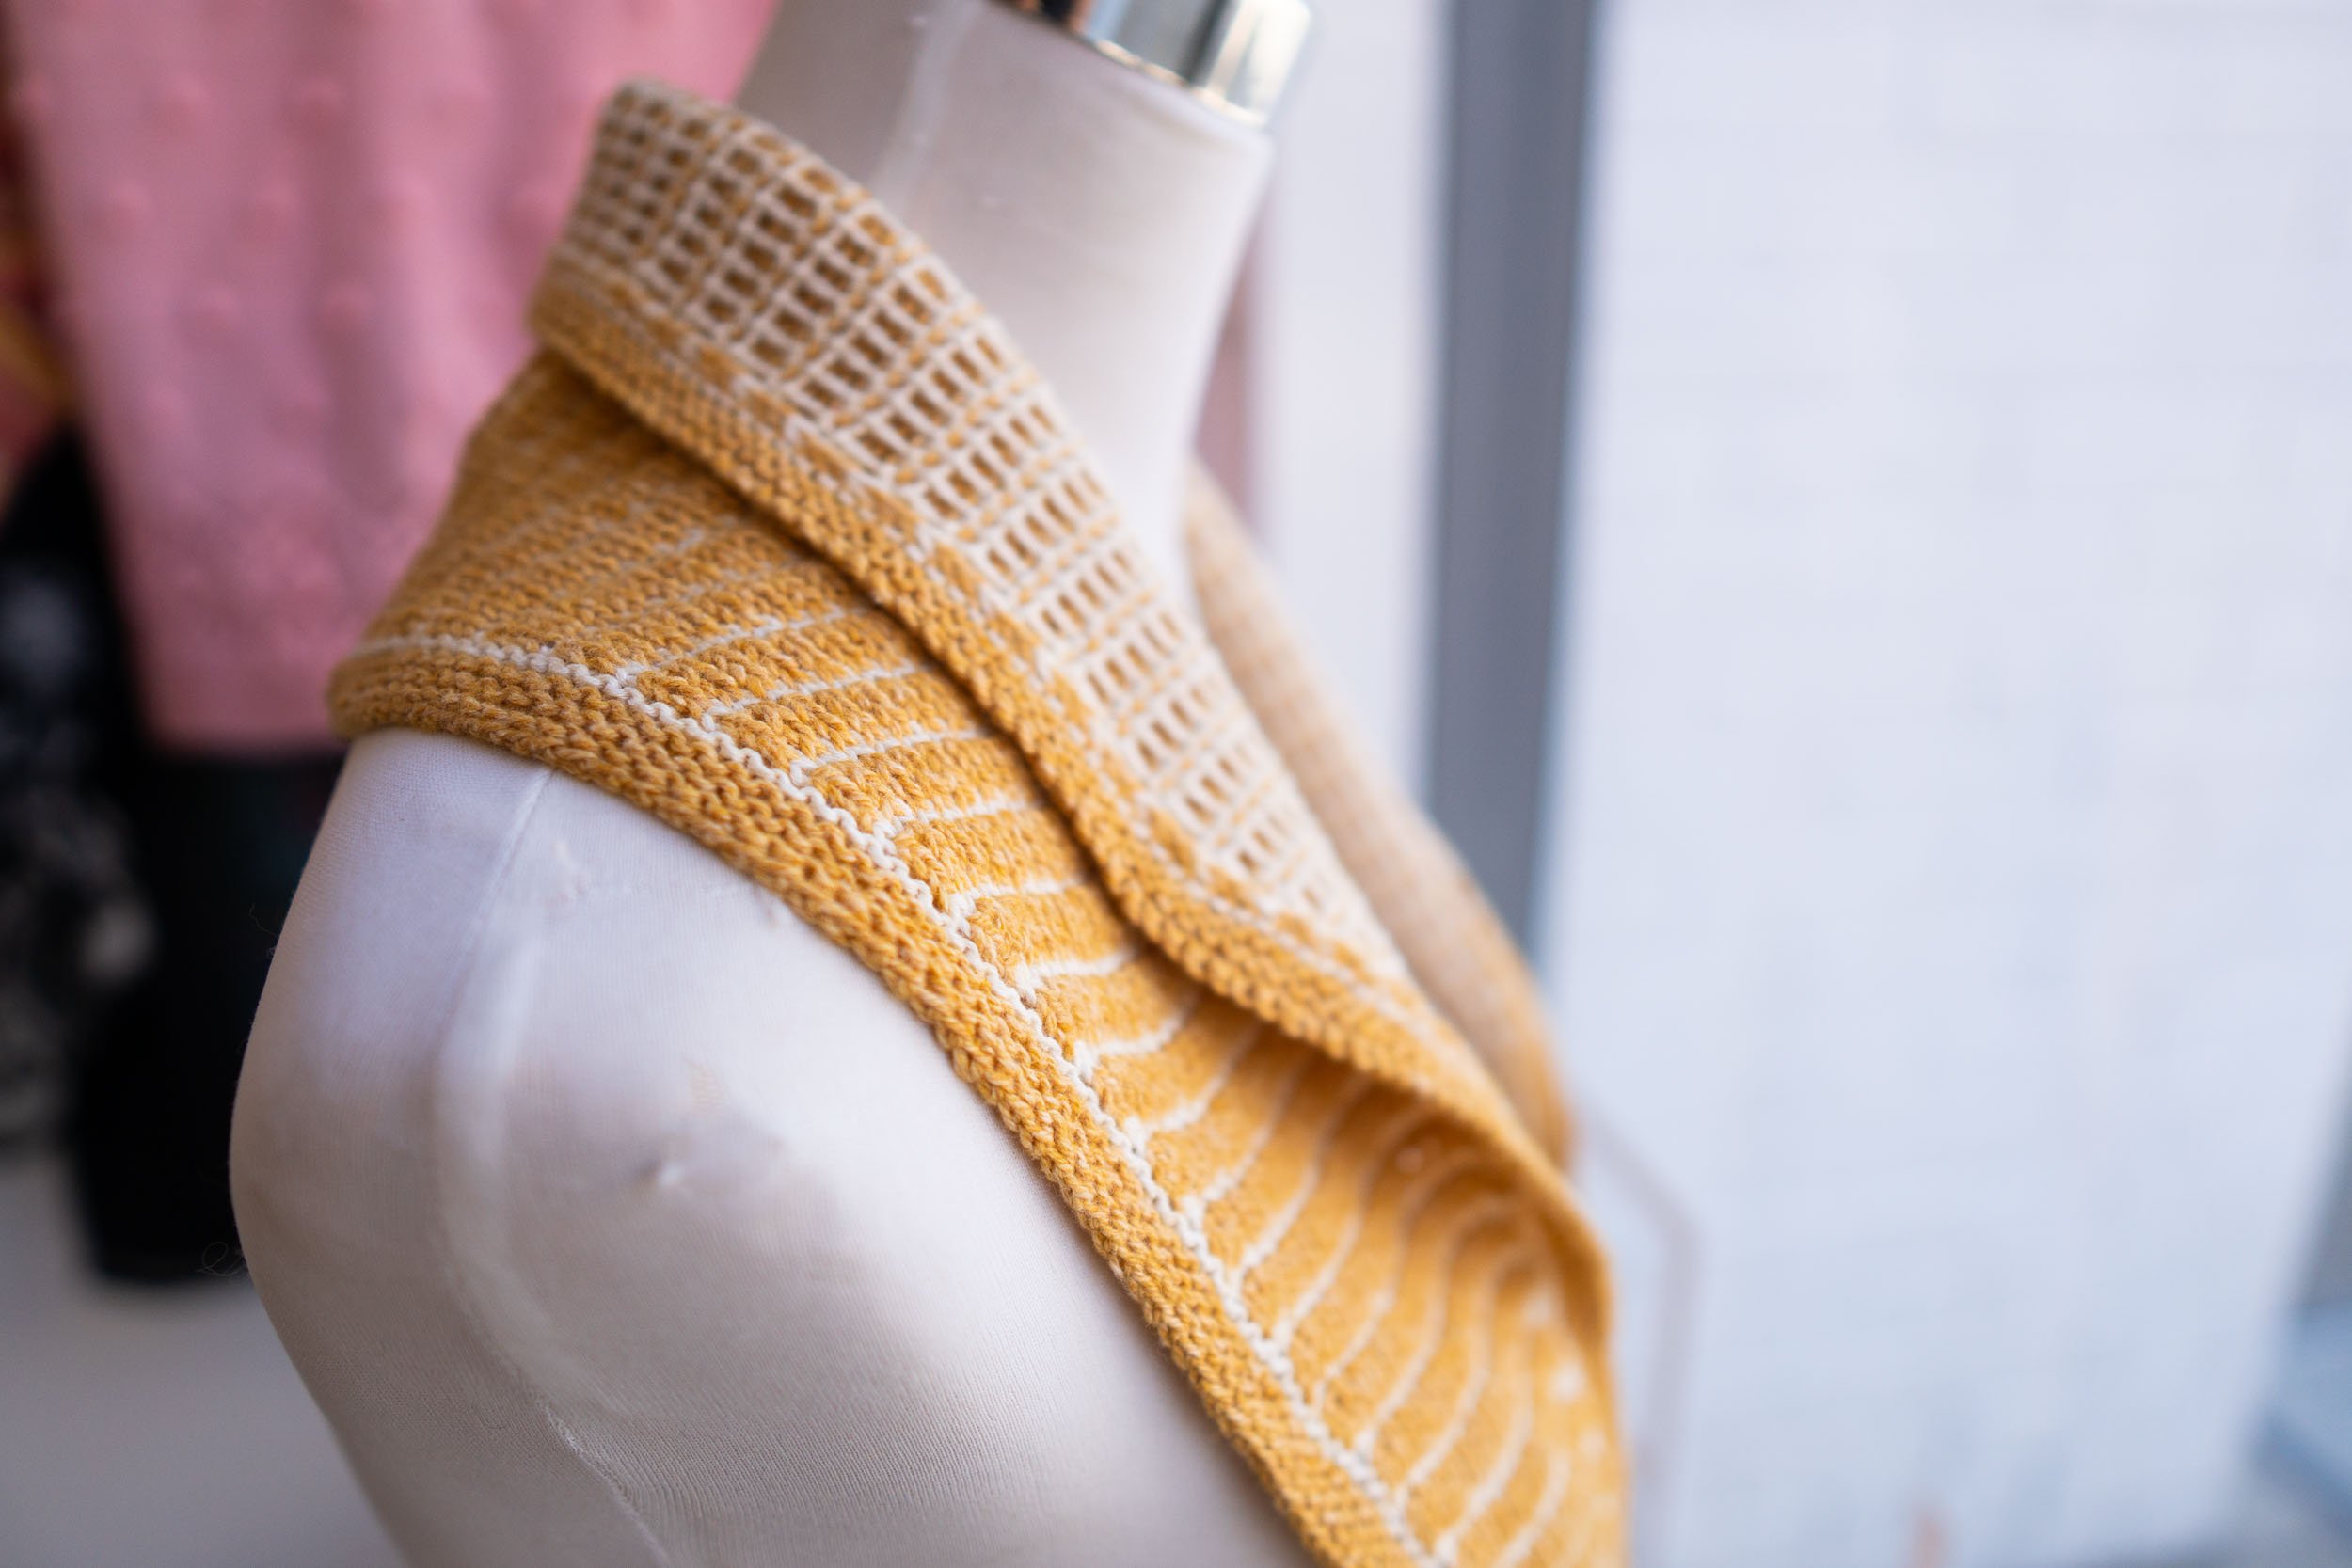
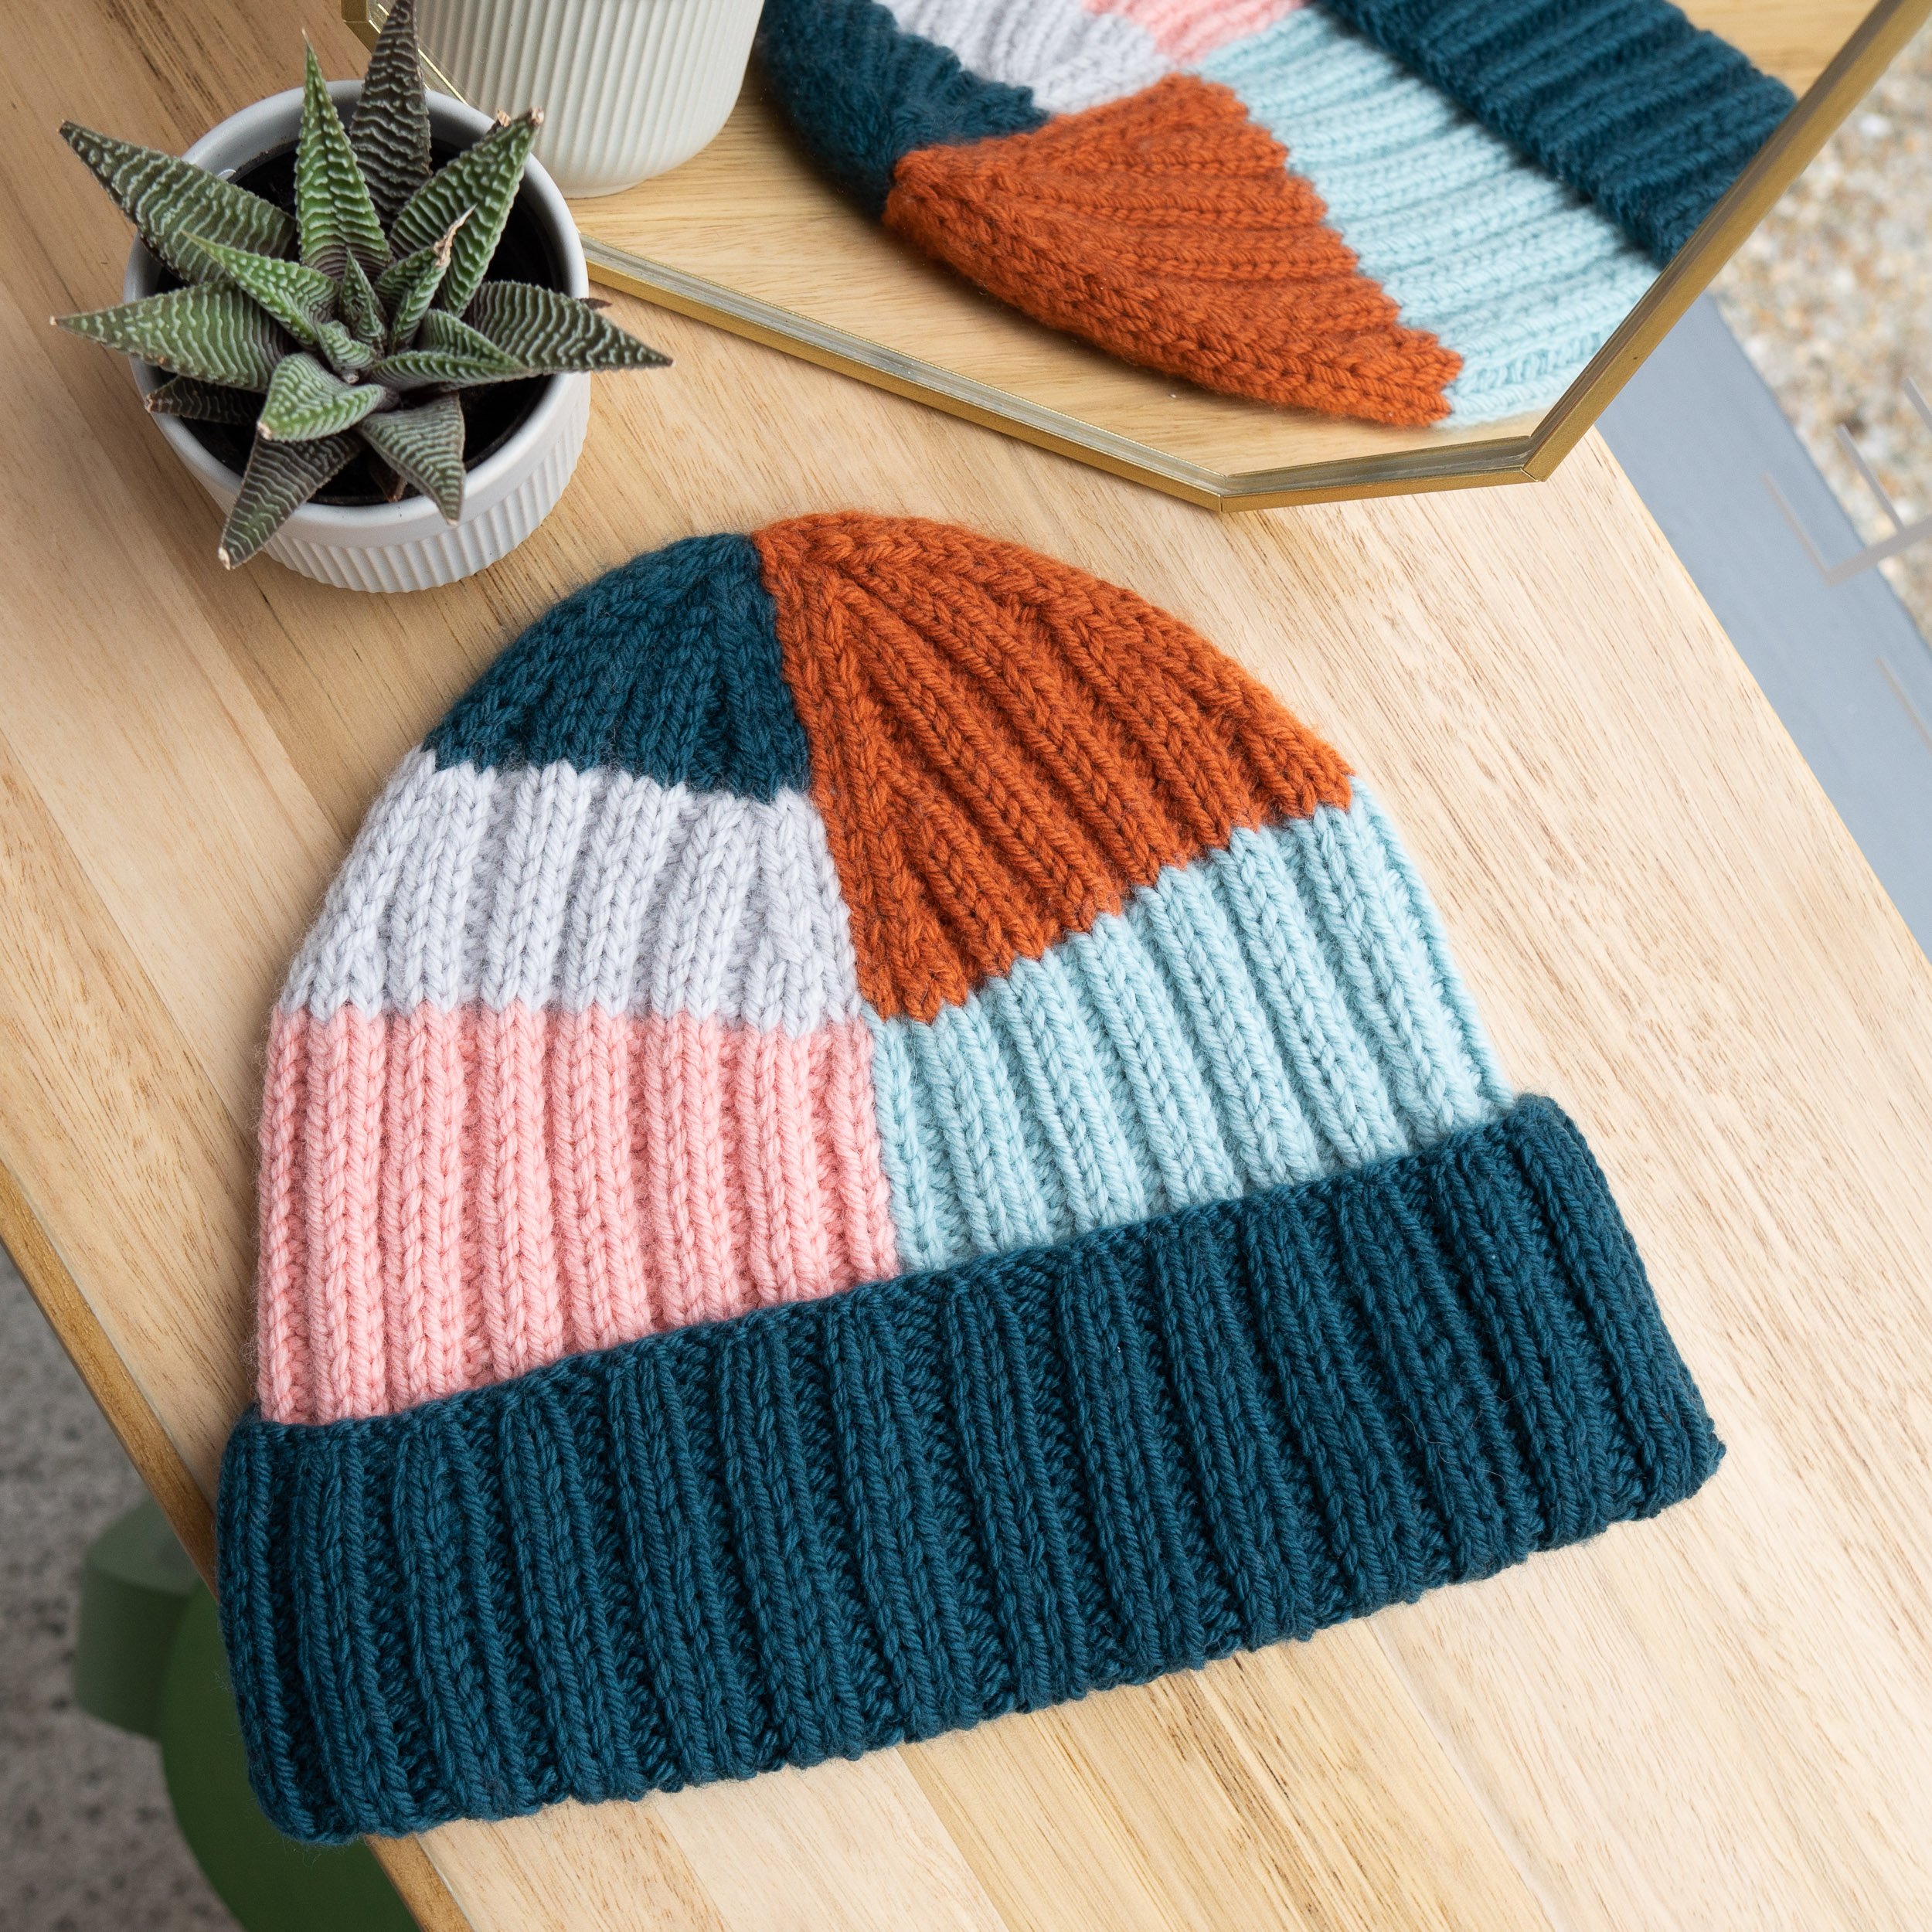
I love the colour block elements of this design. The pattern includes an option for a clever invisible colour change, which I did use and I’m very happy with the results.

FINAL THOUGHTS
Periphery was another good skill building project. I learnt the twisted German cast-on method, working intarsia in the round and the invisible colour change!
The design offers lots of room for colour-play, I definitely encourage mixing and matching what you have on hand. You can be quite free-form with the colour placement so you there’s lots of fun to be had.
I feel like I’m ready to tackle another intarsia project, maybe something on a larger scale - stay tuned!
THANK YOU FOR READING!
Add this project to your Ravelry favourites HERE.