Posts in Weaving
Swatching with Cotton Fine: A woven Sampler in Plain-Weave
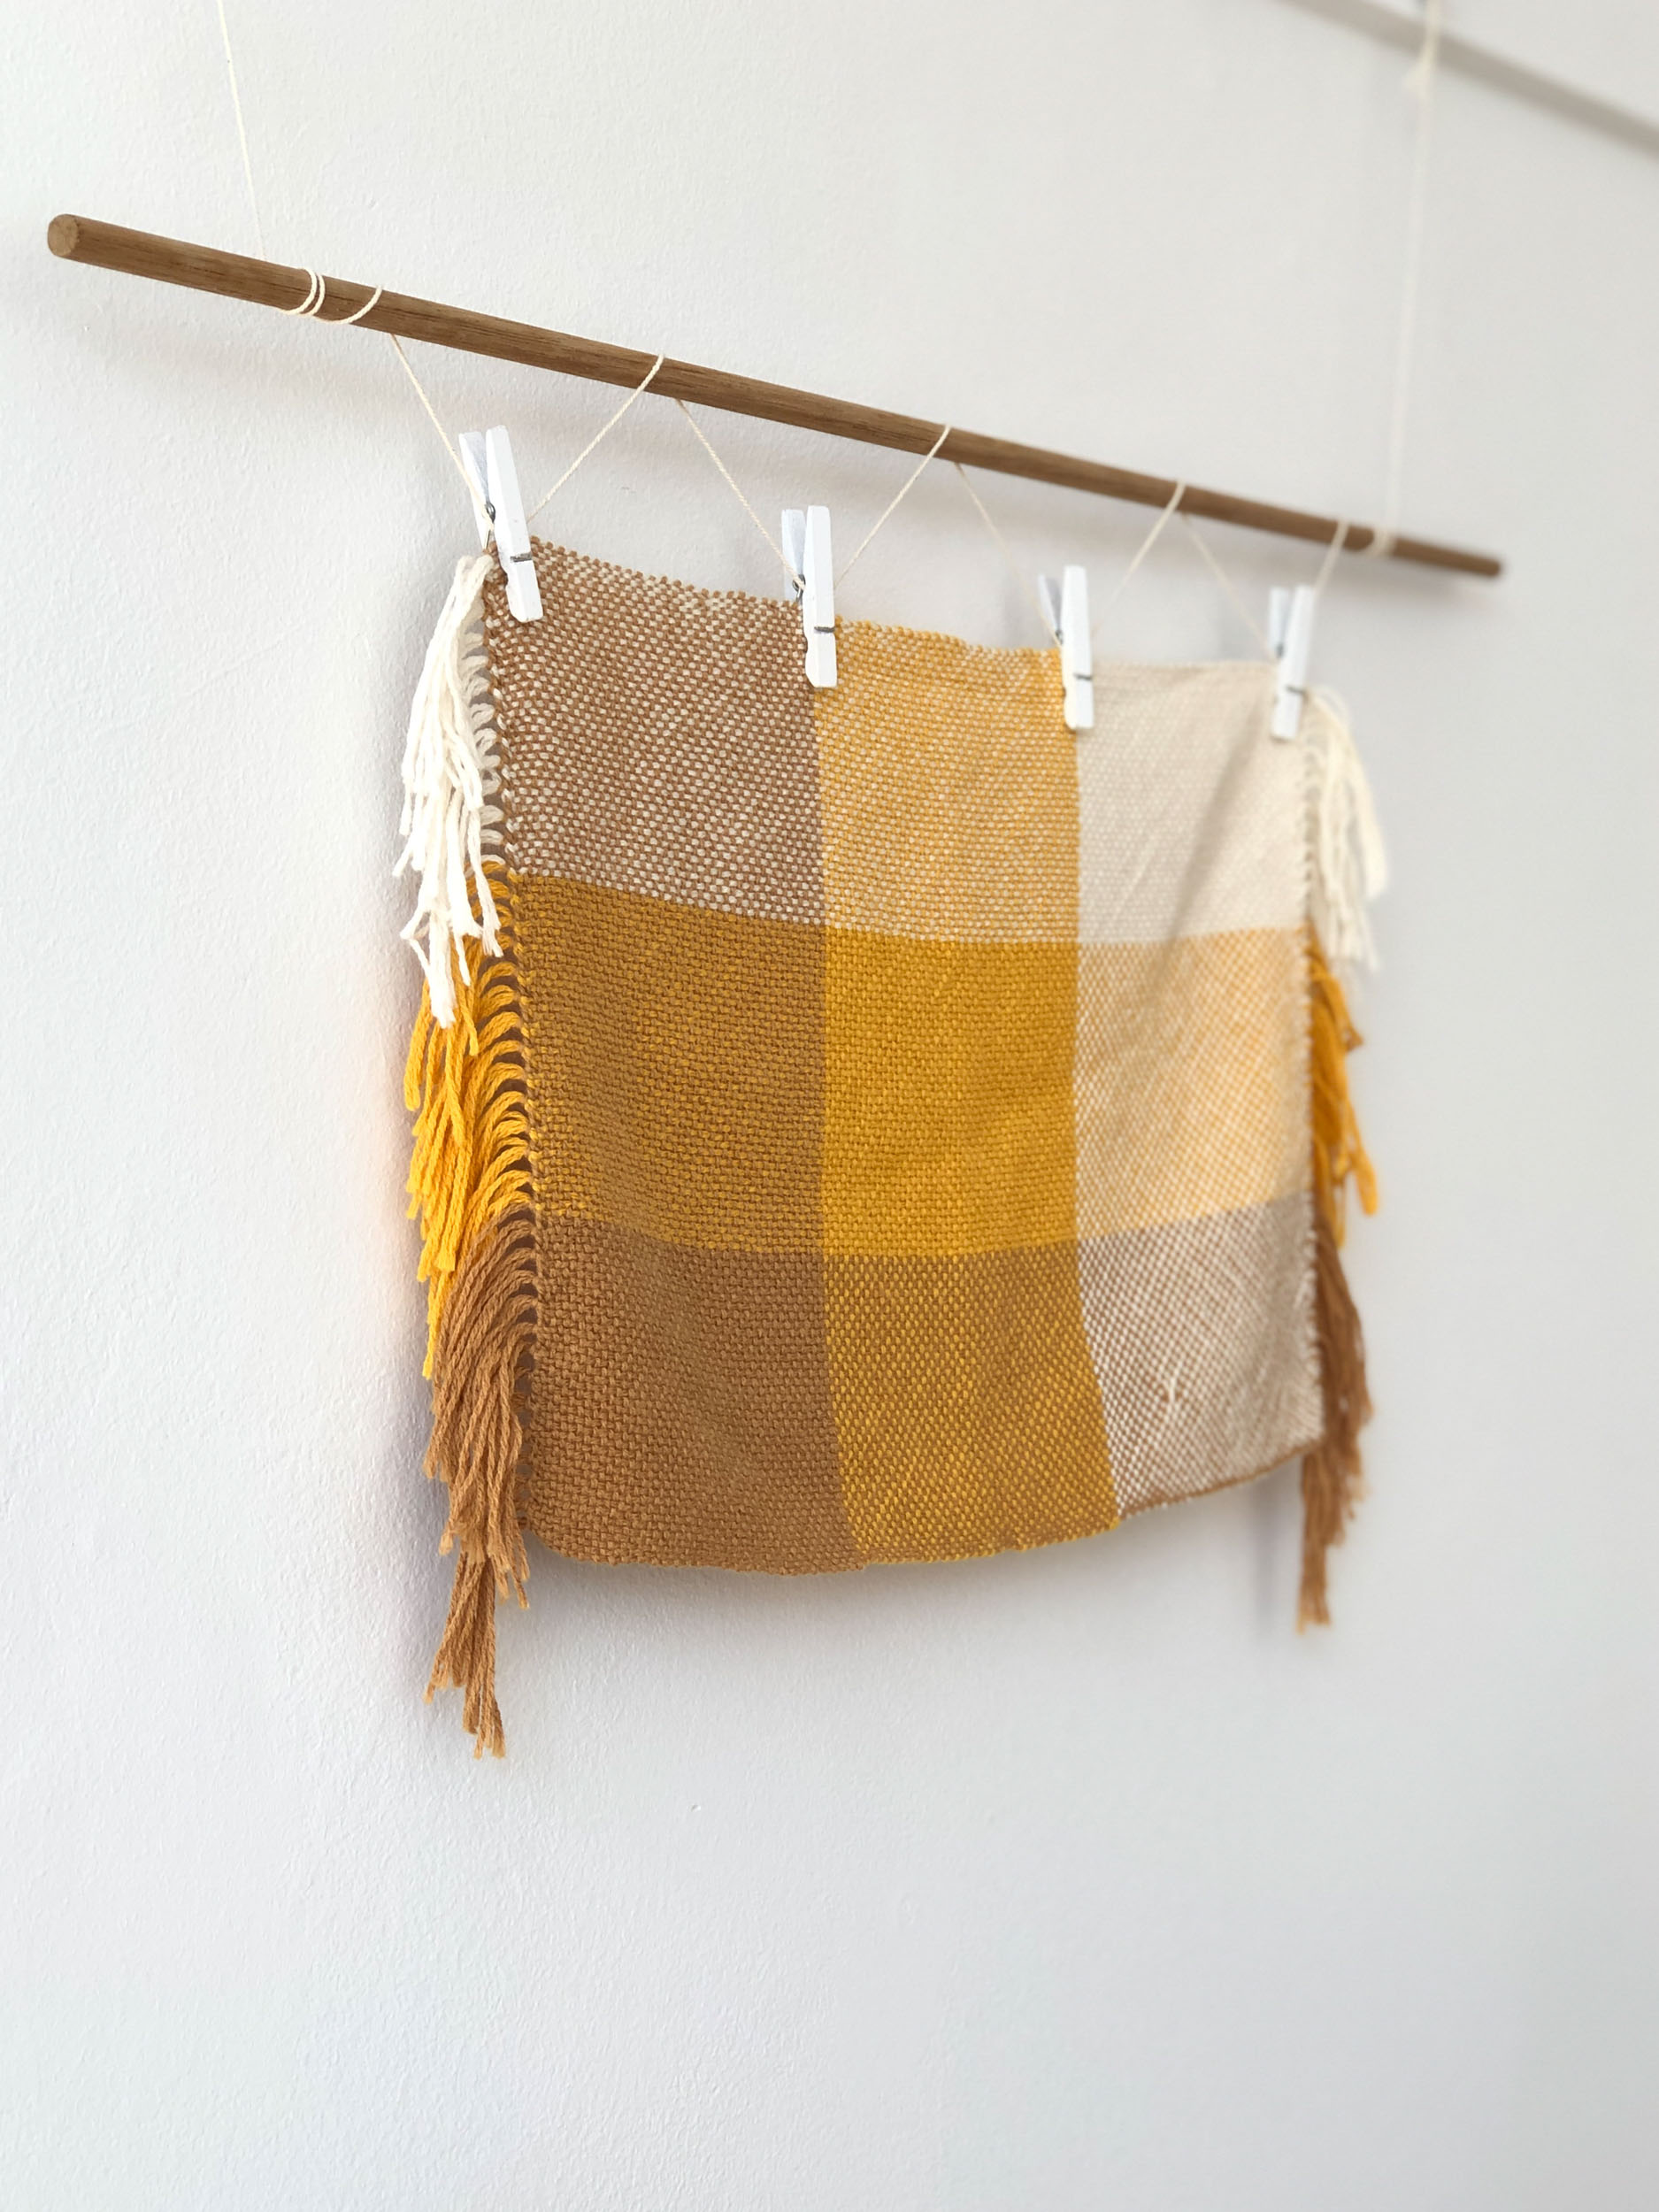
Loom & Spindle - Cotton Fine Swatch at 10epi-14.jpg
 

Swatching with Cotton Fine

A woven Sampler in Plain-Weave

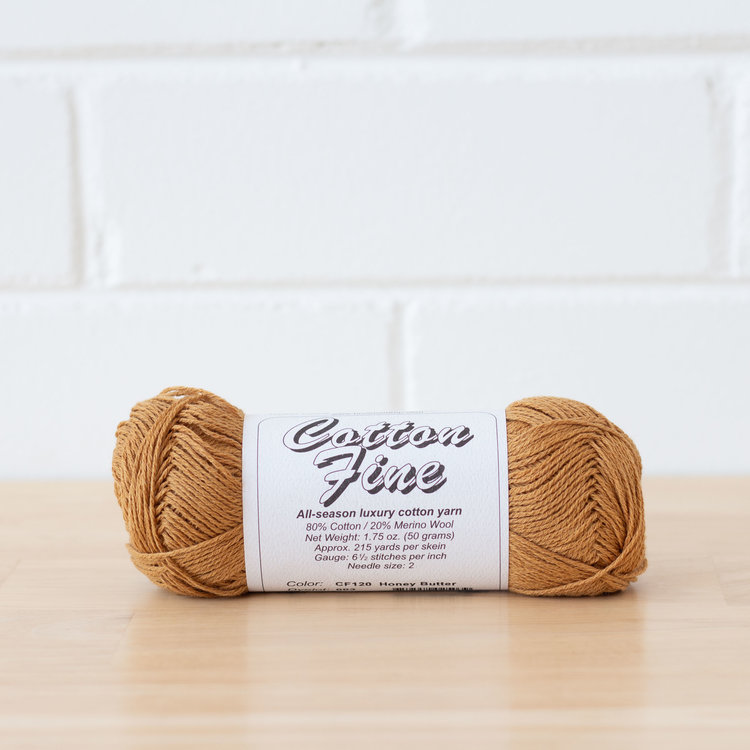
With the recent introduction of Cotton Fine to the Loom & Spindle yarn range, we’ve been excited to explore our new yarn.

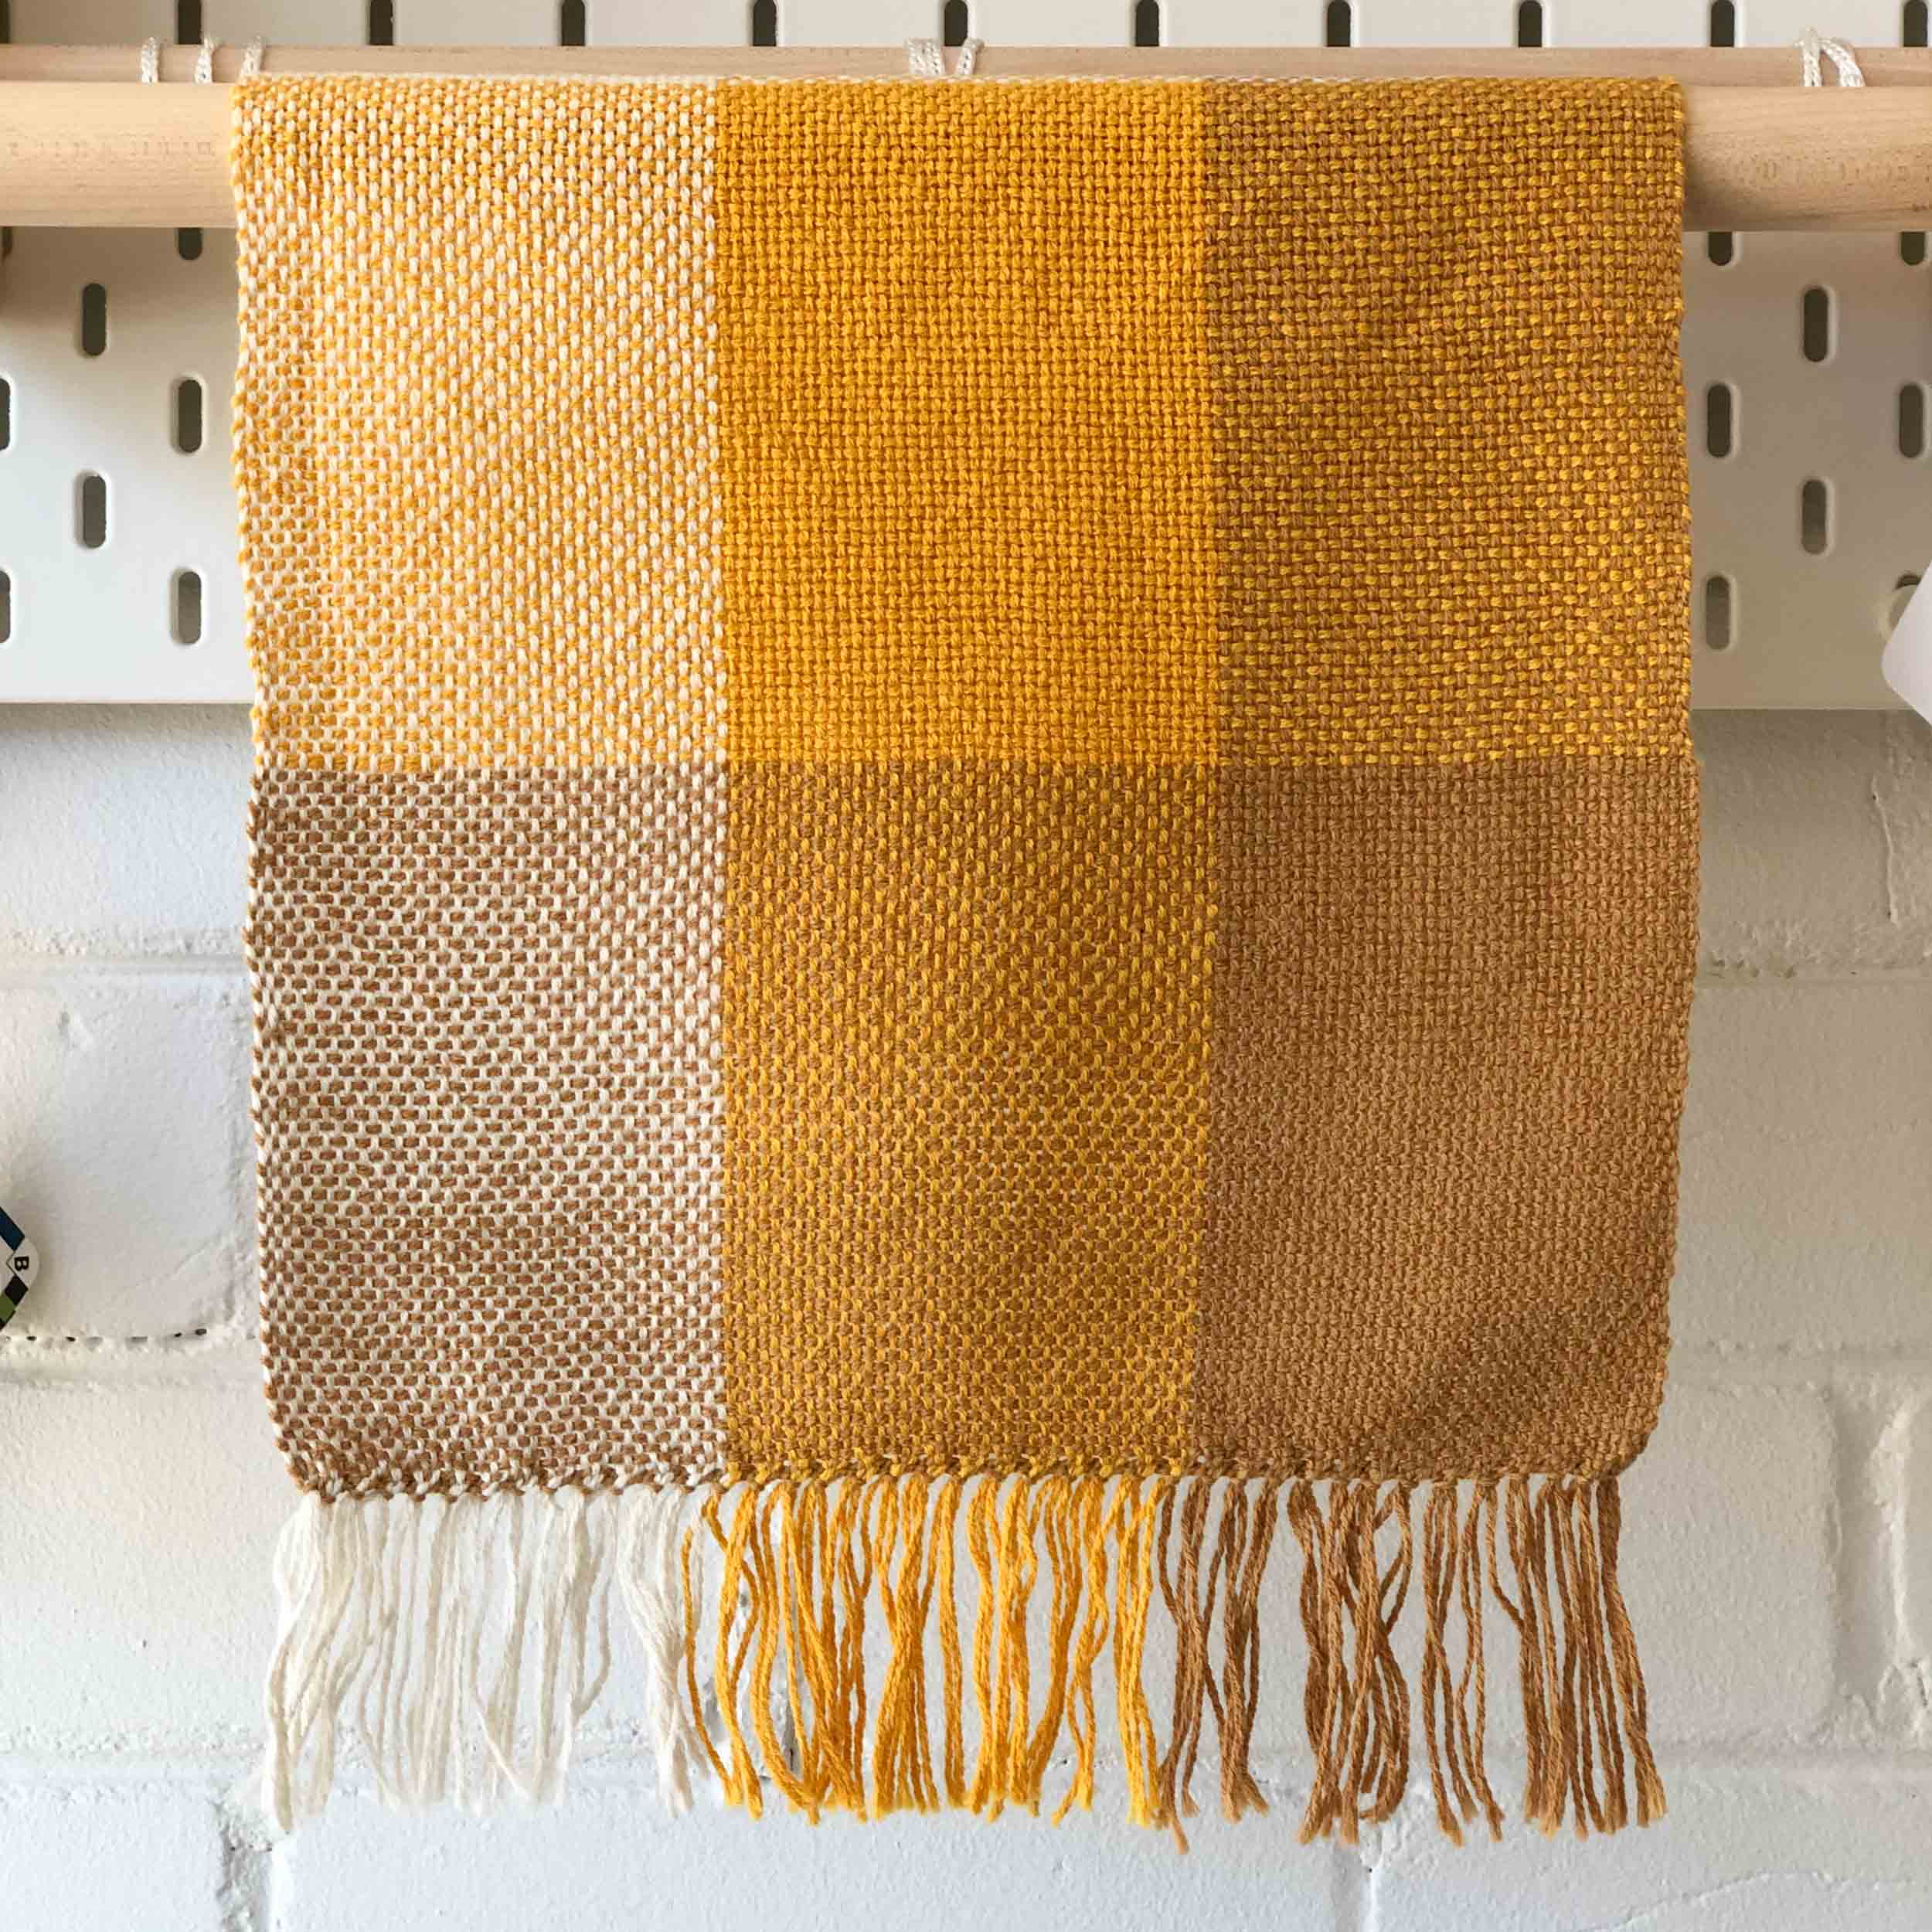
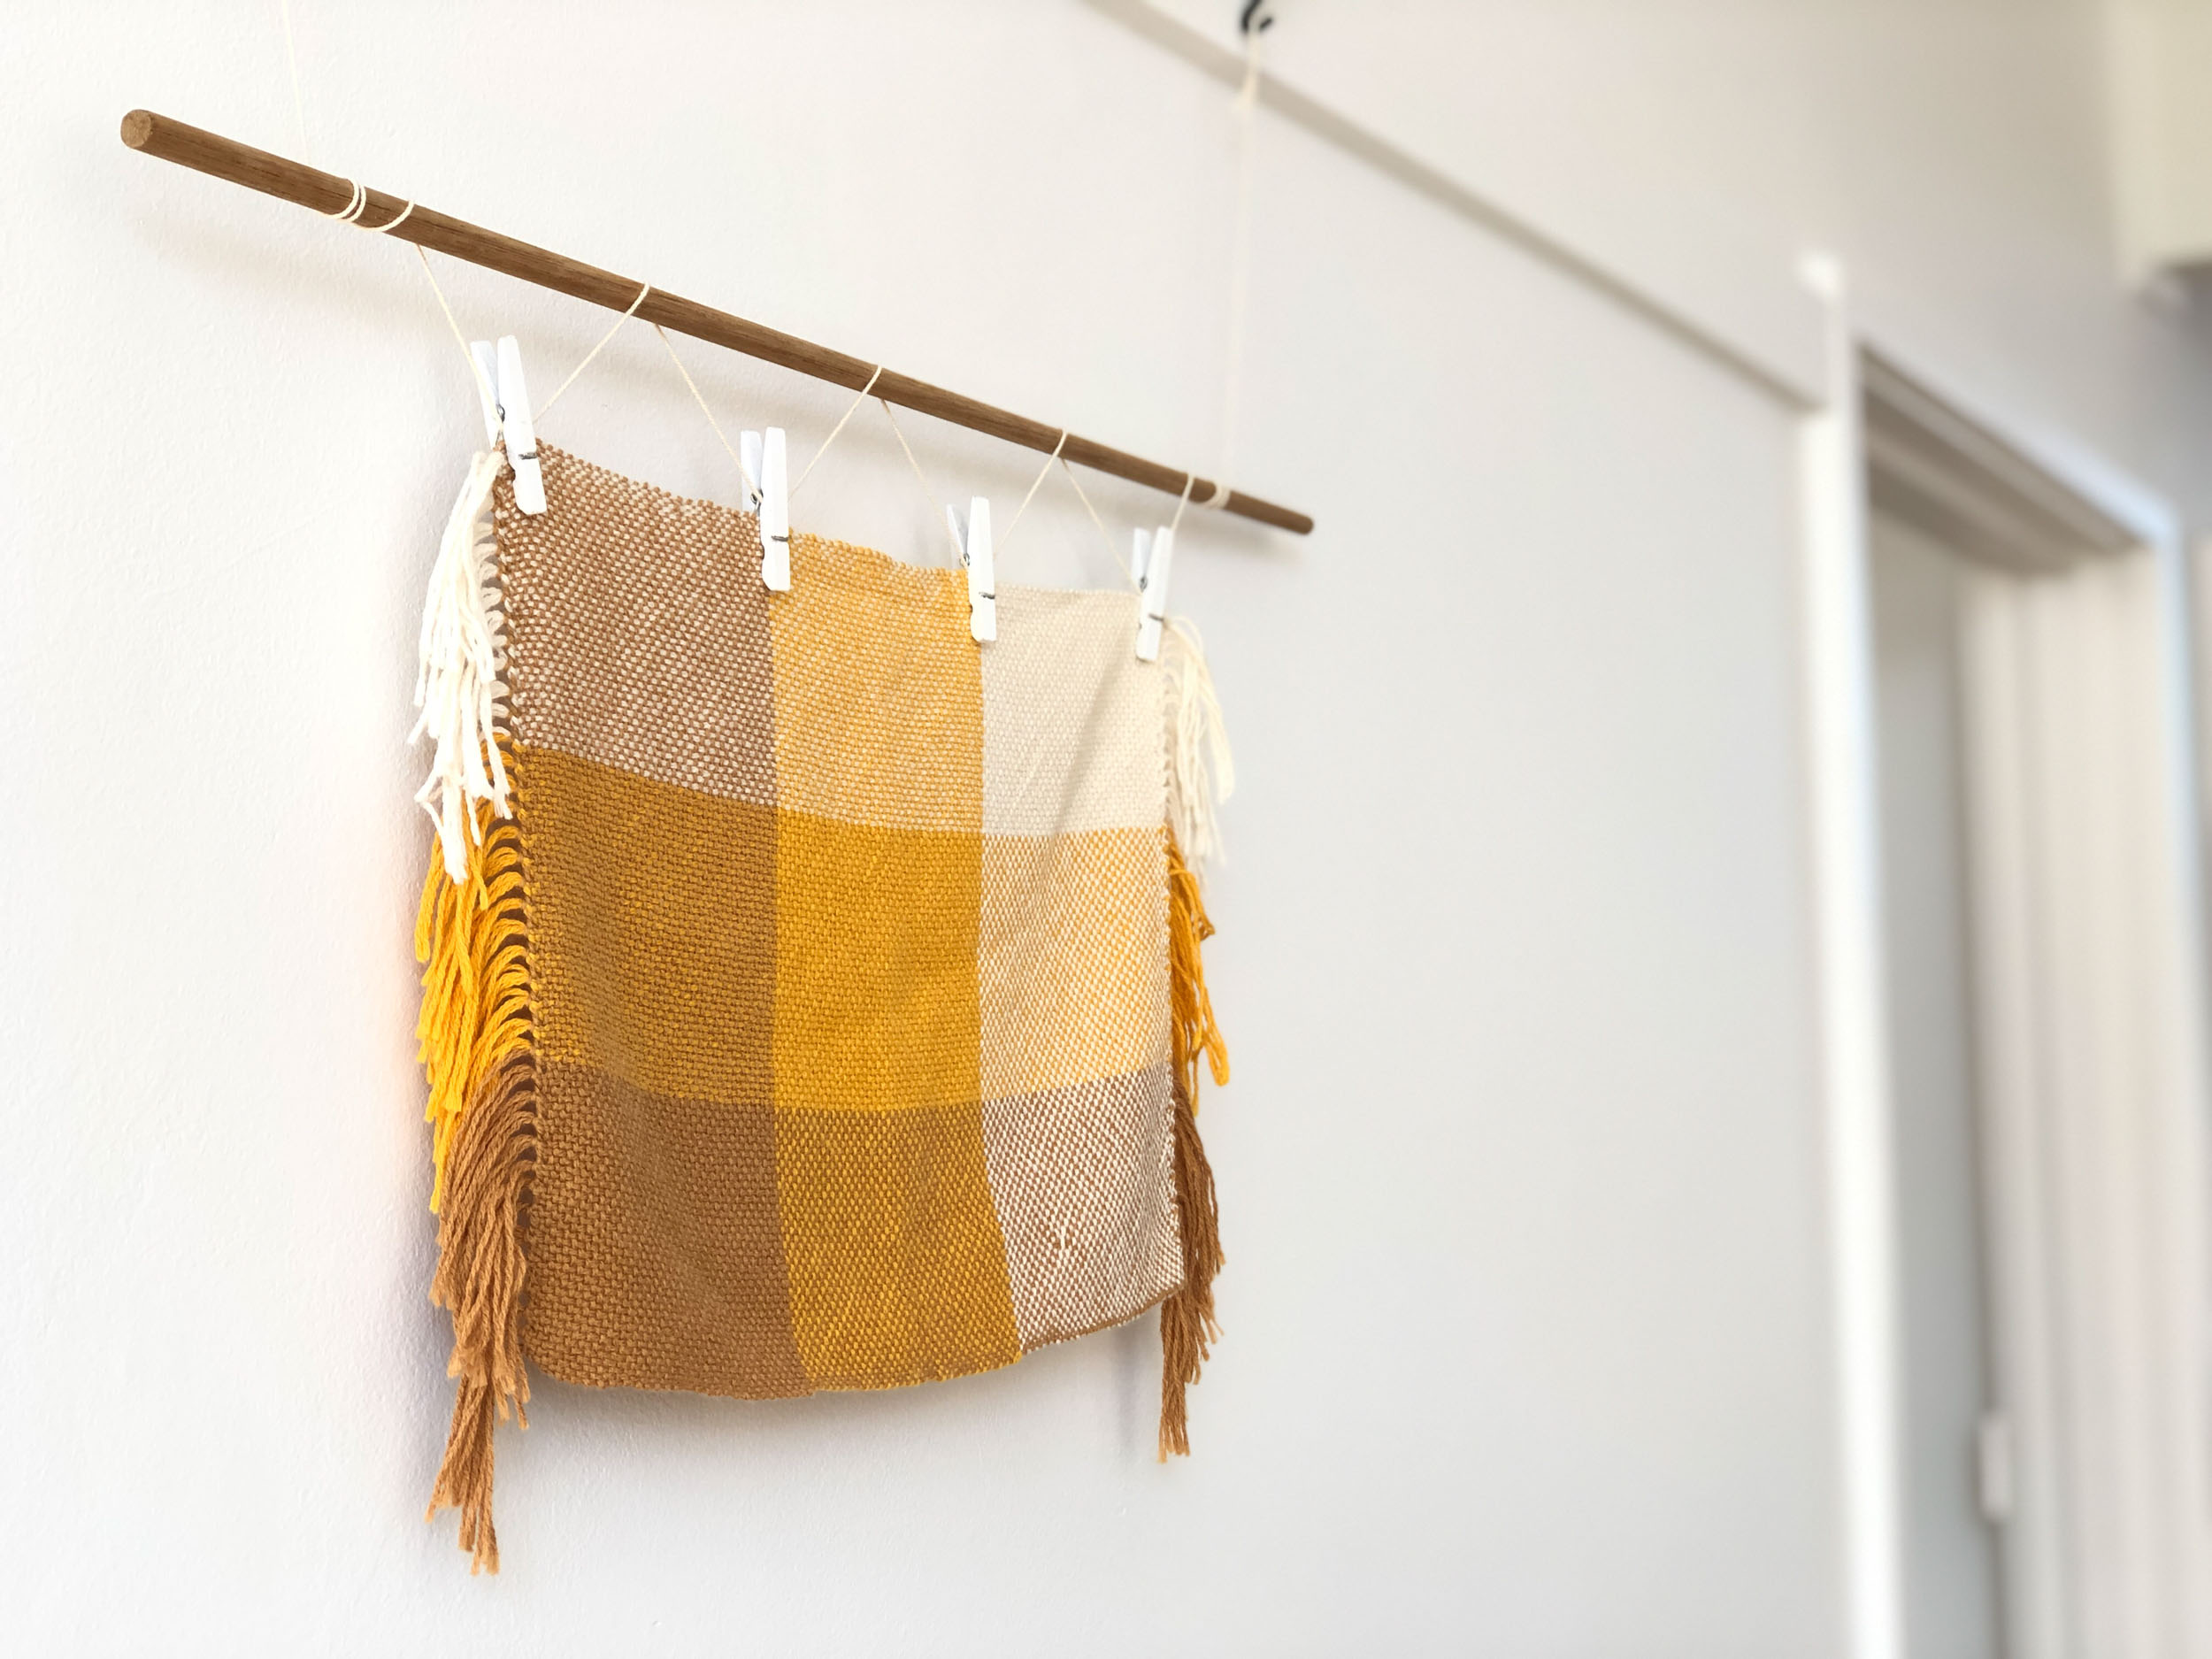
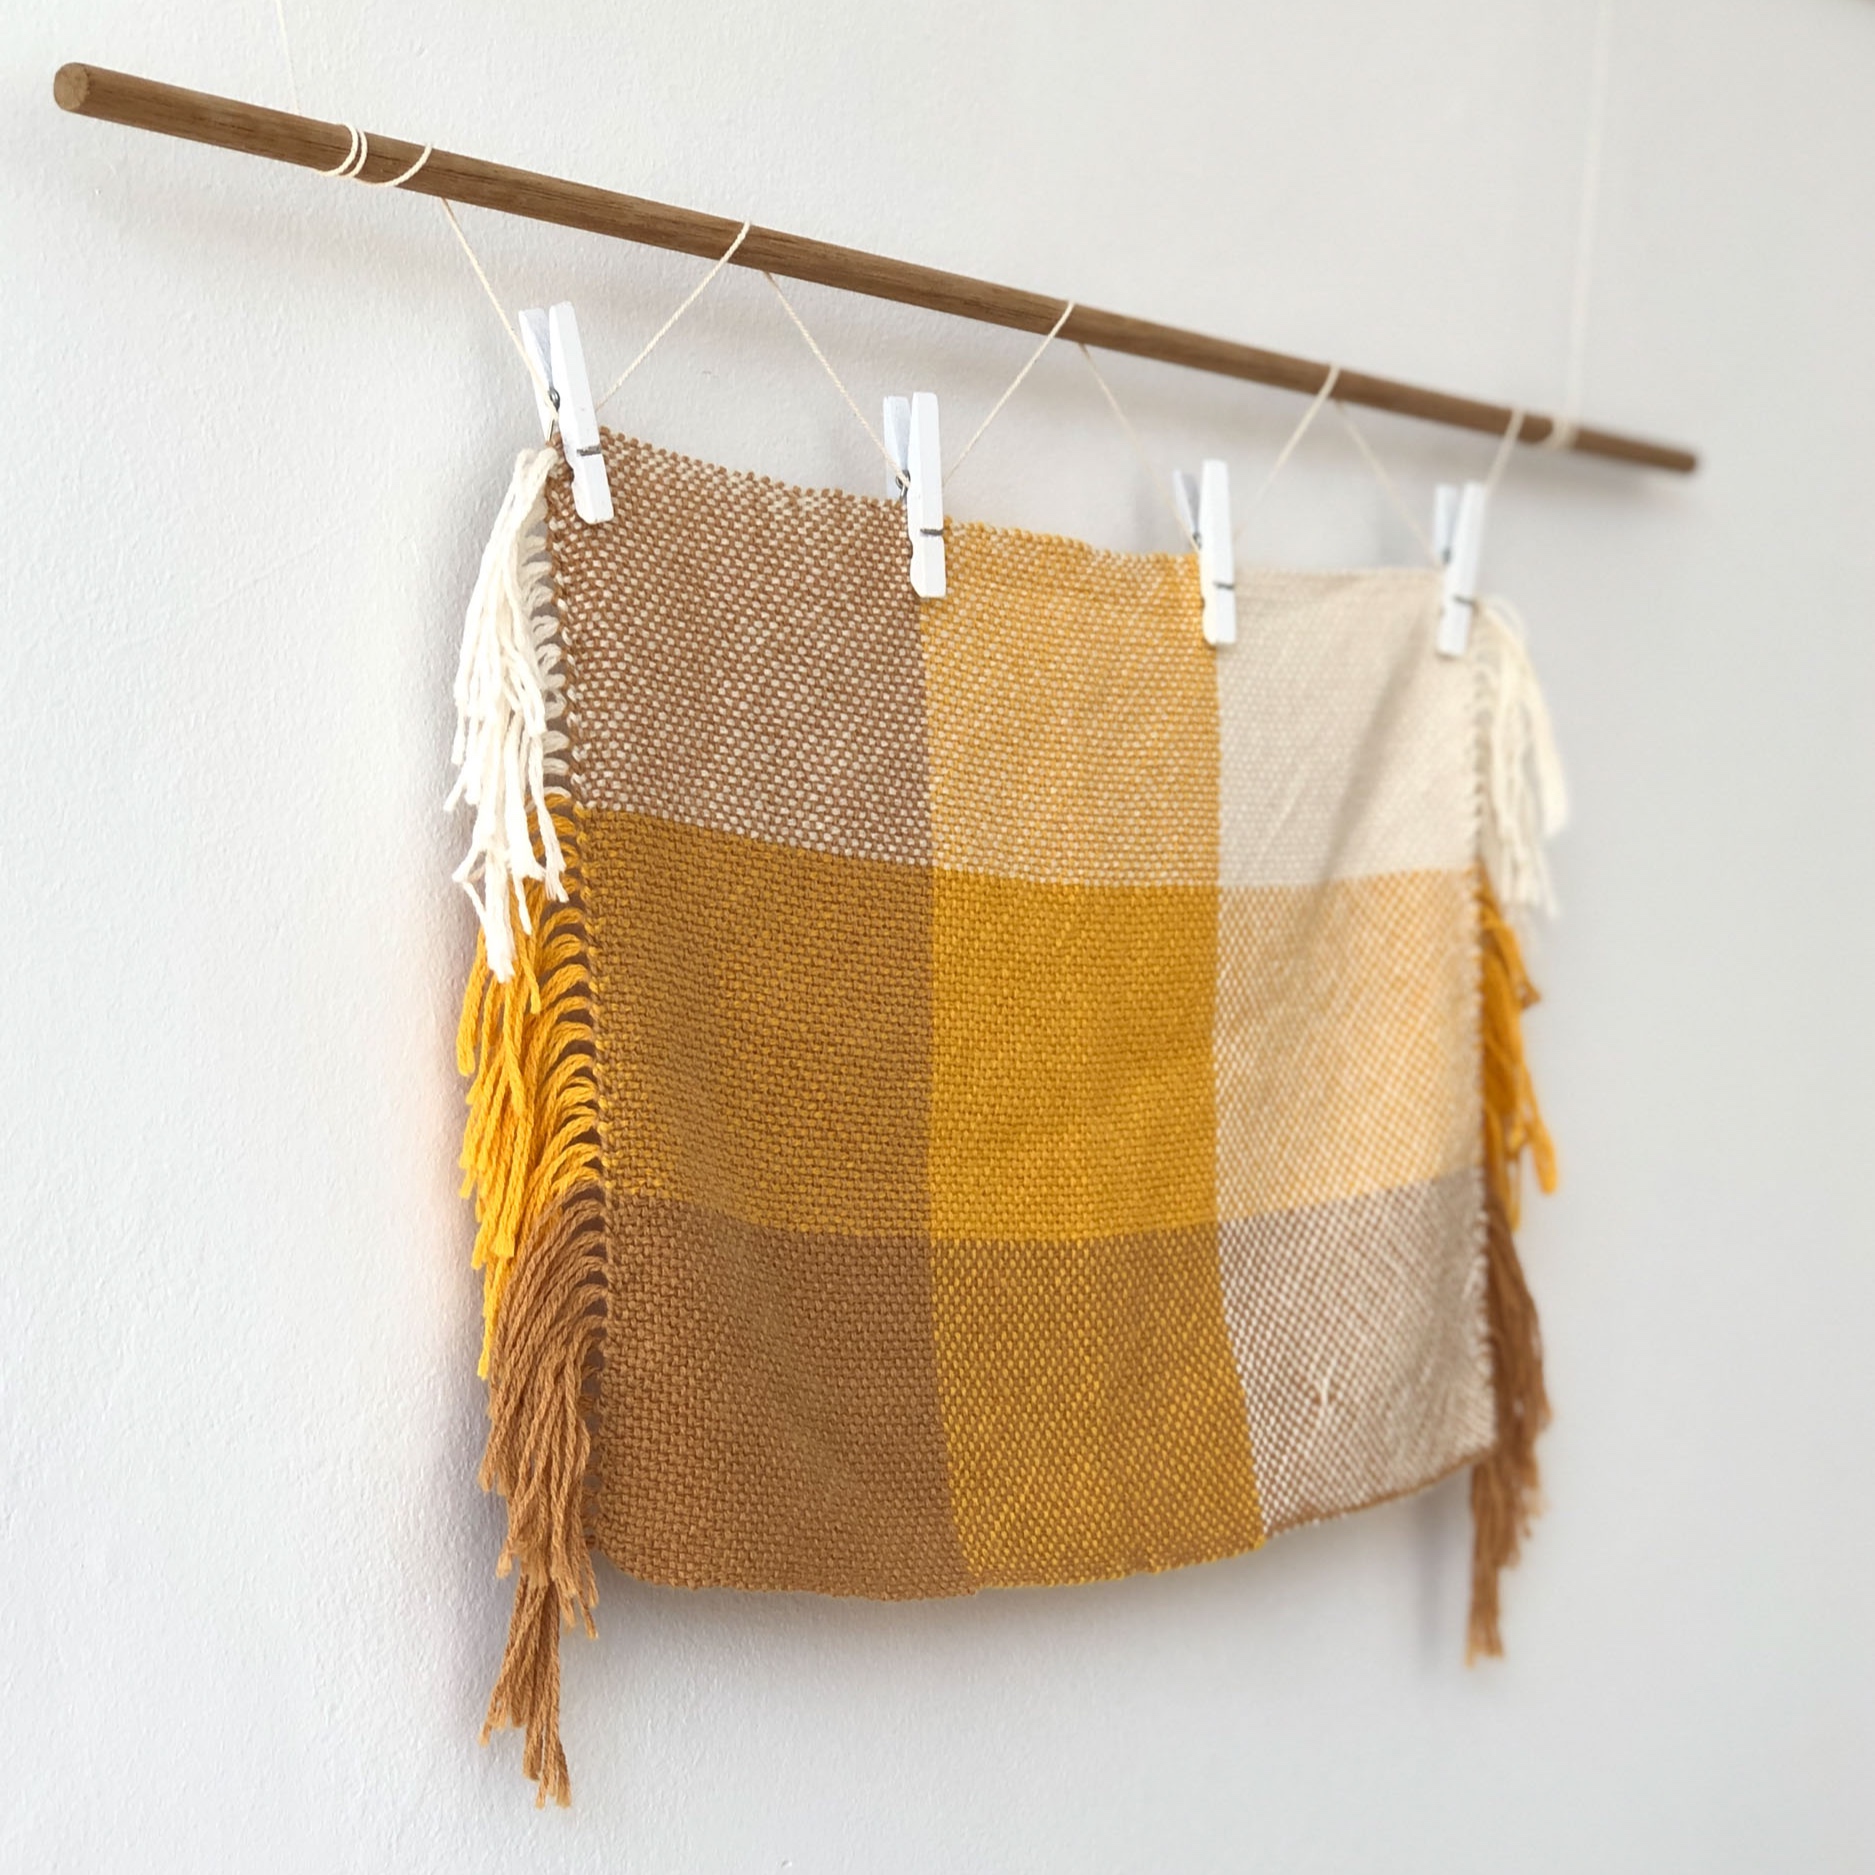
Our first swatch is a woven sampler in plain-weave, woven at a sett of 40ends/10cm (10epi) on a rigid heddle loom.

Our aim was to explore the fabric’s hand-feel, interaction of colour and the effect of using a finishing technique to full the fabric and set the fibres.

We’ve detailed the project below to offer insight into our planning and methodology, and our thoughts on the resulting fabric. This recipe is a great starting point if you want to have a go at swatching for your next weaving project!

 
Loom & Spindle - Cotton Fine Swatch at 10epi-16.jpg
 

PROJECT

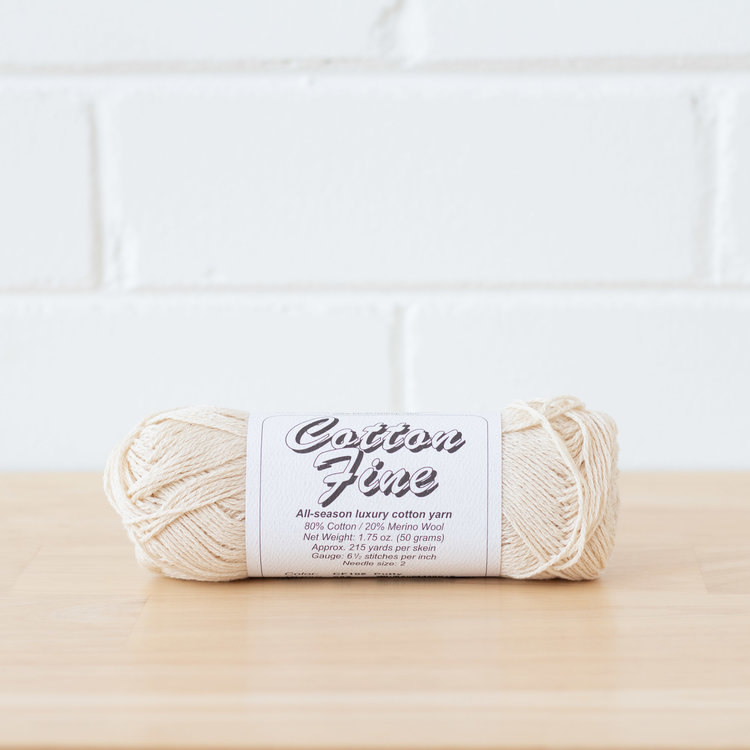
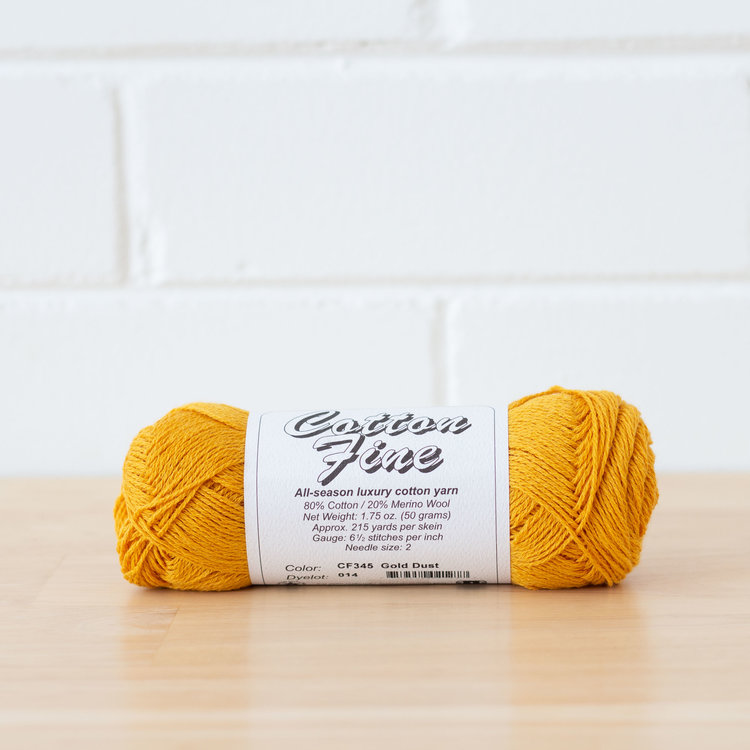
A woven sampler in plain-weave, woven at 40ends/10cm (10epi), using Cotton Fine By Brown Sheep Co.

Loom & Spindle - Cotton Fine Swatch at 10epi-3.jpg

AIM

Weave a plain-weave fabric in Cotton Fine to explore:

  • The fabric’s hand-feel at a sett of 40ends/10cm (10epi)

  • The interaction of colour when using three shades; and

  • The effect of using a finishing technique to full the fabric / set the fibre.

 SKILLS

  • Calculating yardage

  • Warping a rigid heddle loom

  • Preparing the warp for weaving

  • Hem stitching, to secure the warp and weft

  • Balanced plain-weave

 TOOLS

 MATERIALS

PLANNING

As the materials and tools were pre-established, planning was limited to determining an appropriate size for the sample, approximating the metreage required, and defining colour placement. 

SIZE

It was determined that a sample size of 30cm x 45cm (12"x 18") would be sufficient to examine hand-feel, colour interaction and allow for any shrinkage that may occur during finishing.

METREAGE REQUIRED FOR WARP

  • Length of piece, 45cm + extra length for warping, 60cm (30cm each end)
    Total warp length, 105cm

  • Warp width, 30cm X No. warp ends at 40ends/10cm
    Total no. warp ends, 120

  • Metreage required for warp:

= No. warp ends x Total warp length
= 120 x 1.05m
= 12600cm or 126m

METREAGE REQUIRED FOR WEFT 

  • At 40ends/10cm, No. weft passes over 45cm = 180

  • Metreage required for weft:

= No. weft passes x Warp width
= 180 x 30cm
= 5400cm or 54m

TOTAL METREAGE

  • Total metreage required

= Warp + Weft
= 126m + 54m
= 180m

COLOUR PLACEMENT

  • The placement of colour was kept simple, the three colours being divided in blocks evenly across both warp and weft.

  • Warp, 40 ends per colour

  • Weft, 60 ends per colour (or 15cm of length, per colour)

 NOTES

  • These calculations tell us that at 196m per skein, one ball of Cotton Fine would be enough to make a sample of this size. 

  • As the plan was to use three colours in equal quantities in this piece, we divided the total metreage by three to determine the amount for each colour, 180m divided by 3 = 60m per colour.

METHOD

STEP 1

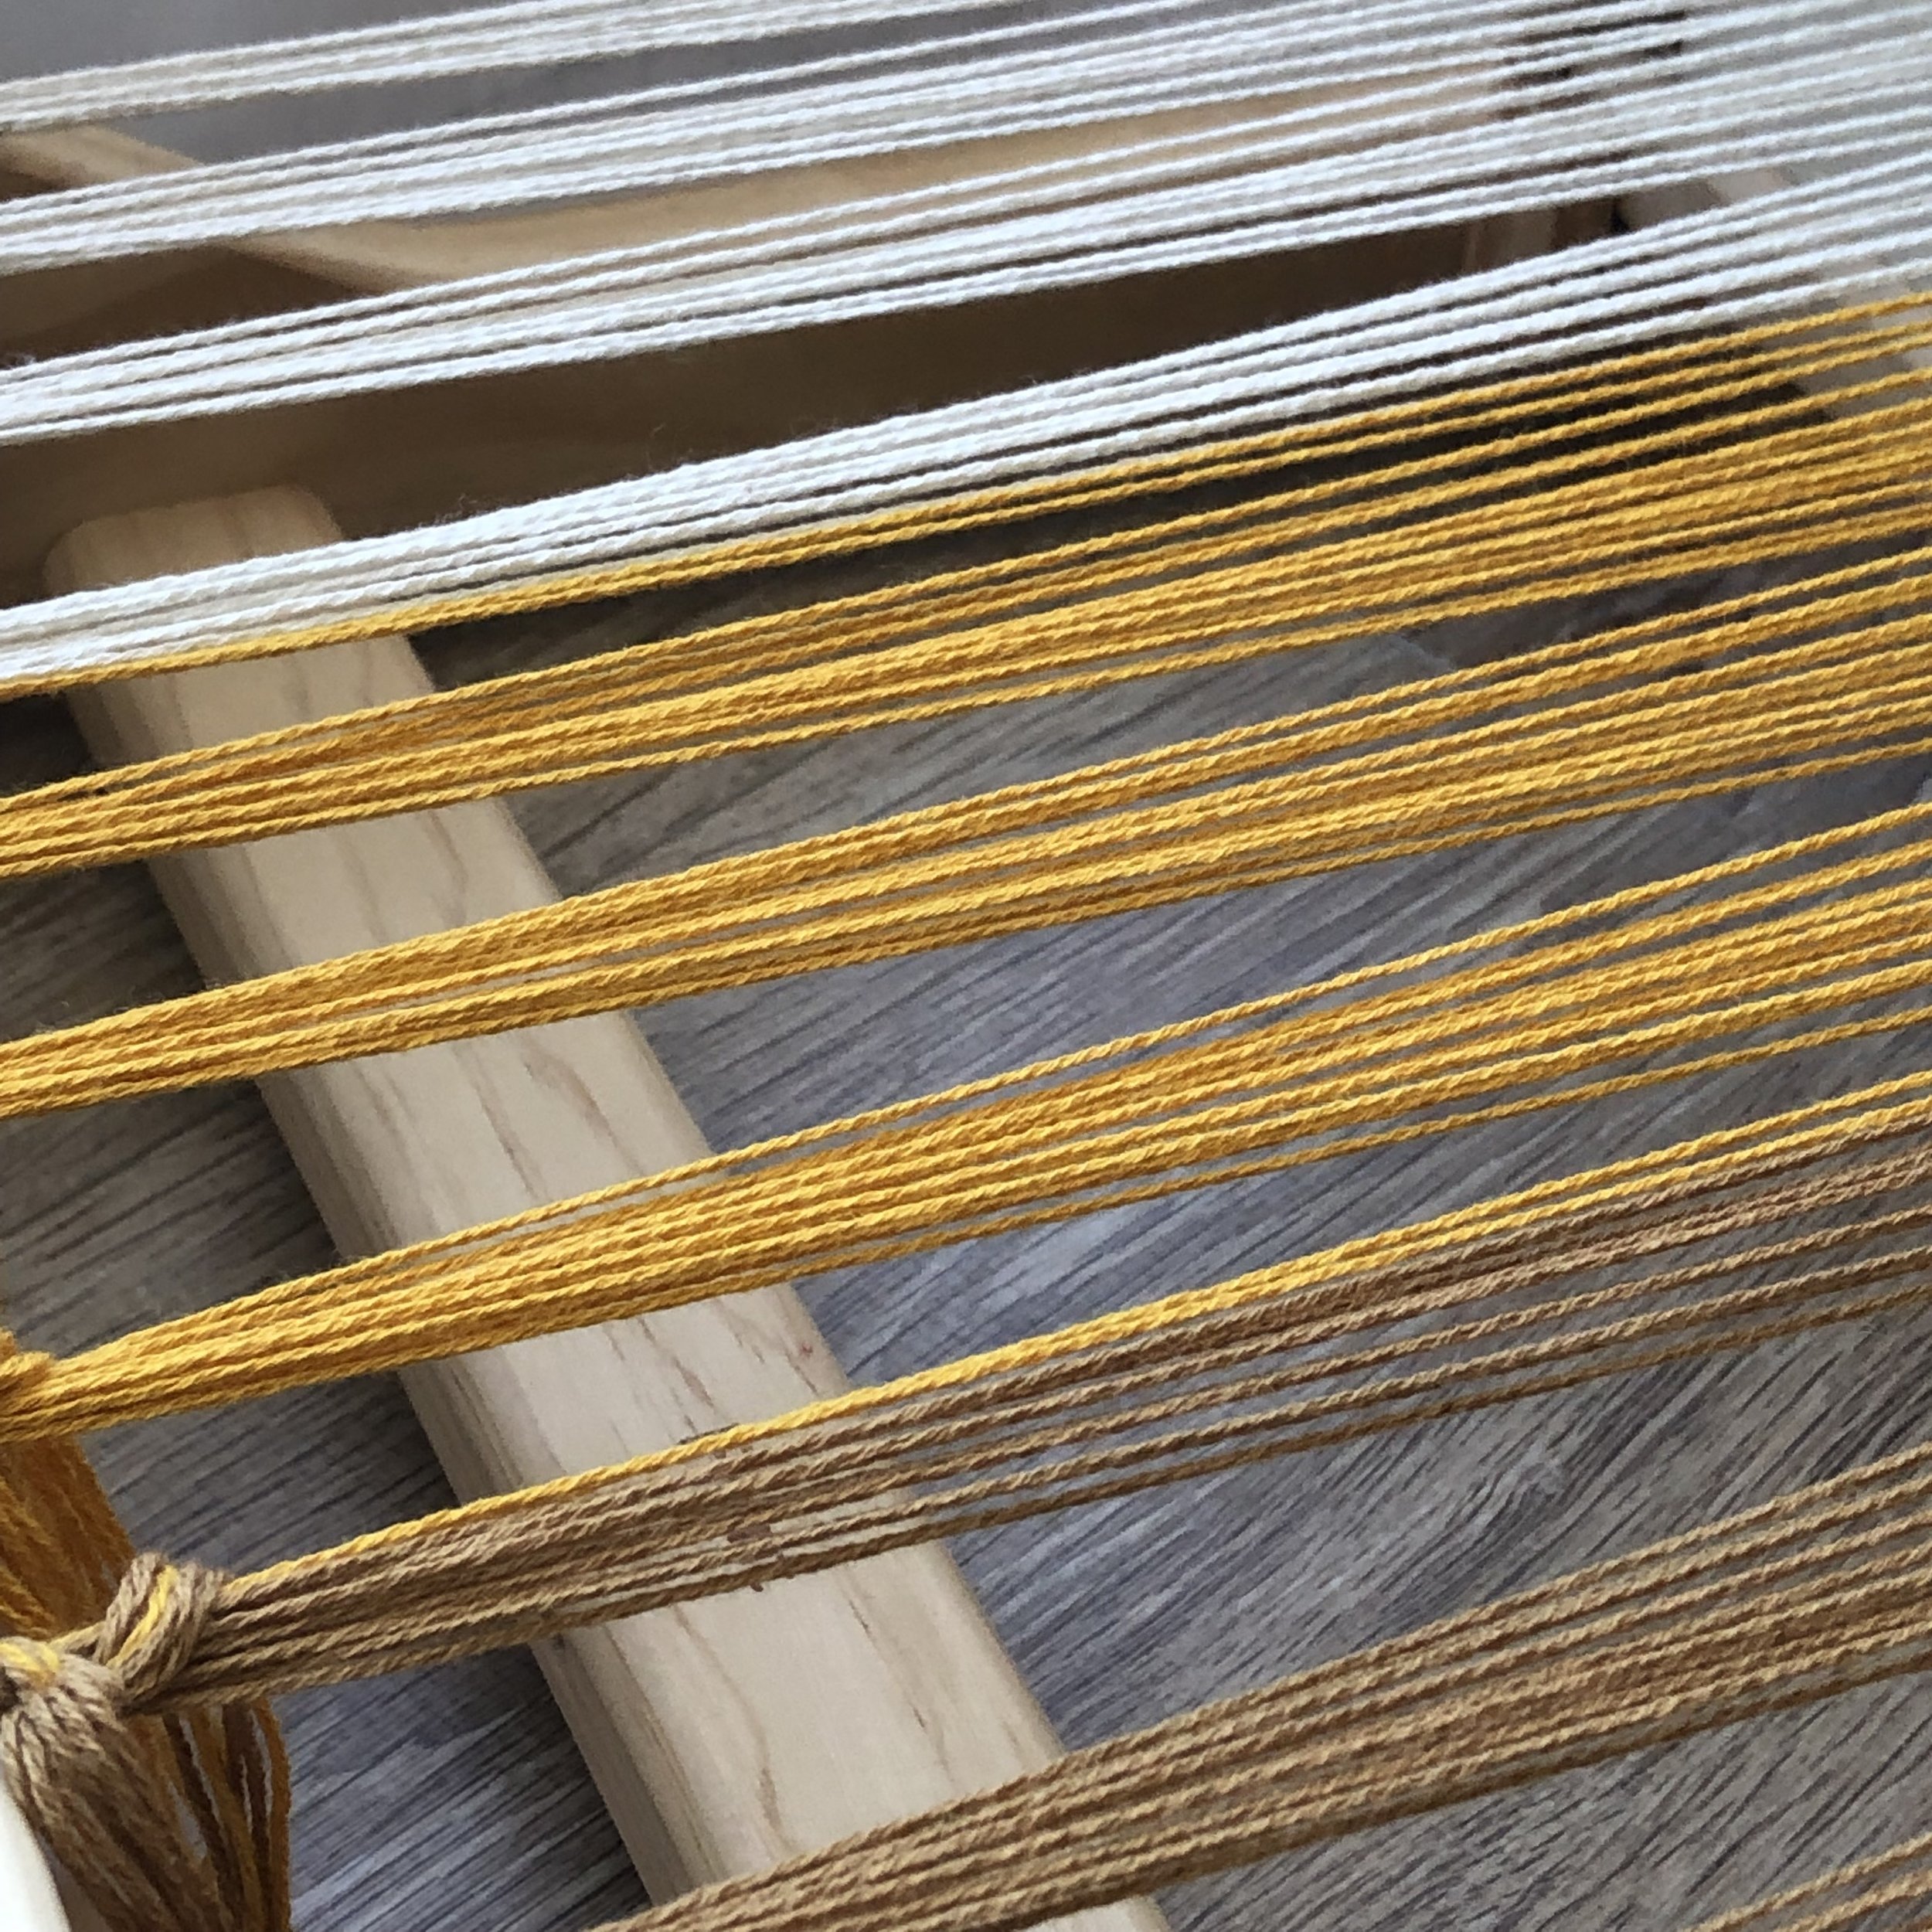
The rigid heddle loom was warped and colours placed as per the planning notes.

Loom & Spindle - Cotton Fine Swatch at 10epi-9.jpeg
Loom & Spindle - Cotton Fine Swatch at 10epi-8.jpeg

 STEP 2

3cm of ground weave was woven with leftover Cotton Fine to help evenly space and tension the warp.

STEP 3

Weaving began using the first colour in the sequence,.

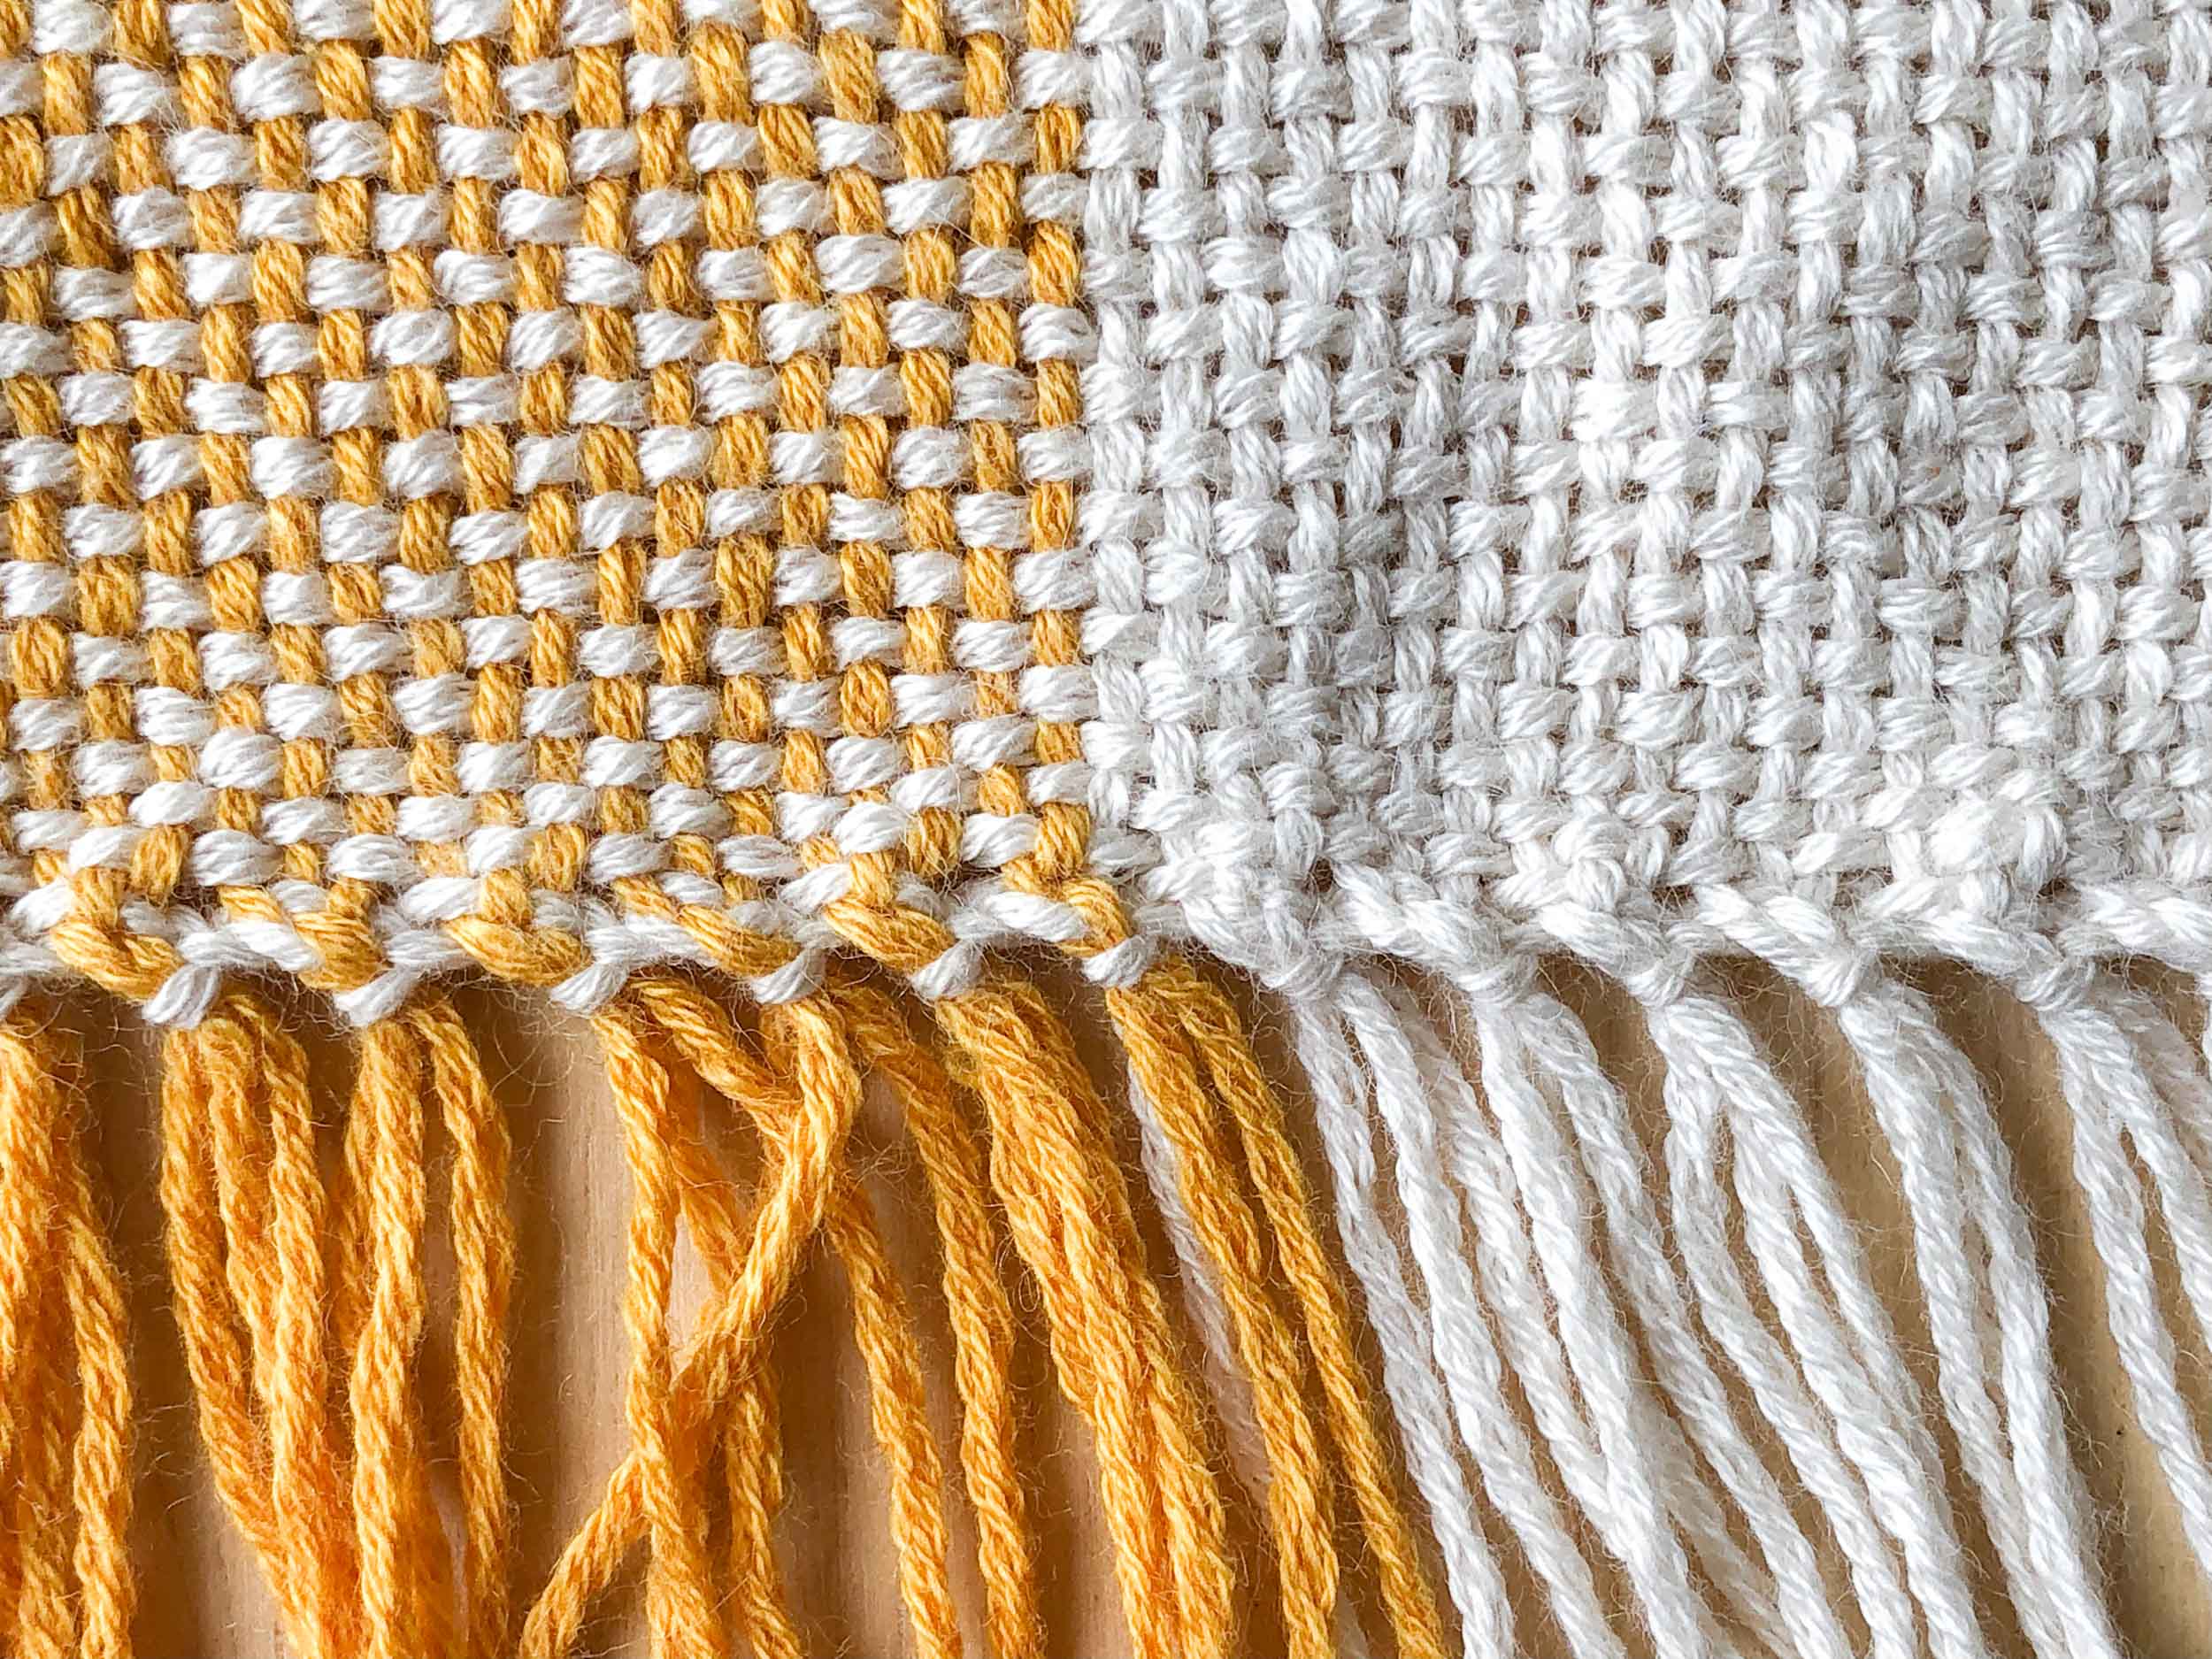
Once the fabric was established, a row of hem-stitch was used to secure warp and weft at the beginning of the piece. 

Loom & Spindle - Cotton Fine Swatch at 10epi-4.jpg

STEP 4

Weaving continued, changing colours as required until each colour section was completed. 

Once complete, a row of hem-stitch was used to secure warp and weft before cutting the piece from the loom. 

Loom & Spindle - Cotton Fine Swatch at 10epi-5.jpg

FINISHING

The sample was finished by undergoing a full wash cycle in a washing machine and dried in a tumble dryer using a regular heat setting.

This treatment contradicts the recommended care instructions for Cotton Fine, but we thought this experiment was warranted to help set the weave and allow the fibres to bloom.

INSIGHTS AND OPPORTUNITIES 

THE FABRIC

The resulting fabric has a great lightness and after finishing is quite soft to the touch. 

At this sett, the fabric feels smooth and has excellent drape. 

Though it’s not a firm weave, the fabric feels like it would be somewhat hard-wearing and have some longevity when used in pieces that will see some wear-and-tear. 

THE COLOUR

The effect of the bold colour blocking produces a homey fabric and in the chosen colour palette has a somewhat vintage feel. 

Working with three colours allows for endless permutations that can be used to influence the look and feel of the fabric.

APPLICATIONS

From our results we think the fabric would be best suited to household napery and table linens.

The drape suggests that with a bit of fine tuning there is scope to work the fabric into garments, maybe simple summer tees and tunics. 

We would like to experiment next by working the yarn up at a finer gauge with the aim of creating a denser fabric that could be used for towelling applications in the home – washcloths, tea towels, etc.

 
 
Loom & Spindle - Cotton Fine Swatch at 10epi-15.jpg


Let’s Get Started…

YOU MAY ALSO LIKE…

How to Weave Soft Transitions Between Two Solid Weft Colours: A Tapestry Workshop
Loom & Spindle - Colour Transitions Tapestry Workshop

Last week we welcomed Woolsey, the first weaving yarn by Loom & Spindle.

But more notably, we welcomed COLOUR to the Loom & Spindle range - 8 glorious shades to be precise!

I’d thought we’d continue our exploration of Woolsey as a weaving yarn with a tapestry workshop in colour transitions.

It’s a technique I developed for working soft transitions between two solid weft colours.

It requires the weaver to visually divide up the area of colour transition and assign a ratio of weft colour to each section.

By determining the metric - how many times per row the weft rises over the warp, we can establish a percentage for each colour that’s to be woven and create the visual effect.

Once the intention of the technique is understood, the technique itself is quite freeform and can be woven without rigid structure.

So, grab a pair of your favourite Woolsey colours and let’s start weaving!


TAPESTRY WORKSHOP: Weaving Colour Transitions

INTENTION

Soften the transition between two solid weft colours by alternating weft threads over the horizontal plane.

SKILLS to practice and develop

  • Plain weave

  • Double half-hitches to secure weft

  • Weft changes using the half-hitch method

  • Maintaining weave sequence while alternating wefts

*To learn more about these skills you might like to check out our book - LINE SHAPE TEXTURE.

THE PLAN

  • Make a tapestry sampler that will measure 10 cm x 10cm (or 4" x 4").

  • The set-up will comprise a frame-loom warped with cotton thread at 16 ends over 10cm (4 ends per inch).

  • Establish a ground weave using spare thread to evenly space the warp and provide a firm base to begin the sample.

  • The weft will be secured with a row of double half –hitches at either end.

  • Use half-hitches and weft-floats (behind the work) to manage wefts as the colour transition is worked.

MATERIALS

METHOD
 

STEP 1

Sketch out and dimension the weaving area, or area of colour transition. I've used our Weaver's Graph Paper (which is available as a free download here) to sketch out the sample.

In this instance, the weaving area is 10cm x 10cm and we’re creating a transition over the horizontal plane. 

Divide the piece into five equal horizontal sections (see diagram below).

STEP 2
 

Plan out and assign a percentage for each section that will create a uniform transition between colours over the weaving area.

For this workshop, I've chosen a five-section transition to keep the weaving comfortable and percentages to be worked somewhat intuitive.  

Referencing the diagram below, sections 1 and 5 establish the transition colours and will be woven at 100% ‘saturation’.

The actual transition of colour occurs between sections 2, 3 and 4, the percentages for each section are detailed in the diagram below.

STEP 3
 

Using colour 1 (Yellow), begin the sample by establishing a row of double half-hitches. Ensure each hitch is knotted firmly to secure weft to warp.

Using plain weave, weave in Section 1.

I’ve attached a loop of thread to the warp to mark the end of the section.

 
Loom & Spindle - Colour Transition Tapestry Workshop
 

STEP 4
 

Hold-on to your bobbin, get ready to embrace your numbers…

In STEP 2 we established a colour percentage for each section. We now need to work out how many times the weft will pass over the warp and use this number to translate the percentages to actual weft coverage.

We know that the piece has 16 warp threads, so for each row woven in plain weave the weft will pass over the warp 8 times.

With this information we can convert each colour percentage to the corresponding weft coverage for each row.

This is the formula we use: 

Loom & Spindle - Colour Transitions Tapestry Workshop

Using our formula here are the weft coverage stats for each section: 

Colour Transitions - Diagrams 4.jpg

STEP 5

Armed with our weft coverage stats we can now break away from the scientific method and begin weaving the colour transition with a bit more feeling.

Beginning with Section 2 and utilising the half-hitch method for colour changes, weave-in (maintaining the established weave sequence) the first row by randomly placing two dots of Colour 2 (White).

Then, complete the first row by filling in the remaining sequence with six dots of Colour 1 (Yellow).

Our first row now reflects the colour percentage we specified for Section 2, 75% of dots are Yellow and 25% are White.

Repeat this step, row-by-row, maintaining the colour percentage and complete Section 2.

STEP 6

Continue working the piece row-by-row, changing the percentages of weft colour as you progress through each section.

Again, use a loop of thread or stich marker to mark each section as you progress. 

STEP 7

Once Section 5 has been woven, finish the sample with a row of double half-hitches to secure the fabric.

Cut the piece from the loom and finish as desired.

A FEW TIPS

  • I recommend that you work row-by-row and keep both wefts working in the same direction. This will make it easier to monitor the weave sequence, it can be quite easy to get lost once the second weft colour is introduced.

  • Use the progression of colour in previous rows to influence how you ‘randomly’ place colour in the next row.

  • As we’re using a small amount of Colour 2 in this first progression, it can be handy to use short cut-lengths of weft that wrap (half-hitch) around just one or two warps.

  • Don’t feel bound by the colour percentages, they are a guide. Monitor the fabric and place the colour where it feels right for you. You’ll notice in my sample weft colours clump together, I felt this added to the randomness of the transition and contributed a certain character to the piece.

INSIGHTS AND OPPORTUNITIES

The length of the colour transition and the frequency at which the weft colour percentages change is highly adaptable.

Ideas for further experimentation might include – working over a much broader area, working in more percentages to progress the colour change more gradually, or perhaps even making the percentages non-linear.

This method is not limited to the horizontal plane either. You could work this technique over almost any angle and with a bit of planning even apply it to more complex rectangular and radial colour transitions.

Oh, so many possibilities!

More experiments await…


FOR MORE INFO ON THE TECHNIQUES USED IN THIS TUTORIAL, CHECK OUT OUR BOOK LINE SHAPE TEXTURE.

LINE SHAPE TEXTURE
$11.99
Add To Cart
How to Weave a Tapestry Sampler
Loom & Spindle Tapestry Samplers

For a while now I’ve been working on a special project for Loom & Spindle, a weaving yarn that's structure and composition has been carefully considered and selected specifically for tapestry weaving.

Exciting, I know! I’ll have all the details for you in coming weeks. 

But for now, I’d like to focus on one element of the project, weaving samples (or samplers, or swatches or whatever you’d like to call these tiny woven fabrics).

Sampling has been an important part of the project as it’s given me the opportunity to work with this yarn on a small scale and test the arrangement of elements that form the tapestry fabric – things like warp sett, weft weight, and colour harmony or disharmony.

Weaving a test fabric can be the defining moment in a new tapestry project. This little experiment between fibre and form will help you decide whether or not your configuration will work cohesively and convey the feeling you intended.

In preparing for the upcoming yarn launch I thought it would be useful to weave a sample of each new yarn colour to explore and share the fabric each produced. My thoughts were that this will help us both choose colour palettes and determine the suitability of the yarn for any future projects you or I might have in mind.

Here’s my method for weaving a tapestry sampler…


PROJECT: Tapestry SAMPLER

INTENTION

Make a small woven tapestry sample using Woolsey: A Weaving Yarn, to study the colour and texture of the woven fabric produced.

SKILLS

  • Plain weave.

  • Double half-hitches to secure warp and weft.

  • Weft changes using the half-hitch method.

*To learn more about these skills you might like to check out our book - LINE SHAPE TEXTURE.

PLANNING

  • My samples will measure 10cm x 10cm (or 4" x 4"), I find this sample size quick to weave and the warp sett is easily determined.

  • My set-up will comprise a frame-loom warped with cotton thread at 16 ends over 10cm (4 ends per inch).

  • I will use a ground weave of warp thread to evenly space the warp and provide a firm base to begin the sample.

  • The warp and weft will be secured with a row of double half –hitches at either end.

MATERIALS

METHOD

STEP 1
Space the warp evenly over the 10cm (4") warp width.
While carefully maintaining the warp spacing, begin the weft yarn by establishing a row of double half-hitches.
Ensure each hitch is knotted firmly to secure the weft to warp.

STEP 2
Using plain weave, weave in the body of the fabric until the piece measures 10cm (4") in length. If needed, begin any new weft threads using the half-hitch method.

STEP 3
Finish with a row of double half-hitches to secure the fabric.

STEP 4
Cut from the loom and finish as desired.

Loom & Spindle - Tapestry Sampler Method

APPLICATION

  • The method is fairly straight forward with no special notes to consider.

  • No modifications were made when weaving the samples.

  • To ensure straight edges and symmetry I did take extra care when working close to the selvages.

FINISHING

  • No finishing techniques were applied but I might use this sample in the future to test the effects of steam blocking on this yarn.


INSIGHTS AND OPPORTUNITIES

  • This method enables me to set up and weave a tapestry sample in about 30 minutes, allowing me to very quickly sample a new yarn or fibre.

  • It’s such a versatile method that it would also be useful for working a series of small tapestry projects.

Loom & Spindle Tapestry Sampler

THANK YOU FOR READING!

Our new weaving yarn has arrived, find Woolsey here.


FOR MORE INFO ON THE SKILLS USED IN THIS TUTORIAL, CHECK OUT OUR BOOK LINE SHAPE TEXTURE.

FREE SAMPLE AVAILABLE VIA OUR BOOK PAGE!


LET’S KEEP LEARNING…

YOU MAY ALSO LIKE…

Making Woven Design More Intuitive + A FREE TOOL
Weaver's Graph Paper By Loom &  Spindle
Loom & Spindle

IN THIS ARTICLE

- Understanding the effects of warp spacing.

- Sizing and aligning shapes for best results.

- How to design using warp spacing as your guide.

+ Get our FREE tool ‘Weaver’s Graph Paper’

I’m really passionate about weaving. Have you noticed?

I’ve spent several years now immersed in frame-loom weaving and tapestry. I’m a little obsessed.

Something that’s been on my mind lately is how can I test my design before committing weft to warp?

Loom & Spindle

The problem I’ve found is that designing specific shapes and then weaving them accurately can be quite tricky.

You might have had this experience - you have your design idea, it’s great by the way, you throw in the variables of your warp sett and chosen weft yarn, and you start weaving.

Suddenly that eye-pleasing shape you envisioned, with its faultless proportion and symmetry, starts to get a little wonky.

Your shape becomes too wide, or maybe too narrow. You push the weft around, try and straighten things up, but you just can’t get it to sit right.

You stare at it, it stairs back at you. You lose interest, it gathers dust. This one was never going to cut it, you’re a perfectionist after all.

This experience has left me with the question - How can I ensure my designs are going to translate to weaving and can I make the design process more intuitive?

So, let’s get right down to the cause of the problem – the warp sett.

The warp sett or spacing of the warp, often described by the number of warp ends per inch (epi), determines the position of each dot of weft as it passes over the warp.

For example, if you have a warp spacing of 4 ends per inch (4 epi), for each full pass (two rows) of weft you have four dots of weft. So, for every horizontal inch of fabric you weave you have four dots that you can use to control the placement of colour, and in turn control the formation of shapes.

The limitation imposed by the warp spacing means you can’t weave shapes in infinite detail. Every predefined angle and curve of your design must correspond to one of these ‘dots’ of weft.

This can be  challenging to get your head around at first but stay with me. The diagram below might help you better visualize the concept. 

A. First woven row, creates two dots of weft and leaves two warp threads exposed.

B. Second row of weft completes the pass, creates four dots of weft per horizontal inch.

C. Six full passes of weft completed, colour changes are incorporated and weave sequence is maintained.

Loom & Spindle

By carefully scaling and aligning your design to your chosen warp sett, or choosing a sett that compliments your design, you will be able to make the most of any pattern or shape.

To further illustrate this I’ve drawn up some examples that show you how the alignment of a shape against the warp might affect its proportions.

I’ve purposefully scaled the shape at 1 inch (2.5cm) as I know this has the potential to produce a round circle at either 4 or 8 epi.  For more notes on weaving circles I’d suggest checking out LINE SHAPE TEXTURE.

The differences in each illustration are subtle, but as you can see, the alignment of the circle does affect the the symmetry of the shape.

Loom & Spindle

So, to overcome that problem I described earlier your design must be carefully dimensioned to fit the spacing of the warp and positioned to maximize the use of those ‘dots’ per inch.

So that’s the theory, how can I help you make it work in practice?

Loom & Spindle

I had the idea when I was developing the shaped weaving blog post. To get this design right and ready for weaving the sizing and placement of the shape against the warp had to be just right.

My first step was to draw up a series of carefully spaced vertical lines to represent my warp sett. From there I could sketch out and proportion the shape.

Having defined the warp spacing I was able to map out the angles and curves of the shape while visualizing the placement of weft to achieve symmetry within the design.

To help you sketch your own designs I have taken this concept one step further and developed what I call - Weaver’s Graph Paper.

Essentially, it's a precisely lined graph paper that replicates the warp spacing so you can sketch elements of your designs and accurately size and position these elements against the warp. Once you have your design perfected on the graph paper you can transpose it directly onto the warp and start weaving.

I really believe that sketching with warp sett in mind will help improve the way you plan key elements in your pieces. And with practice, it will become an intuitive part of your design process. 


THANK YOU FOR READING!

Our 'Weaver’s Graph Paper' is available as a FREE pdf download.
Click button below and get sketching now!

Graph Paper Notes:

  • In this first version of Weaver’s Graph Paper, I have used a warp spacing of 4 and 8 epi, reflecting the warp spacing on the Loom & Spindle range of frame-looms.

  • To make the graph paper as functional as possible I’ve included both a metric and imperial scale where practical to reference as you sketch.

  • I’ve included the following printing notes on the graph paper: Paper Size, A4; Set scale to 100%; Page orientation, Landscape.

  • Using the graph paper does take practice! I would suggest starting with a rough sketch to help you define your concept. Then sketch out your design again, this time on the graph paper, being mindful where your design sits in relation to warp.

  • Please feel free to print it as many times as you need :)

With your help this will be an ongoing project that we can refine together. I’m hoping it will establish a way in which we can consistently develop and share design ideas for frame-loom weaving.

If you have any thoughts, questions or suggestions on Weaver’s Graph Paper I’d love to hear from you!

PS: Tag your sketches #loomandspindle so I can follow your progress!

Shop Loom & Spindle


How to Weave a Heart: A Method for Shaped Weaving
Woven Hearts-14.jpg
 

As Valentine’s Day will soon be upon us, I was compelled to show you a method for weaving a woven heart.

A heart may seem complex at first, high and low stepping must be combined carefully to form both horizontal and vertical curving lines. Though, through careful planning this seemingly complex shape can easily be achieved.

I’ve outlined a simple foundation method for you below, it draws on the skills you’ve learnt in LINE SHAPE TEXTURE. You’ll also find a FREE heart template at the end of the post to get you started straight away.

Shaped weaving is a lot of fun. There are endless possibilities. I can’t wait to see how you incorporate this technique into your own pieces!

Project: Woven Ombré Heart

Intention

  • Construct a heart shaped woven piece to test a methodology for shaped weaving.

  • Gradually blend two colours across the surface of the fabric to produce an effect reminiscent of ombré – previously sampled here.

Skills

  • Inserting a ground weave – To prepare the loom and evenly space the warp prior to weaving

  • Double half-hitch - To secure the warp and weft

  • Plain weave – For the filling

  • Half-hitch - To secure weft threads as you start and finish a weft thread

  • Low and steep-angle stepping - To work horizontal and vertical curving lines

    *To learn more about these skills and please check out my book - LINE SHAPE TEXTURE. It’s available to download now!

Planning

  • My first step was to define the shape and prepare a template. It was important to consider the warp sett and how best to plot the shape to achieve the centre-line points of the heart, would I use an odd or even number of warps and how would that affect the design.

  • I referred to my own notes in LINE SHAPE TEXTURE to refresh my skills on forming curved shapes. I noted in particular that curved shapes would work better over an even number of warp threads. Though, I concluded that an odd number of threads would be required to achieve the centre-line points. This led me to the assumption that if I pictured the heart as two overlapping circles that shared a common warp thread on their outer edge I could achieve both outcomes!

  • On drawing up the design, I sketched out the warp sett first. I marked the dimensions I wanted to work with ensuring that I marked an odd number of warp threads to align the shape.

Woven Heart

Sampling

  • I wove a small sample heart, approximately 10cm (4’’) wide, to test the methodology and determine a procedure.

  • I tested the assumption that double-half hitches would be viable for securing the warp and weft, particularly its durability once the piece was removed from the loom.

  • I had previously tested weaving gradients of colour, swapping out two threads at a time. From this sampling, I decided to weave the gradient by swapping out one colour thread every couple of rows to see how this affected the gradient.

Materials

  • Frame Loom – I used a Loom & Spindle 44cm Loom with a pre-defined warp sett of 4 ends per 2.5cm (4 ends per inch)

  • Warp – Cotton Warp Thread

  • For the double half-hitches - I used three strands of a cream coloured sewing thread. This fine thread will help hide the hitches from view.

  • Weft - I chose a lace weight (2 ply) yarn in two neutral tones that were of similar contrast. I had used this yarn previously in my gradient samples so had a good idea of how they would behave when woven.

Method


STEP 1
Define the dimensions of your shape and warp the loom to a width that will accommodate your design.

STEP 2
Weave in a ground weave to establish a firm base on which to begin your piece, distribute the warp evenly.

STEP 3
Using a marker, trace your shape onto the warp. I have placed the heart shape upside-down.

  • Mark your centre thread so you have a reference point as you align your shape against the warp.

  • Orientate your shape so you have the fullest part of the design at the base. This provides a firmer and flatter base on which to weave, this will help you control the curves and establish that all important weave sequence.

STEP 4
Using three strands of sewing thread, about an arm’s length long, secure the warp by outlining the base of the shape with a series of double half-hitches.

  • Work steadily and carefully, maintaining the warp spacing.

  • Ensure the hitches are secure by tying the double half-hitches tightly on each warp thread.

  • Keeping the tension on the sewing thread as you work the double half-hitches will help control the positioning the hitch.

Woven Hearts-5.jpg

STEP 5
Using plain weave or other desired stitch, fill in the body of the shape working your passes and stepping the weft as the shape requires.

  • If using plain weave, weft direction can be utilised to maintain weave sequence to create a seamless appearance on the face of the fabric.

  • In my piece, I began by weaving-in the base of each horizontal curve. I wove each side as if they were a mirror image. This ensured my weft threads would be travelling in opposite directions, very important when working adjacent shapes.

  • I had to play around with the passes to figure out how to bring the wefts together seamlessly. I found that if I kept the passes on one side lower than the other I was then able to bring the weft over from the right side and pass seamlessly over the left side of the shape. Play around with it and you should be able to find the sweet spot on your piece too.

STEP 6
Once the shape is complete secure the warp and weft by outlining the shape with a series of double half-hitches. The piece is now ready to cut from the loom.

Finishing

  • The warp and weft ends can be secured against the back of the piece using a sewing needle and thread. I found that by incorporating some hitches into the sewing stitches I could grip the warp threads and anchor them down more firmly.

  • As there is not a lot of natural spring in alpaca fibre and the yarn is quite dense, I didn’t feel the need to steam block the pieces in this instance.

Insights and Opportunities

  • Sampling the project and working through the challenges this piece presented helped reinforce the theory behind weaving curved shapes.

  • The method proved very versatile and I can see that it has endless opportunity for further experimentation!


Thank you for reading!

I’ve put together a template so you can try this technique for yourself. 
The template contains three heart sizes and features positioning points for the outer warp threads.
This will help you align and orientate your template for best results!


FOR MORE INFO ON THE SKILLS USED IN THIS TUTORIAL, CHECK OUT OUR BOOK LINE SHAPE TEXTURE.

WHY NOT CHECK OUT OUR FREE SAMPLE VIA OUR BOOK PAGE!