Posts tagged Avril Angora Nep
How to Weave a Tapestry Sampler
Loom & Spindle Tapestry Samplers

For a while now I’ve been working on a special project for Loom & Spindle, a weaving yarn that's structure and composition has been carefully considered and selected specifically for tapestry weaving.

Exciting, I know! I’ll have all the details for you in coming weeks. 

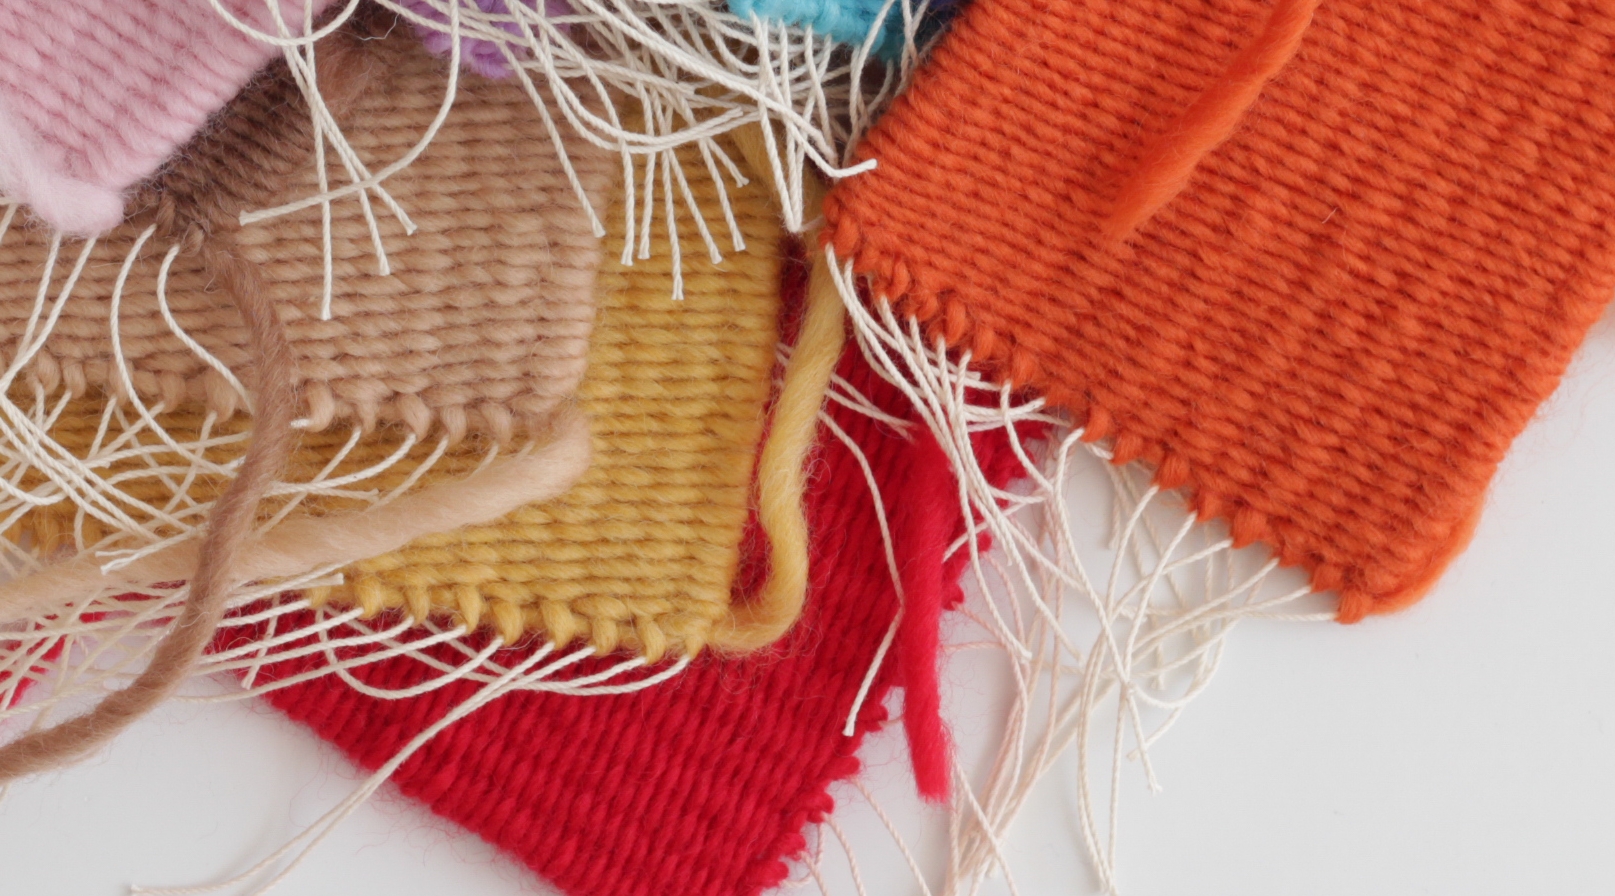
But for now, I’d like to focus on one element of the project, weaving samples (or samplers, or swatches or whatever you’d like to call these tiny woven fabrics).

Sampling has been an important part of the project as it’s given me the opportunity to work with this yarn on a small scale and test the arrangement of elements that form the tapestry fabric – things like warp sett, weft weight, and colour harmony or disharmony.

Weaving a test fabric can be the defining moment in a new tapestry project. This little experiment between fibre and form will help you decide whether or not your configuration will work cohesively and convey the feeling you intended.

In preparing for the upcoming yarn launch I thought it would be useful to weave a sample of each new yarn colour to explore and share the fabric each produced. My thoughts were that this will help us both choose colour palettes and determine the suitability of the yarn for any future projects you or I might have in mind.

Here’s my method for weaving a tapestry sampler…


PROJECT: Tapestry SAMPLER

INTENTION

Make a small woven tapestry sample using Woolsey: A Weaving Yarn, to study the colour and texture of the woven fabric produced.

SKILLS

  • Plain weave.

  • Double half-hitches to secure warp and weft.

  • Weft changes using the half-hitch method.

*To learn more about these skills you might like to check out our book - LINE SHAPE TEXTURE.

PLANNING

  • My samples will measure 10cm x 10cm (or 4" x 4"), I find this sample size quick to weave and the warp sett is easily determined.

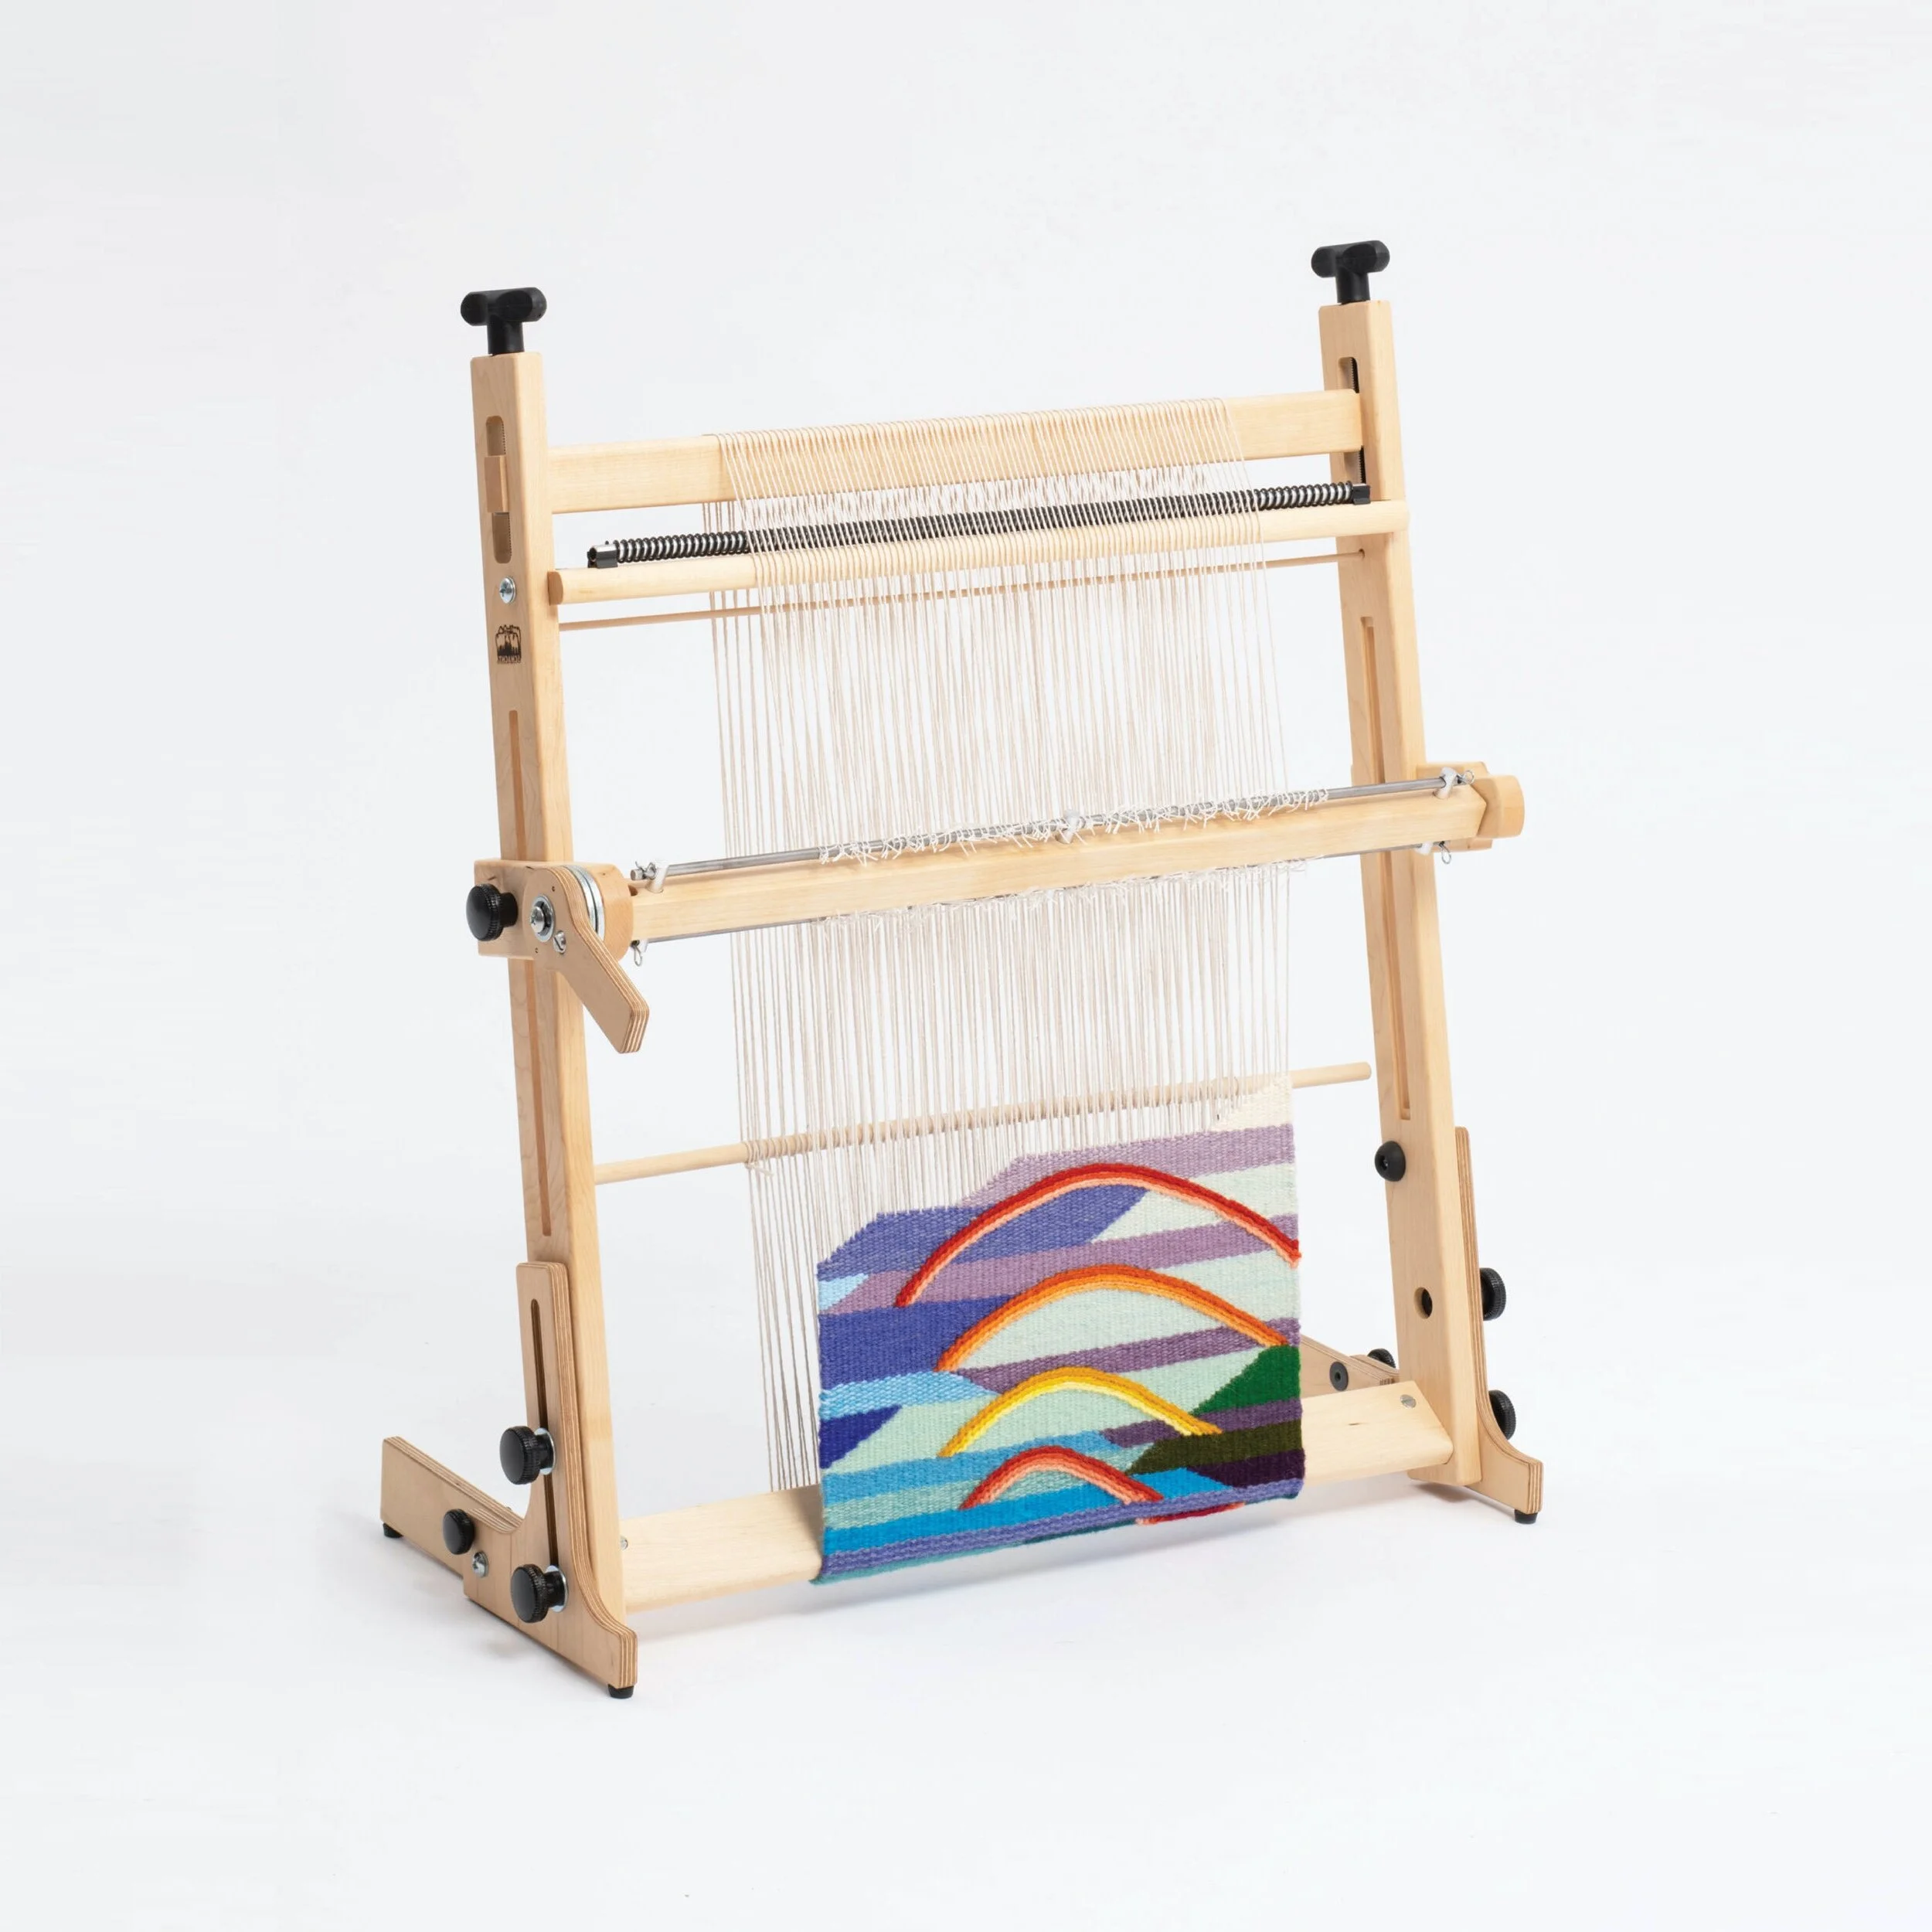
  • My set-up will comprise a frame-loom warped with cotton thread at 16 ends over 10cm (4 ends per inch).

  • I will use a ground weave of warp thread to evenly space the warp and provide a firm base to begin the sample.

  • The warp and weft will be secured with a row of double half –hitches at either end.

MATERIALS

METHOD

STEP 1
Space the warp evenly over the 10cm (4") warp width.
While carefully maintaining the warp spacing, begin the weft yarn by establishing a row of double half-hitches.
Ensure each hitch is knotted firmly to secure the weft to warp.

STEP 2
Using plain weave, weave in the body of the fabric until the piece measures 10cm (4") in length. If needed, begin any new weft threads using the half-hitch method.

STEP 3
Finish with a row of double half-hitches to secure the fabric.

STEP 4
Cut from the loom and finish as desired.

Loom & Spindle - Tapestry Sampler Method

APPLICATION

  • The method is fairly straight forward with no special notes to consider.

  • No modifications were made when weaving the samples.

  • To ensure straight edges and symmetry I did take extra care when working close to the selvages.

FINISHING

  • No finishing techniques were applied but I might use this sample in the future to test the effects of steam blocking on this yarn.


INSIGHTS AND OPPORTUNITIES

  • This method enables me to set up and weave a tapestry sample in about 30 minutes, allowing me to very quickly sample a new yarn or fibre.

  • It’s such a versatile method that it would also be useful for working a series of small tapestry projects.

Loom & Spindle Tapestry Sampler

THANK YOU FOR READING!

Our new weaving yarn has arrived, find Woolsey here.


FOR MORE INFO ON THE SKILLS USED IN THIS TUTORIAL, CHECK OUT OUR BOOK LINE SHAPE TEXTURE.

FREE SAMPLE AVAILABLE VIA OUR BOOK PAGE!


LET’S KEEP LEARNING…

YOU MAY ALSO LIKE…

How to Weave a Heart: A Method for Shaped Weaving
Woven Hearts-14.jpg
 

As Valentine’s Day will soon be upon us, I was compelled to show you a method for weaving a woven heart.

A heart may seem complex at first, high and low stepping must be combined carefully to form both horizontal and vertical curving lines. Though, through careful planning this seemingly complex shape can easily be achieved.

I’ve outlined a simple foundation method for you below, it draws on the skills you’ve learnt in LINE SHAPE TEXTURE. You’ll also find a FREE heart template at the end of the post to get you started straight away.

Shaped weaving is a lot of fun. There are endless possibilities. I can’t wait to see how you incorporate this technique into your own pieces!

Project: Woven Ombré Heart

Intention

  • Construct a heart shaped woven piece to test a methodology for shaped weaving.

  • Gradually blend two colours across the surface of the fabric to produce an effect reminiscent of ombré – previously sampled here.

Skills

  • Inserting a ground weave – To prepare the loom and evenly space the warp prior to weaving

  • Double half-hitch - To secure the warp and weft

  • Plain weave – For the filling

  • Half-hitch - To secure weft threads as you start and finish a weft thread

  • Low and steep-angle stepping - To work horizontal and vertical curving lines

    *To learn more about these skills and please check out my book - LINE SHAPE TEXTURE. It’s available to download now!

Planning

  • My first step was to define the shape and prepare a template. It was important to consider the warp sett and how best to plot the shape to achieve the centre-line points of the heart, would I use an odd or even number of warps and how would that affect the design.

  • I referred to my own notes in LINE SHAPE TEXTURE to refresh my skills on forming curved shapes. I noted in particular that curved shapes would work better over an even number of warp threads. Though, I concluded that an odd number of threads would be required to achieve the centre-line points. This led me to the assumption that if I pictured the heart as two overlapping circles that shared a common warp thread on their outer edge I could achieve both outcomes!

  • On drawing up the design, I sketched out the warp sett first. I marked the dimensions I wanted to work with ensuring that I marked an odd number of warp threads to align the shape.

Woven Heart

Sampling

  • I wove a small sample heart, approximately 10cm (4’’) wide, to test the methodology and determine a procedure.

  • I tested the assumption that double-half hitches would be viable for securing the warp and weft, particularly its durability once the piece was removed from the loom.

  • I had previously tested weaving gradients of colour, swapping out two threads at a time. From this sampling, I decided to weave the gradient by swapping out one colour thread every couple of rows to see how this affected the gradient.

Materials

  • Frame Loom – I used a Loom & Spindle 44cm Loom with a pre-defined warp sett of 4 ends per 2.5cm (4 ends per inch)

  • Warp – Cotton Warp Thread

  • For the double half-hitches - I used three strands of a cream coloured sewing thread. This fine thread will help hide the hitches from view.

  • Weft - I chose a lace weight (2 ply) yarn in two neutral tones that were of similar contrast. I had used this yarn previously in my gradient samples so had a good idea of how they would behave when woven.

Method


STEP 1
Define the dimensions of your shape and warp the loom to a width that will accommodate your design.

STEP 2
Weave in a ground weave to establish a firm base on which to begin your piece, distribute the warp evenly.

STEP 3
Using a marker, trace your shape onto the warp. I have placed the heart shape upside-down.

  • Mark your centre thread so you have a reference point as you align your shape against the warp.

  • Orientate your shape so you have the fullest part of the design at the base. This provides a firmer and flatter base on which to weave, this will help you control the curves and establish that all important weave sequence.

STEP 4
Using three strands of sewing thread, about an arm’s length long, secure the warp by outlining the base of the shape with a series of double half-hitches.

  • Work steadily and carefully, maintaining the warp spacing.

  • Ensure the hitches are secure by tying the double half-hitches tightly on each warp thread.

  • Keeping the tension on the sewing thread as you work the double half-hitches will help control the positioning the hitch.

Woven Hearts-5.jpg

STEP 5
Using plain weave or other desired stitch, fill in the body of the shape working your passes and stepping the weft as the shape requires.

  • If using plain weave, weft direction can be utilised to maintain weave sequence to create a seamless appearance on the face of the fabric.

  • In my piece, I began by weaving-in the base of each horizontal curve. I wove each side as if they were a mirror image. This ensured my weft threads would be travelling in opposite directions, very important when working adjacent shapes.

  • I had to play around with the passes to figure out how to bring the wefts together seamlessly. I found that if I kept the passes on one side lower than the other I was then able to bring the weft over from the right side and pass seamlessly over the left side of the shape. Play around with it and you should be able to find the sweet spot on your piece too.

STEP 6
Once the shape is complete secure the warp and weft by outlining the shape with a series of double half-hitches. The piece is now ready to cut from the loom.

Finishing

  • The warp and weft ends can be secured against the back of the piece using a sewing needle and thread. I found that by incorporating some hitches into the sewing stitches I could grip the warp threads and anchor them down more firmly.

  • As there is not a lot of natural spring in alpaca fibre and the yarn is quite dense, I didn’t feel the need to steam block the pieces in this instance.

Insights and Opportunities

  • Sampling the project and working through the challenges this piece presented helped reinforce the theory behind weaving curved shapes.

  • The method proved very versatile and I can see that it has endless opportunity for further experimentation!


Thank you for reading!

I’ve put together a template so you can try this technique for yourself. 
The template contains three heart sizes and features positioning points for the outer warp threads.
This will help you align and orientate your template for best results!


FOR MORE INFO ON THE SKILLS USED IN THIS TUTORIAL, CHECK OUT OUR BOOK LINE SHAPE TEXTURE.

WHY NOT CHECK OUT OUR FREE SAMPLE VIA OUR BOOK PAGE!

Weaving Two-Colour Gradients
Loom & Spindle - Weaving Two-Colour Gradients - 1.jpg

In today’s tutorial I’ll show you a technique for weaving a simple two-colour gradient that you can use to create an ombré effect in your woven pieces.

An ombré effect is created by weaving multiple strands of yarn simultaneously and gradually swapping in a different coloured thread as your weaving progresses.

It is a technique commonly used by tapestry weavers to blend colours or adjust the weight of the weft yarn.

The project I’ve chosen is a simple sampler. My only objective was to experiment with the technique and test how the yarn behaves before applying it in my final piece.


Project: Woven Ombré Sampler

Intention

  • Gradually blend two colours across the surface of the fabric to produce an effect reminiscent of ombré.

  • Make a small woven sample to test the effects of colour transitions and to see how the chosen yarn behaves when woven.

Skills

  • Plain weave

  • Colour changes – Half-hitch method

  • Building a yarn – see ‘Sampling and ‘Method’ below

Planning

My set-up comprised a frame-loom warped to a width of approximately 10cm (4 inches), with 4 warp ends per 2.5cm (4 ends per inch).

I wove in a ground weave using spare warp thread. This helped space the warp and provided a firm base to start weaving.

My plan to secure the warp and weft was to start and finish the piece with a row of double half -hitches.

Materials

I decided on a lace weight (2 ply) yarn in two neutral tones that were of similar contrast.

Colour 1: BLUE - Morris Maya Lace Baby Alpaca, #3213 Winter Sky
Colour 2: CREAM  - Morris Maya Lace Baby Alpaca, #3224 Erlicheer

Sampling

The method relies on grouping a number of strands of lightweight yarns, which are then worked as one weft yarn within the piece.

I tested grouping 8, 10 and 12 strands, weaving a few rows of each yarn to see which would sit best within the warp.

I went with 10 strands as it seemed to fill the space between warps evenly - 8 strands lay too flat, and 12 strands was too bulky. 

I also tested the visual effect of the gradient by swapping-in one or two strands of colour two. I went with a two-strand swap-in as it was more time effective and achieved similar results.

Method

My sampling produced six colours within the gradient of blue to white.

The thread composition of each yarn is as follows: 

  • Yarn 1: 10 strands blue

  • Yarn 2: 8 strands blue, 2 strands white

  • Yarn 3: 6 strands blue, 4 strands white

  • Yarn 4: 4 strands blue, 6 strands white

  • Yarn 5: 2 strands blue, 8 strands white

  • Yarn 6: 10 strands white

To build each weft yarn I measured out ten lengths* of each thread. Holding the strands at one end I carefully wound them on to my bobbin^.

*My lengths were about six arm lengths long, enough for multiple samples.
^A shuttle, weaving needle (for shorter lengths) or winding the yarn into a butterfly would also be appropriate.

Application

Using Yarn 1 (blue), I wove a row of double half-hitches to secure and space the warp.

Continuing in Yarn 1 I wove in seven rows using plain weave. I finished the row and secured the yarn tail using a half-hitch.

Progressing with Yarn 2 I wove another seven rows, hitching-off on the opposite side from which I started – alternating the ‘hitch-on, hitch-off’ point will help space the weft evenly across the face of the fabric.

I continued this pattern, working through each colour change methodically.

On completing the last colour change I used a row of double half-hitches to secure both warp and weft before cutting the piece from the loom. 

Finishing

No finishing techniques were applied but I might use this sample in the future to test the effects of steam blocking on this particular yarn.

Opportunities for further experimentation

  • I could use this stranding technique to incorporate more lightweight yarns into my work.

  • It opens up a wide range of yarns that could be used in my work, this means more colours and textures to choose from!

  • Blending yarns could be used to introduce subtle colour variations.

  • Possibility to create really interesting colour and texture combinations.

  • Use stranding to create the yarn I want!


For more info on the techniques used in this tutorial, check out our book LINE SHAPE TEXTURE.

You’ll find an in depth discussion on a range of topics, including plain weave and the versatility of the half-hitch.


LINE SHAPE TEXTURE
Add To Cart

WHY NOT CHECK OUT OUR FREE SAMPLE VIA OUR BOOK PAGE!


Tapestry Bobbins
from $29.00